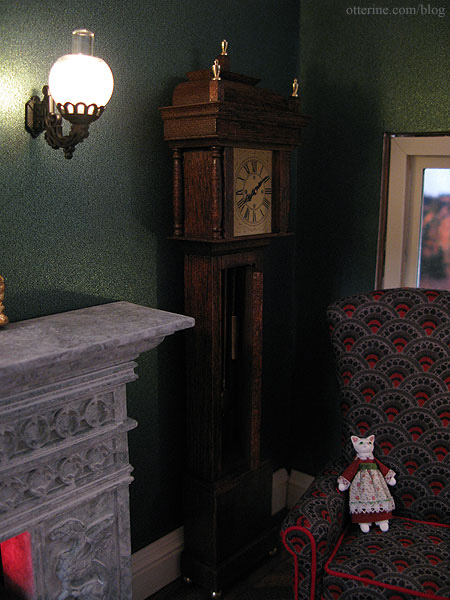
I am a huge fan of House of Miniatures kits because they can become anything you want – traditional or modern. I stumbled upon the Bagnall clock when I was searching for other House of Miniatures kits and started stalking eBay for a good price. This is a more difficult kit to find.
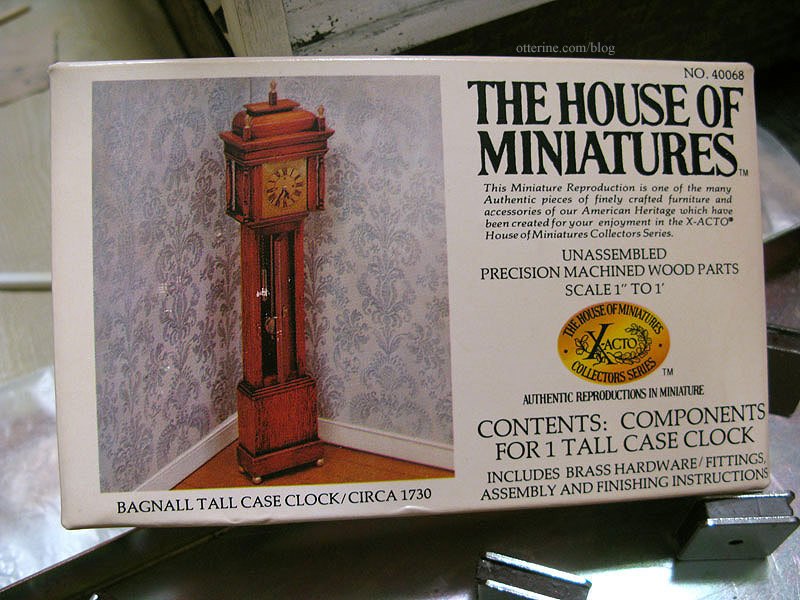
The assembly is more challenging than other House of Miniatures kits I’ve put together, but I am taking my time and using Minwax wood filler to smooth any rough edges and mask the seams. So far so good.
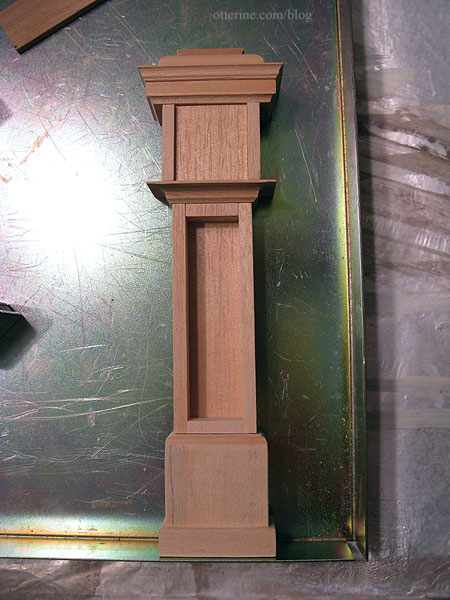
I knew it would be perfect for the Haunted Heritage, but I couldn’t wait to put it in the parlor just to check the size and positioning. The stained finish will be darker than the natural wood shown here, but I think it will brighten the far corner in this dark-walled room.
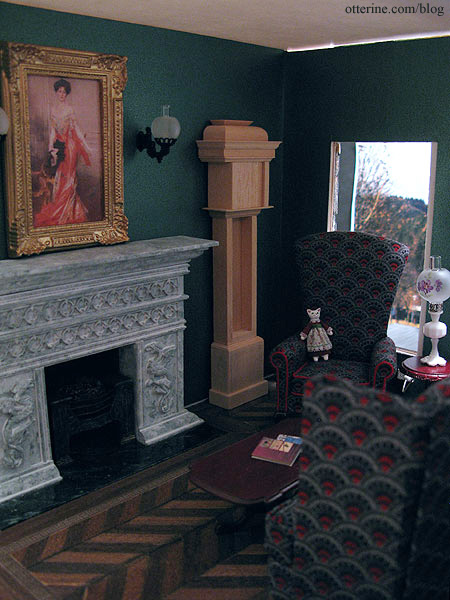
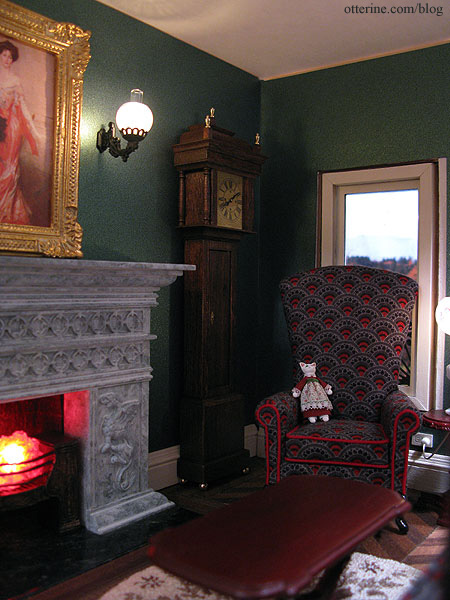
It might be a shame to stick it in the corner between the fireplace and The Chair, but I can just imagine hearing the gentle clicks and whirs of a clock in this room. My grandparents had clocks in their house, and I loved when it was quiet and all you could hear were the subtle sounds of the various clock movements.
I finished the preliminary assembly by adding the turned posts and toppers.
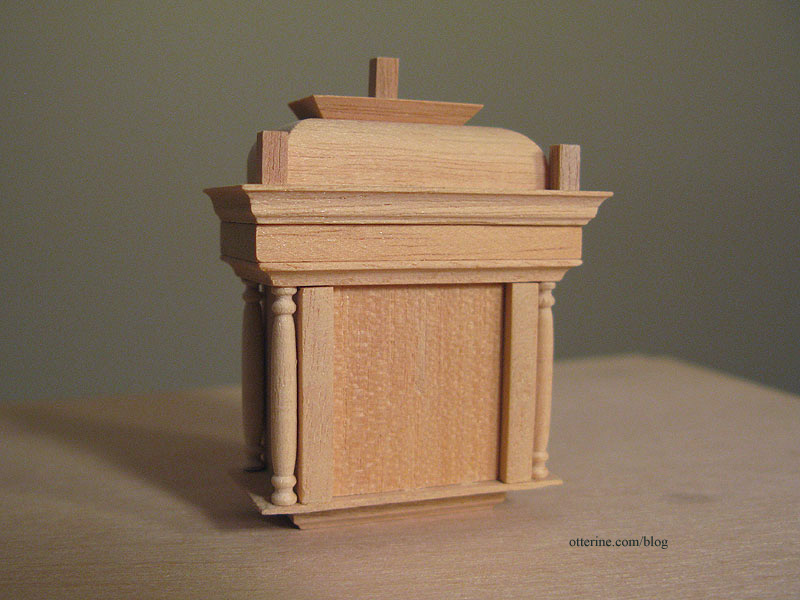
Marlene mentioned making the kit a working clock, but I hadn’t even thought to do that since I liked the face that came with the kit. Interestingly enough, I stumbled across a blog post detailing how to make a House of Miniatures grandmother clock kit into a working clock. I bought a pocket watch from Hobby Lobby and took it apart the same way.
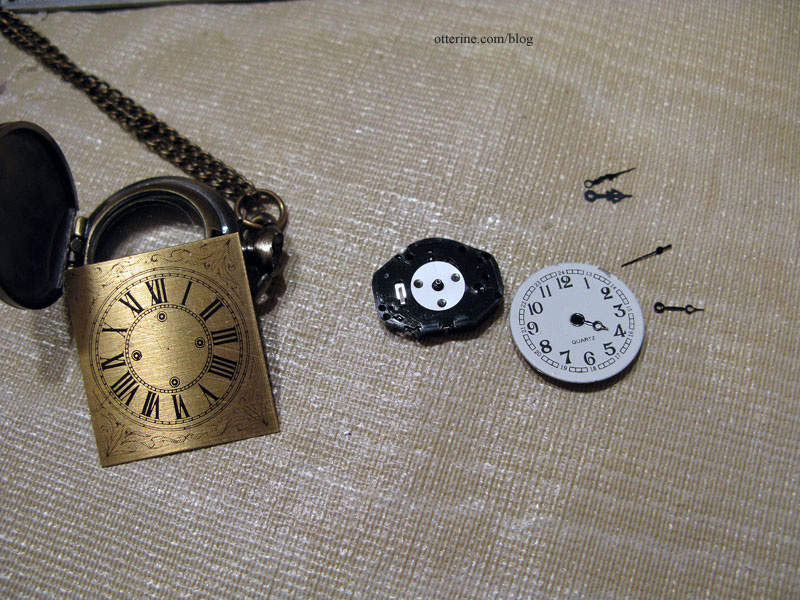
I had even bought one with fancy hands so I could use the mechanism as a complete unit.
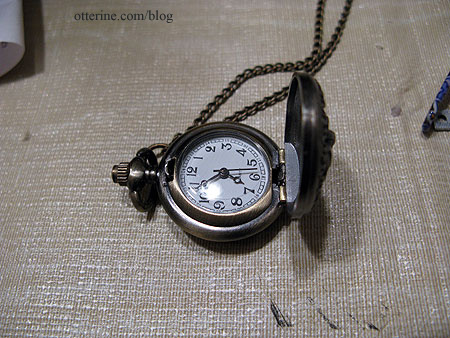
Unfortunately, it wasn’t that simple to just swap out the faces. At least, I don’t know enough about watch movements and placement to get it to work. I could see what needed to be done. It just didn’t work for me. (What didn’t work for me was that the pocket watch face had two metal spacers on the back keeping it a certain distance from the mechanism. The kit face didn’t have these spacers, so there was no way to keep the face the right distance from the mechanism. Too close, and the hands couldn’t move correctly. Too far away, and the hands would just hang loosely and not turn at all.)
All was not a waste, though, since I was able to salvage the watch battery for the Reutter Porzellan clock I bought awhile ago, and I’ll keep the clock hands and chain from the watch in my materials stash.
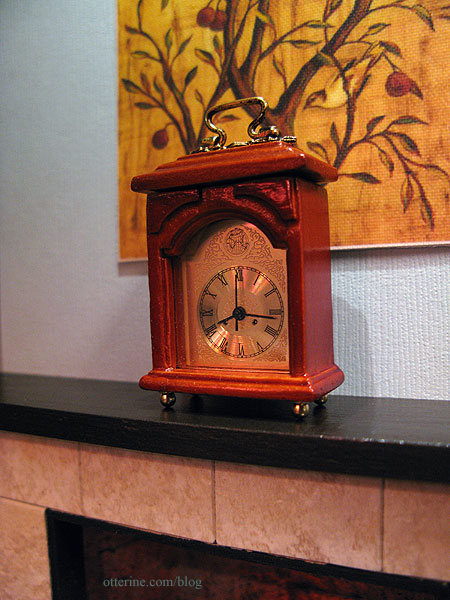
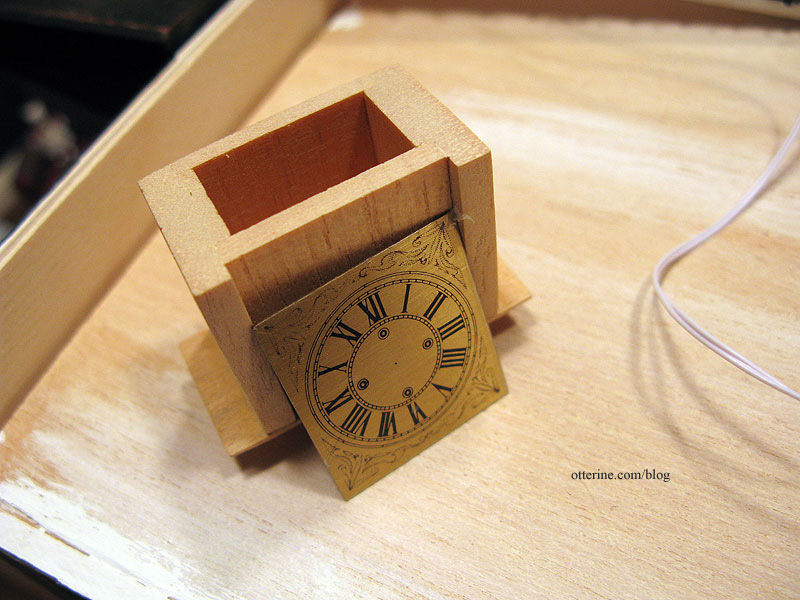
I thought about buying another Reutter clock just for the face, but it really wasn’t that important to me to make the Bagnall clock a working clock. It was the overall design that drew me in to begin with, including the beautiful face included with the kit (shown here with the plastic protective covering still in place).
So, I’ve gone ahead and stained the parts with Minwax English Chestnut to keep moving forward with the project. I had used this stain on the parlor floor, but I originally bought it for this clock kit.
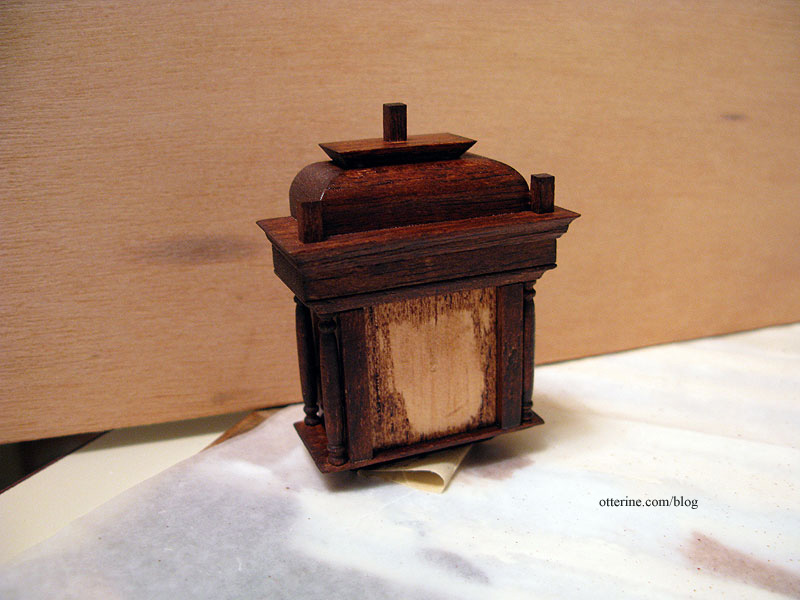
The wood took the stain unevenly because some of the surfaces are the “ends” of the wood and some are the “faces” of the wood grain. I’ll address that once the stain dries, but so far I love it!
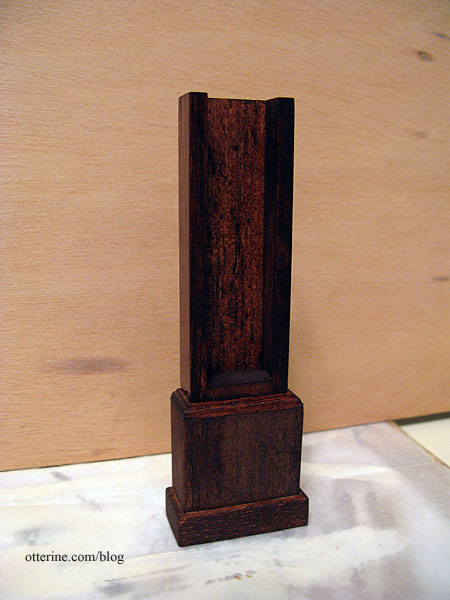
After the stain dried, I used antiquing medium to fill in the more obvious portions of uneven stain and then sealed the wood with two thin coats of Delta Ceramcoat satin varnish. It brought out the beauty of the wood and deep color of the stain for a perfect antique finish.
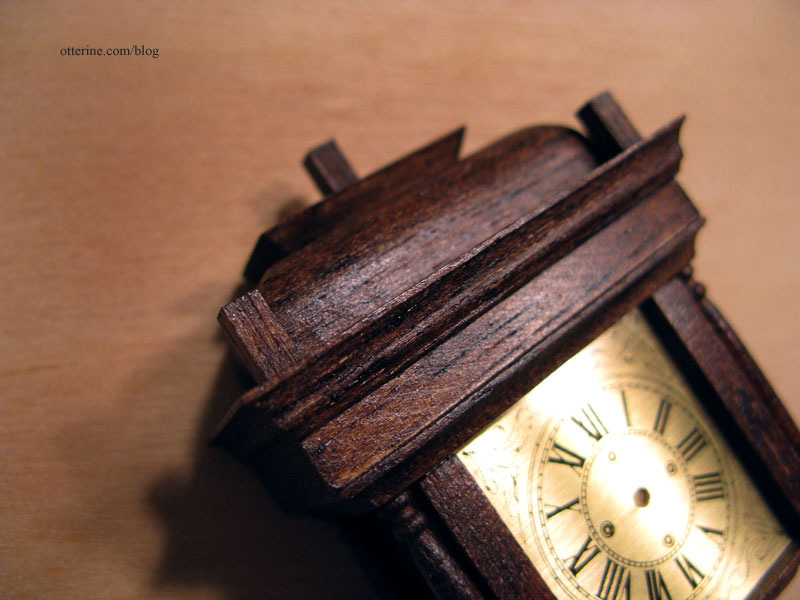
Since I had attempted to make this a working clock and drilled a hole in the kit face, I had to use a brass brad to fill in the middle point where the hands met. It still looks natural to me.
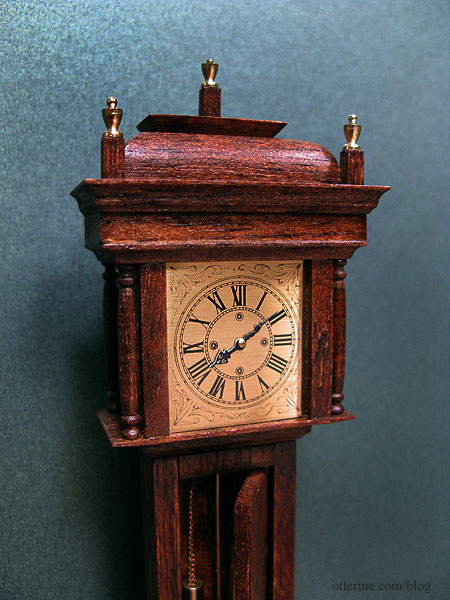
The brass components included with the kit, while not easy to install, are high quality and really make all the difference.
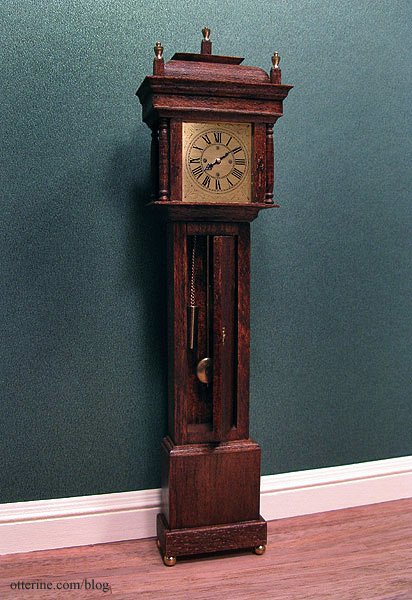
The door hides the weights and pendulum, but it looks beautiful closed as well. One of the things I liked about the kit was you could assemble it so the door could open the other way – say, if you were putting it on a wall where you couldn’t see the pendulum when the door was open.
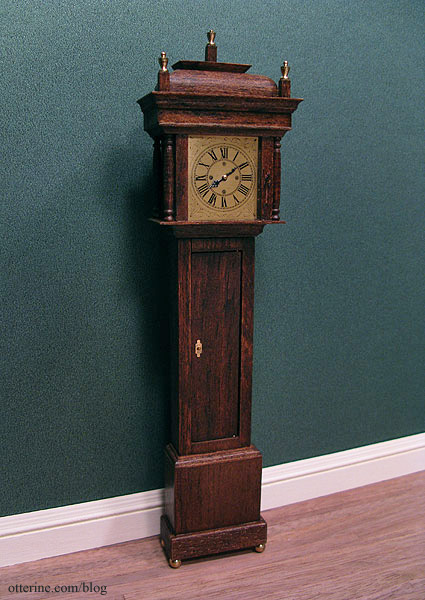
It fits the parlor wonderfully. :D
It’s a beautiful clock.
