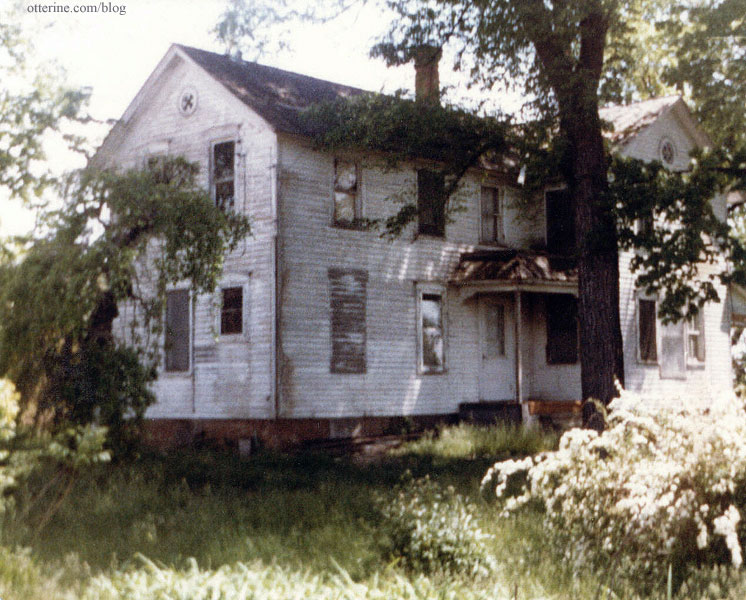
Using my childhood home as an inspiration, I’ll be aging the exterior by crackling white paint over a grey washed base.

After assembling the walls, I primed the interior side with white craft paint (two coats). The walls will all be covered by wallpaper, but this process seals the wood and adds longevity to the paper.

On the exterior, I used diluted washes of grey, black and brown acrylic paints to achieve the look of old, weathered wood that will show under the crackle effect of the exterior paint. This staining process takes a few coats to achieve a deep color, so I always start with a modest amount of paint and a lot of water mixed in a standard size pie tin.

After stirring, I ended up with a grey soup that I brushed on with a large brush and then wiped off as I went.


Watered down paint will make the wood buckle and can loosen the tacky glue joining the pieces. Since this is such an early stage of assembly, this really isn’t anything to worry about. The walls can be pressed flat as they dry and joins can be glued back together before final assembly.
It’s almost impossible to not get the wash on the white primed side underneath. But, with an old weathered house, anything that gets dirty just looks more realistic. I just wipe any excess off the white and leave it grey. It won’t show under the wallpaper anyway. This is why aging finishes are so messy…and so fun!

The first coat really just dirtied up the wood, so I went darker the next round. You can always add more color, but you can’t take it away. Best to do thin coats to build up to the color you want. For the second coat, I added more black than grey and left out the brown. I also added less water but still wiped away the excess as I went.


Now we’re getting somewhere…

There were still some reddish places, so I opted for a third wash. I dumped out most of the liquid from the second wash and added more black paint.

I brushed this dark mixture over only the red areas and left it on full strength. Some boards needed a lot and one didn’t need it at all. Light areas are fine, but red areas will clash with the weathered effect.

Once the wood was the appropriate color, I let the pieces dry for about half an hour before covering with wax paper and pressing flat with magazines to dry overnight.


