While putting the Spring Fling kit together, I wanted the side addition to be the same depth as the base kit to make one large, open room on the first floor and to allow for a narrow door between the rooms on the upper floor. The measurement of base kit’s first floor is 11 3/16″ front to back. The measurement of the addition’s first floor is 9 1/16″ front to back. This meant I needed to add 2 1/8″ to the outer side wall, the first floor and the second floor of the addition.
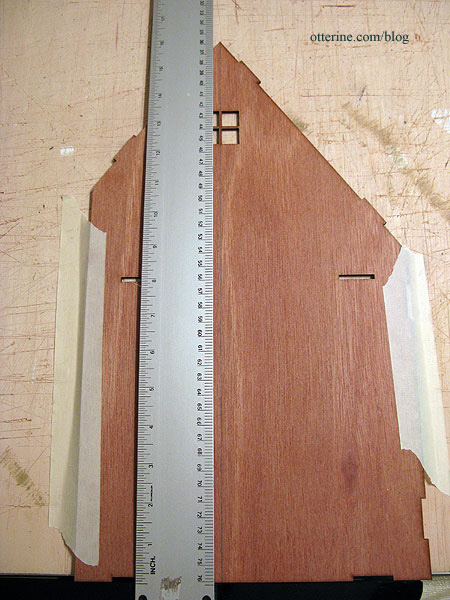
In order to still have the angled roof on the front and back edges, I split the outer side wall from the middle of the top peak to the bottom with a utility knife using a T-square as a guide.
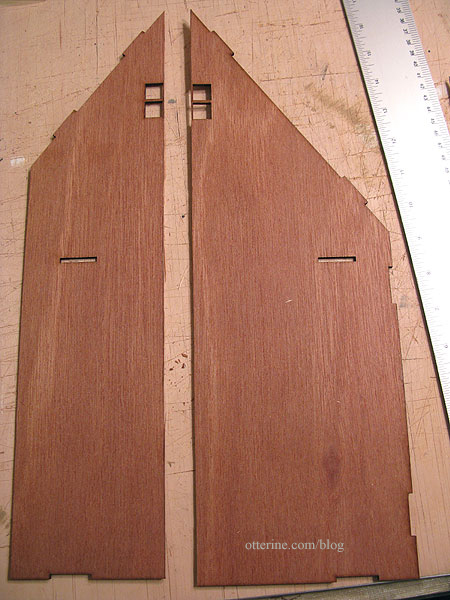
The cut pieces are a little scary, aren’t they? No turning back now. :]
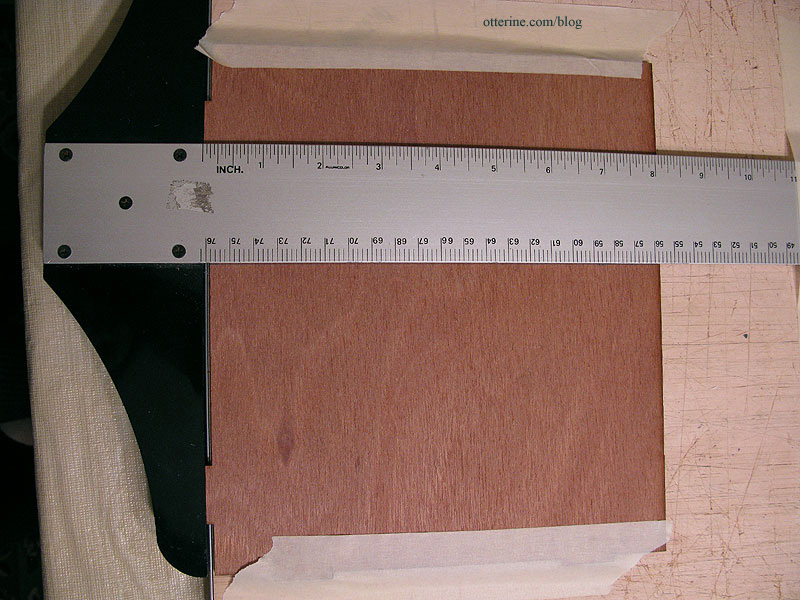
To keep the tabs and slots in alignment, I repeated the process for the first and second floors. I first measured where I had cut the outer side wall against the floor.
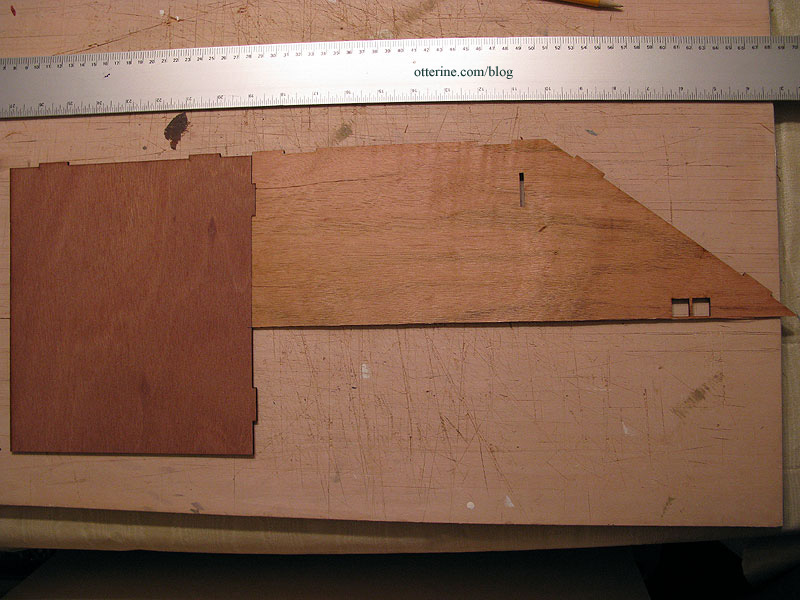
I used that mark as a guide to split the floor board side to side.
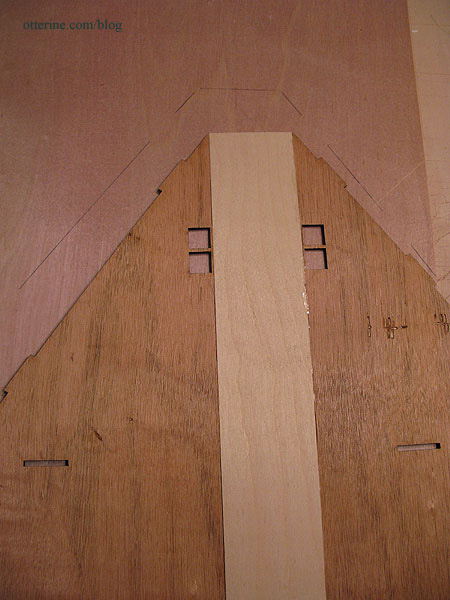
I then added a piece of plywood measuring 16″ (the height of the bottom to the peak at the cut) by 2 1/8″ between those two split pieces of the side wall. I used wood glue to join the three pieces together and weighed the whole thing down to make sure the joins were flat.
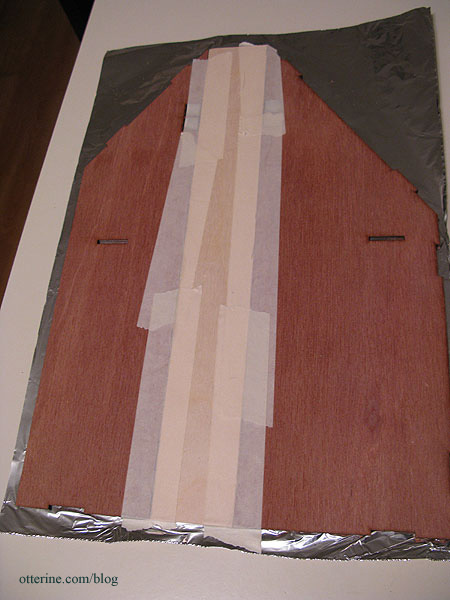

This addition created a small flat portion to the roof. If I had wanted to keep a peak roof, I could have cut a taller piece and cut the angle based on the two side pieces.
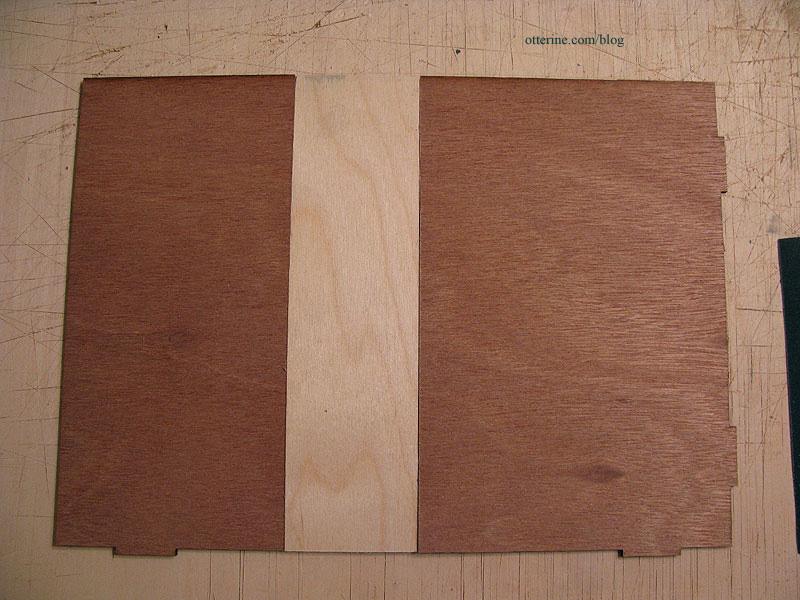
I glued a piece of plywood measuring 7 31/32″ (the width of the floor board at the cut) by 2 1/8″ between the two split pieces and repeated the process for the second floor.
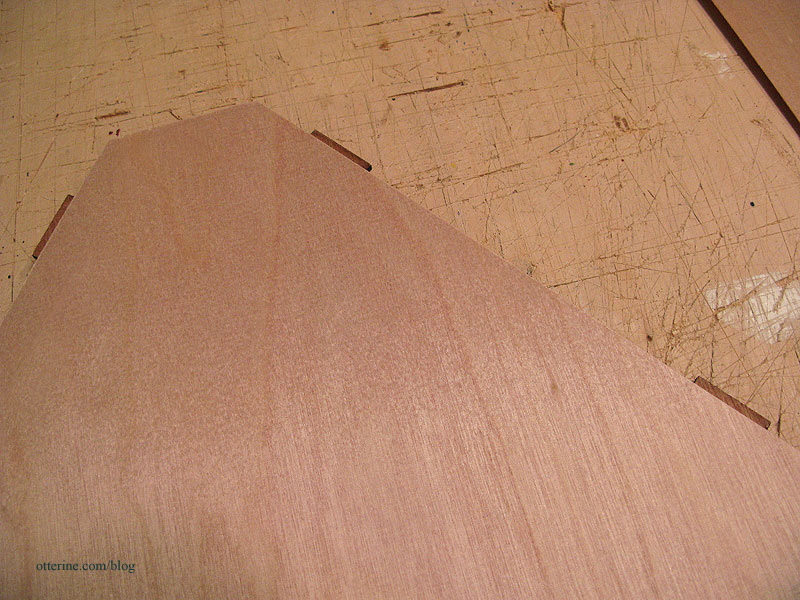
To strengthen the outer side wall, I traced the outline onto a sheet of wood veneer 1/64″ thick.
I cut out the thin veneer, clipping off the tabs from the veneer sheet.
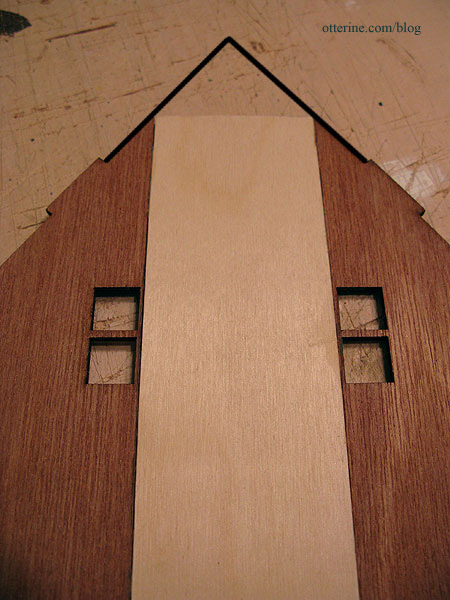
I spread wood glue on the pieced side wall and attached the veneer. I flipped the assembly over and cleared out any glue that had spilled into the slots and window openings before weighing it down to dry flat.
I repeated the veneer process for the second floor, on the underside, to have a smooth surface for the first floor ceiling. I didn’t add a veneer to the first floor since it would be glued to my added foundation and would have some type of floor covering on it.
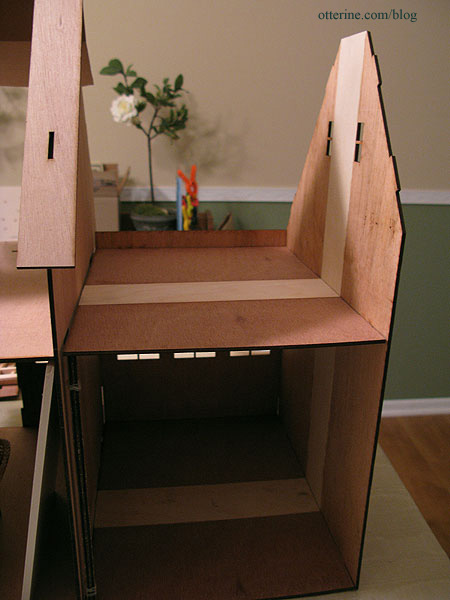
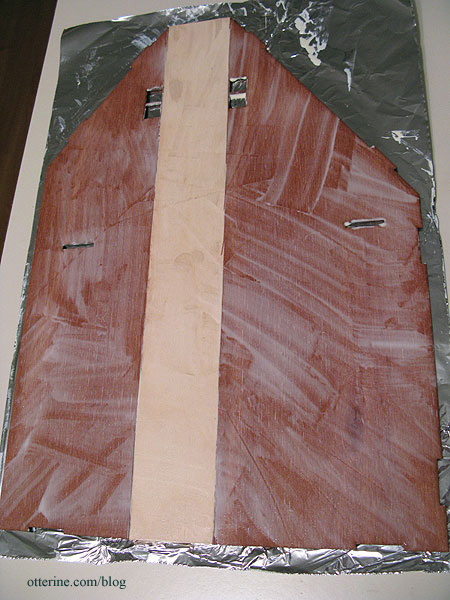
And, here are the three pieces fitted together afterward. Looks a bit like a racing stripe. :D