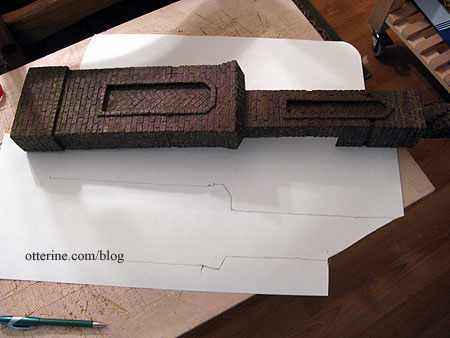
Continuing work on the chimney. I traced the chimney outline onto a sheet of drawing paper to guide me in cutting the trim that will surround it. I didn’t end up using it as a guide, but it was worth taking the time just in case.
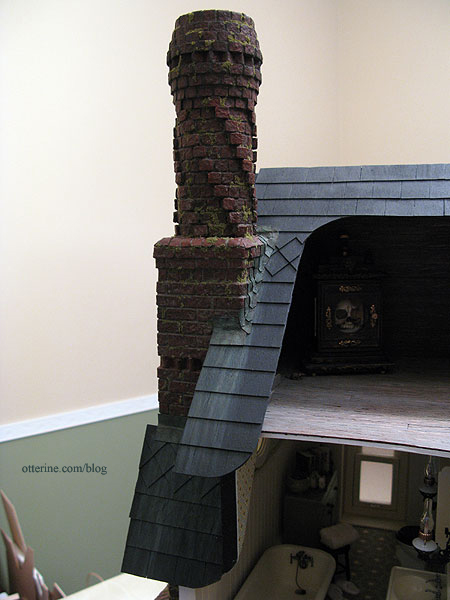
The chimney fits well against the house without additional adhesive, but that’s not to say it will stay removable. In theory, I can remove it in case of a major wiring disaster, but it would still require some deconstruction in that case. I just won’t weld it to the house.
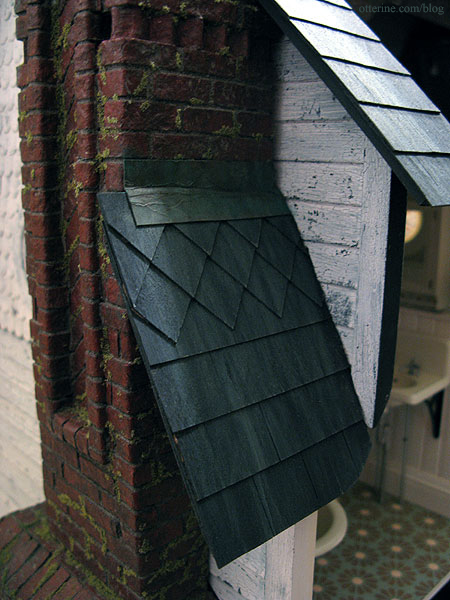
I added flashing to the chimney using brown cardstock. I crinkled the paper to make it look worn and to help it form to the contours of the brickwork.
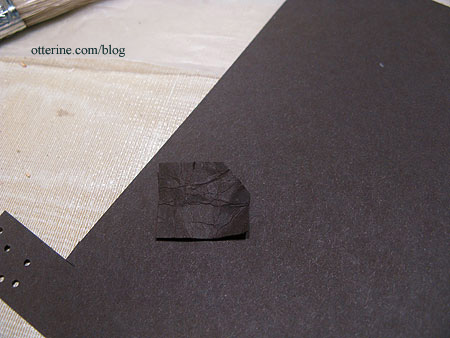
From my limited research, I believe chimney flashing is usually under the shingles on the sides, but we’ll just ignore that. :D
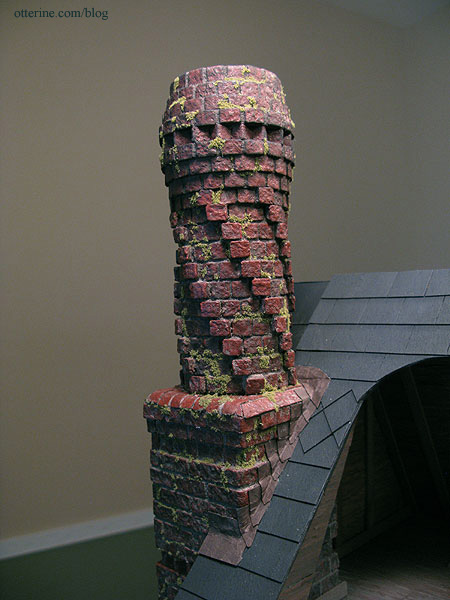
Next came the process of turning paper into old copper using paint. I dry-brushed each paint color over the paper flashing to age it. The final color of Bittersweet Chocolate toned down the other brighter and lighter colors.
Once I had that done, I added water to my palette and began streaking the same colors down the shingles to give the impression of mineral deposits building up over time.
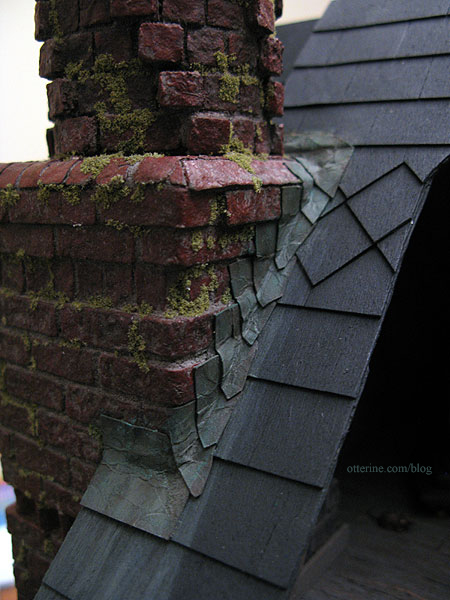
It’s hard to capture in photos, but I love the way it turned out.