Continuing work on the back roof dormer. There’s a good deal of chicken or the egg happening with the attic and its new roof addition. Before I can glue the back roof pieces on, I need to finish them as much as possible. It is close to impossible to work on these areas once in place, because you effectively have to work backwards and without a clear view.
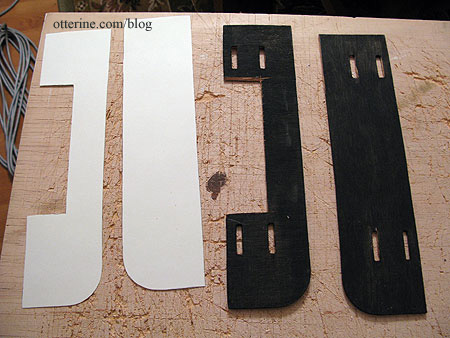
Since I will be cutting a new U-shaped back roof piece, I cut the original side roof pieces flush with the roof addition side walls.

I made a template of these pieces to help me with the interior attic boards and exterior roof shingles.
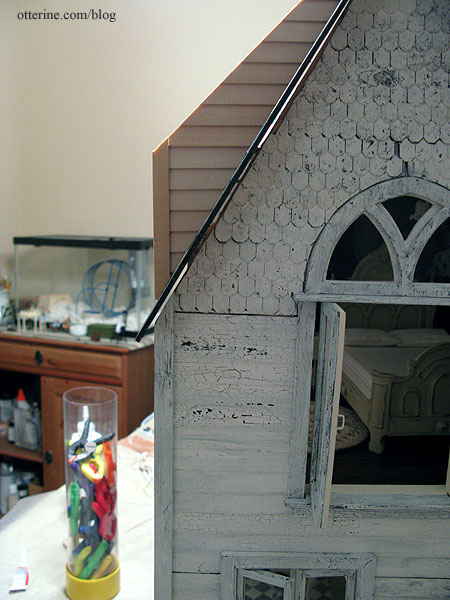
The roof addition side walls needed siding on the outside, which is easiest to apply when you can press the pieces flat to dry. I used scraps of the 1/2″ lap Houseworks siding I had used for the replacement side wall. To finish off the edges to match the rest of the house, I used 3/8″ corner molding for the back edges. I thought regular siding made more sense than matching the shingled gable since this is an architectural feature in the back of the house and not a decorative feature seen from the front.
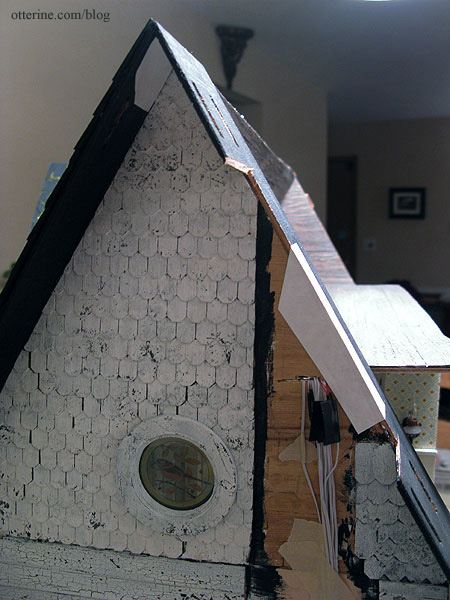
I glued on the back roof piece for the left side and reinforced the joins with Tyvek where I could.
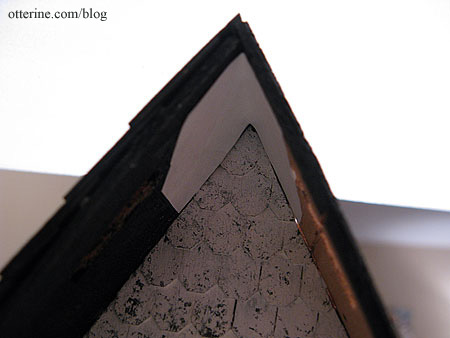
I did the same thing at the inside peak of the gable. Had I not finished the front roof previously, I would have added the Tyvek over the roof ridge instead.