
The original kit attic floor was a poor-fitting board to begin with, and it was pieced over the bedroom causing a noticeable seam on the ceiling. Additionally, since I added two walls on the second floor not originally intended as part of the house, I needed an attic floor that covered more area than the original. Trying to cut one board to span the entire house without having any fitting issues didn’t seem like something I wanted to attempt. So, I cut each ceiling board individually, having the seams over each new second floor wall.
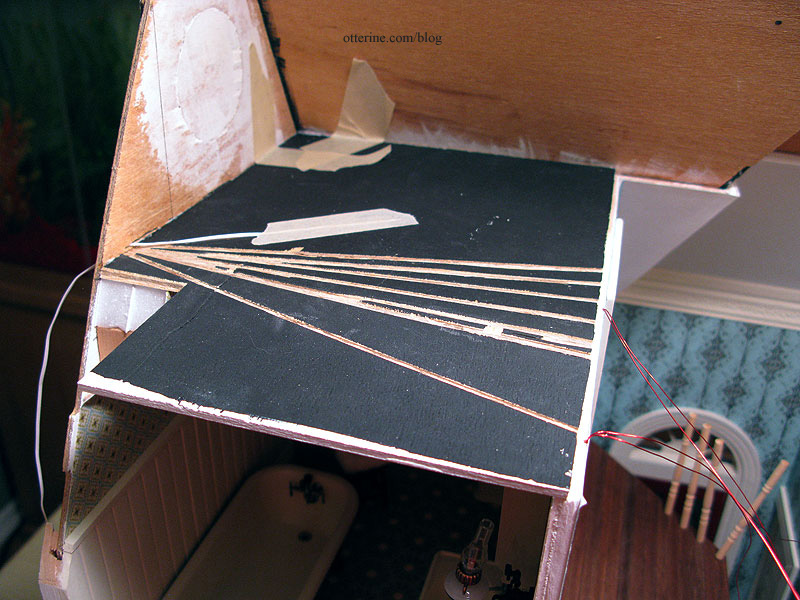
The bathroom ceiling had its wiring channels cut prior to installation. All wires lead to the outer wall and will be hidden inside the chimney. The notch on the left side is where the back roof piece sits.
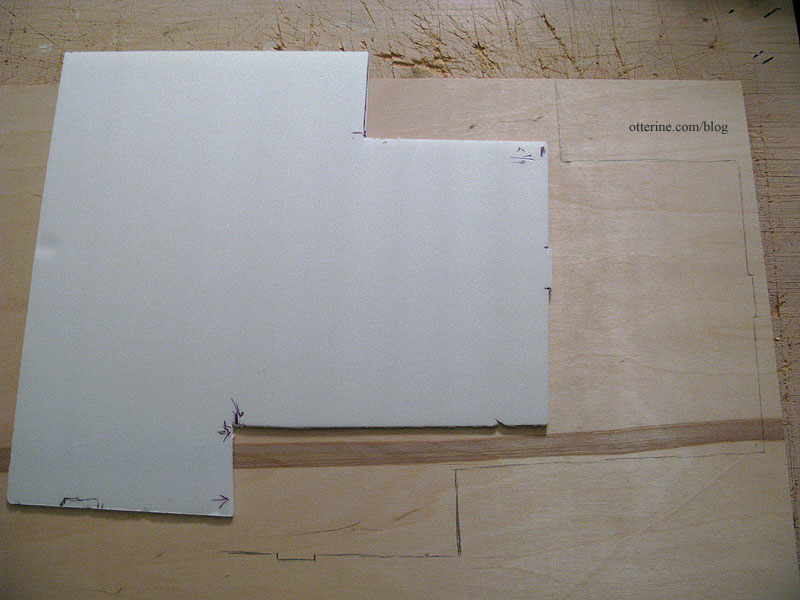
To make a template for the bedroom ceiling, I used a spare piece of Cellfoam 88. It’s the same thickness as the plywood I would be using for the final board, and it was easy to cut and adjust. First, some rough measurements.

I snipped and adjusted. I was still off in the end, so I marked where I needed to add more. I also marked where the tabs should be. Since there were slots on the front and side, I figured I might as well use them.

I traced the foam template onto a new piece of 1/8″ plywood and cut out the ceiling board. Here you can see my foam template was just of the front cuts. I projected the full length back from there.
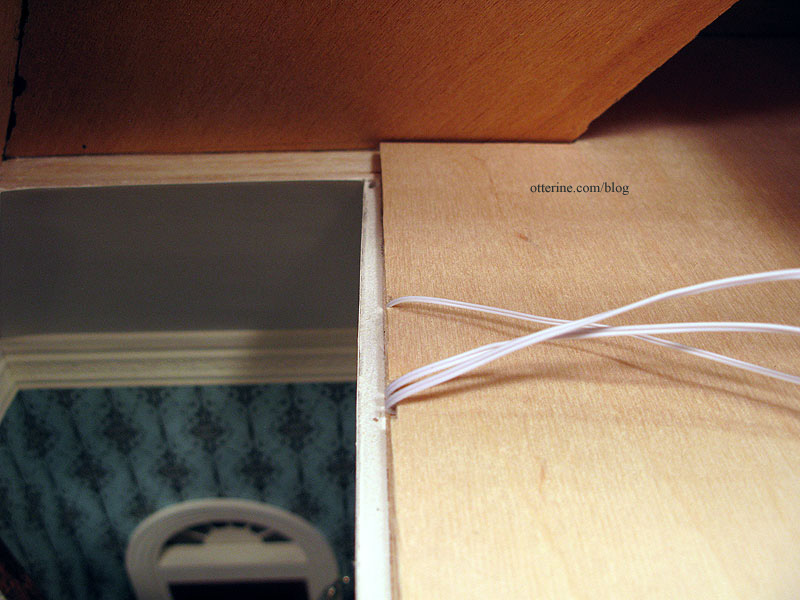
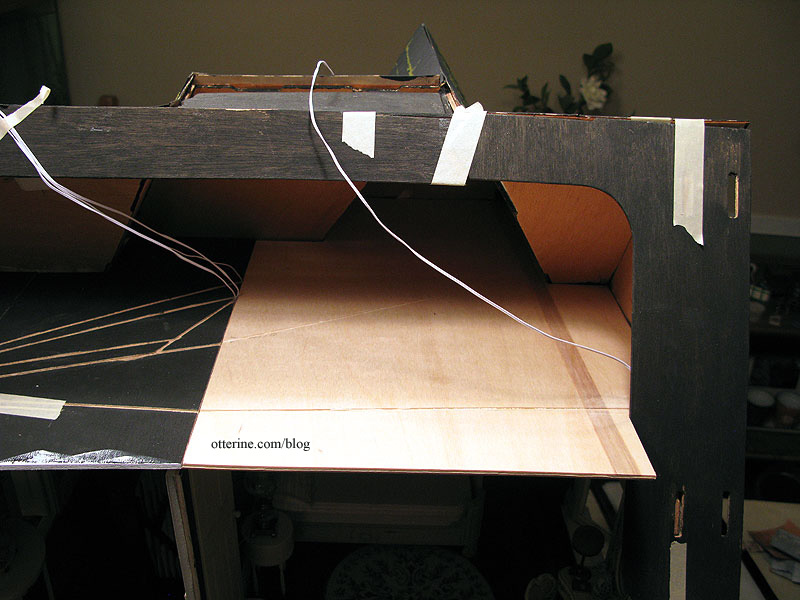
Here are the notches I cut for the foyer light and bedroom table lamps previously installed.
The hallway ceiling has been started, too, but it remains separate. It needs to be installed last since it is a snug fit between the two outer sections. Here are the hallway and bedroom boards in place.
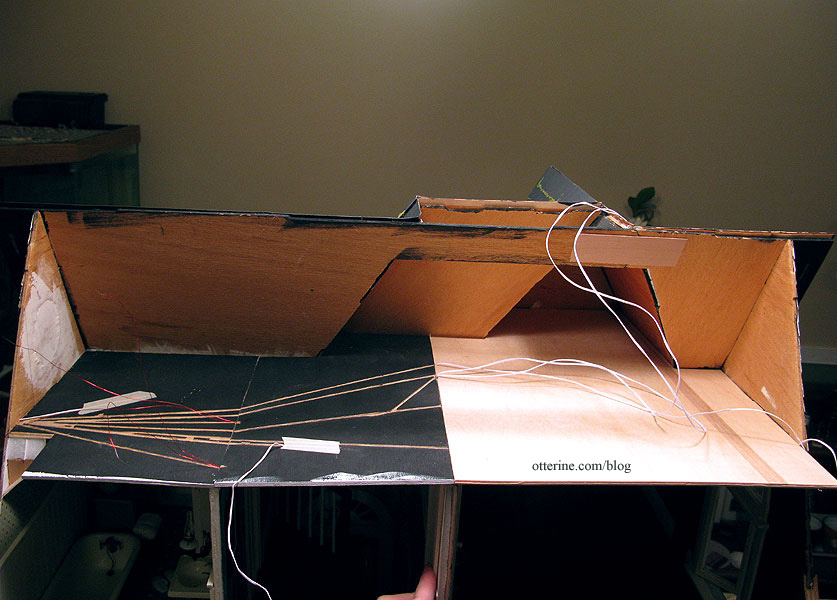
I made minor adjustments until the new ceiling board fit…mostly. I have to tell you, this is the most lopsided board I’ve ever had to cut for a build. That ought to tell you just how out of square this house is. Even at that, it’s still not a great fit, and I cannot figure out where the rub is that’s causing the problem. So, it stays its 95% self, and I will add flat molding along the edges of the ceiling. Crown molding on all those angles makes my head hurt just thinking about it, so flat molding it shall be.
With the ceiling in place, I plugged in all the lights for the room. The lantern on the dresser is battery operated.
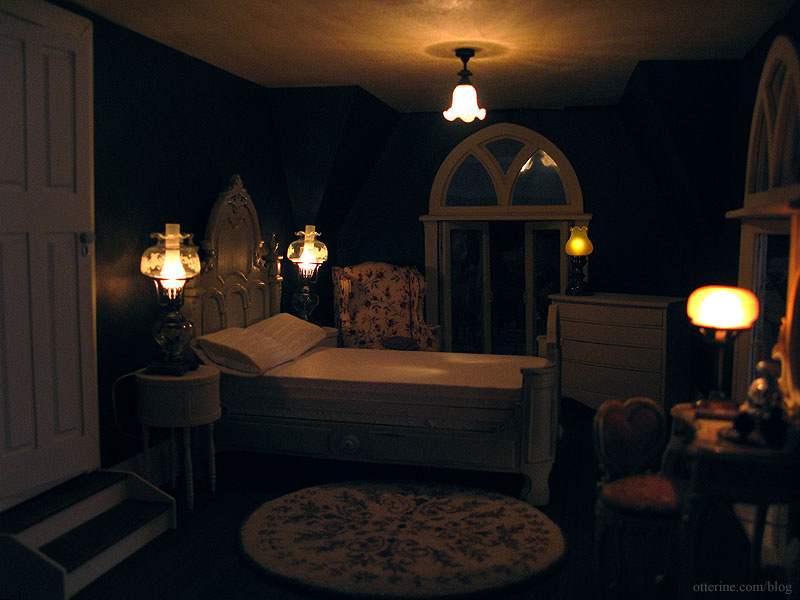
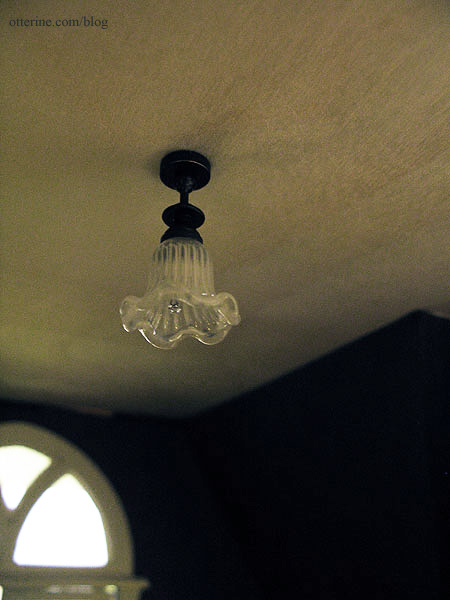
The Ray Storey ceiling fixture adds a good overhead glow to the room. I had thought about using a smaller, simpler ceiling medallion here with the fixture, but when I looked at the resin piece more closely I just didn’t like it. It was rough and uneven, and spending a lot of time to get it in paint-ready condition wasn’t something I wanted to do. Besides, this room has a relatively short ceiling so it’s probably not a good idea to lower the light fixture any more.
I had also thought about putting in a lamp over the comfy chair, but I think there is plenty of light in this room. Besides, grandma might just have a clip-on LED lamp for supplemental lighting just like I do for my needlework. Once I get the ceiling painted bright white, it will reflect more light as well.
I cut the notch for the back roof piece and carved the two remaining wire channels on the top surface of the bedroom ceiling board.
Part 2 here.


