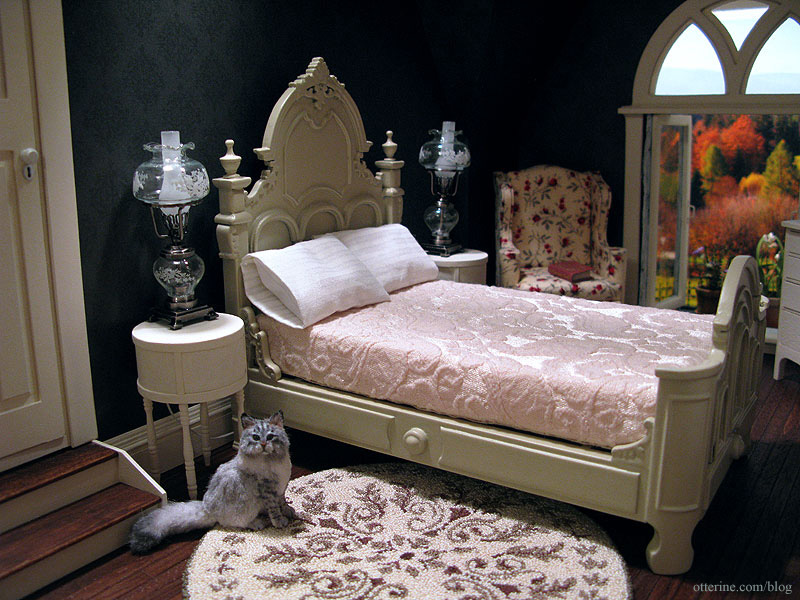
With the wallpaper installed, I cut the baseboard trim to fit around the room after putting in the front window. I later added the trim underneath the swinging window on the interior side.
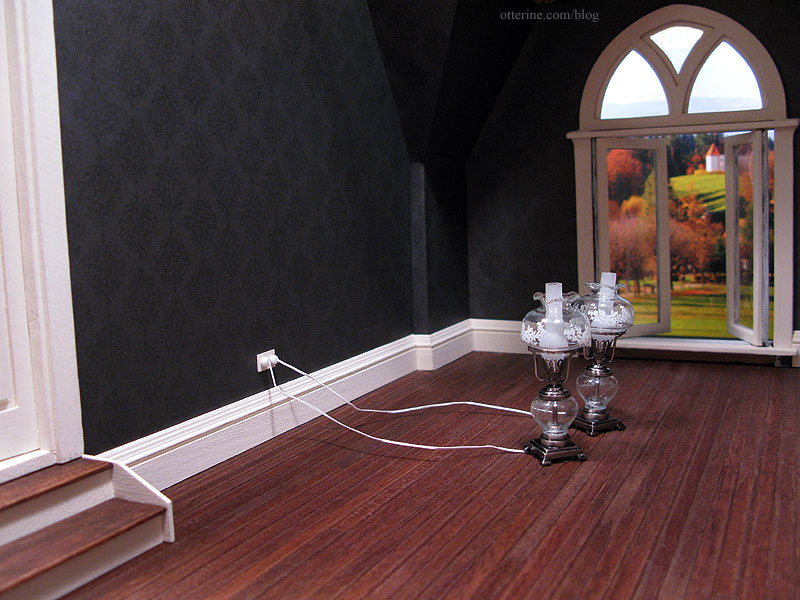
I added another baseboard heat register (my bash of a tutorial by Kris at 1 Inch Minis), this time by the window. Having it on the wall behind the bed would defeat the purpose of adding the detail at all, and the double outlet was already on the inside wall besides. The mismatched seam is definitely less noticeable, too. Hooray!
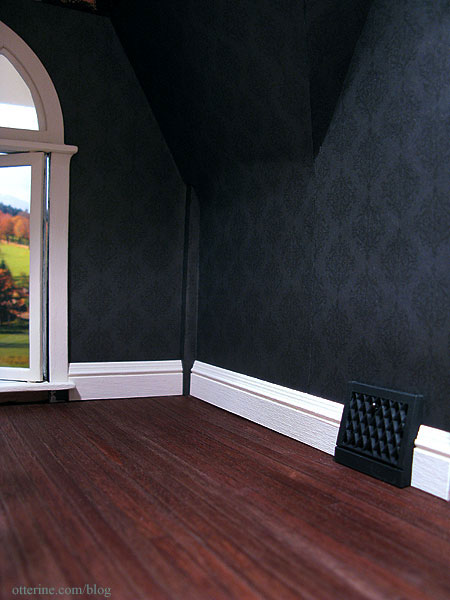
While I did cut the trim to follow the small outcropping on the left, I didn’t bother to cut the trim around the corner post in the back on the right. Cutting pieces that small tends to be more of an exercise in futility with limited results. Besides, a big dresser is going there. Cheating? Maybe. :D Less stress? Definitely!
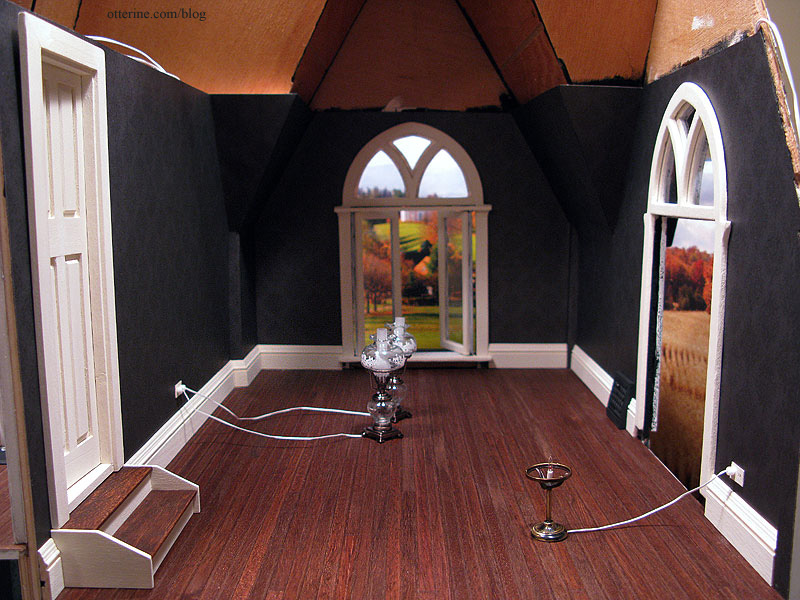
The bedroom door has been finished, including door knobs from miniatures.com and keyholes from Bindels Ornaments. :D
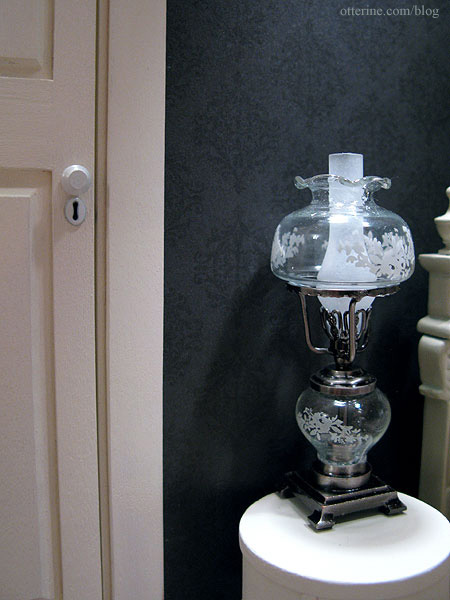
I glued the door in place and added the interior trim.
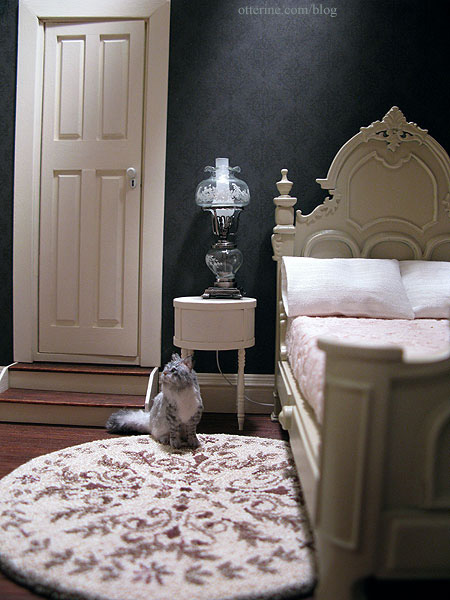
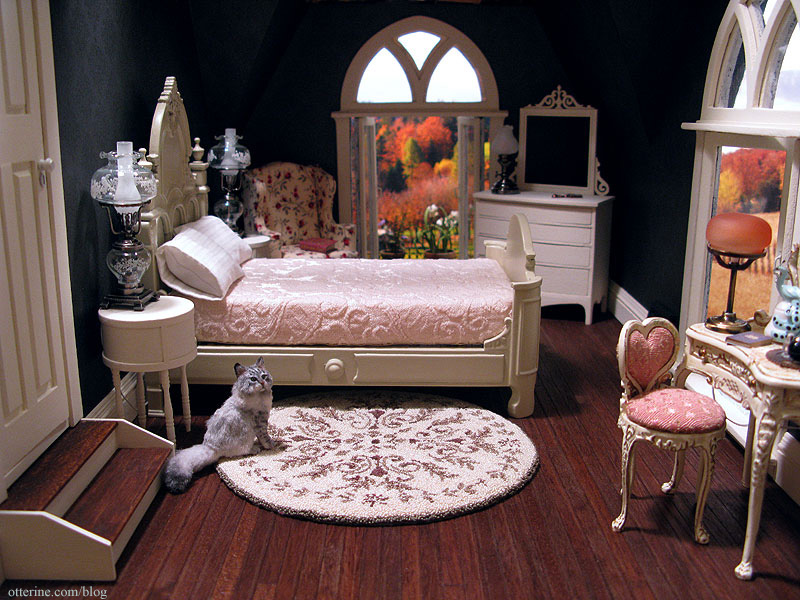
Here’s the furniture placement, though the dresser, bed and nightstands still need final finishing.
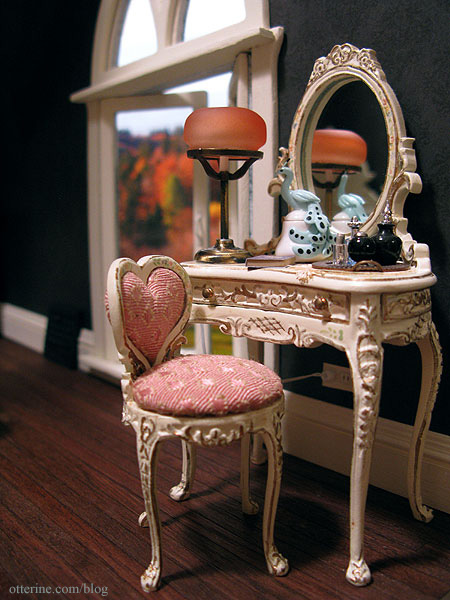
The Bespaq vanity and heart shaped chair fit perfectly in this corner.
We are ready for the ceiling!
