
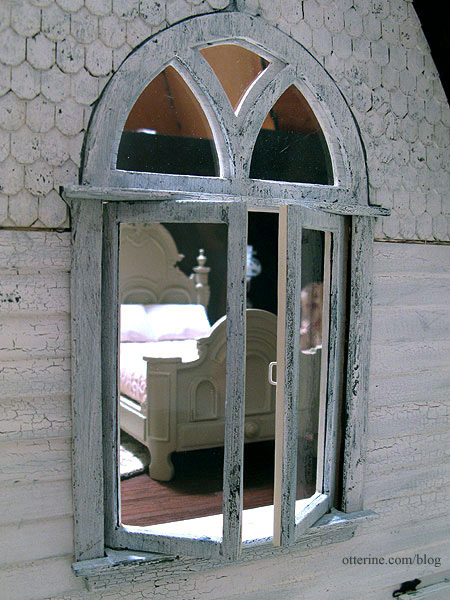
Completing work on the swinging windows. After touching up any exposed wood that might show in the side tracks, I glued the window interior trim pieces in place.
I rechecked the fit of the front swinging window pieces previously finished and installed the window. It doesn’t close all the way without some tension, so I’ll just leave it open. I couldn’t trim any more wood from the panes to make it fit without weakening the whole assembly, and I don’t mind them open.
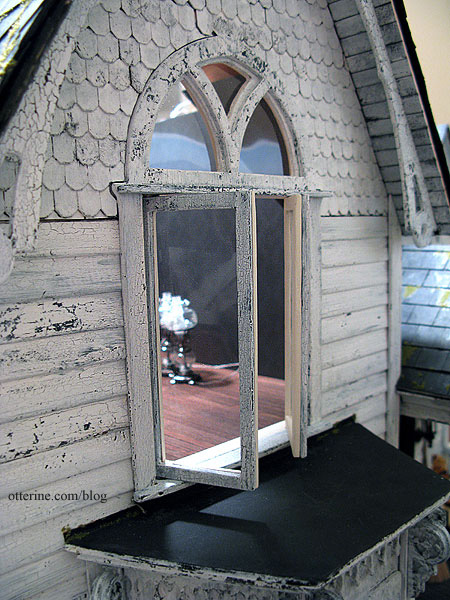
I added the exterior trim to hold the window in place. There’s no glue here; it’s all held together with tension. That’s probably not a bad thing in case I ever need to adjust or repair it.
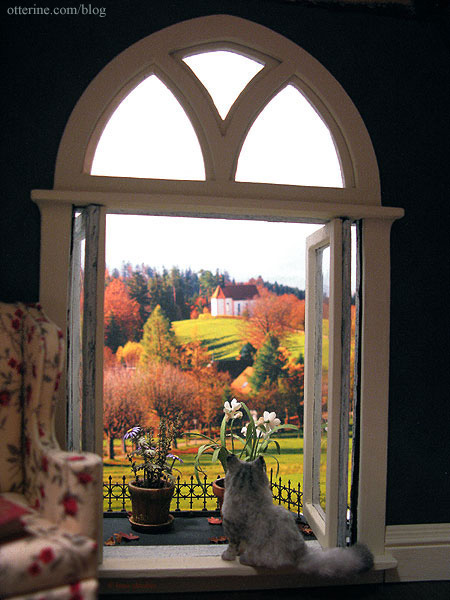
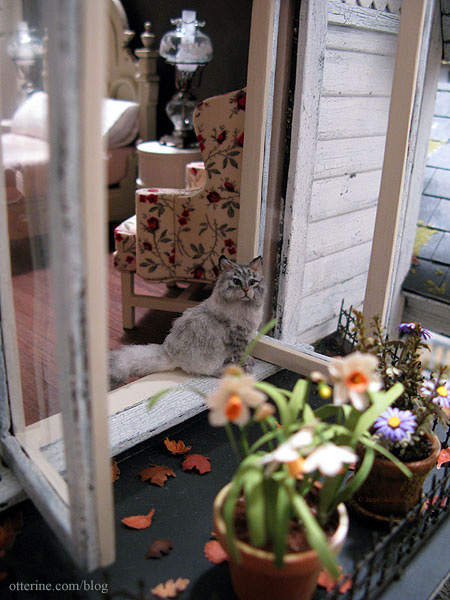
After finishing the bay window roof, I added some leaves and potted plants. The plant on the left is from Michelle of Little Rabbit Minis, and I made the potted daisies for The Aero Squadron Lounge.

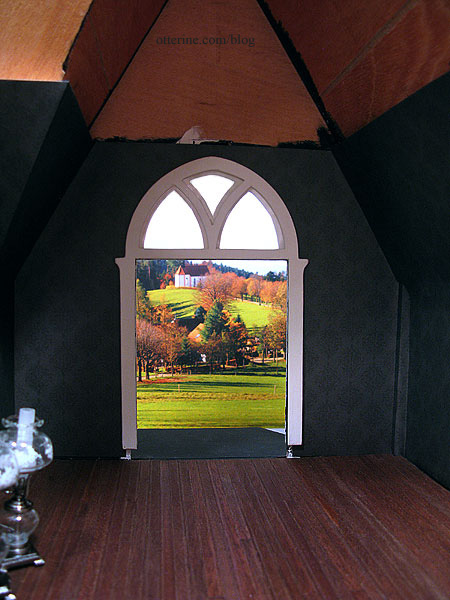
The lower trim has been added under the swinging window on the interior side here. Ophelia seems to be enjoying the view.
I get the feeling she spends a lot of time on the bay balcony. :D
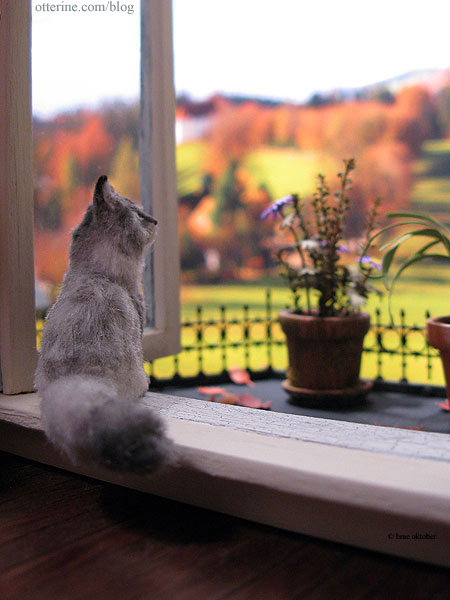
Pretty kitty.
I finished up the side swinging window and installed the trims to hold it all in place. The side gable finishing trims will be completed after the attic is completed and the back roof added.
There were slight gaps just below the arch windows for both swinging windows, so I added thin pieces of trim to hide these.
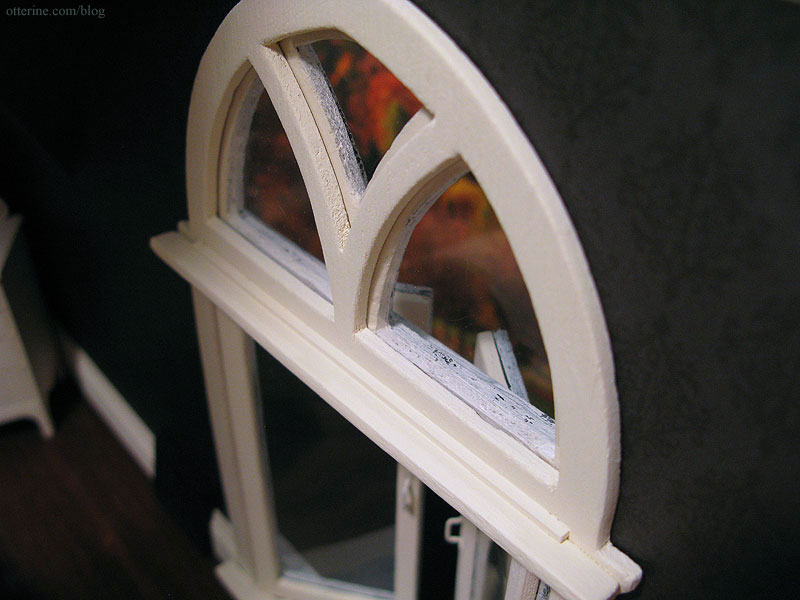
I also added window pulls. These were brass but have been painted Vintage White by Folk Art. Nothing says old house like painted over hardware.


