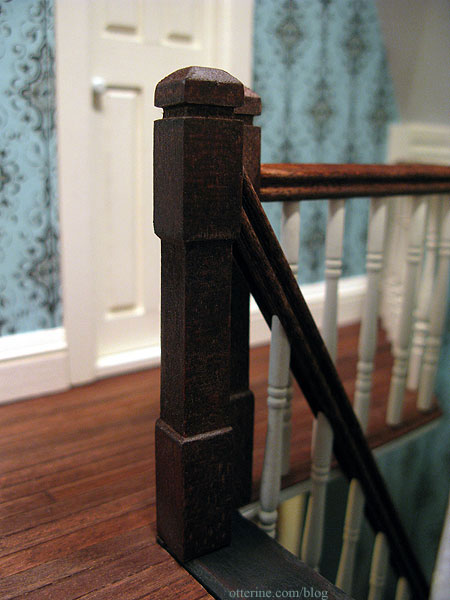
I’ve seen a few treatments for joining a stair railing to a balcony railing. The easiest by far is a double newel post option, but the way the room is set up they would have to be literally side by side with no gap between them. Not the most appealing aesthetic. :\
My Dremel savvy friend and I were talking about this today, and he had a brilliant solution: offset the newel posts and have a small angled section of railing between them. I think this will make perfect visual sense and it also eliminates having to navigate around a harsh corner on the way to the bathroom. :D
Before I could address that, I needed to tackle the railing and spindles around the balcony. I marked the floor where the spindles should go starting with the spindles adjacent to the stairs. I thought those adjacent spindles should line up, even though you probably won’t be able to see that once this room is enclosed. This made the spindles on the straightaway 5/8″ apart. On the angled section, I just put a dot at the space between every pair of boards.
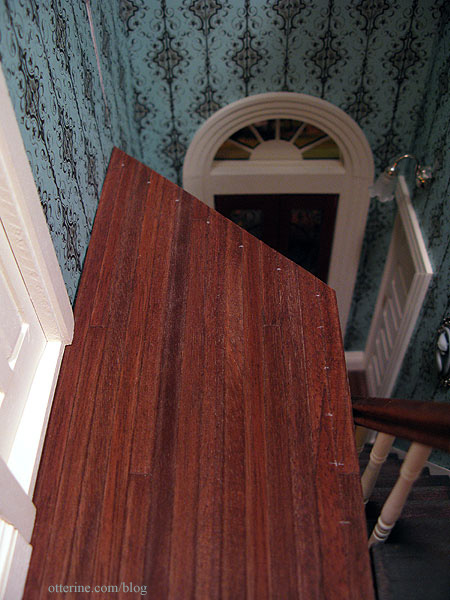
There was a gap between the foyer paper and the hallway paper. I cut a scrap of basswood to hide this area and painted it Vintage White to match the trim. I’ll show that board further in this post.

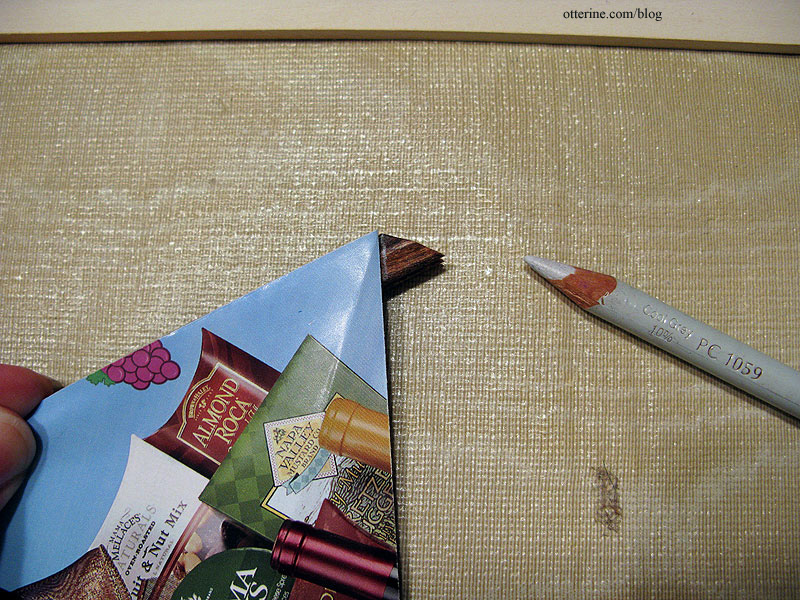
I had to do some math to determine the angle at which the two railing pieces would meet on the balcony. I took a piece of scrap paper (a wine gift catalog…how distracting) and folded it over the edge of the balcony.
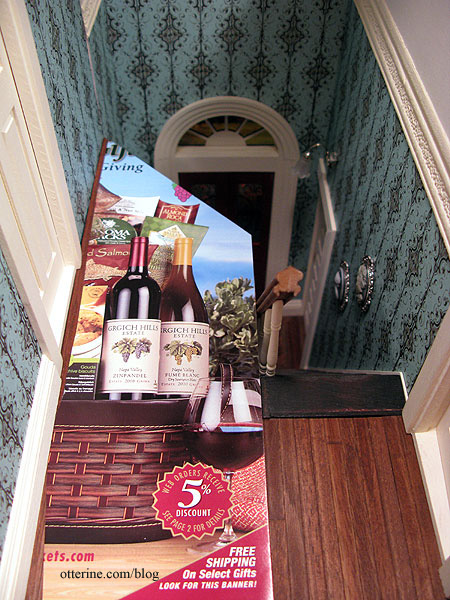
I folded the point in half.

I lined up the fold with the end of the railing strip and marked it with a light pencil. I had already cut this piece to length, with a 45° angle at the end by the wall.
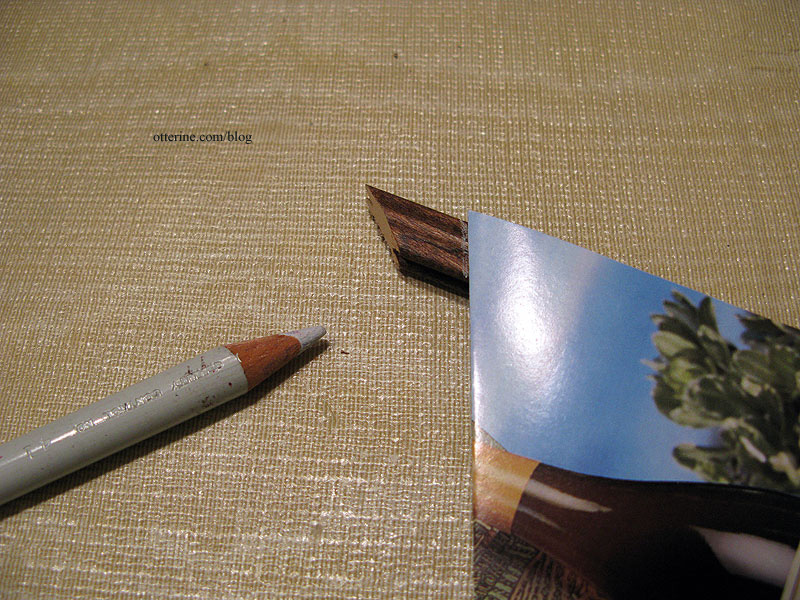
I then flipped the paper guide over and marked the railing piece that would join the first.
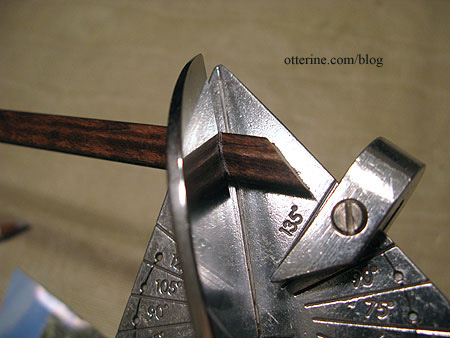
You can use an Easy Cutter even if the angle you want isn’t one of the presets on the tool. Just line up your blade with your guideline and cut using the tip of the cutter. The tip stays sharper longer because it doesn’t get used as much as the lower part of the blade.
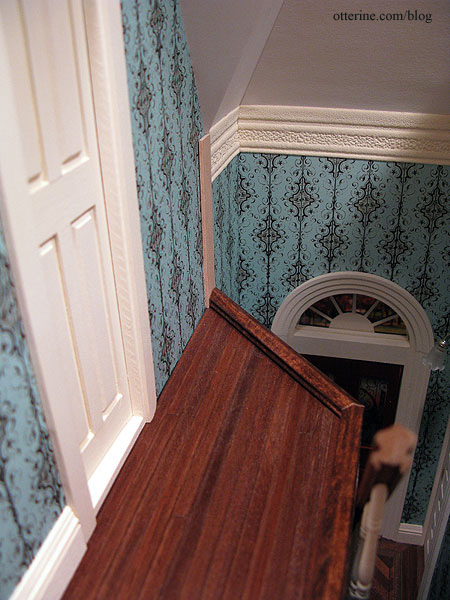
The wall board and two railings are cut and ready for spindles. I will cut the excess from the long straightaway railing piece after I get the spindles in place and the newel post position marked.
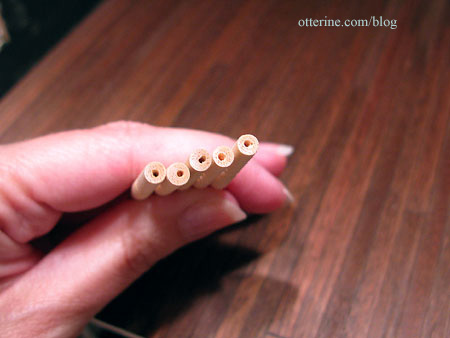
The floor board is just over 1/8″ thick. I cut down the wires I had glued into each spindle to sit within this depth.
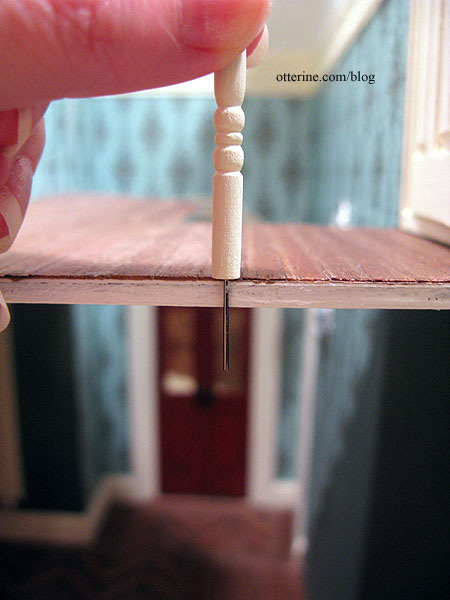
I taped around my drill bit to make sure I didn’t drill through the ceiling.
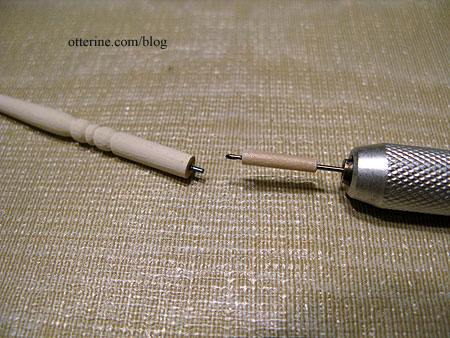
As with the stair spindles, I didn’t get the holes drilled in the bottoms of the spindles exactly in the middle, so there was some visual adjustment done for each one.
These are glued in place in addition to having the wire supports. I also installed the remaining baseboard now that I had the vertical finishing trim glued in place.
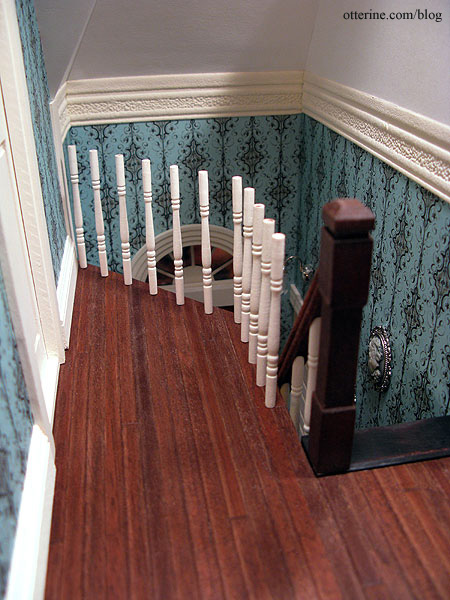
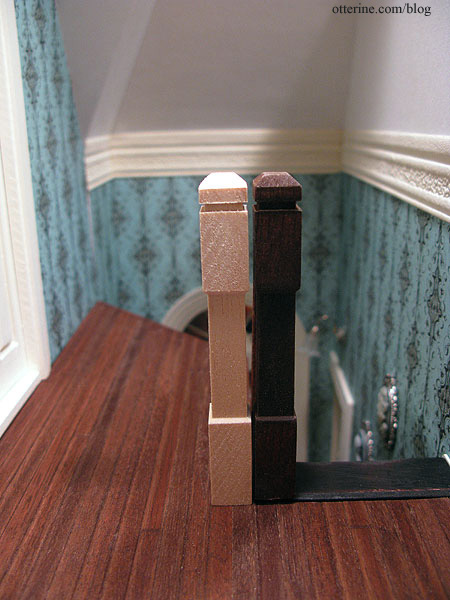
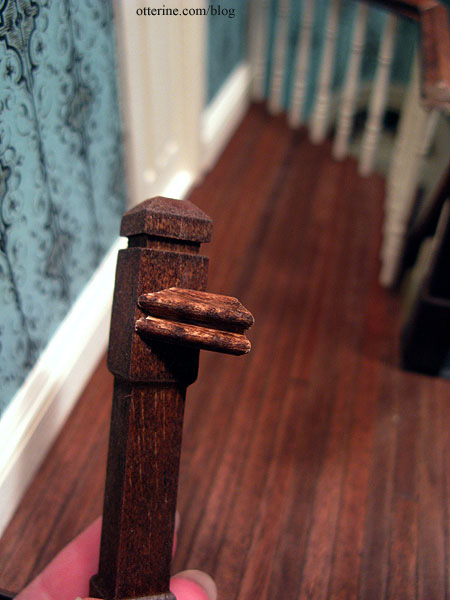
I cut a piece of railing with 45° cuts at either end to join the newel post at the top of the stairs with that of the balcony. Took me three times to get this to work, and it’s still not the cleanest cut. The wood kept splitting. I also had to shave off a little from bottom of the stair newel post since the staircase extended above the hallway flooring. I needed the two newel post tops to match relative to one another.
I did a dry fit of the railings, then it was time to glue it all in! Once I had it all in place, I touched up the stain on the railing. Success!!!! :D
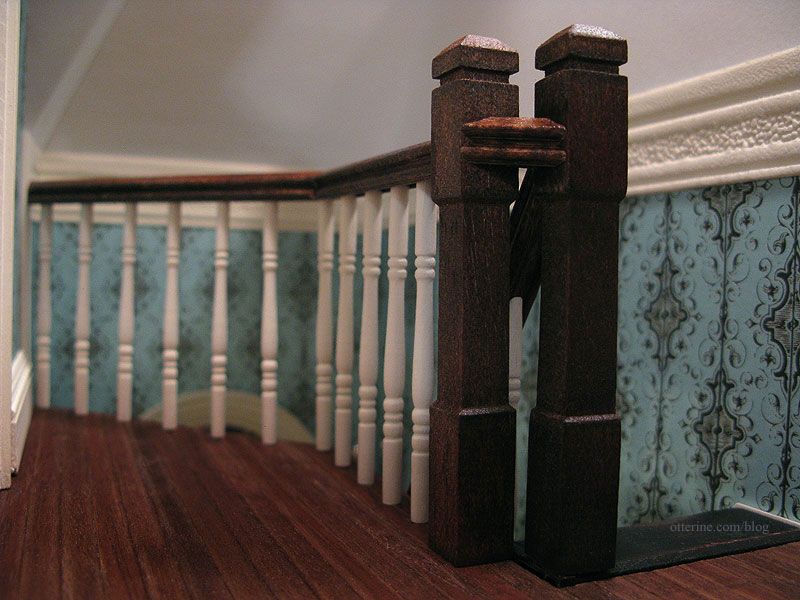
And, from overhead. The angle join could be cleaner but with the stain touch-up and the low light in the hallway, the minor gap isn’t really noticeable.
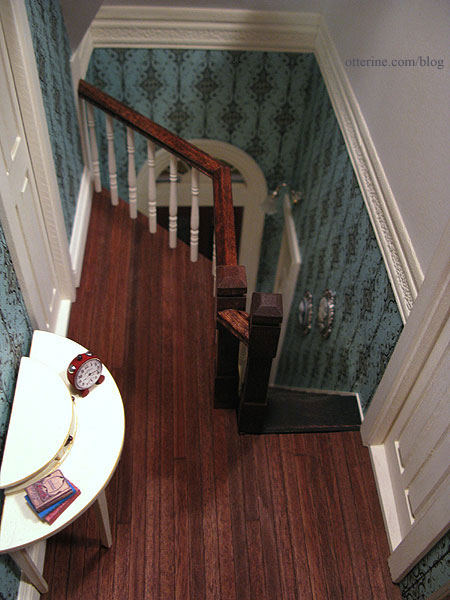
Overall, this part of the project was about as difficult as I thought it would be and turned out about as well as I had hoped. Definitely a success all around.