
Continuing work on the roof. I finished applying shingles to the front of the house. I started with the right main front and then added shingles to the narrow piece in the middle that brings the roof forward over the portico. After those were in place, I added shingles to the center main front and then finally the right side of the front gable.
The only part remaining is the small dormer portion. I have just enough diamond shingles to finish the front, including the dormer window. I will need to order another batch to finish the back roof when I get to it.
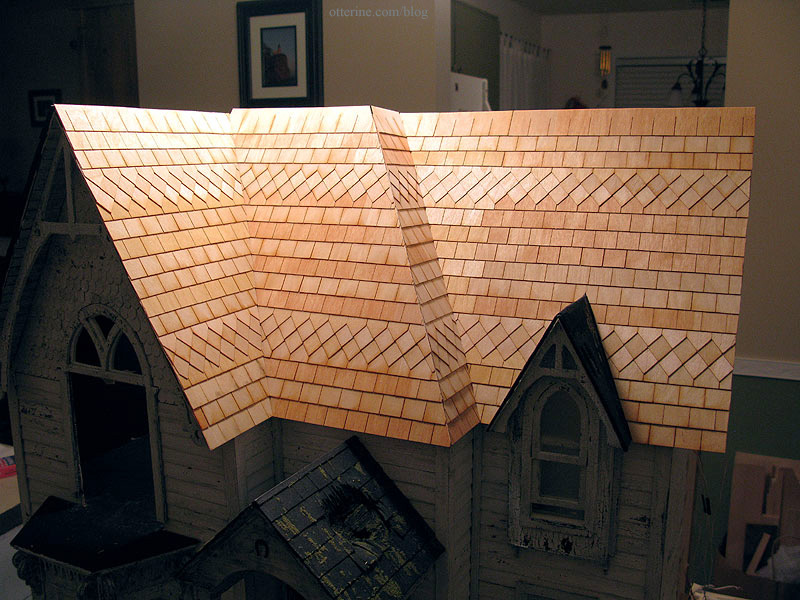
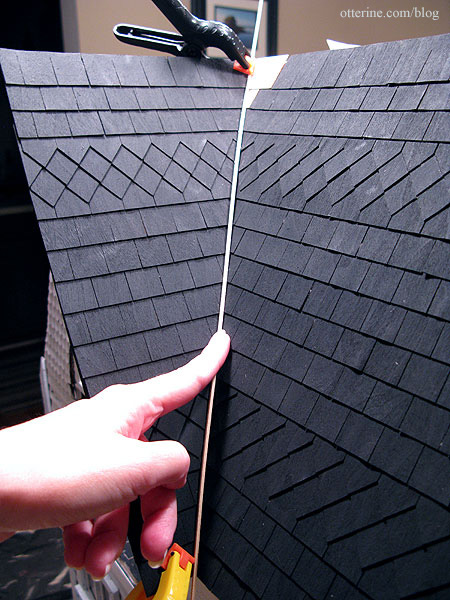
As you can see, the right side is higher than the left side and the gable. All this will be figured out once I get the top roof piece and the back roof in place. I suppose an uneven roof will work in my favor for a dilapidated house.
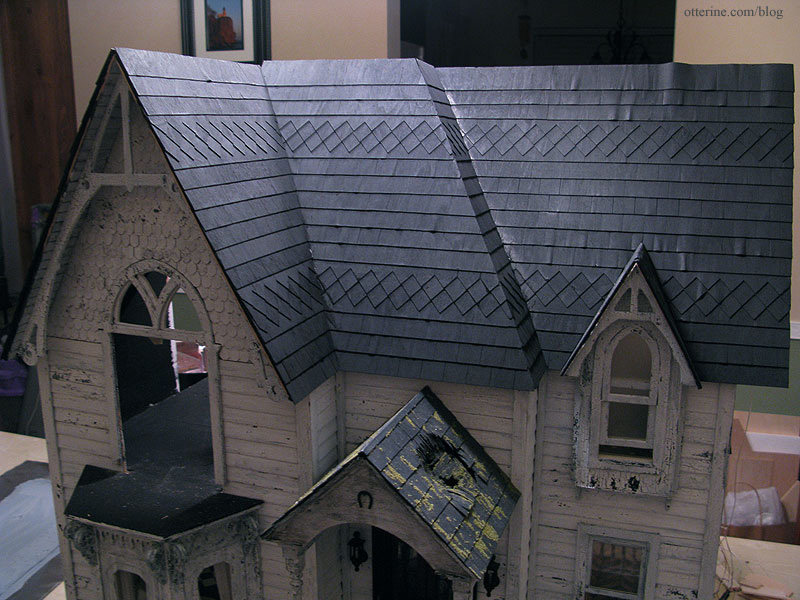
I added the black/brown/grey color wash, which seemed to cause less warping this time around. Here it is still wet from painting.
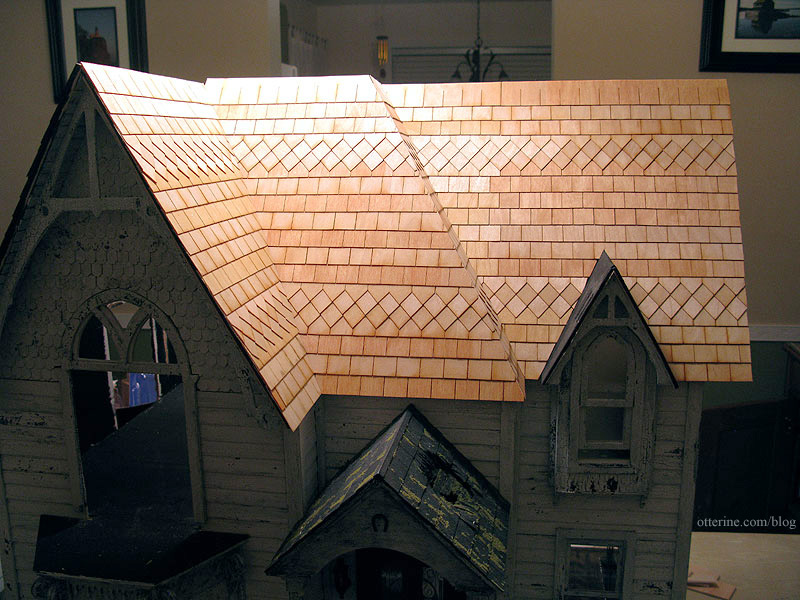
Most of the shingles from the first portion I painted have returned to their natural shape with only a few warped pieces here and there. Those, too, are acceptable for my old, rickety house. :D
Unfortunately, some of the shingles have shrunk from the inner corners, leaving gaps. I figured this might happen.
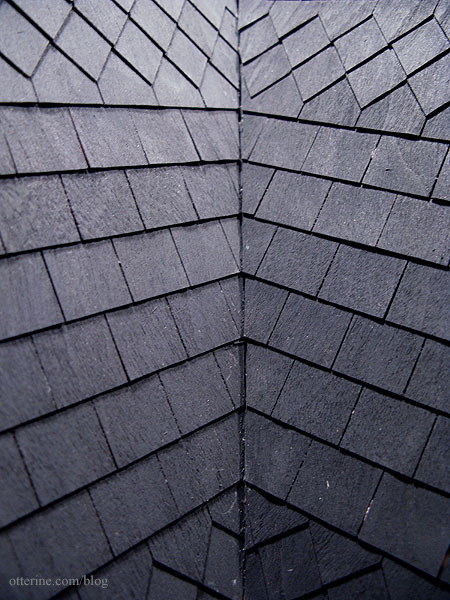
The usual dollhouse solution is to add strip wood, but I’m not sure if this would detract from the realistic illusion I have going so far. I have some very small strip wood that might blend in well enough once painted to match. It will make me feel like the roof is more polished without drawing a lot of attention.
Another option would be to add a whole lot of moss in the crevices. I do plan to have a mossy old roof, after all. I could do both: add the thin strip wood and moss over it to make it less obvious.


