The original kit attic floor is a poor-fitting board to begin with, and it is pieced over the bedroom causing a noticeable seam on the ceiling. Additionally, since I added two walls on the second floor not originally intended as part of the house, I also need an attic floor that covers more area than the original. Trying to cut one board to span the entire house without having any fitting issues didn’t seem like something I wanted to attempt. So, I’ll be cutting each ceiling boards individually, having the seams over each new second floor wall.
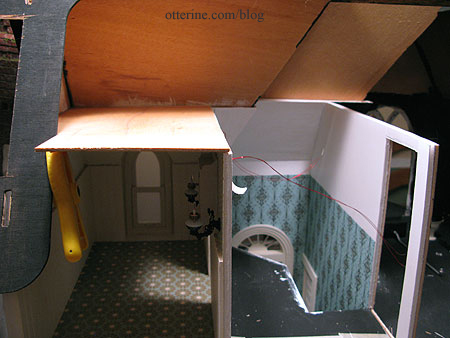
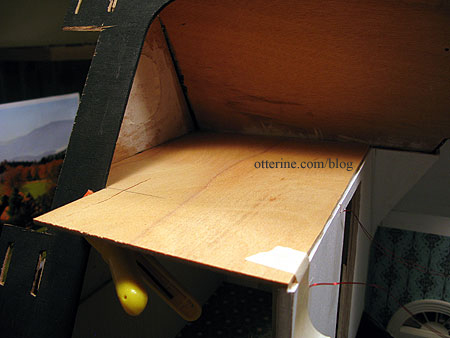
The first one to be fitted is the bathroom ceiling board. I used the kit piece originally intended for the parlor ceiling, which I had replaced with new plywood.

There is a back roof piece, so I notched out the ceiling board to accommodate it. I will add to the roof in back to “hide” the extra bit of interior space I’ve added so it won’t be seen from the exterior side views.

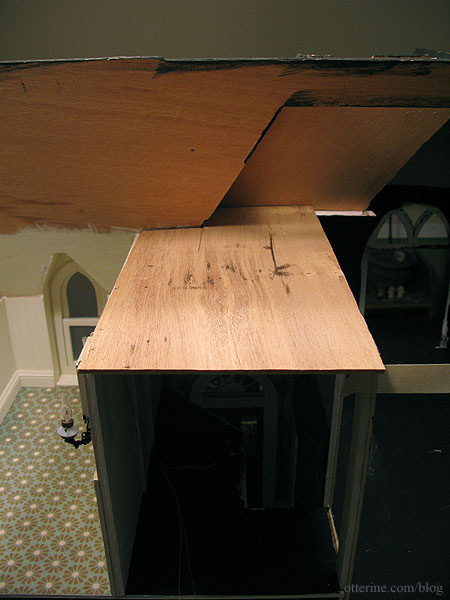
I cut the new ceiling board for the hallway portion of the attic using part of the original kit board.

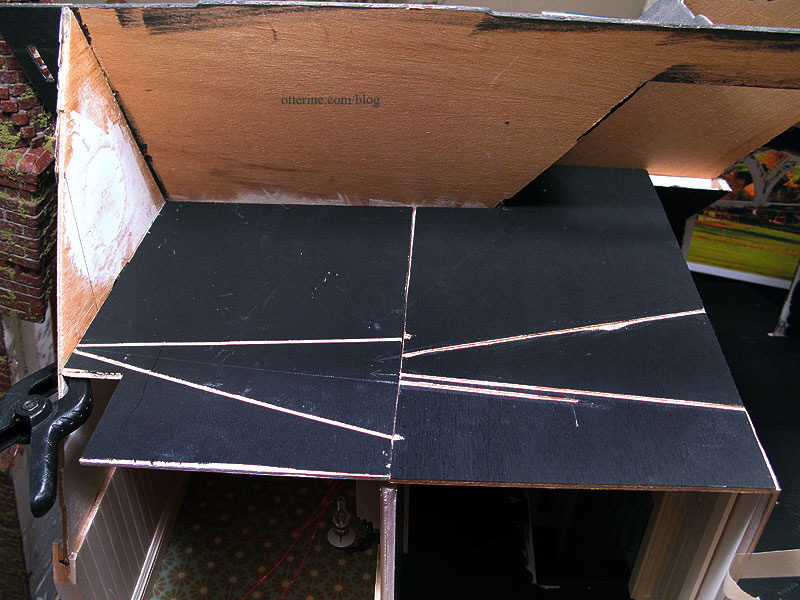
I painted the ceiling boards white and primed the tops with black acrylic paint. I also started putting in the electrical channels for the lights. It’s easier to do this when the boards are removable and the channels can be cut on a flat surface. Even though I don’t have the bedroom ceiling cut yet, I’ve started making the extending channels for the planned lights over the first two ceiling boards as well.


