How do you get beadboard to look like it has been painted 50 times? You paint it 50 times. Okay, maybe I didn’t paint the bathroom walls 50 times, but I lost track of how many coats of paint I put on it. At least now it’s relatively smooth.
I tackled the flooring next. Using spray adhesive, I mounted the Flower Frenzy paper by We R Memory Keepers onto a sheet of regular drawing paper for stability and then sprayed it with matte sealer. I didn’t want it to be shiny, just a little deeper in color and not so paper-y. I like the way it looks like worn down linoleum.
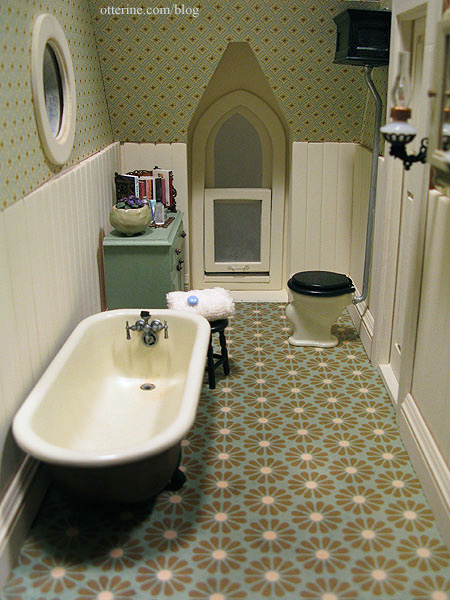
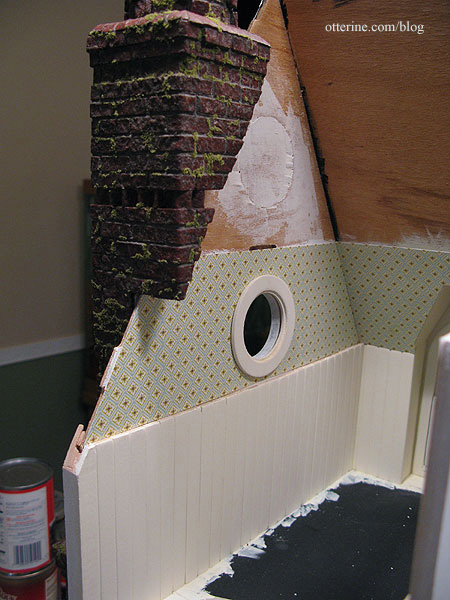
The wallpaper is Cute Little Diamonds paper by The Paper Studio. I don’t have the paper on the front and outer walls installed permanently yet because I need to finish the chimney. I know Keli would have a fit if I didn’t continue the chimney inside the house! ;D
As I mentioned before, I know that the high tank loo isn’t exactly 1920s. But, I’m picking my battles and sticking with the Chrysnbon toilet assembled right out of the box. I used Krylon Gloss Ivory on the loo and flat black on the seat, lid, tank and brackets. I hand brushed Testors Aluminum paint onto the lever and pipe in the tank. I also painted the main pipe even though it was molded with a chrome finish in the original kit. I didn’t want the pipe to look brand new.
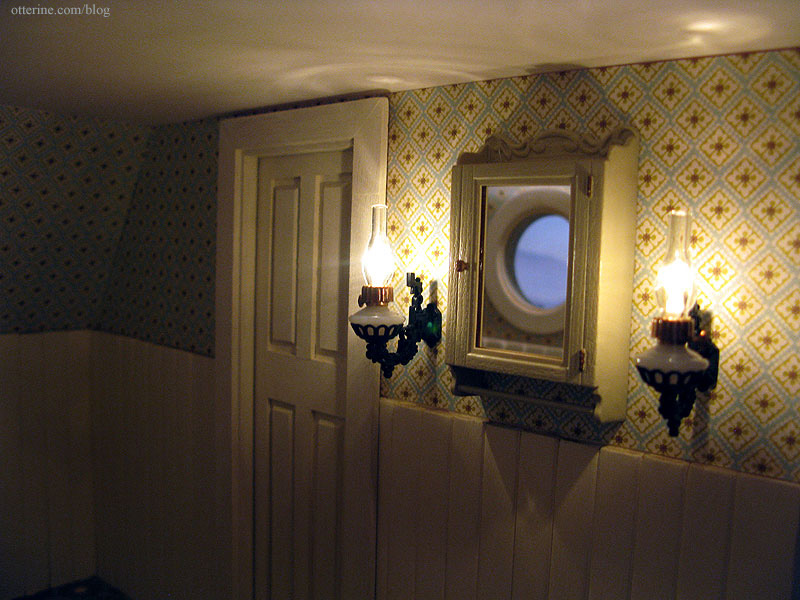
The medicine cabinet is also from the Chrysnbon kit. I painted it with Krylon Almond in satin finish, the same paint I used on the Bespaq bed. I like that it matches somewhat but I didn’t want a glossy finish to compete with the sink. The hinges and knob are painted with Liquitex Iridescent Bronze. I am still working on the Chrysnbon sink.

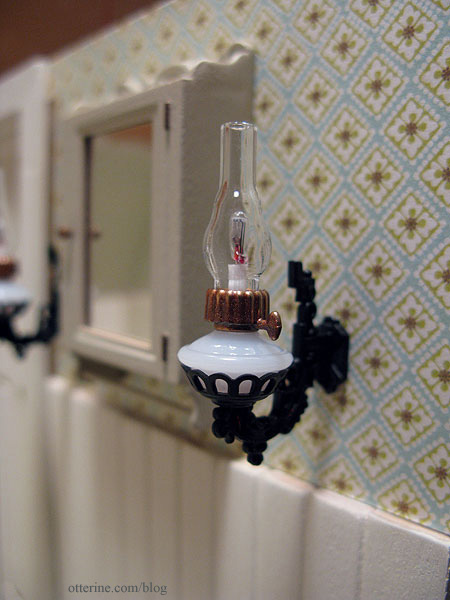
The wall sconces are Chrysolite kits, though I left off the reflectors.
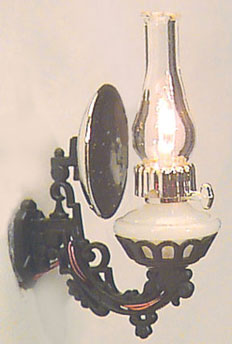
I painted the brass parts copper to match the bathroom colors and switched out the included wires for replaceable bulb sockets. I painted the wires black to make them less obvious.
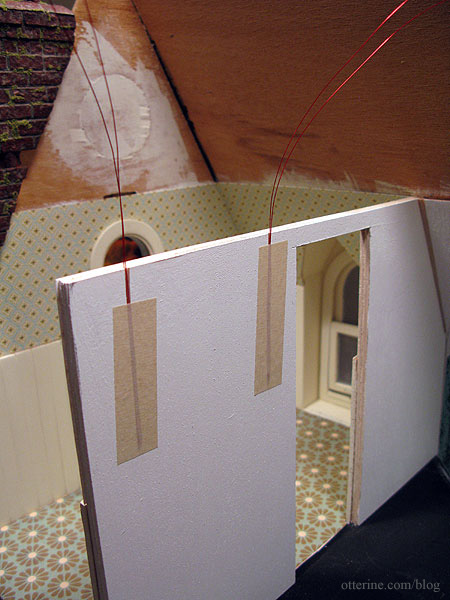
The wires go through the wall toward the hallway. I made thin channels in the wood and taped the wires toward the ceiling. These wires will be directed through channels on the attic floor and out the wall to the space allotted in the chimney.
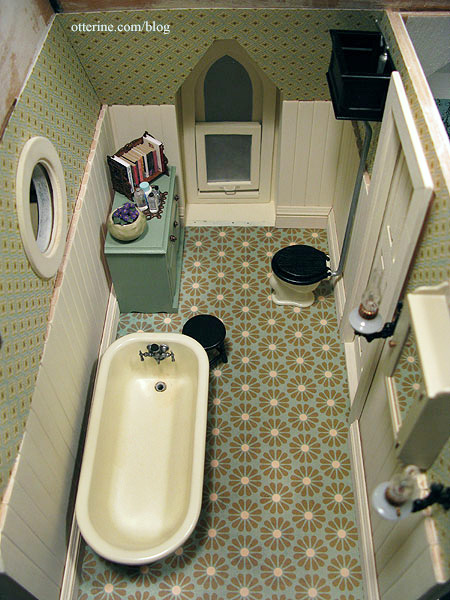
With a piece of white foam core propped in for the ceiling, I can already tell I am going to love this room when it is enclosed and finished. :D
The door is propped in place backwards (door opening out) for now since it will take some work getting the interior trim in place. The beadboard takes up some of the extra wall thickness, so I’ll need to pad the framing around the top and sides of the opening.
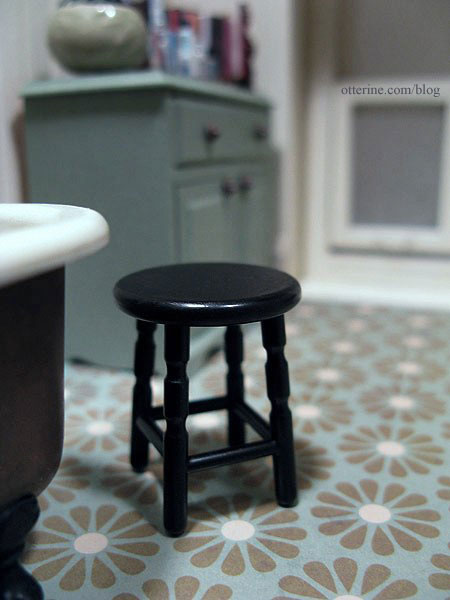
I made the small stool from the bath kit, too. I sprayed it flat black, but the top was rough so I had to follow up with acrylic paint. I topped it off with satin varnish, and now it looks like a vintage piece that’s been painted and painted and painted.