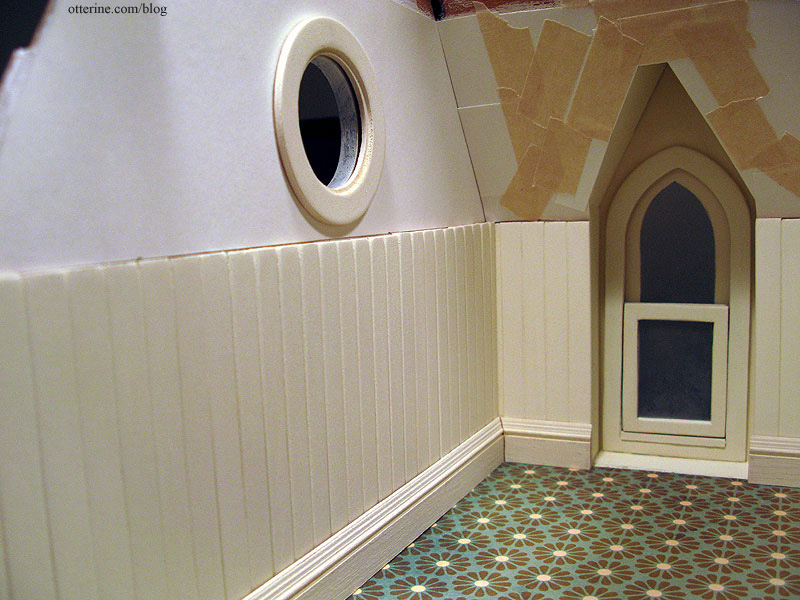
With the window completed, I started cutting strip wood to create a beadboard effect.
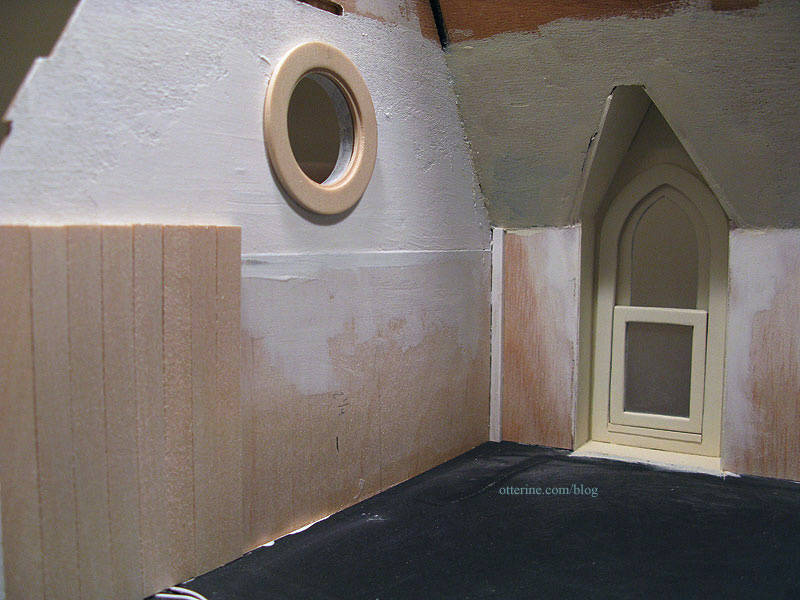
The bass wood I’ve been buying lately is in rather rough condition, so it took some work before I could install it. It’s cheaper, and that’s the only positive. I’ve cut the boards the same height as the wall connectors so they blend in.
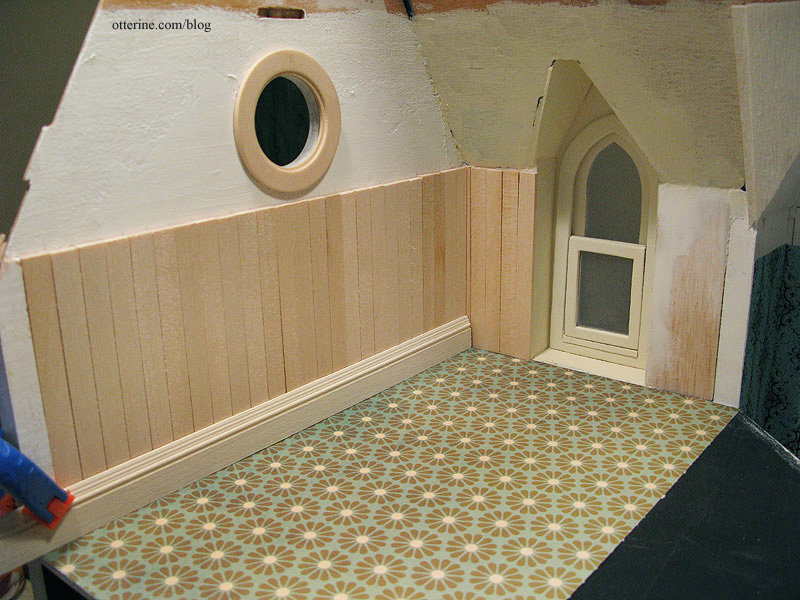
I sanded each board to remove the majority of the roughness and also sanded the sides while I was at it to make the seams between the board more pronounced. I then painted them Vintage White by Folk Art, taping them onto a painting board for this first coat. I sanded the boards once dry and glued them in place.
I then covered the boards with a second coat of paint. Here you can see the roughness and fuzziness that remains even after all this work.
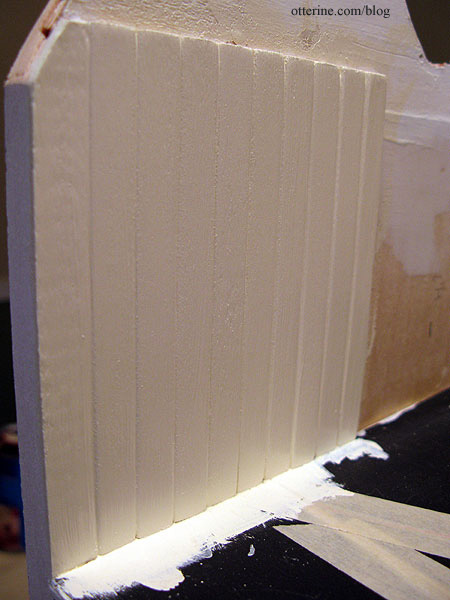
I then sanded again and again in between thin coats of paint. This should not have taken all day! Next time, I’ll spend the extra money for better wood.
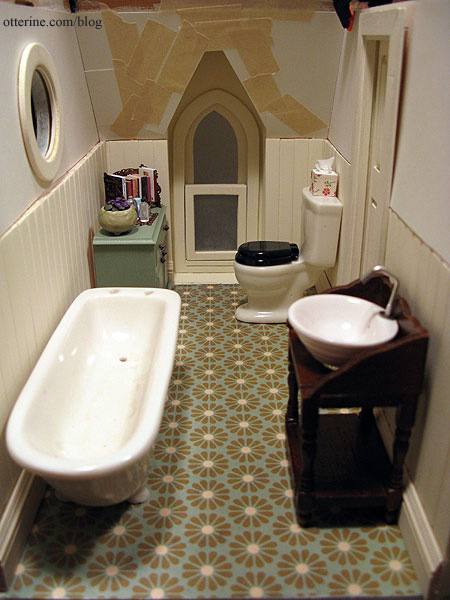
I made templates for the wallpaper from regular paper which I’ll use to cut the scrapbook paper. I’ll also add a strip of wood on top of the beadboard to finish the edges. The baseboard trim is cut but not yet finished and glued in place, and the flooring still needs to be sealed and installed.
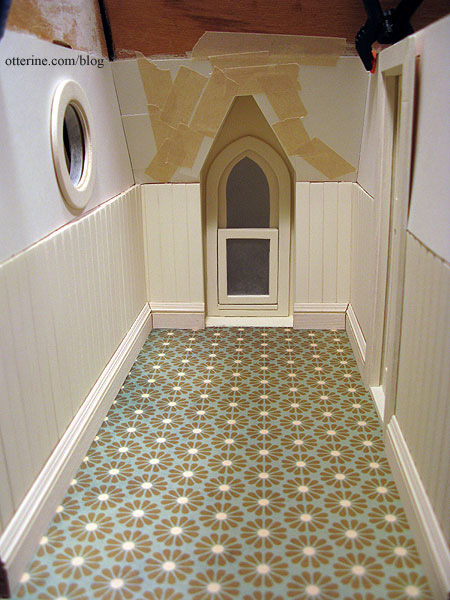
I think the tall beadboard finish adds to the vintage farmhouse look.
The Chrysnbon bathroom set is being assembled and painted, so I’ve used my mockup pieces again. The cabinet and accessories will be staying as is.