Before I could truly get to work on the parlor floor, I needed to finish up the parlor fireplace. The first order of business was gluing the final side wall into place. Before I could apply the parlor wallpaper, though, I needed to make channels for the two sconces that will sit above the fireplace.
In order to know where to start the firebox, I had to make the hearth. I cut a piece of cardboard a little thicker than the parlor floor marquetry border.
Next up was building the firebox.
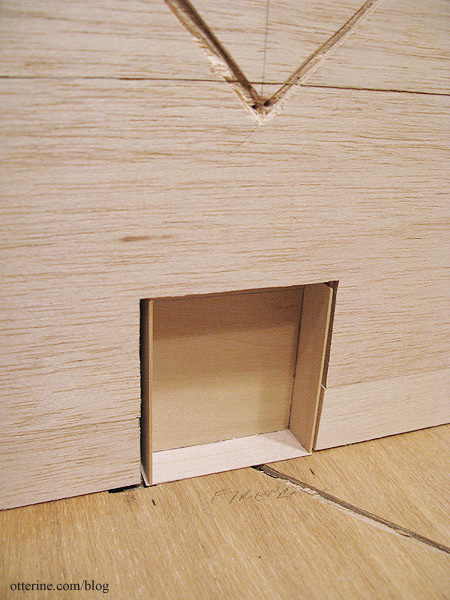
The firebox sits partially inside the chimney through a hole in the side wall.
I’m using a Phoenix Models firegrate and resin coal fire, so the box didn’t need to be very deep. The resin coal wire will exit out the back. I might end up installing a flickering unit for the fireplace, so I’ll determine the final wiring pattern later.
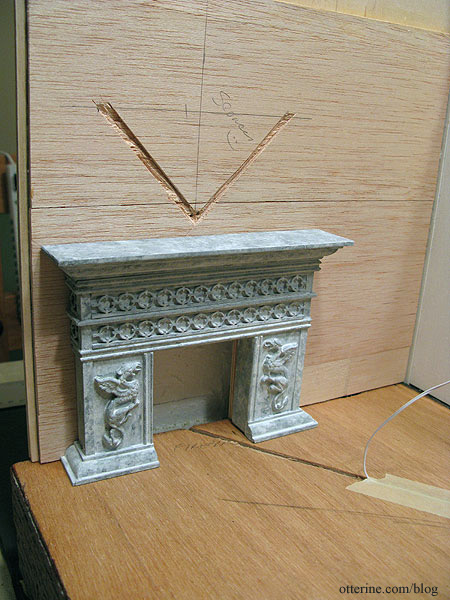
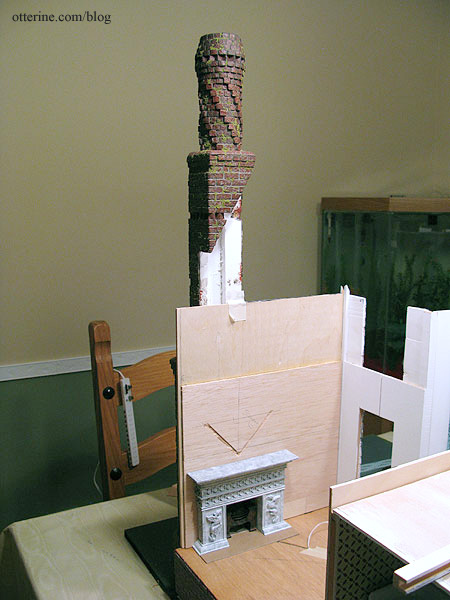
Here’s the whole set up in relation to the chimney. I don’t have the gable in place, but that’s why the back of the chimney is angled. You can really see how massive that chimney is…makes my massive fireplace look small.
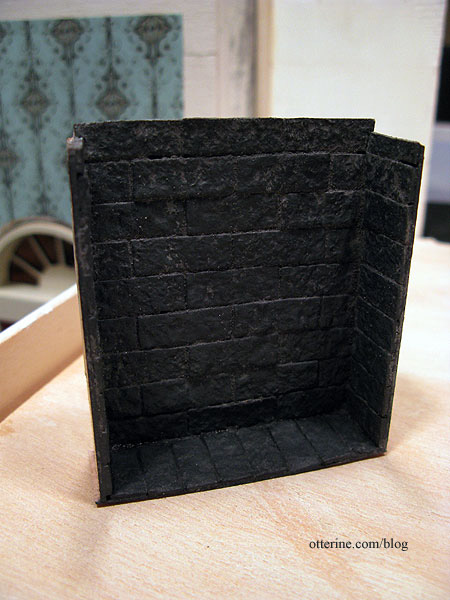
Here’s the firebox bricked, painted and grouted. It’s nice and dark from years of use.
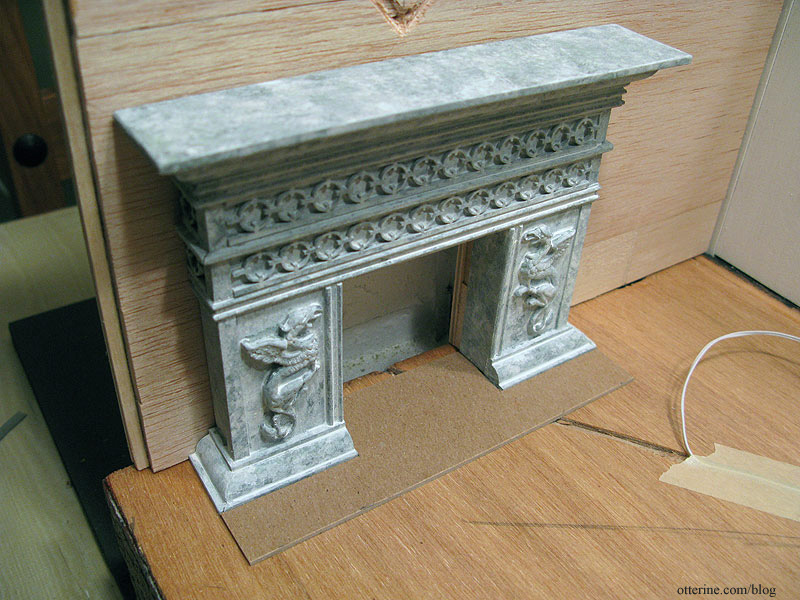
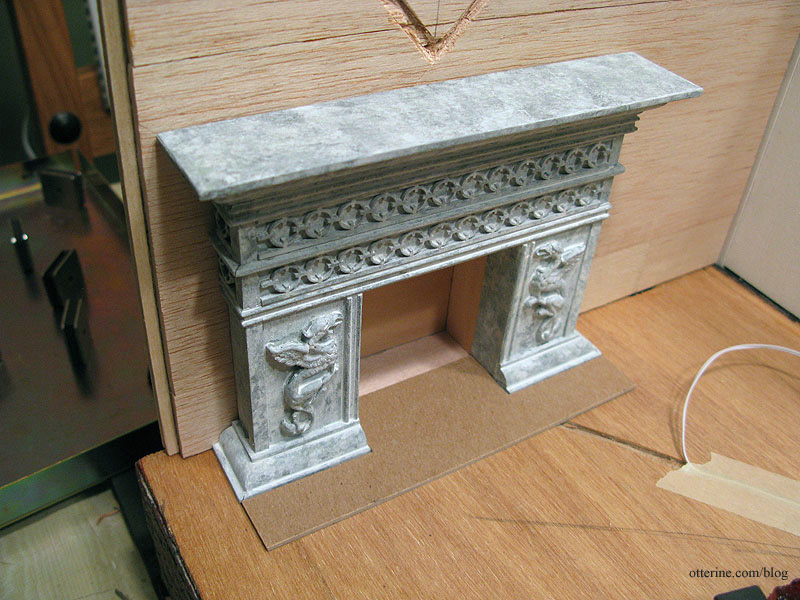
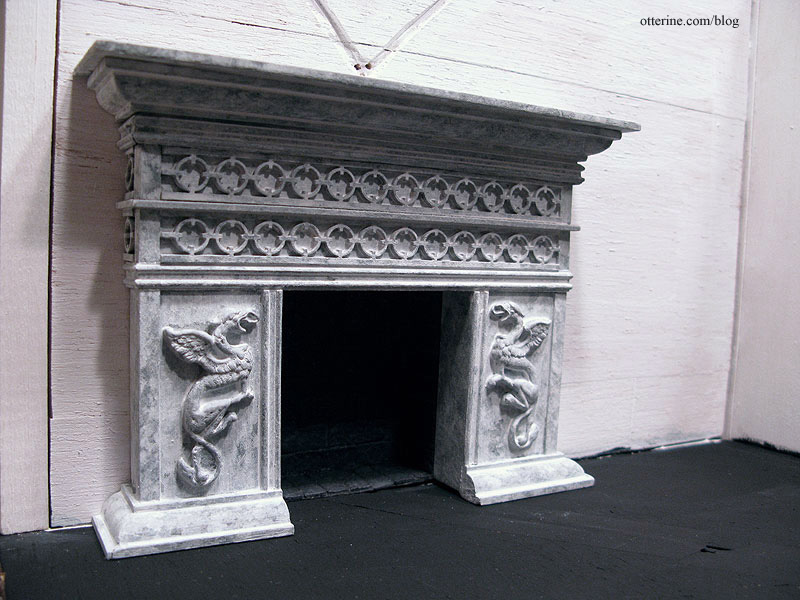
The fireplace and firebox aren’t glued in place yet, but here is how they fit together. The hearth will cover the area in front of the fireplace and into the opening to meet the firebox.
The next order of business for the parlor involved turning the cardboard hearth into marble. :D Don’t you just love alchemy?
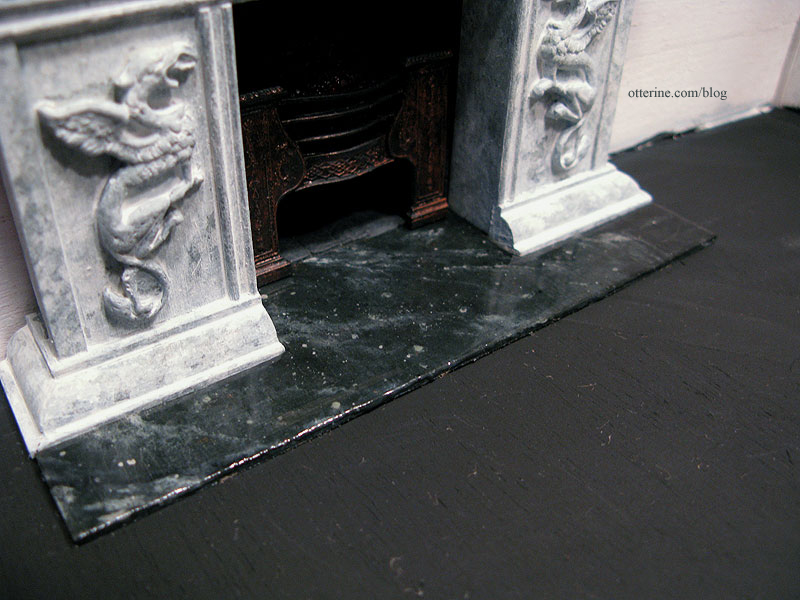
This technique is shown in the DVD by Master Miniaturists called Faux Finishes. I used a subtle dark green base with black, off-white and just a touch of metallic bronze. Once dry, I sealed with Triple Thick Glaze by Americana (so many coats I lost track). It’s by no means perfect upon close inspection, but it is rather convincing considering it started out as cardboard. :D Of course, all the painting and sealing swelled the cardboard a bit, so I had to trim it to fit again…that was scary.
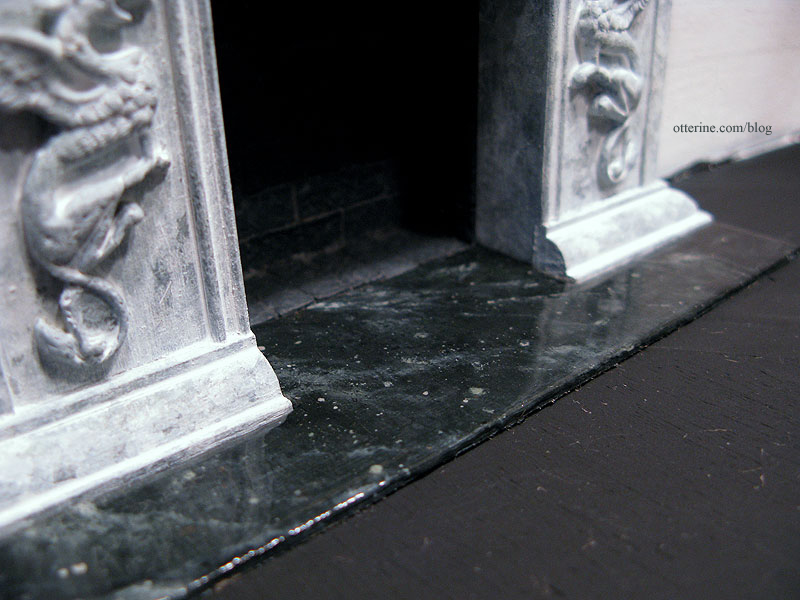
It is also only one element in a larger scene and likely won’t be the focus of the fireplace if the griffins have anything to say about it. I might also bring the hob grate forward a little more so it shows better.
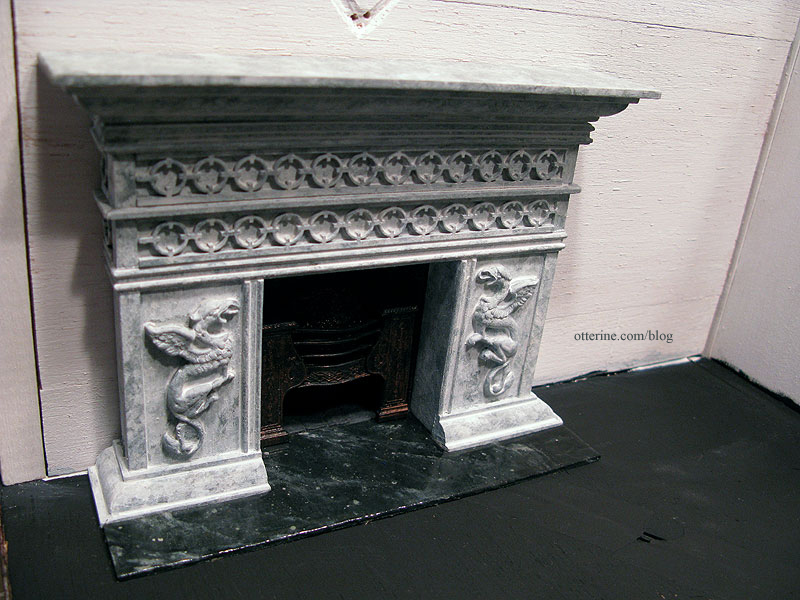
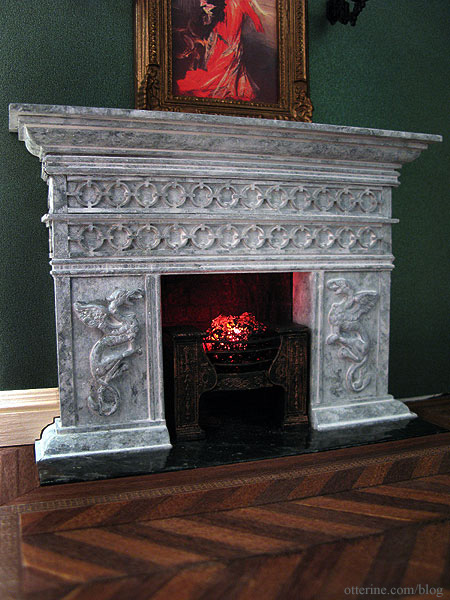
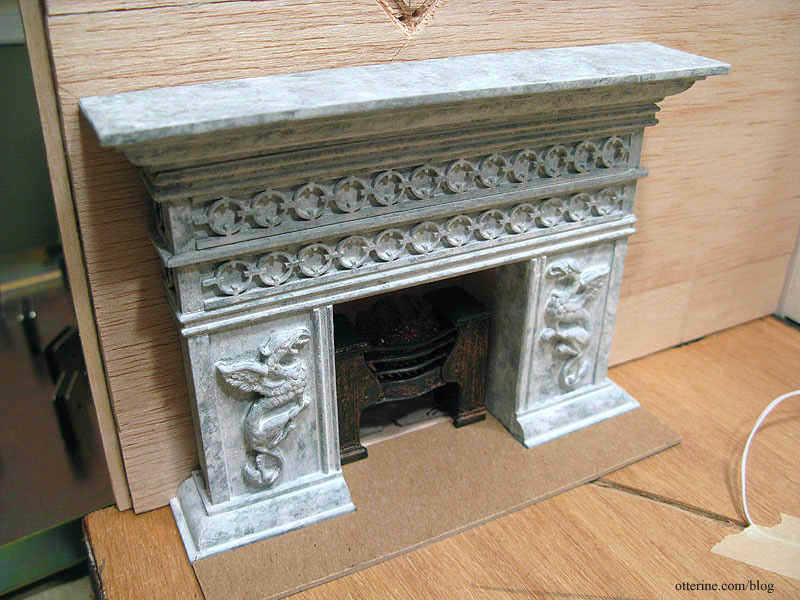
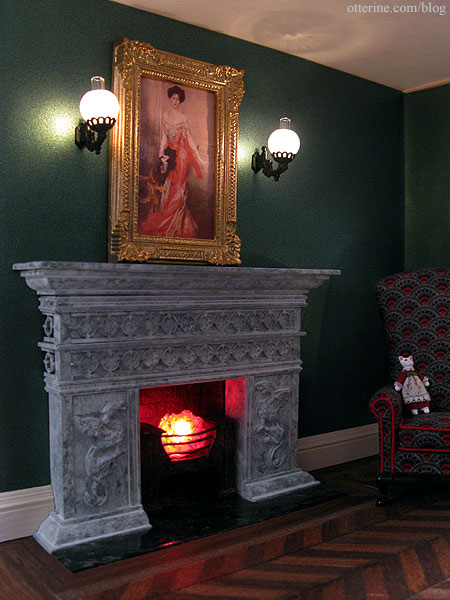
(Since the last photo, I’ve installed the wallpaper and flooring in the parlor, but I wanted to round out this post with the final detailing.) I tried out the red bulb and resin coals for the Phoenix parlor hob grate. I love the way it brings out the detailing in the fireplace, but it was a bit bright. I like the idea of sleepy embers in a warm, cozy room.
I used black acrylic paint to tone down the brightness of the resin coals. Having the light on while painting ensures you don’t overdo it and block out too much light.
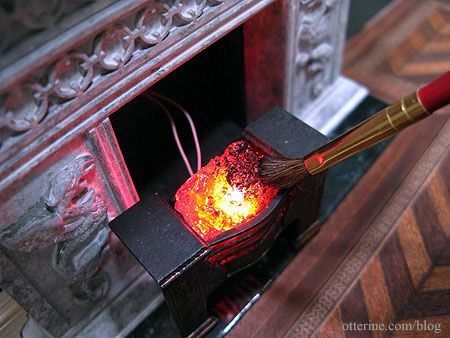
I coated the back and bottom completely so light would come only from the top and just a little from the front and sides. It’s much more realistic with a smoldering, warm glow.