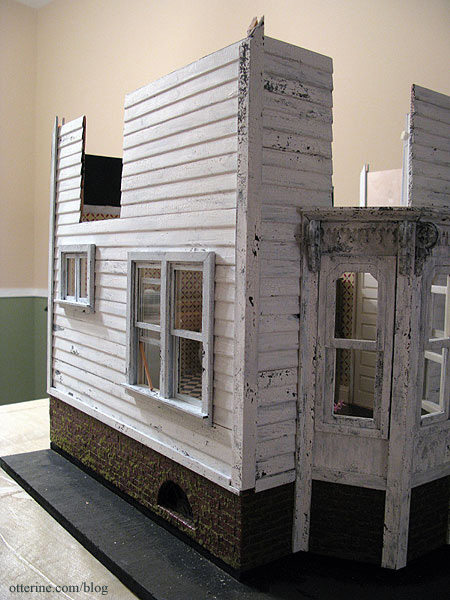
Today, I worked on the Houseworks working windows for the kitchen. I had already given them their first coat of paint and applied the crackle medium to the exterior some time ago. I can fiddle with windows and painting tiny parts only so long, then I have to move on. So, they’ve languished in the “to do box” since then.
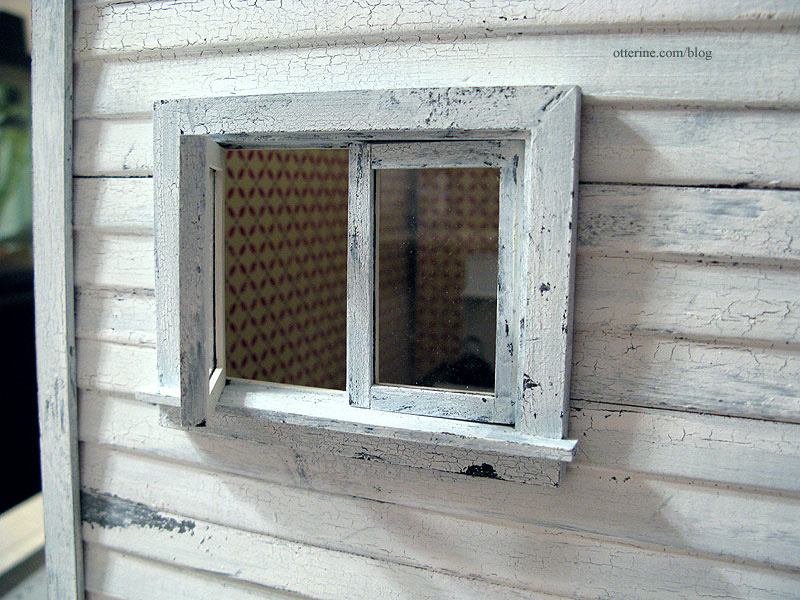
They have their original acrylic inserts, which I will worry about aging later in the build though right now they are appropriately dusty.
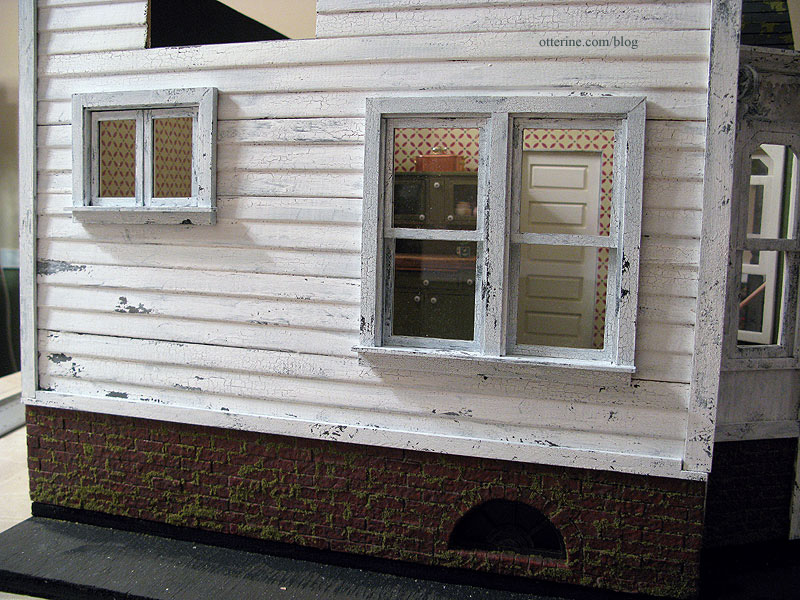
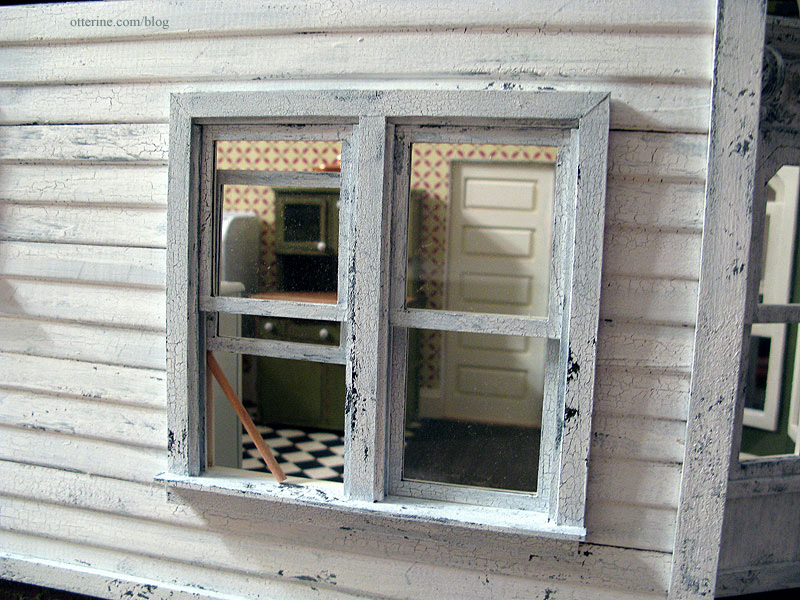
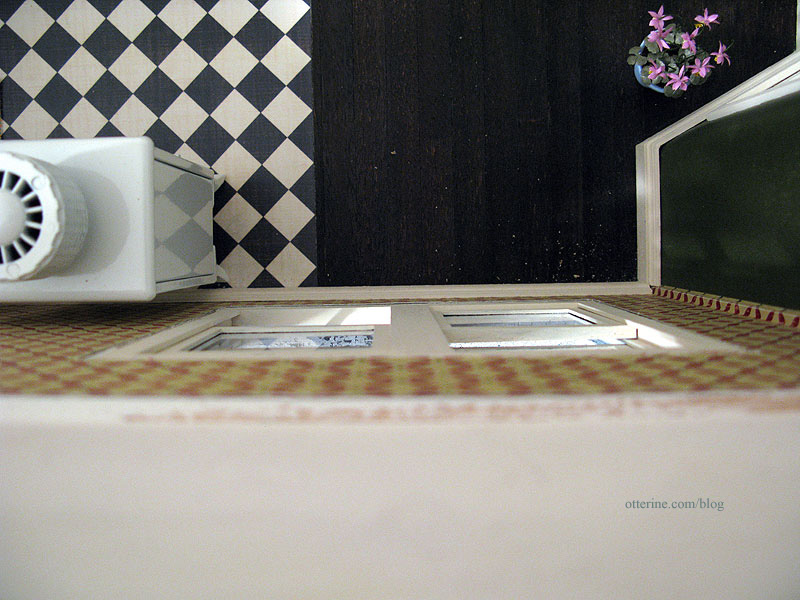
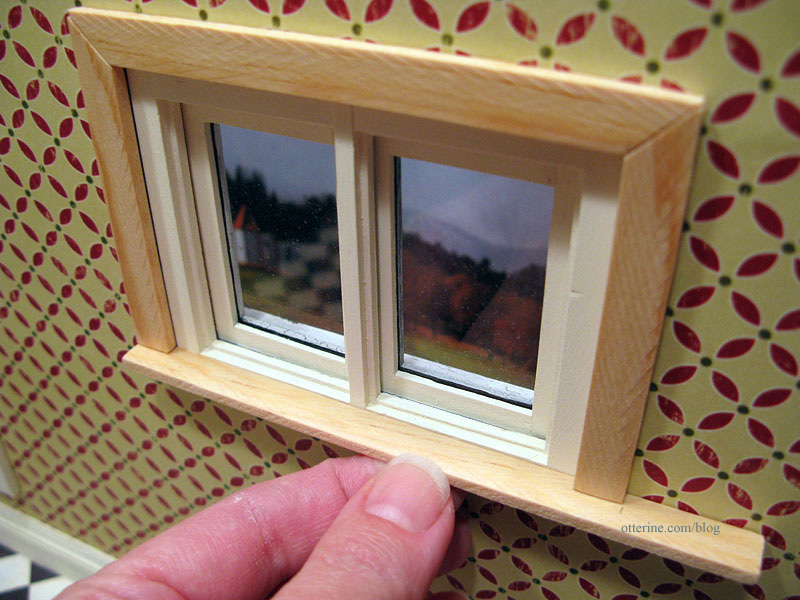
For the large double window, I glued the top window pieces in place, and the lower portions are loose enough to require dowels to prop them open. That makes three windows like that in the kitchen, the other being one of the bay windows.
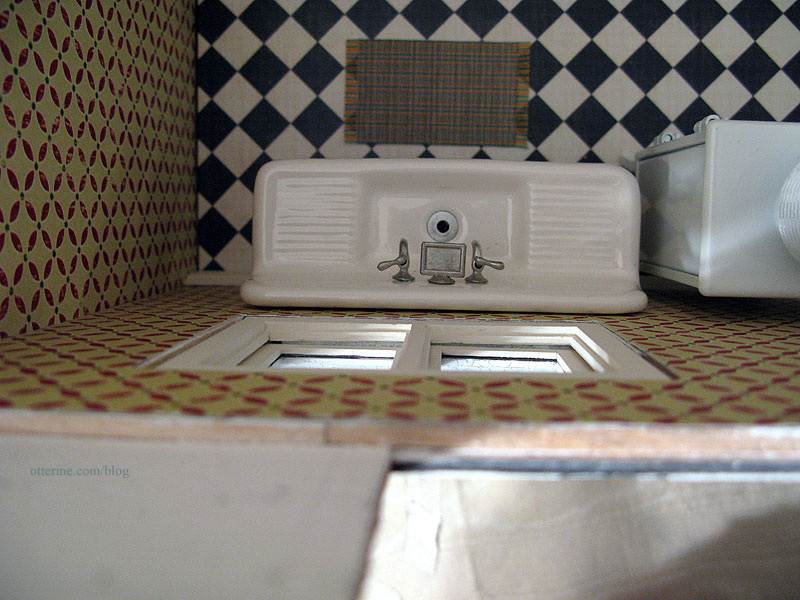
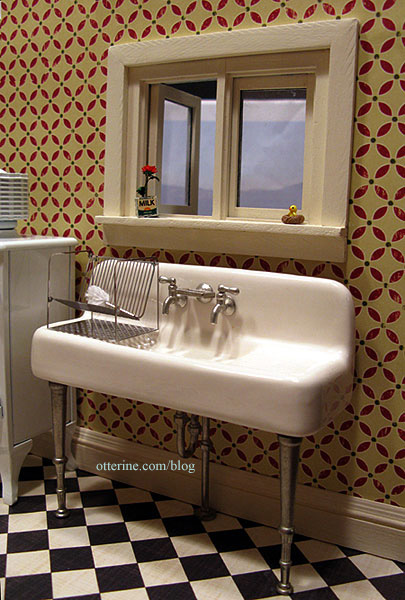
I’m so glad I added the casement window above the sink. I think it’s the perfect addition for a farmhouse.
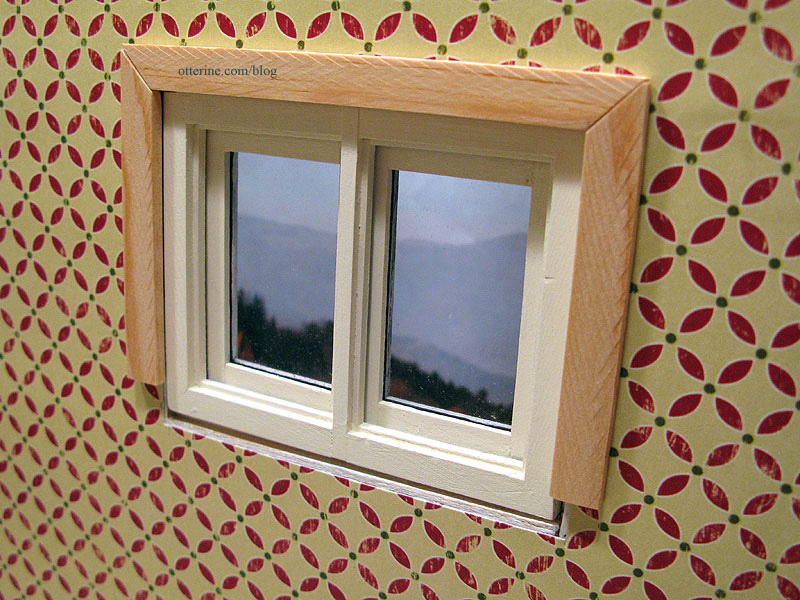
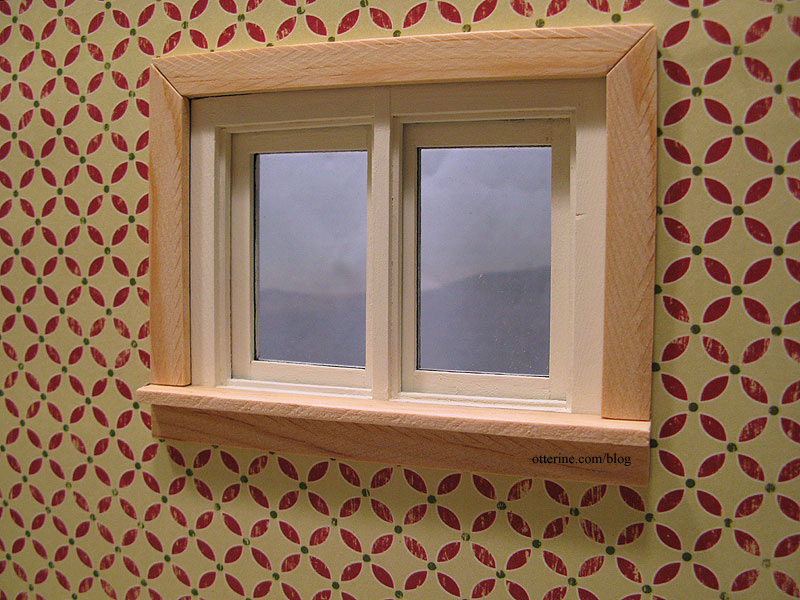
Building up the outer edges of the window trim not only helped make up some of the difference between the thickness of the wall and the depth of the working window, it also makes the windows look more realistic in construction.
The padding I added to the inside wall makes up the rest of the difference in wall thickness so the interior surfaces of the windows are flush with the wall surface. This will make adding the interior trim much easier.
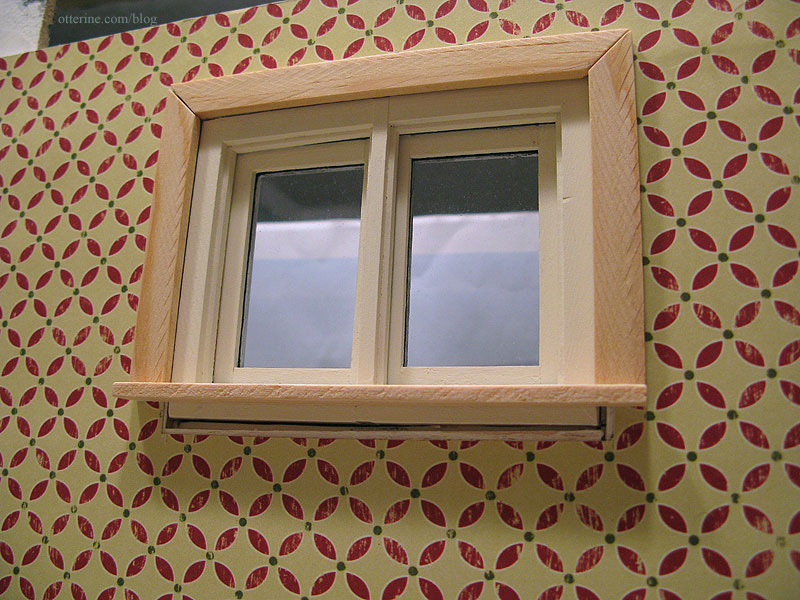
When I take photos where the open back will show through the windows, I often prop up a spare piece of matching wallpaper to make the room feel whole. Here you can it in place.
The Houseworks double working window came with pre-cut trim, so I painted and used those pieces as is. There were a few gaps, so I filled and painted just as I did for the baseboards. The flowers are by Michelle of Little Rabbit Miniatures.
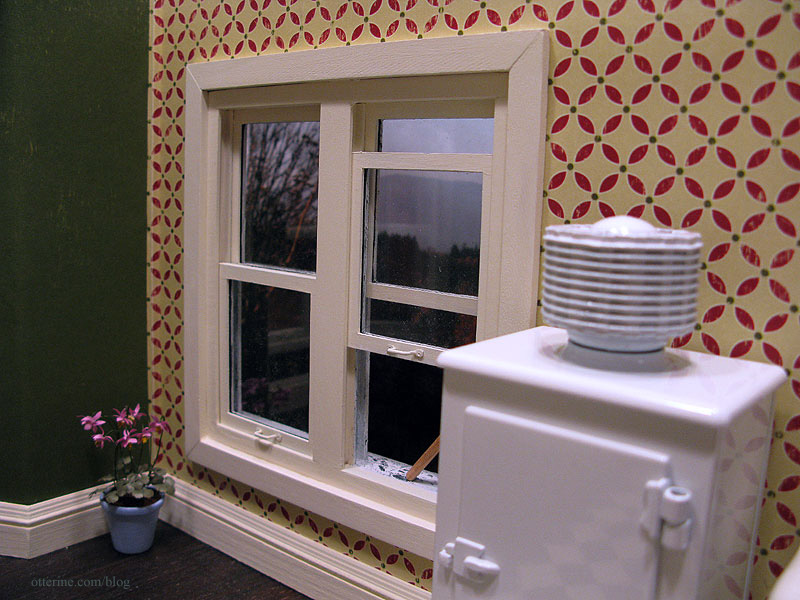
I used brass window handles but I painted them Vintage White by Folk Art to match the windows. I usually use spray paint when I change the color of brass hardware, but old houses often have painted over hardware…done by hand. My old farmhouse was like that.
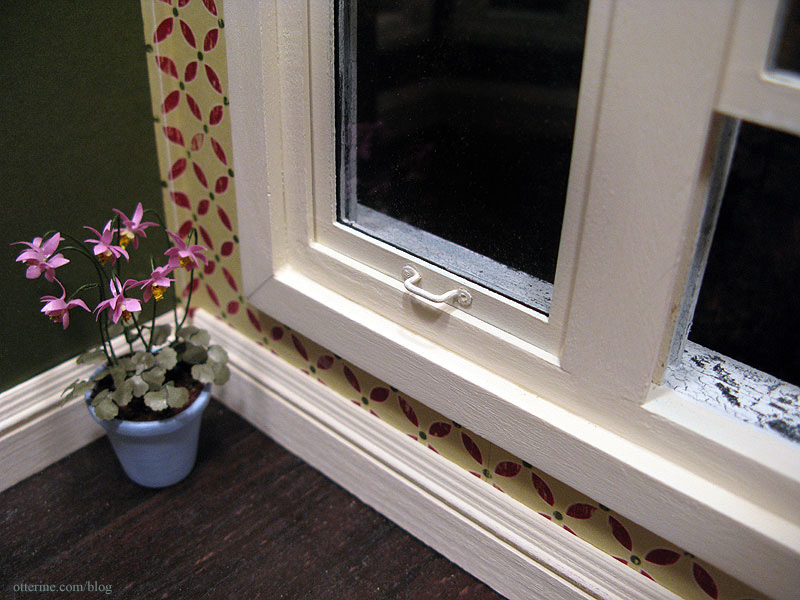
The casement window didn’t have interior trim included, so I made my own using some crappy trim wood from the Heritage kit to get a more aged look to the trim. I wanted to have a small sill for plants and knickknacks. I started with the top piece, cutting the mitred corners with an Easy Cutter. I cut the sides to end at the bottom of the window opening.
I then marked a straight board held on its side to serve as the sill.
In order to cover the gap remaining on the bottom, I cut a rectangular piece identical to the sill piece though it will sit flat against the wall.
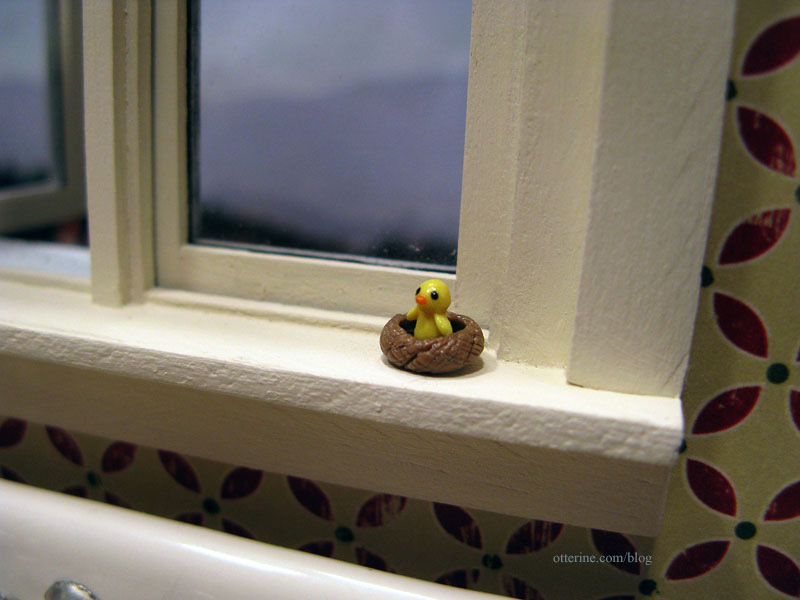
After painting, sanding, gluing, filling and touch-ups, the window trim is complete and the sill is the perfect place for the milk carton flower.
Hmm…I think I need some half-ripe tomatoes, too.
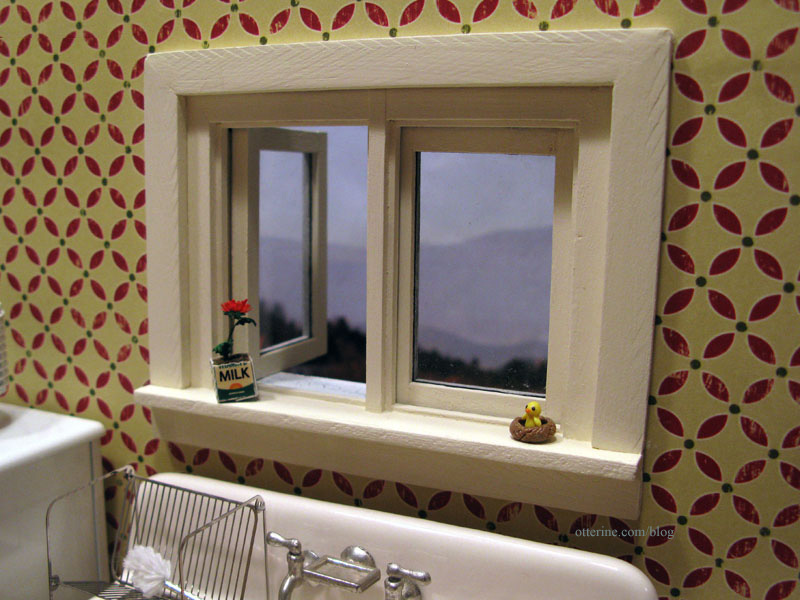
The little chick in the nest is another creation by Cathy Rohal, the same artist who made the peacock box I showed in an earlier post. Too stinkin’ cute! And, tiny! :D