As mentioned before, the kitchen ceiling will be lower than the parlor ceiling, which I had to raise to accommodate the new front door and the narrow stairs. The ceiling board that came with the kit is made of three different die cut pieces that you assemble to make one board that spans the entire floor.
It also had the parts for the original kit stairs that were meant to be removed and assembled in the kitchen. I’ve kept those pieces intact and reinforced them with wood glue spread over the die cuts.
I won’t be using the piece that made the front porch since I replaced that with the portico. So, I taped the other two pieces together, measured the amount needed to make the kitchen ceiling and cut along that line.

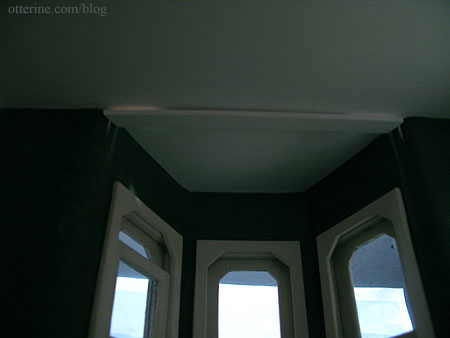
This new board sits atop the lower portion of the pocket door wall and is supported around the rest of the room by all of the wood padding I added to build up the walls to install new working windows as well as the front bay window.
Speaking of which, I am going to trim the excess from the bay roof portion. It’s uneven to start with and second, I’ve already finished the top of the bay window. I’ll finish the new cut edge to match the finished bay window trim.
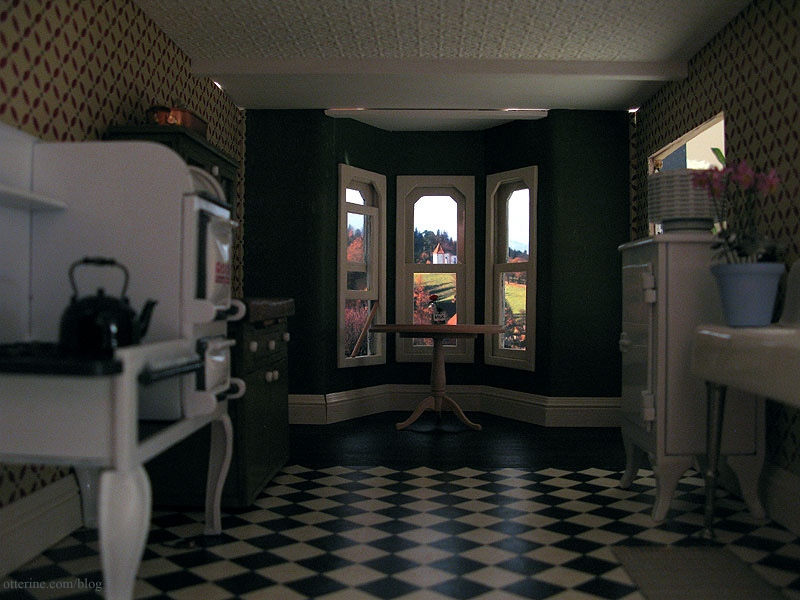
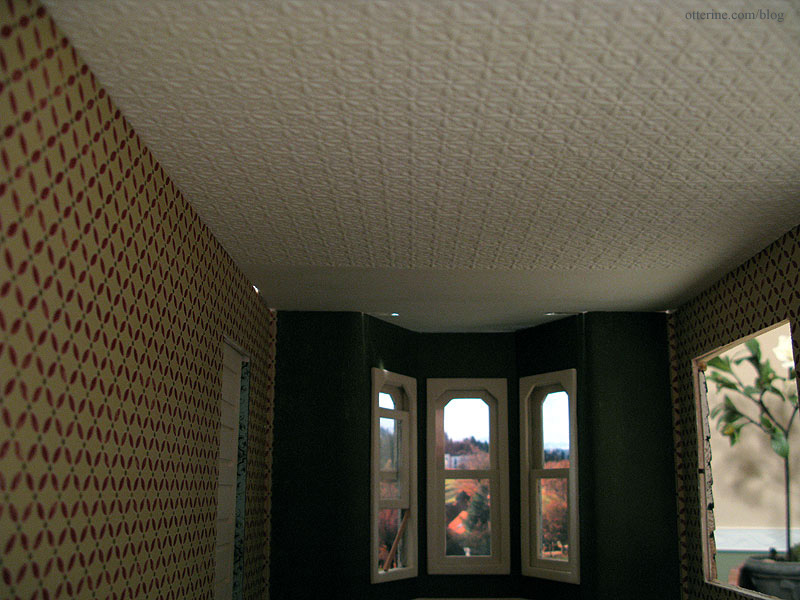
I love the way adding a ceiling changes the feel of a room in a dollhouse.
It creates inhabitable space. :D
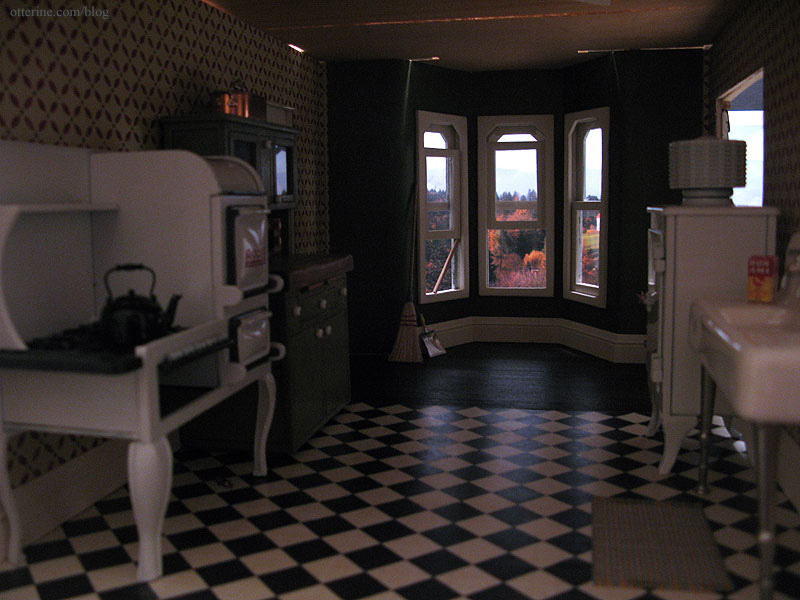
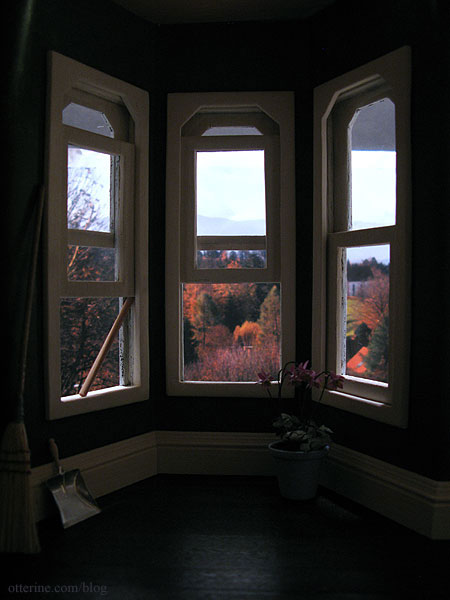
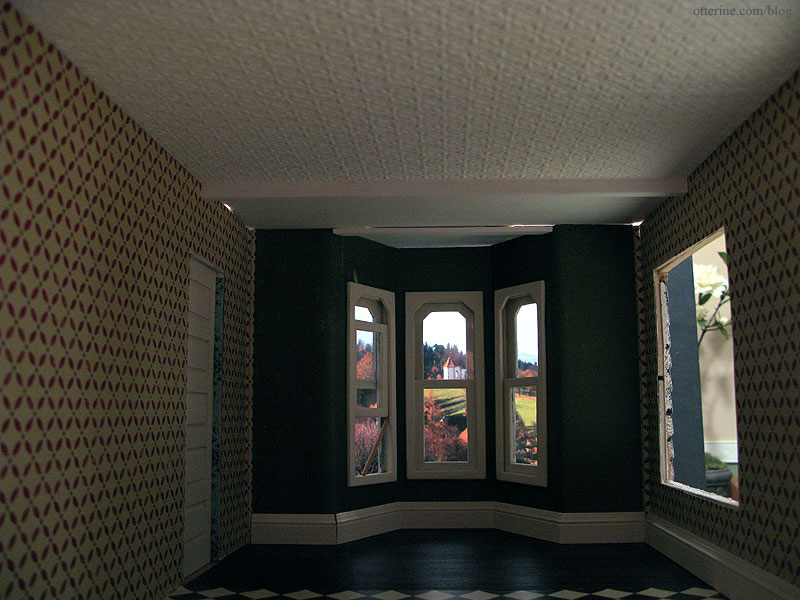
There are some gaps, part of the issue with this kit to begin with, but I’ll fill in where I need to. Plus, I have a few ideas for a faux tin ceiling or some other texture if I don’t like the look of the tin ceiling. But, you can’t beat that view! With minis, it can be beautiful autumn all year round.
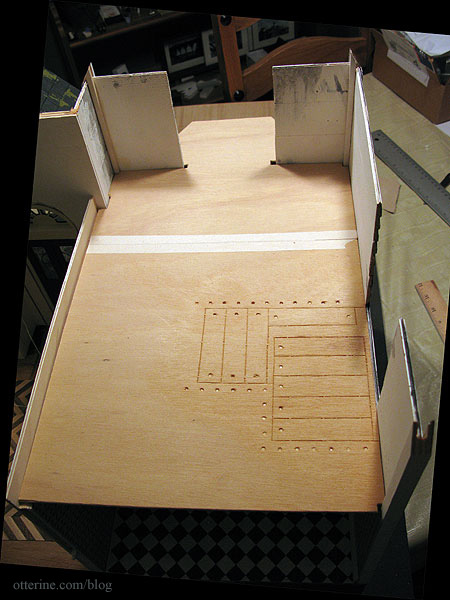
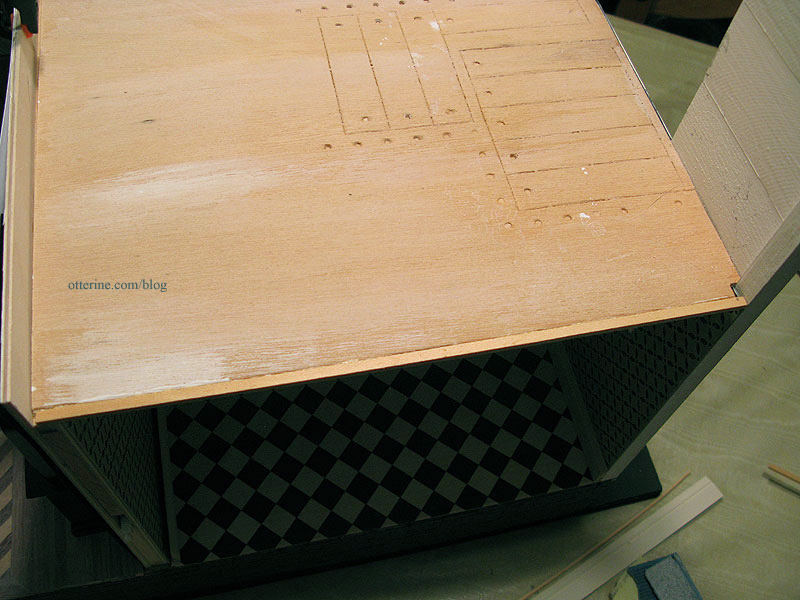
As I mentioned earlier, the ceiling board is made from two separate pieces, joined together with wood glue. The original instructions called for splices or pieces of wood to be glued over these joins. It seemed ugly to me to have these odd pieces of wood glued to the ceiling, so I omitted them altogether. With the flooring added on the second floor and some ceiling paper on the first floor, I figured the wood glue would be enough to hold it together.
In addition to these issues, the board itself was too short front to back. I added a piece of strip wood to the back end to make up the difference. Once the ceiling board is finished, you won’t even know it’s there.
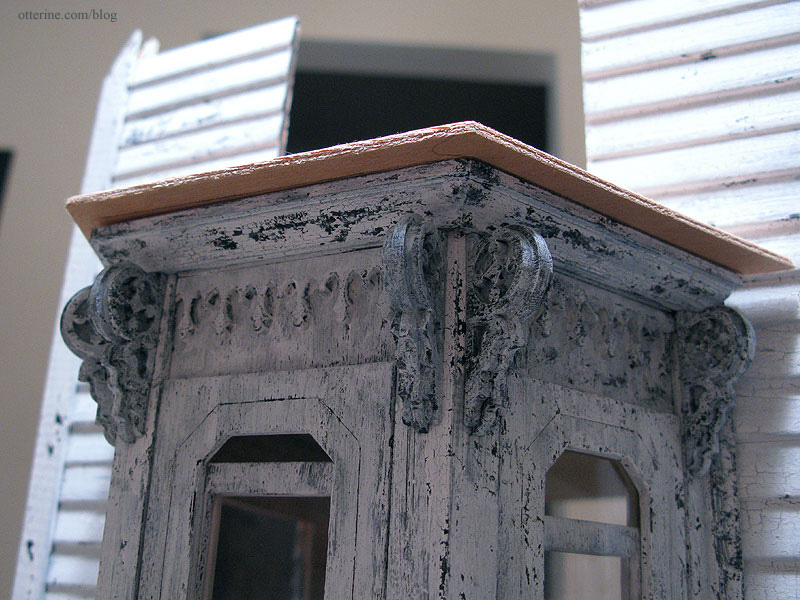
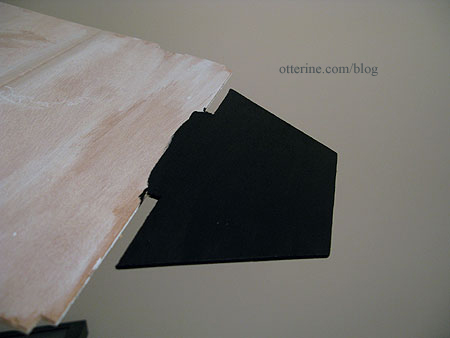
I started the finishing process by priming the ceiling with white paint. To make sure I wouldn’t mess up the interior finishes once they were in place, I next worked on the bay window roof. I marked around the existing trims and cut the excess from the ceiling board, leaving a little overhang for finishing.
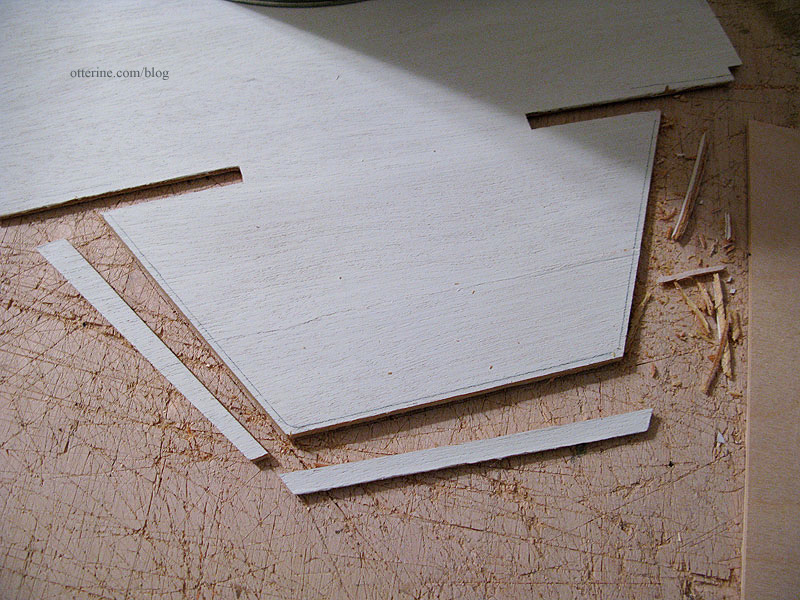
I painted the edges and top black. I will finish the rest of the bay window roof when I install the swinging window on the second floor.
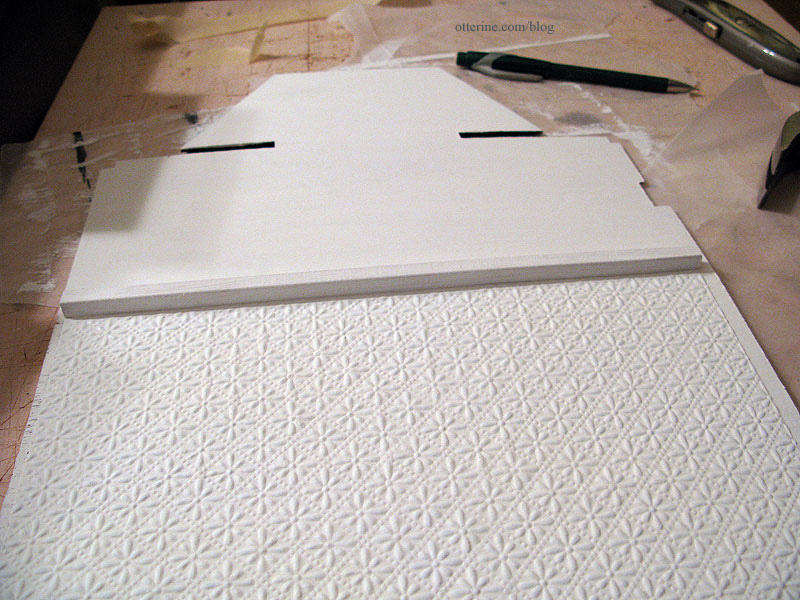
To finish the kitchen portion of the ceiling, I used a piece of textured scrapbook paper called Pressed Tiles in Brown, by The Paper Studio. Love this paper!
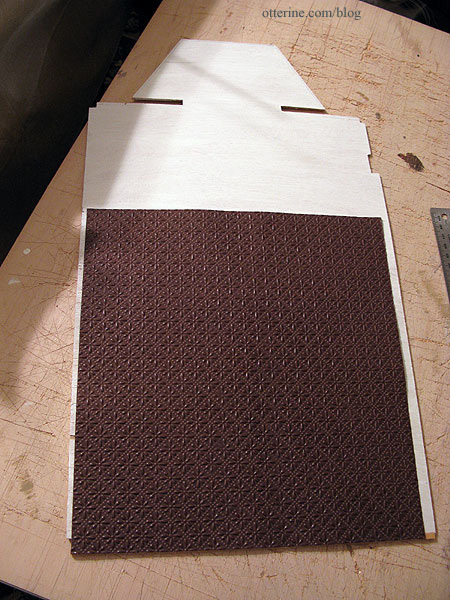
I cut a piece to cover the ceiling from the open back to just past the join. I glued it to the ceiling board and once dry, painted it with a few coats of white acrylic. The paper buckled in a few places, but I like that imperfect look to it, as though some of the tiles have popped out of place over the long years. :D
I left the original wood for the remaining kitchen and the bay window ceiling but painted it with a few coats of white acrylic to even out the tone. The wood is in good shape and the minor imperfections it does have only add to the realistic age of the house.
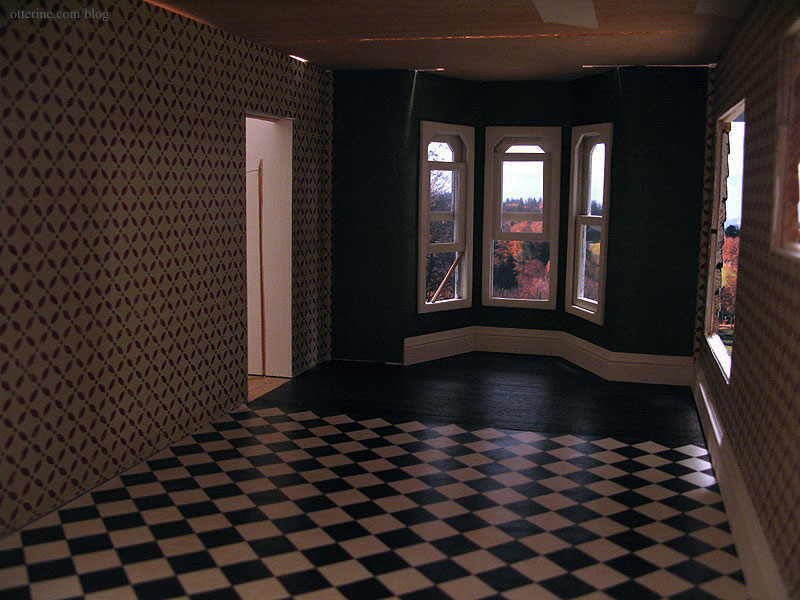
The ceiling board is cut in such a way to allow for its installation around the front wall siding. This leaves two obvious gaps on either side of the bay window.
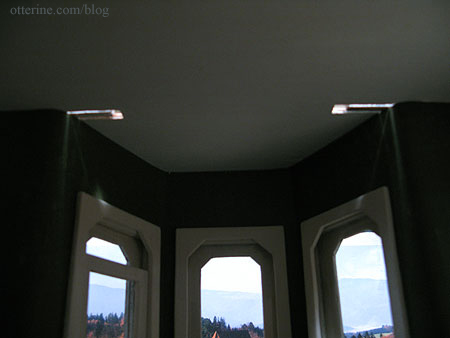
Since I find it easier to finish a ceiling board before it is in place and this issue needs to be addressed after the ceiling board is in place, I decided to cut a piece of strip wood to bridge the gap of the bay window to add after installation. I painted it white to match the ceiling so it will look like a structural element while covering these gaps. It’s just taped in place right now, so you can still see light coming through.
Even with pressing, the ceiling board had a rather obvious warp making the center of the ceiling dip in the middle. To fix this problem, I added a solid wood beam across the width of the kitchen just beyond the ceiling tile paper. I used tacky glue, super glue and some nails hammered in from above. It should hold. haaaaaaaaaa! I then painted it white to match.
I have a few more things to work on in the kitchen before I can install the ceiling board permanently, but it is starting to take shape! There are gaps that will need to be addressed, but trim can cover these remaining problems.
With the furnishings in place, the textured ceiling really adds that vintage feel.