Someone recently contacted me with questions about installing the NovaLyte recessed can lights, so I figured while I was replying I would post a blog entry on it in case anyone else was interested in how I installed them.
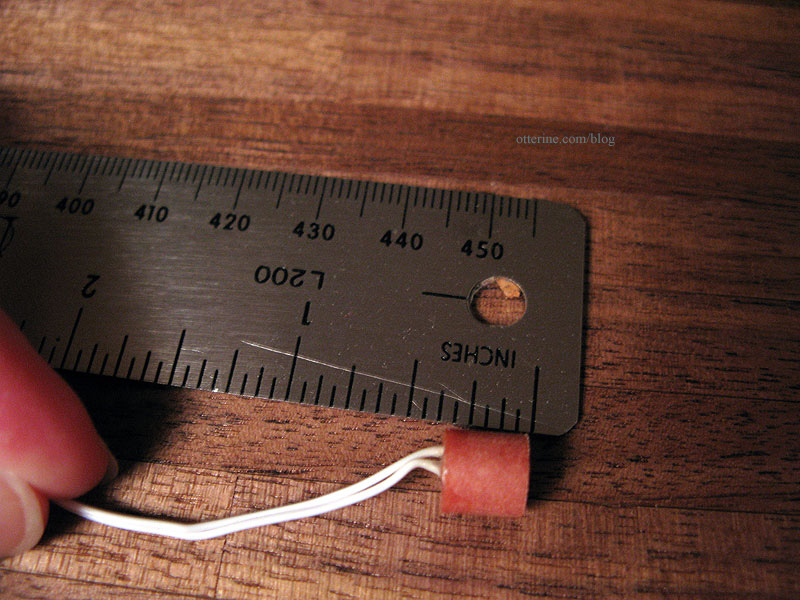
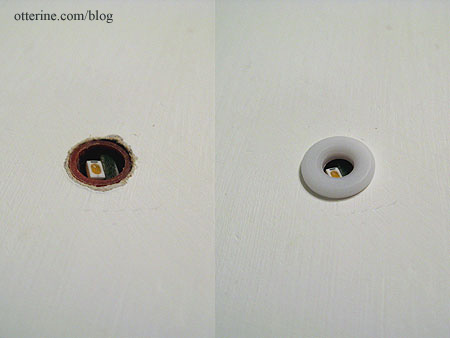
Here’s the LED without the finishing ring (that’s popped in place after you install the lights). According to the NovaLyte website (no longer active as of 2024), these measure 5/16″ L x 5/16″ W with a required clearance hole of 21/64″.
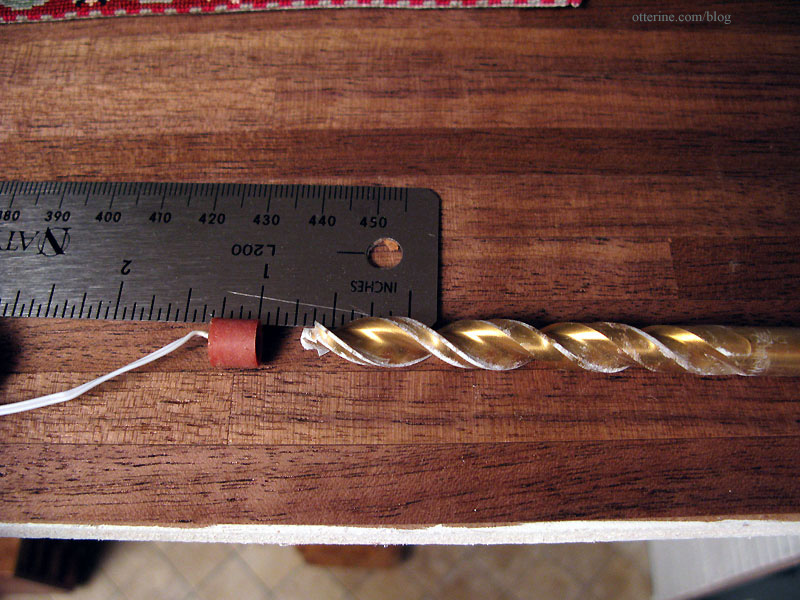
Here’s the LED with the 21/64″ Dewalt drill bit I used to make the clearance holes.
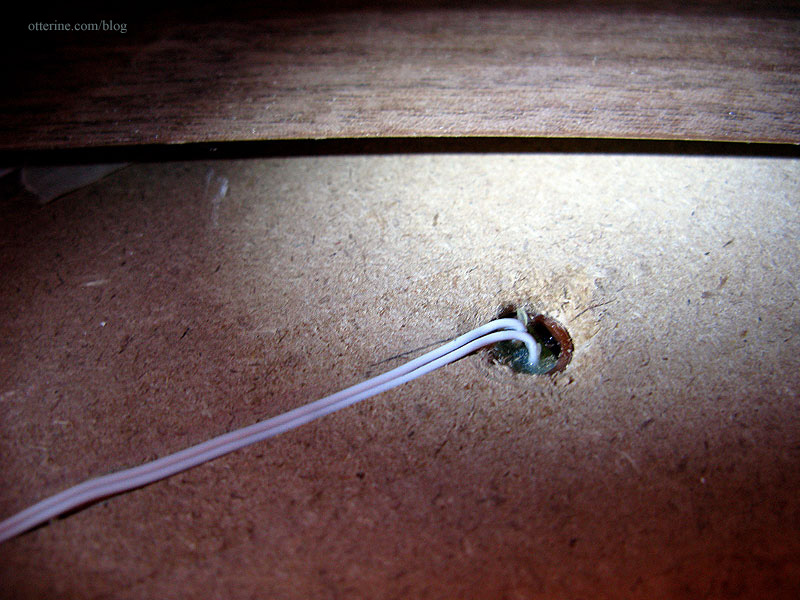
The walls and floors of the Newport are 3/8″ thick, so there was plenty of room for them to fit inside the drilled holes without having to build up the floor board. With thinner materials, you’ll need to pad either the ceiling these are lighting or the floor above to hide the excess. These are cohesive units and therefore can’t be cut down.
Here’s the light in place in the floor board. The can light illuminates the room below this floor. I found that feeding the wire up through the hole and pressing it in place gives a nice flush finish with the ceiling.
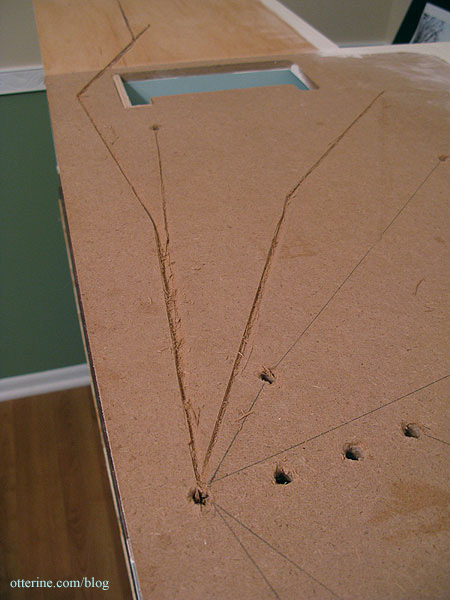
I’ve cut channels for my wires since I’ve hard-wired the Newport. If you’re working with tape wire, you’ll need to figure out how to best attach them. I know absolutely nothing about tape wire.
Using the 21/64″ drill bit gives the light a nice snug fit. The dress ring is then popped onto the light to finish it.
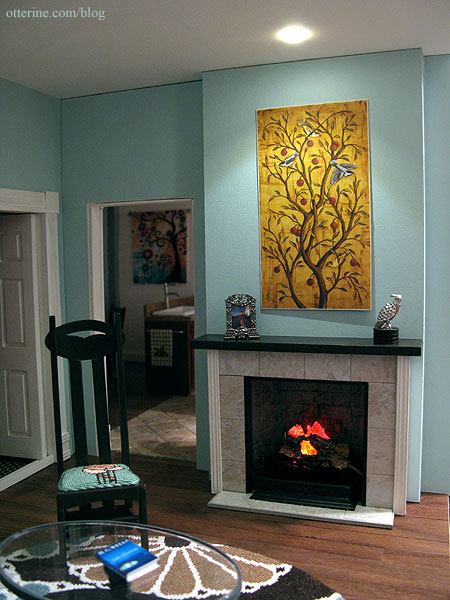
Here’s the finished look in the living room.