
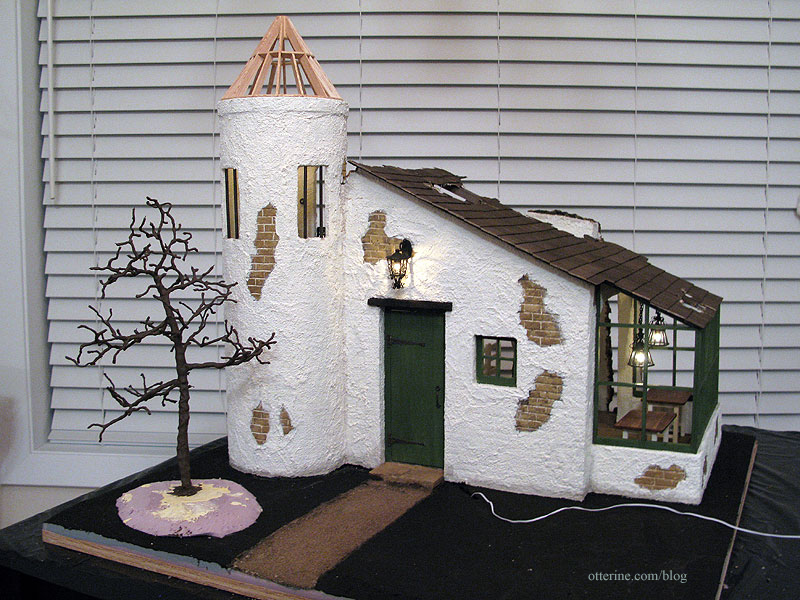
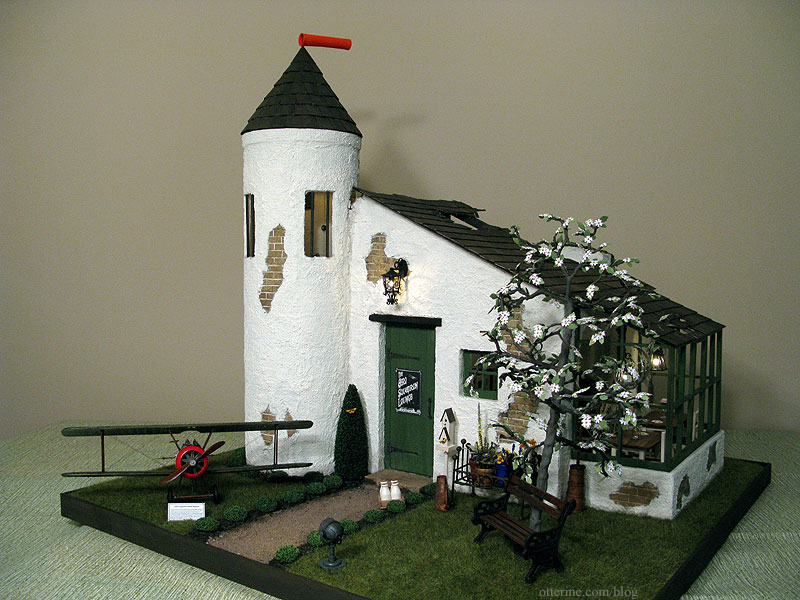
This was my first time landscaping in earnest, and I enjoyed the process so much! The feel I went for was manicured rustic. This is a vintage bar in a more modern setting, so I tried to bridge the gap between farmhouse natural and tidy grounds.
I started with a sheet of builders foam for the base, and used a carving knife to slope the edges. Out the front door, I carved (ok…butchered, whatever) a pathway out of the foam. I sealed the foam with grey gesso.
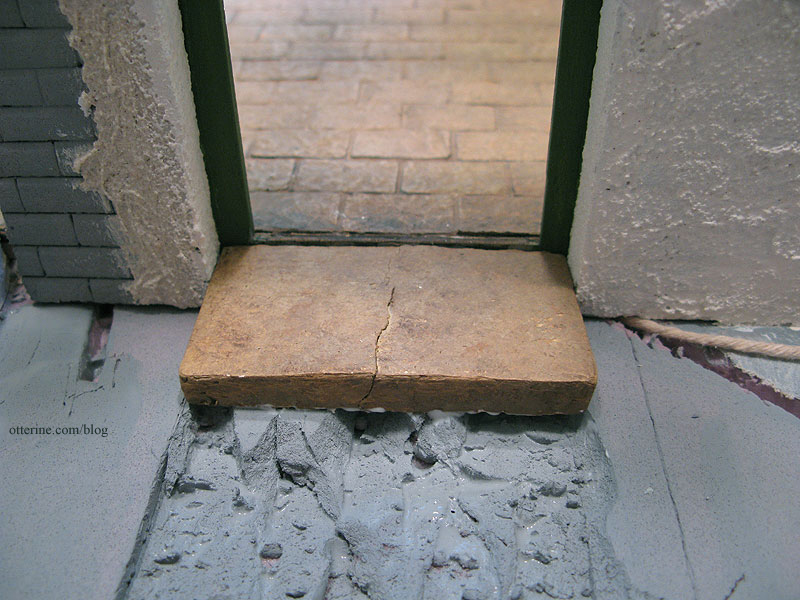
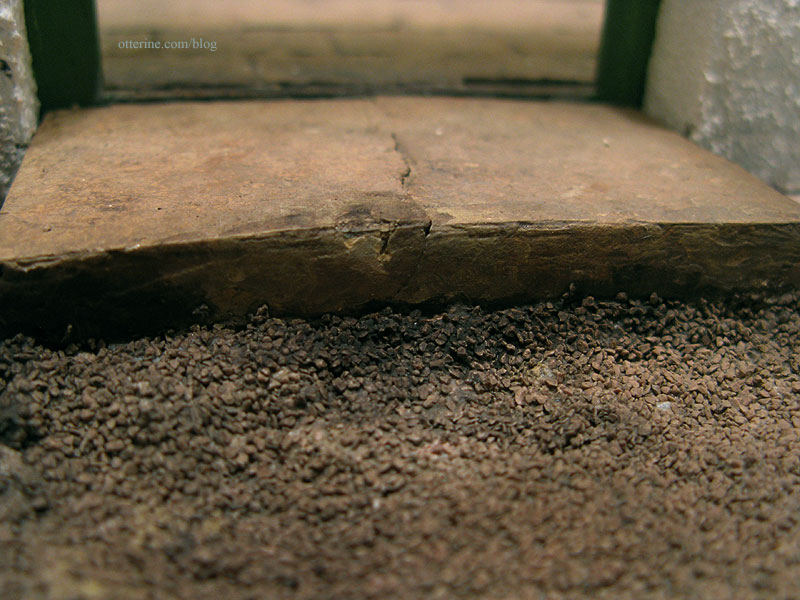
I made the front stone step in the same manner as I had for the fireplace. It’s a scrap of white styrofoam covered with spackling, sanded and painted to look like stone. The crack in it was a happy accident. It didn’t quite fit into its allotted space, and when I bent it to make it fit, the surface popped. I love the cracked detail and wish I had thought of it myself. I added further paint washes to really accentuate it. That front chip is also a happy accident. :D
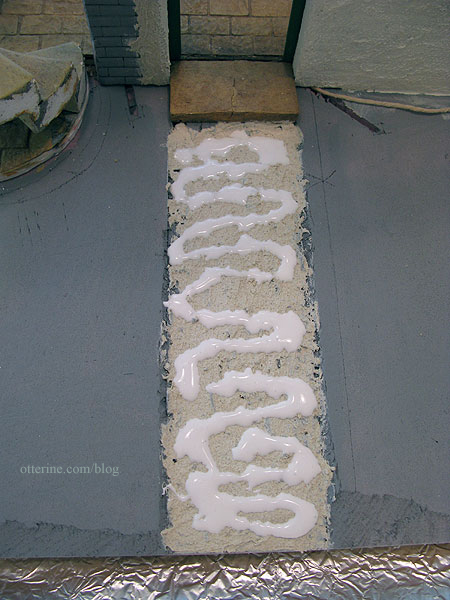
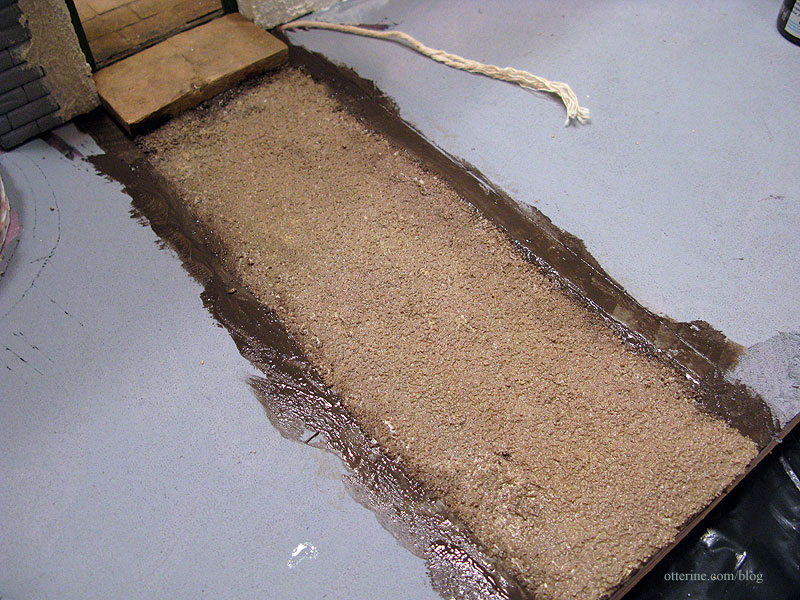
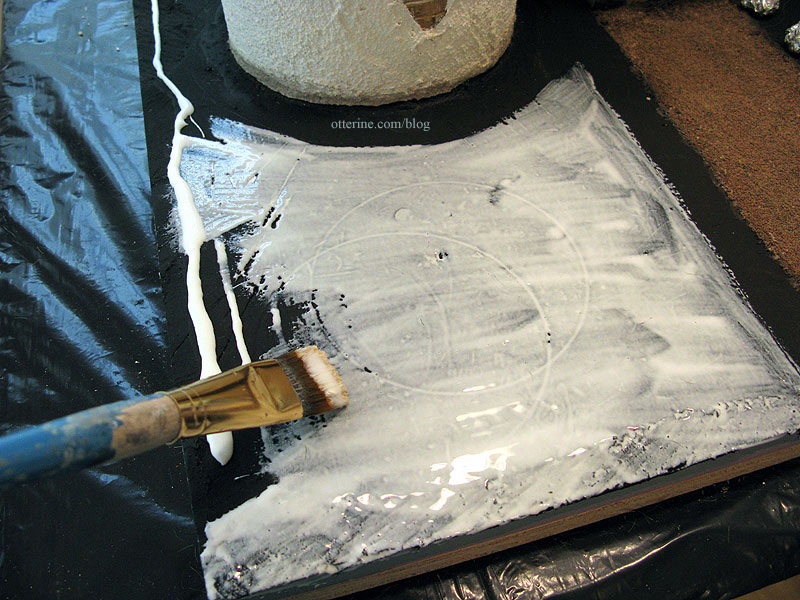
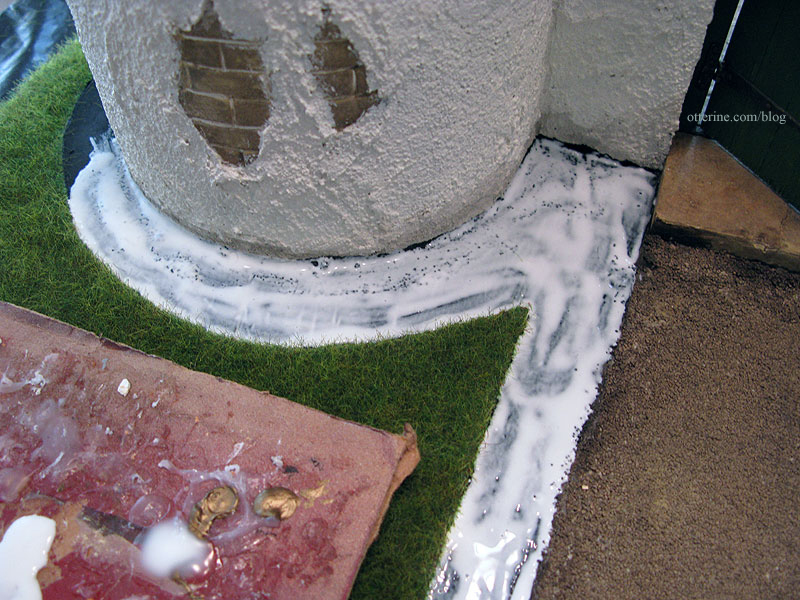
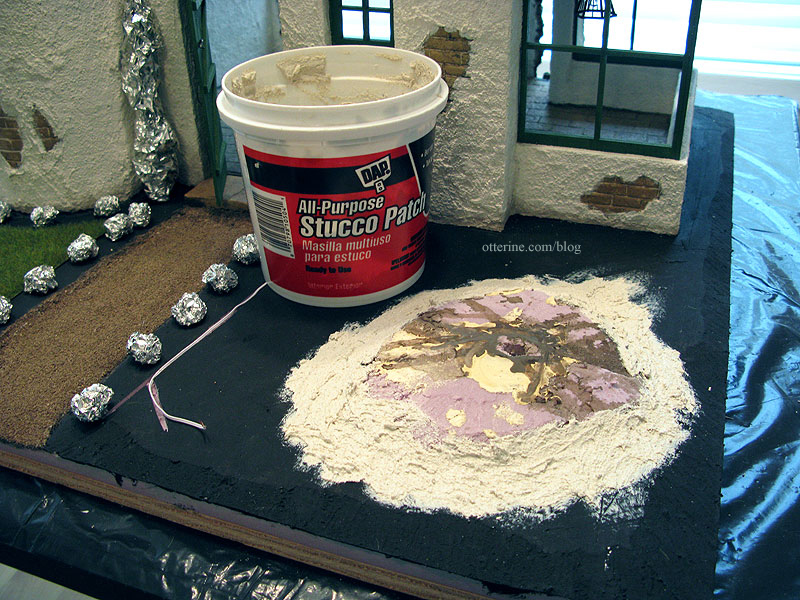
To make the walkway less treacherous, I first used some stucco patch to even out the surface. Once that had set, I applied a thick layer of Aleene’s Quick Dry glue, shown here before I spread the glue with a brush.
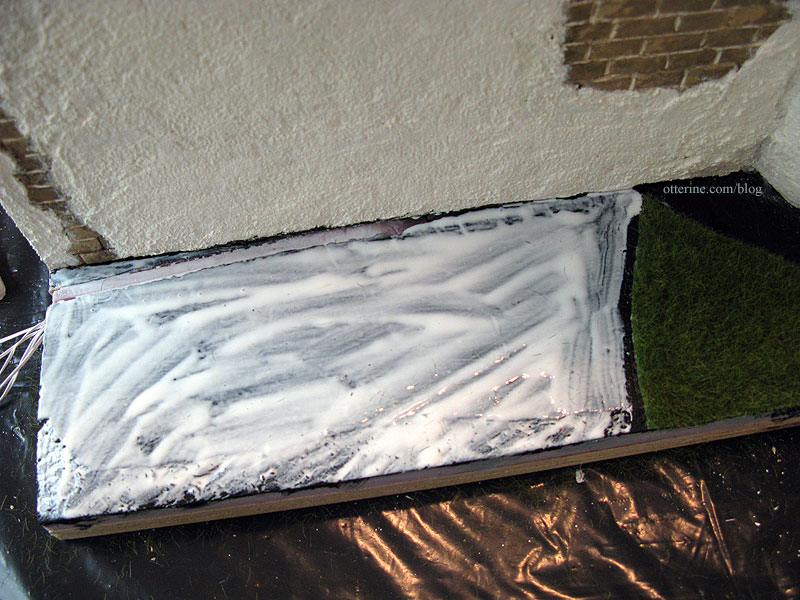
The gravel is Woodland Scenics Ballast left over from Baslow Ranch. I poured it on generously, pressed it gently and let it dry overnight.
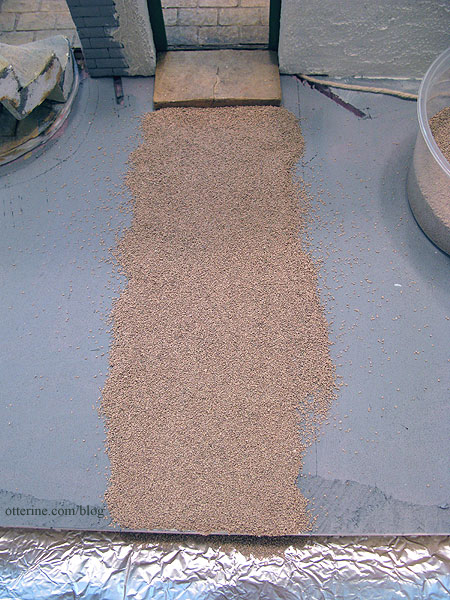
I brushed off the excess back into my bowl for later use in another project. I then added some paint washes to make the gravel look more natural.
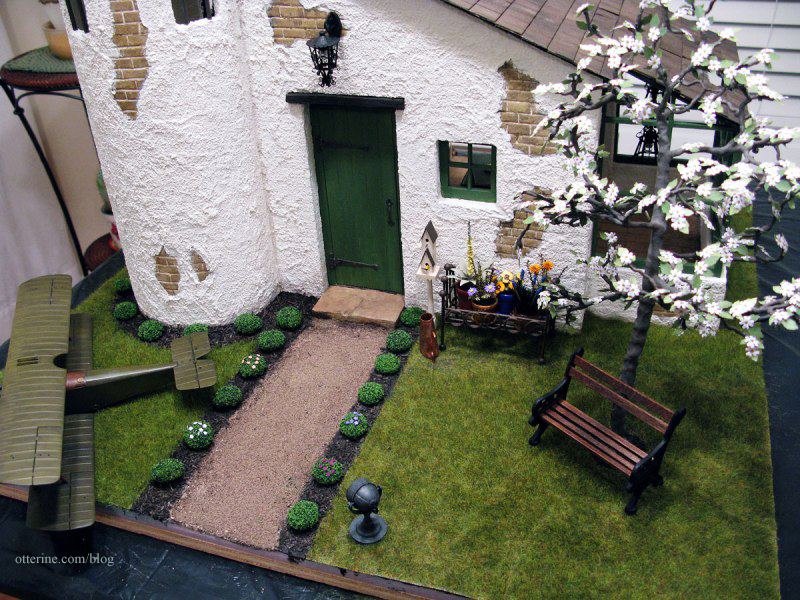
I had originally planned to have the plane and dogwood trees switched, but when I did the layout, it didn’t work out so well. The tree blocked too much of the tower, and the plane was lost in the larger space on the right. Here you can see I painted the landscape portion black just in case the ground might show through in areas.
After determining the amount of mulch I would need on either side of the pathway and around the tower, I cut pieces of newspaper to make patterns for the Woodland Meadow Field Grass sheets by Heki, from Scenic Express. I marked the outlines on the landscaping board.
The shrubs and smaller trees I used for the final layout are Squeeze Me trees from Model Builders Supply. While I was awaiting their arrival, I was reduced to using aluminum foil stand-ins. ;D
It was messy cutting the grass sheets, so I made all of my cuts on the counter and shook the excess from them there as well.
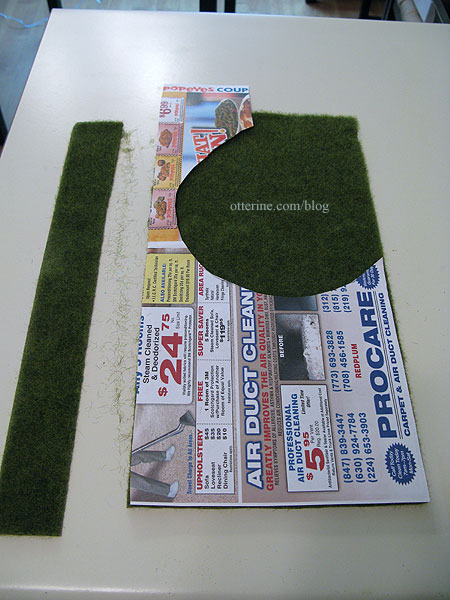
I used newspaper scraps to make templates for ease in cutting.
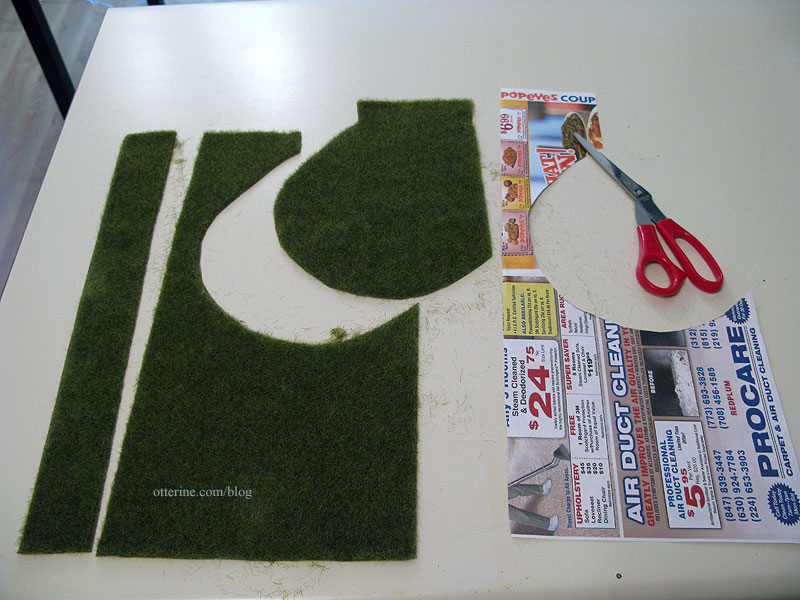
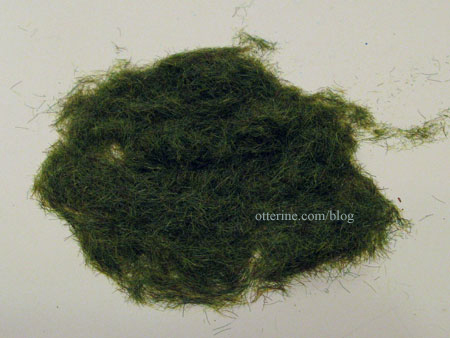
I saved all of the clippings for filling in later on where needed.
I spread glue evenly over the landscaping board with a brush.
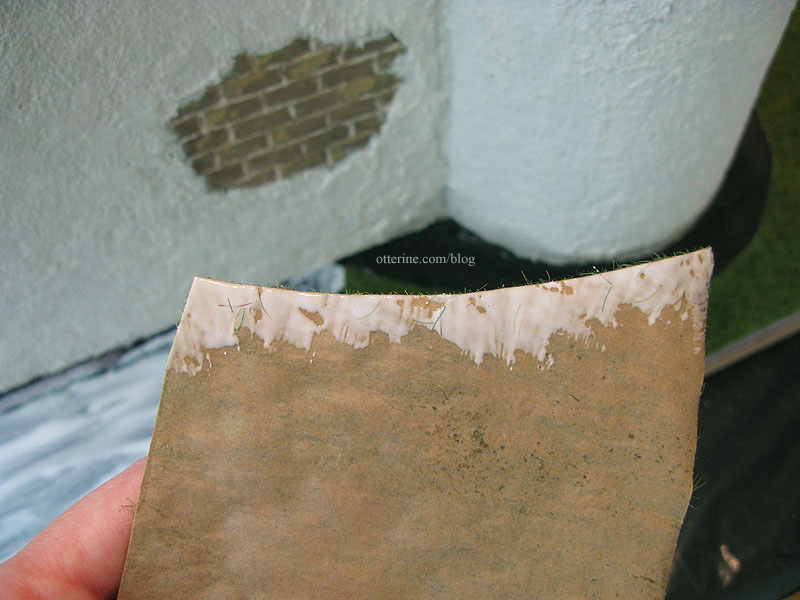
I pressed the grass pieces in place and kept an eye on them until the glue set a little, continuing to press the edges down. The sheets measured 15 3/4″ x 9 1/2″, so there was some piecing required to cover the entire lawn. For the henhouse side, I cut a curve along each piece since I thought it would make for a less noticeable seam. I cut the back piece and applied glue just as I had before.
This time I applied glue to the edge of the back piece where it would meet the front piece.
It turned out very well.
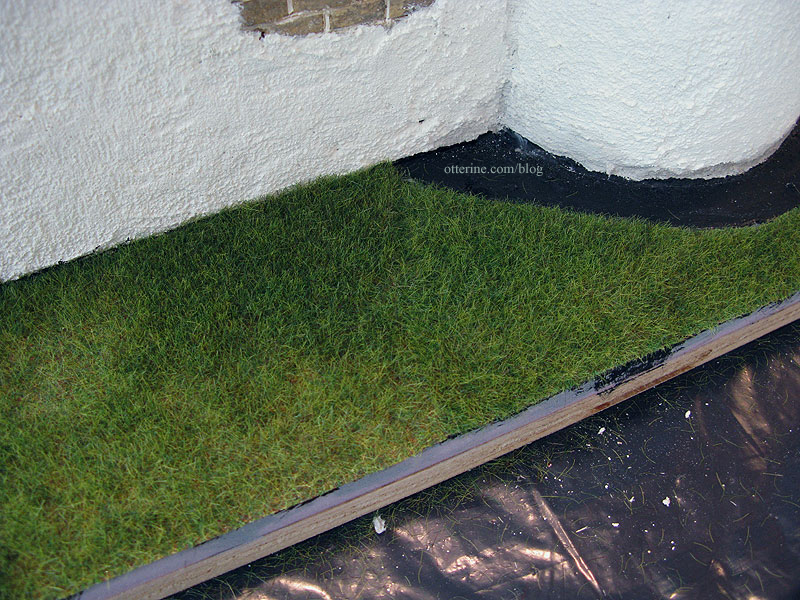
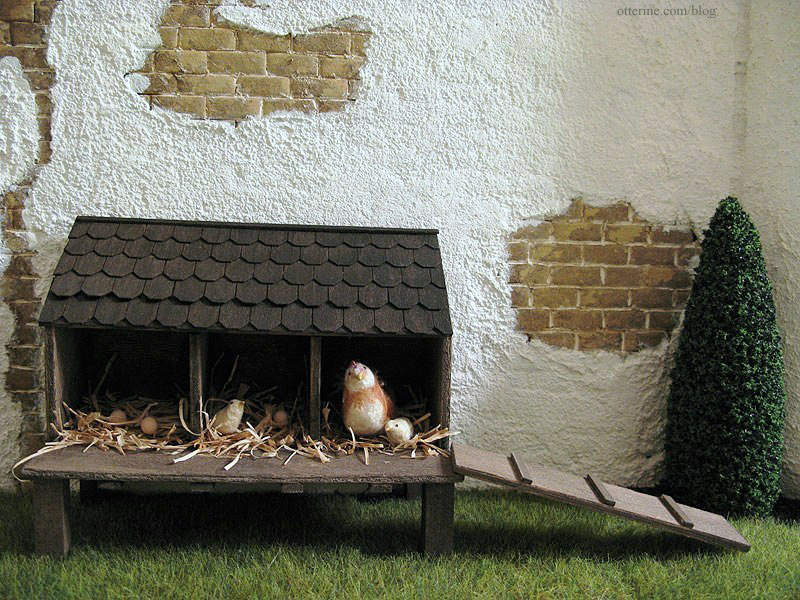
With the henhouse in place, you can barely see it at all.
The back seam worked out very well, too.
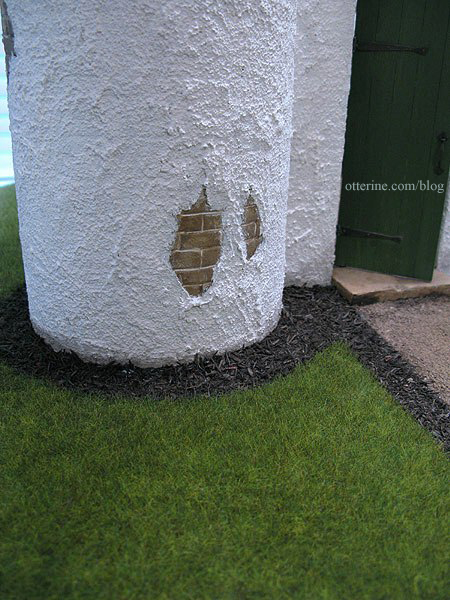
I carefully applied glue to where the mulch would be.
I applied mulch from A Little More in Miniatures with a spoon.
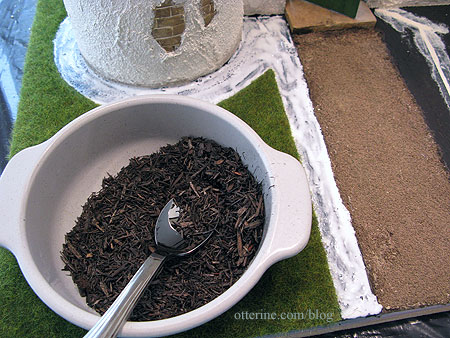
I added generous amounts of mulch.
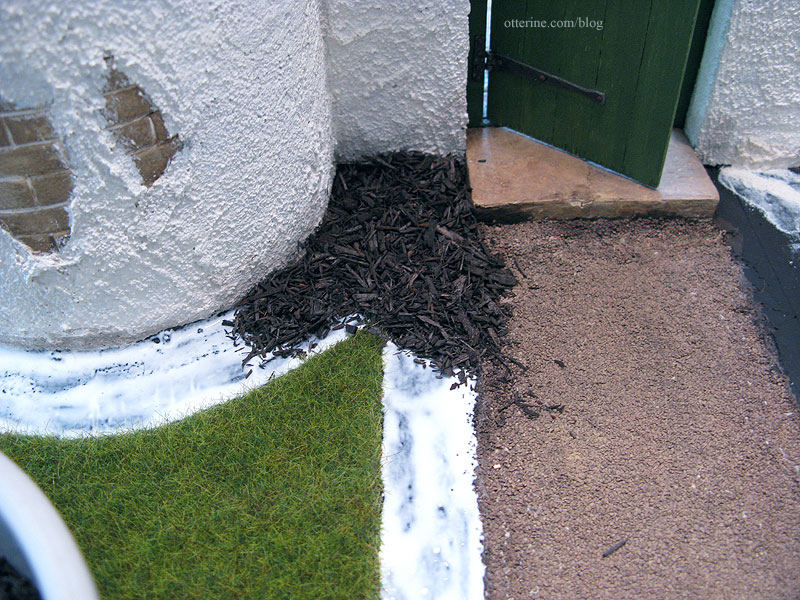
I lightly pressed it into the glue with my fingertips. While the glue was still wet, I removed any obviously out of scale pieces with tweezers.
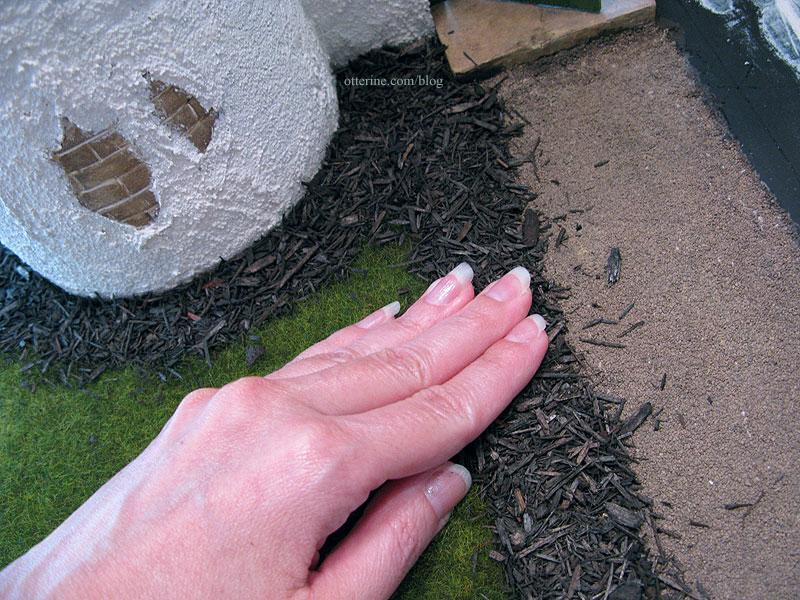
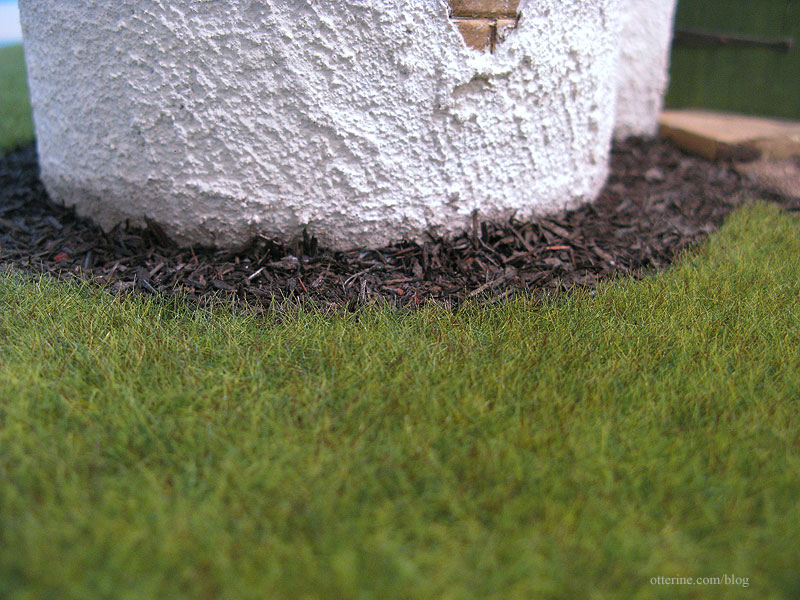
I then mowed the lawn and raked the mulch with…my vacuum cleaner. :D
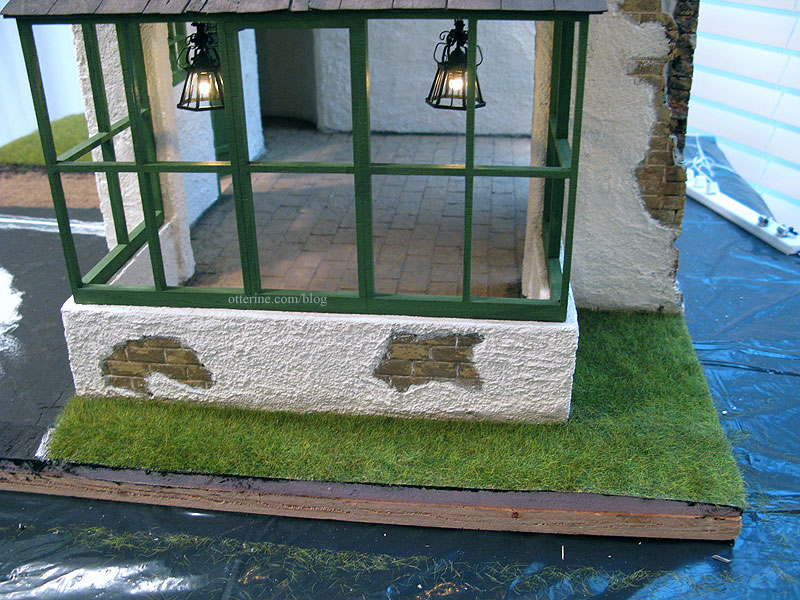
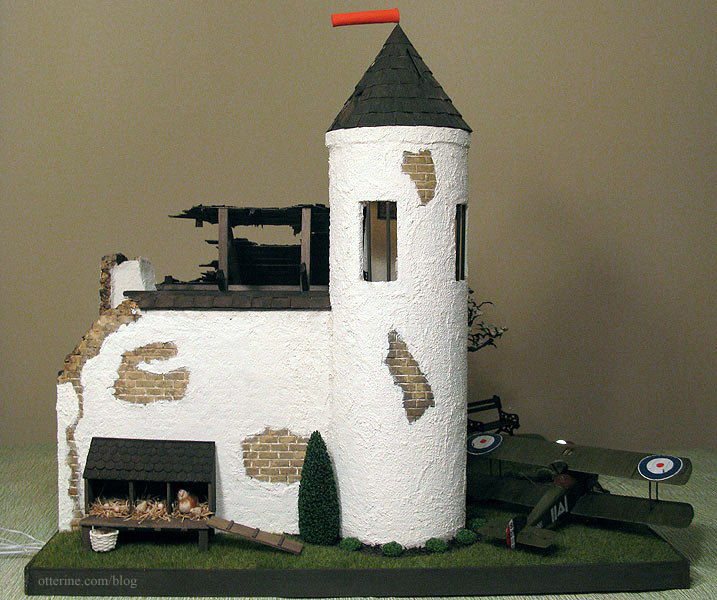
In this close-up, you can see where I dirtied up the lower edge of the building all the way around using a very diluted black and brown paint wash. This was done prior to all landscaping applications.
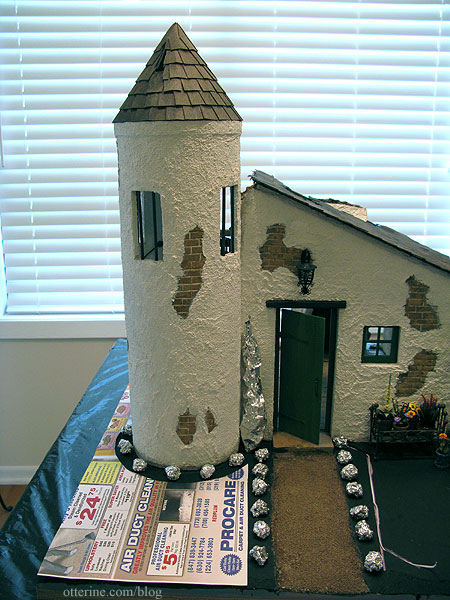
The materials turned out so realistic!
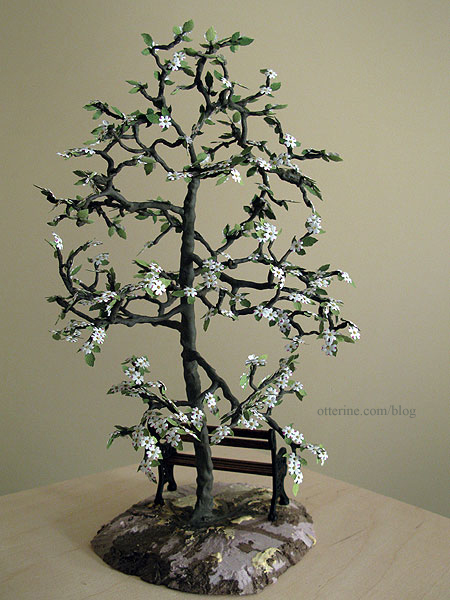
The dogwood tree has been detailed previously, and it had its own raised base created during the assembly phase.
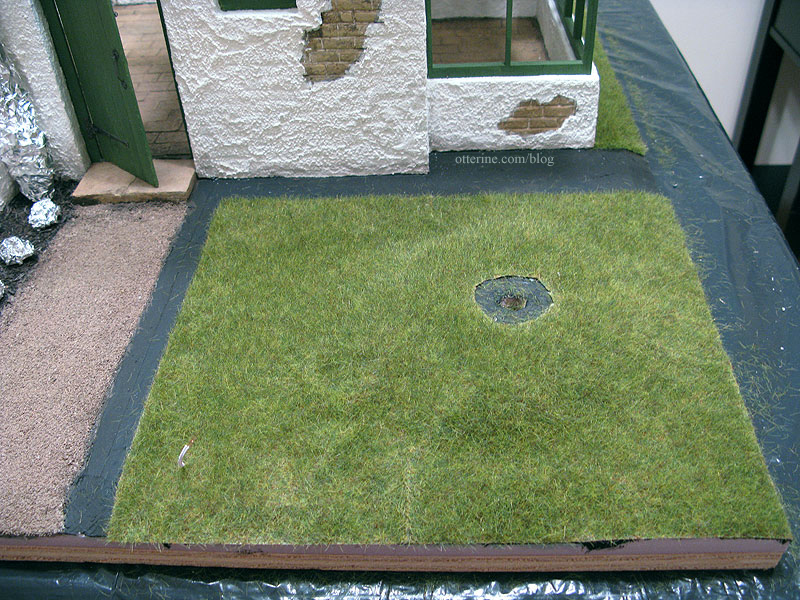
I had the scary task of removing the tree from its base in order to apply the grass first. I used stucco patch to even out the ground around the raised tree base after gluing it to the landscaping board. Once that dried, I sealed the new surface with gesso and painted it black.
I cut a rough circle in the grass to surround the dogwood.
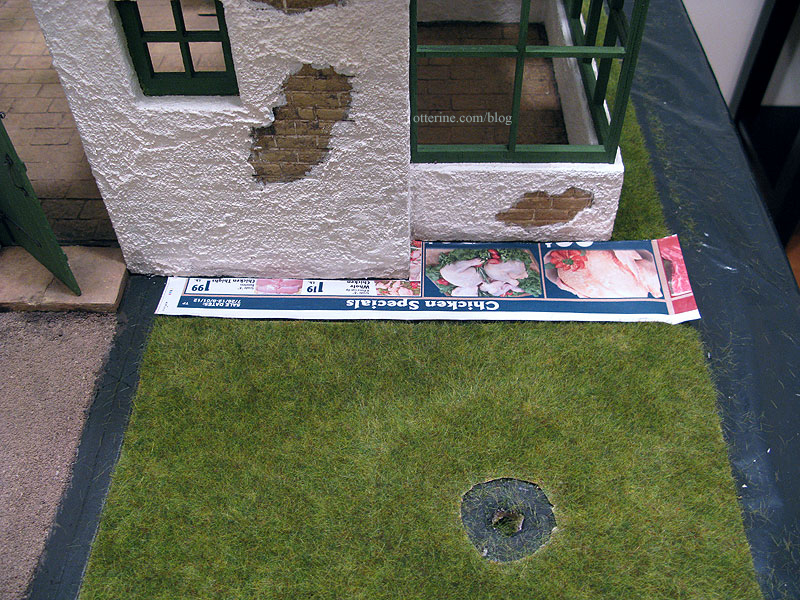
I had to patch the area behind this piece, so I cut a pattern to fit. Oh, don’t let the hens see the grocery ads! :O
After planting the tree, I applied glue inside the circle and to the remaining edge of the pathway and added mulch.
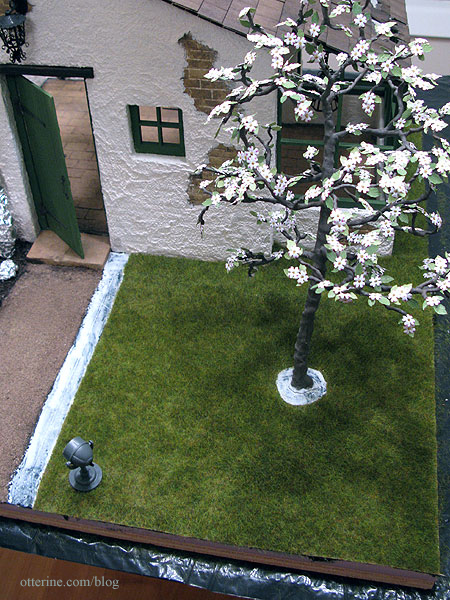
I love the way it looks with the bench in front of the tree.
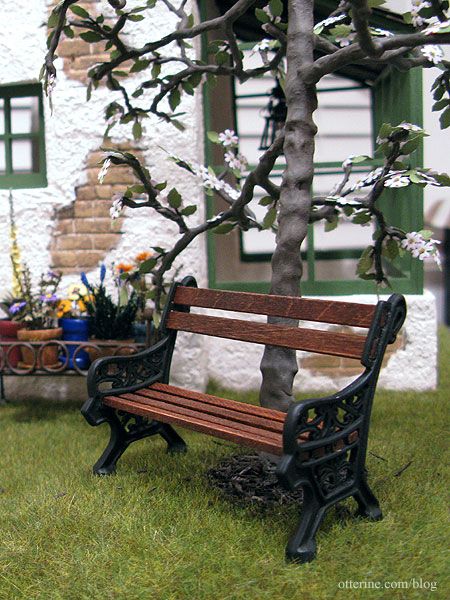
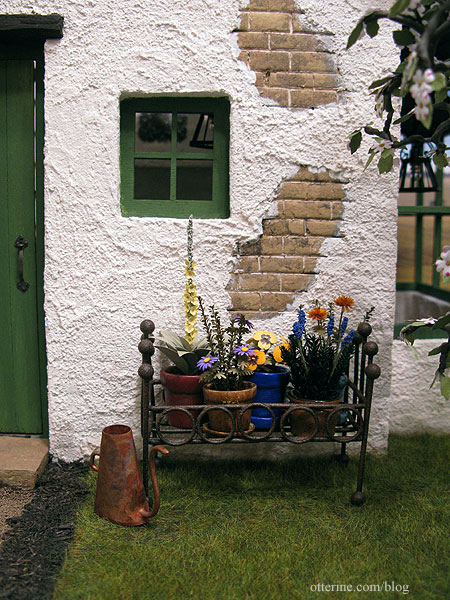
The rustic planter filled in the remaining area and helps disguise the front lawn seam, which is slightly visible from some angles.
Once all of the grass was in, I planted the Squeeze-Me trees with a dab of glue on the bottoms. The lovely birdhouse was made from a kit by Twilla’s Tiny Treasures, the bird is from A Little More in Miniatures.
I had originally considered making them flowering shrubs, and below I’ve placed some impatiens from Small Talk (no web address) in mockup. I thought the white and peach competed with the building and the dogwood. The dark crimson was so dark that it was hardly worth the effort to add them. I really liked the bluish purple, but I didn’t think they added so much that it would be worth taking the time to shape and add centers to the amount I would need to cover twenty shrubs. The dogwood had exhausted me!
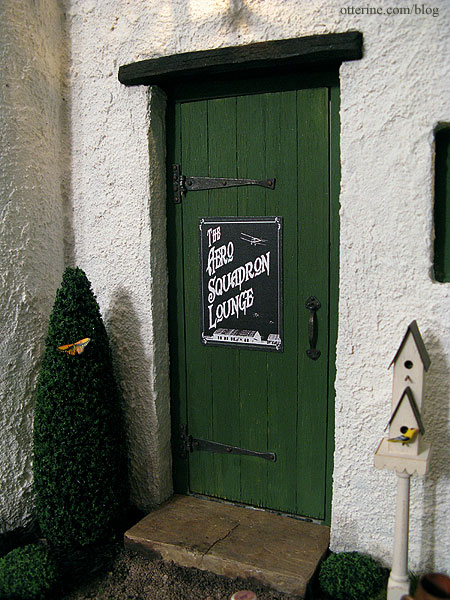
I added plain wood trim around the baseboard to finish, and here is the end result. :D
And from the other side…
That should do it for the Lounge posts. If there is anything I’ve missed or there is something you want to see closer, just leave a comment.


