
Continuing from the tower construction part 1 for The Aero Squadron Lounge.
I will detail the main room build in another post, but I do need to mention a few things I did before the next steps in the tower construction. I glued the main room floor to the landscaping base, which was a layer of builders foam over a 24″ square plywood board. I glued the side walls in place and glued the spiral stairs base adjacent to the main floor.
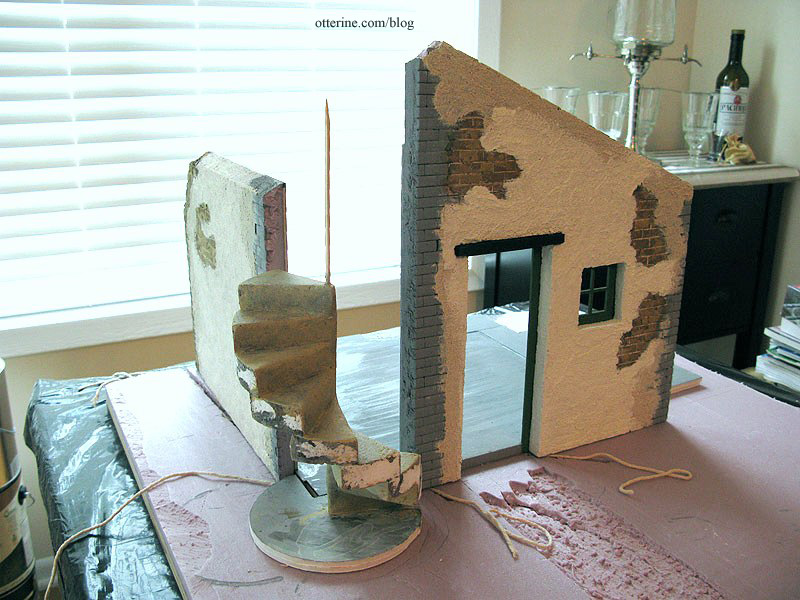
The slight gaps between the two pieces didn’t matter since I would be covering the whole surface with egg carton stone. I didn’t tile that tiny space behind the bottom steps.
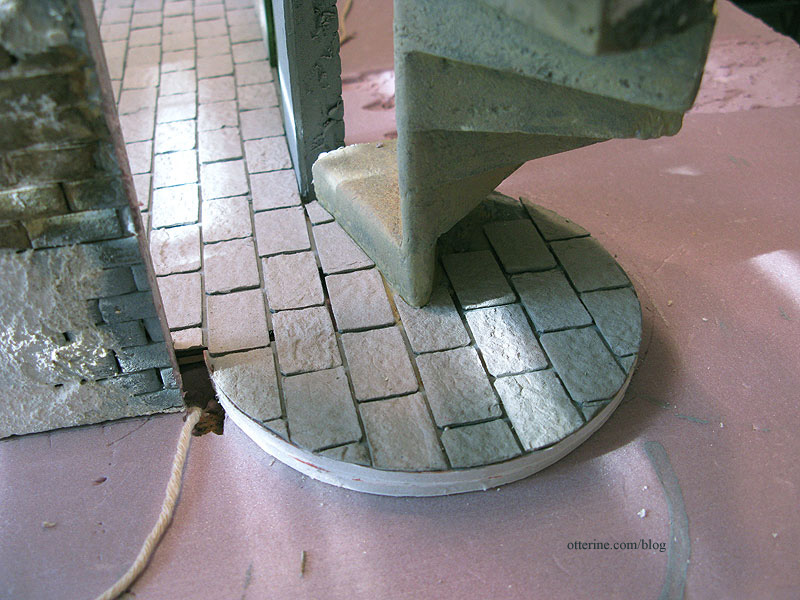
I painted, sealed and grouted the stone floor before proceeding with the tower. I also painted the lower portion of the tower interior Warm White by Americana, the same color used inside and out on the stucco surface.
I didn’t paint all the way up since I still needed to finish the window openings and I was still thinking about what I wanted to do. I considered actual windows but ended up with bars to keep wayward tourists from tumbling out of the tower. More about that in part 3 (link at the bottom).
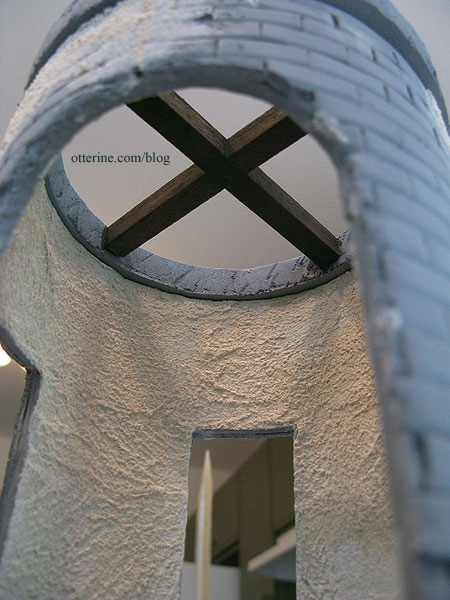
I wanted a light in the tower and needed cross beams to hold it. I also needed something to finish off the top of the tower. I cut a rough circle from builders foam (primed with gesso) and made beams from balsa. I like balsa for old beams and rafters because it is easy to dent and score, and it has a nice grain to it when paint washes are used.
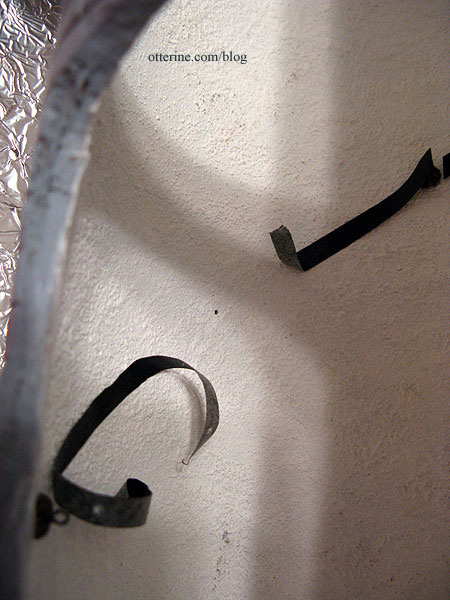
Since gluing this ring in place would effectively seal off the tower access from the top, I put it aside and worked on the handrail instead. I used thin black tape to mark where I wanted the railing. It was here that I discovered my “greater than half” balcony would not work. While I could fool your eye into thinking there was enough room for someone to walk up the stairs beforehand, the railing would run right into the balcony’s back edge and ruin the illusion.
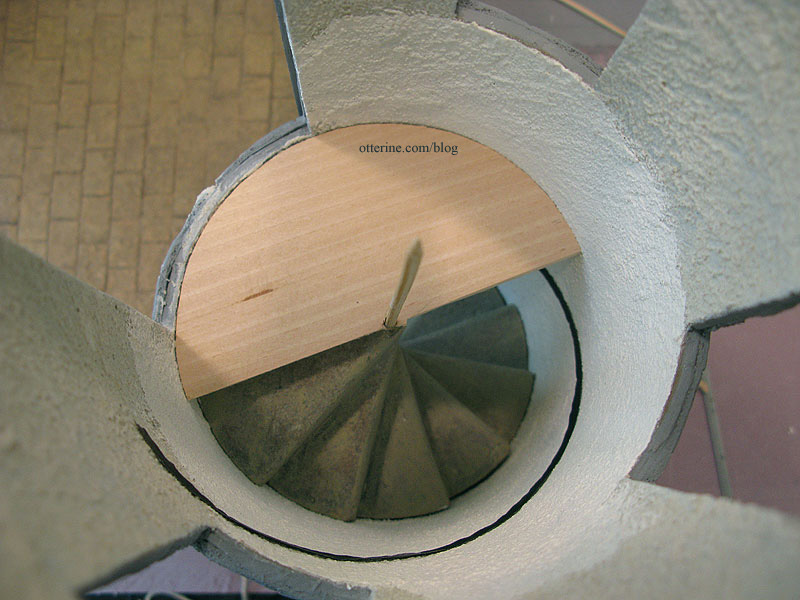
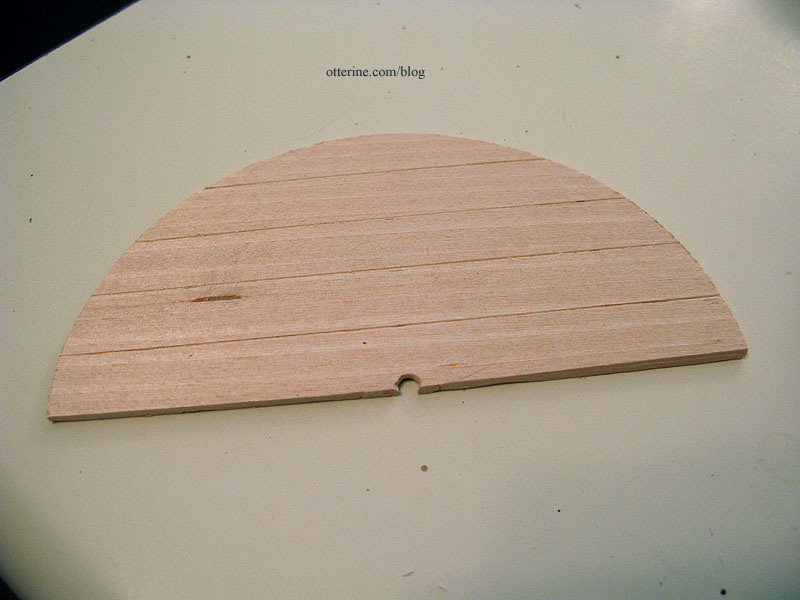
Cut, cut, cut, and problem is solved!
I scored lines in the top and bottom with an awl.
I used an absinthe bottle to bend 1/16″ aluminum tubing (from Hobby Lobby) into the right curve to fit inside the tower and tested it against the black tape guide. The balcony is painted a blend of Bittersweet Chocolate by Americana and black, then sanded for a bit of wear. As for why I used an absinthe bottle, it was slightly wider than any other bottle I had on hand, and it made for a looser curve.
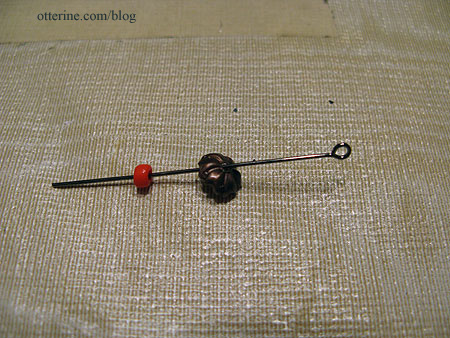
I made the railing brackets from eyelet headpins, bead caps and beads. Even with holes punched into the tower, I knew gluing only the end of the eyelet headpin into the wall would not hold the railing. So, I added the plastic bead inside the bead cap to increase the gluing surface. Glue holds the bead cap and bead together, and glue holds that assembly to the wall. Somewhat. I used super glue gel to supplement the Aleene’s Fast Grab glue.
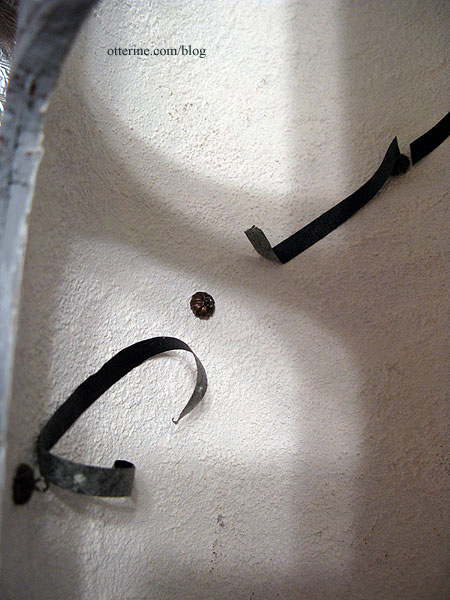
Following the tape guide, I used an awl to punch evenly spaced holes in the tower where the five railing brackets would be.

I left the tape in place throughout the process to make sure I didn’t lose the proper alignment.
I cut the bracket assemblies down so there was only a small bit of wire left.

I glued the bracket assemblies onto each of these spots, trying to get them as flush against the stucco surface as possible.
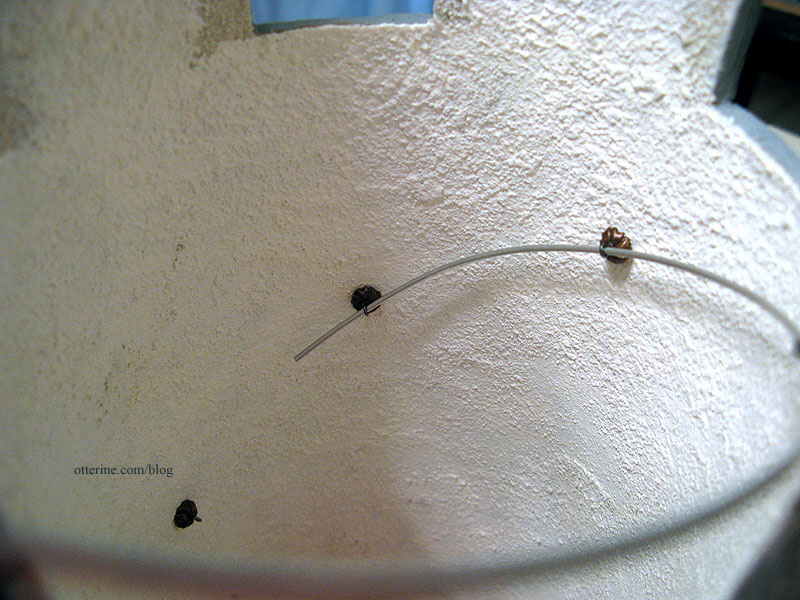
I then fed the tube through the eyelets, and it worked perfectly!!! No, it didn’t. Two of those brackets popped right off the wall. So, I glued them again, tweaked the arc of the tubing and waited for the glue to dry. There was one stubborn bracket that popped again, but I just let it hang there and glued it back in place after I had the tubing fed through all five eyelets. I held it by hand, even with the super glue, for about 15 minutes just to be sure. Success! :D
I painted the railing with black acrylic after it was on the wall. I knew painting it beforehand would be useless for a couple of reasons. First, threading it through the eyelets would scrape the paint off, and second, the paint flecks would gum up my fingers and get all over the place, namely the lovely white stucco. With the tower still being removable, I was able to paint from the bottom and top openings, a relatively easy task.
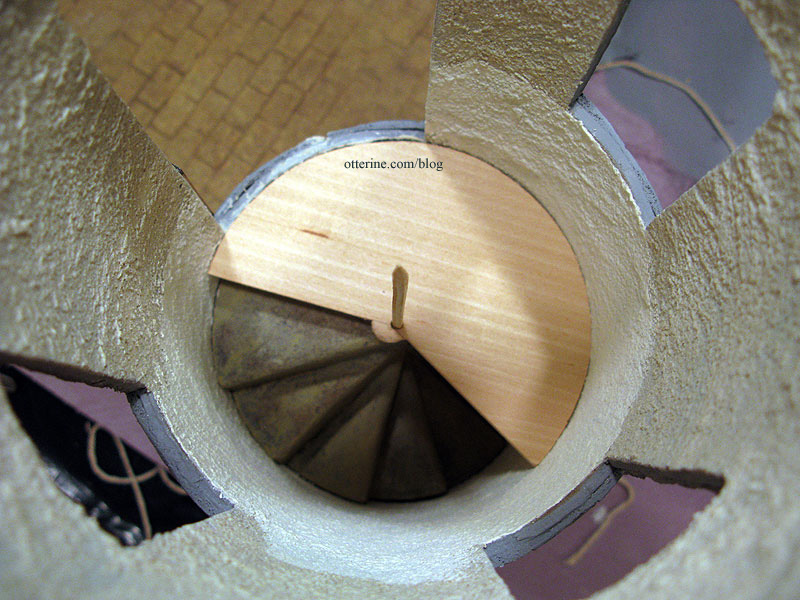
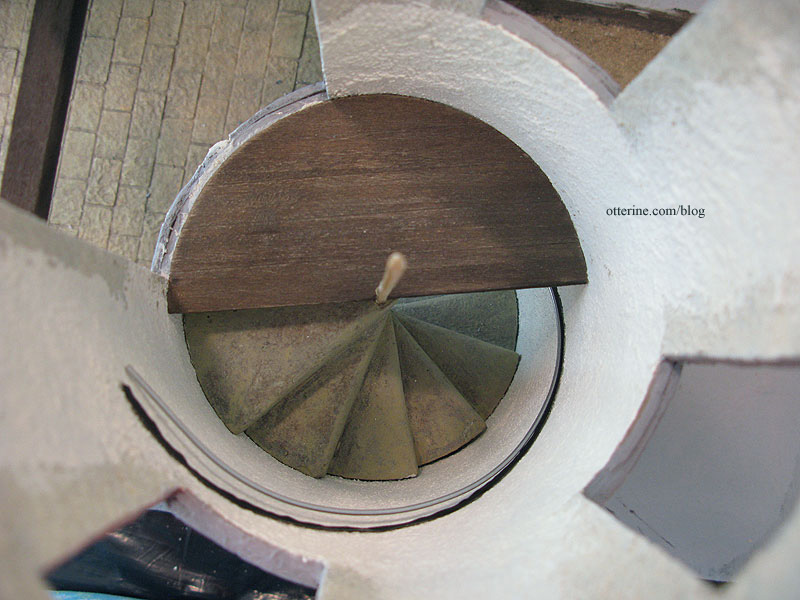
I then added fancy headpins to either end of the railing for finishing. From above…
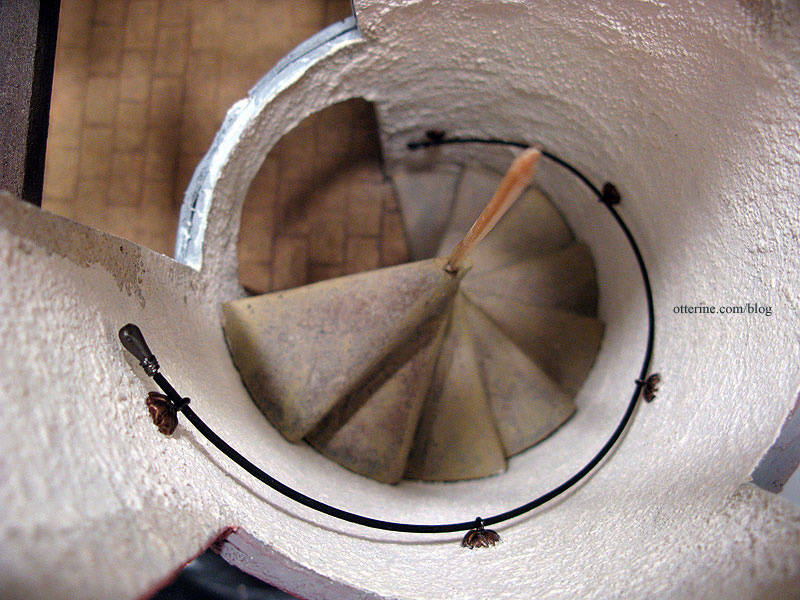
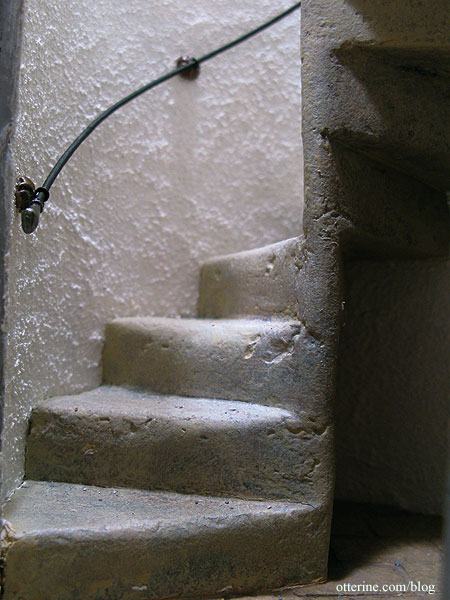
And a close up. I have to say it turned out even better than I had hoped. This gives me ideas for freestanding spiral staircase railings now, too.
Time for the balcony, but first prayers that we don’t knock the railing brackets out of place while we work on said balcony. :D
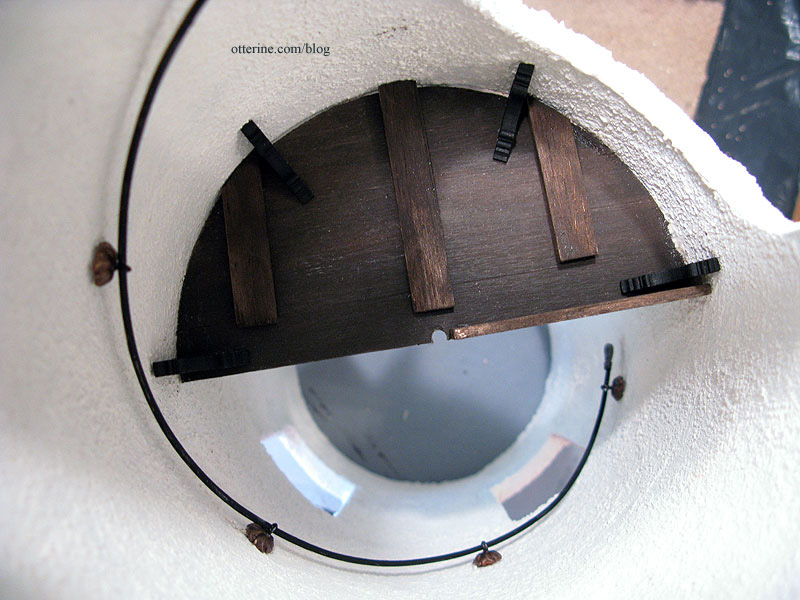
On the underside, I added floor supports from scrap wood as well as laser cut brackets to hold the balcony level on the wall. I also added a riser piece needed to bridge the gap between the top stone step and the balcony. This is a shot never to be seen again, but do I love the way it looks.
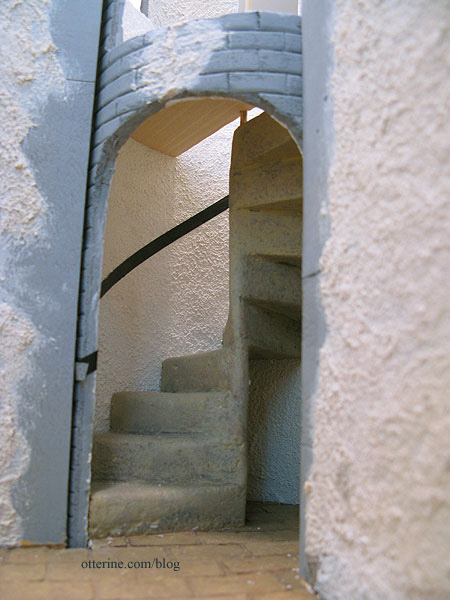
And, you can see a little of my efforts — the brackets — when you look into the archway. :D It was worth it to me, because I know the added details are there.

Continued in part 3.


