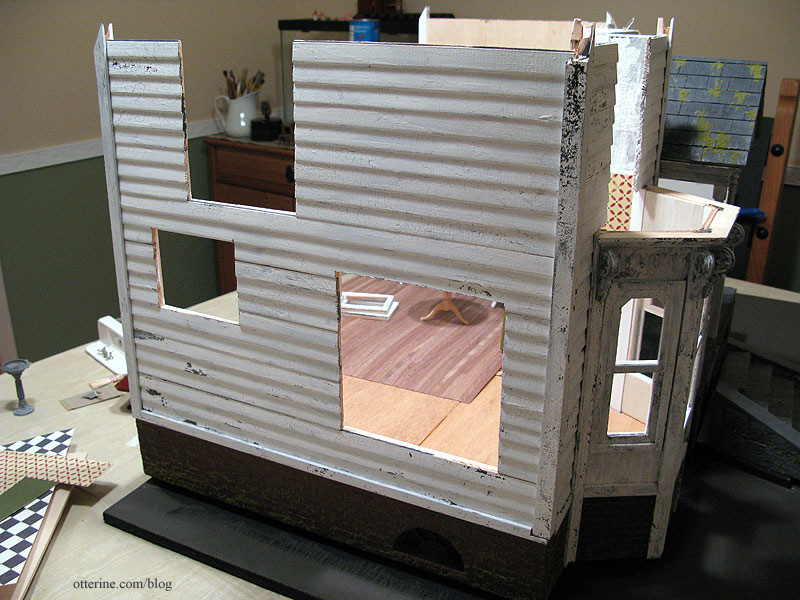
I installed one of the last two outer walls – the one on the side of the kitchen. I used a trick I learned on the Greenleaf forum of putting a couple drops of super glue (I used the gel kind) to hold pieces in place while the regular glue dries. Ingenious! The wall had a bit of a warp to it, and the super glue held it better than masking tape.
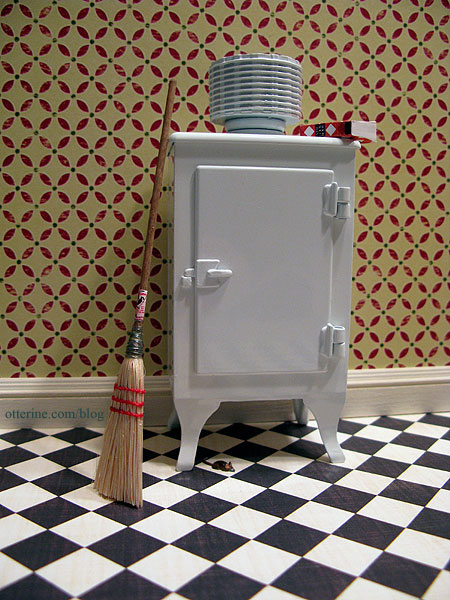
The flooring is Cream Diamonds by The Paper Studio and the wallpaper is Geometric Fa La La by Making Memories, both scrapbook papers. With them is the tall baseboard molding painted Vintage White by Folk Art. I thought it might be too much, but as Lyssa informed me, ‘too much’ was the style of the day. I’m more used to subtle modern design.
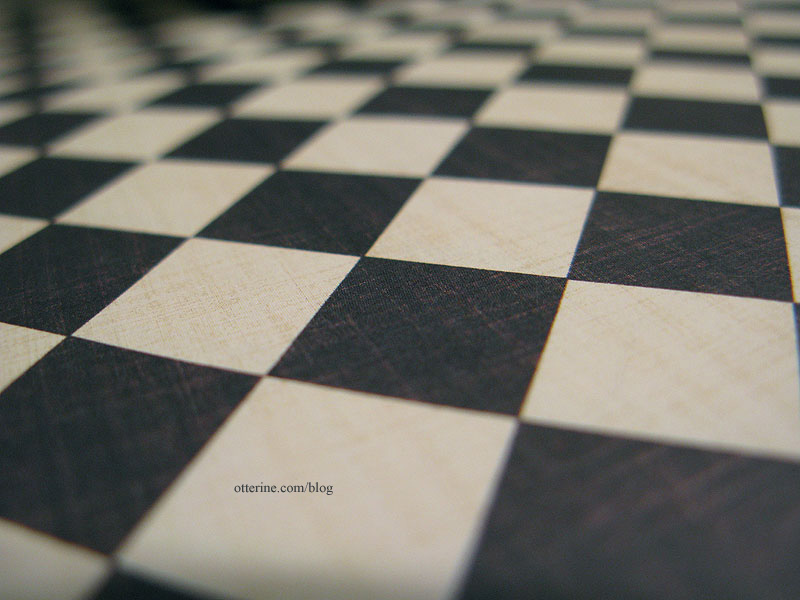
The flooring paper is very thin, so I plan to use spray adhesive to attach it to a sheet of cardboard. I’ll then coat it with matte sealer (which actually has a slight sheen to it) to bring out the color and give it the look of well worn linoleum. I love that it has the weathering built right into the design.
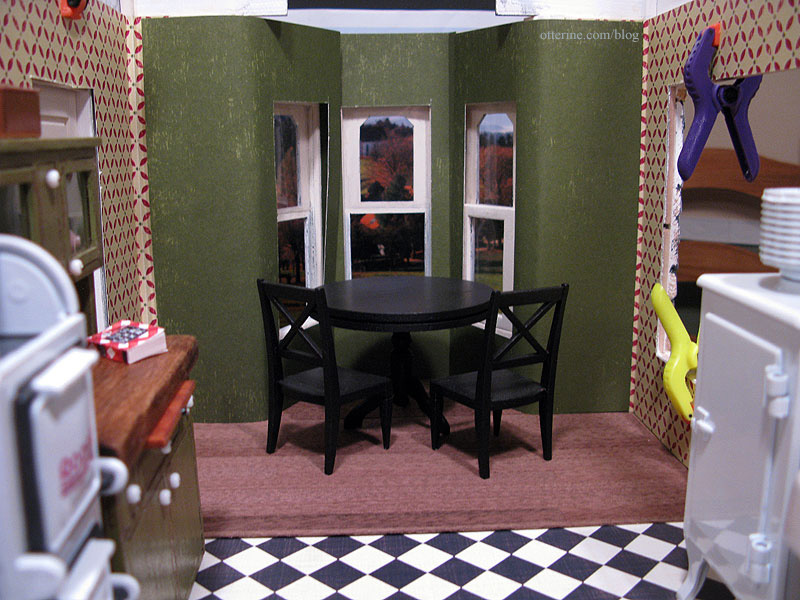
In the dining area and bay, I’ve used some scraps of walnut wood flooring left over from the Newport instead of continuing the rather busy black and cream checkered tile. It breaks up the areas and tones down all the pattern going on in this room.
I also opted for a solid color in the bay and adjacent walls: the aged green printed on the reverse side of the Geometric Fa La La pattern used in the kitchen. It’s meant to coordinate, so the color is spot on, and it has thinned out portions printed in the design so it looks like it could use a touch up. Plus, it ties in perfectly with Keli’s Hoosier cabinet!
Here is what the flooring looked like out of the package.
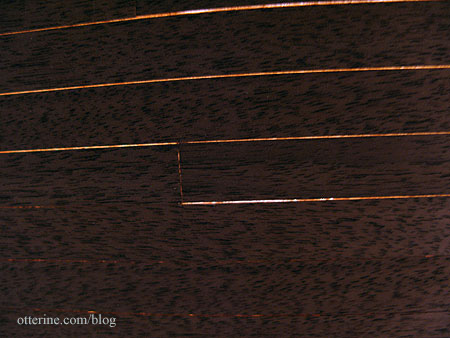
Lyssa wanted raised floorboards in my old house, so I cut the paper between a few of the pieces. This should allow for enough give for the wood to warp and lift.
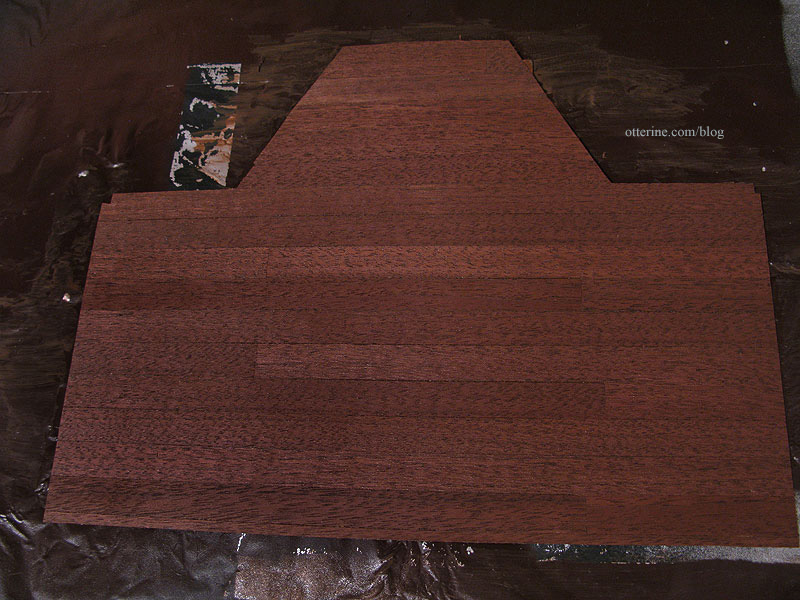
I used Minwax Plantation Walnut stain on the walnut floor, and it worked well for a start.
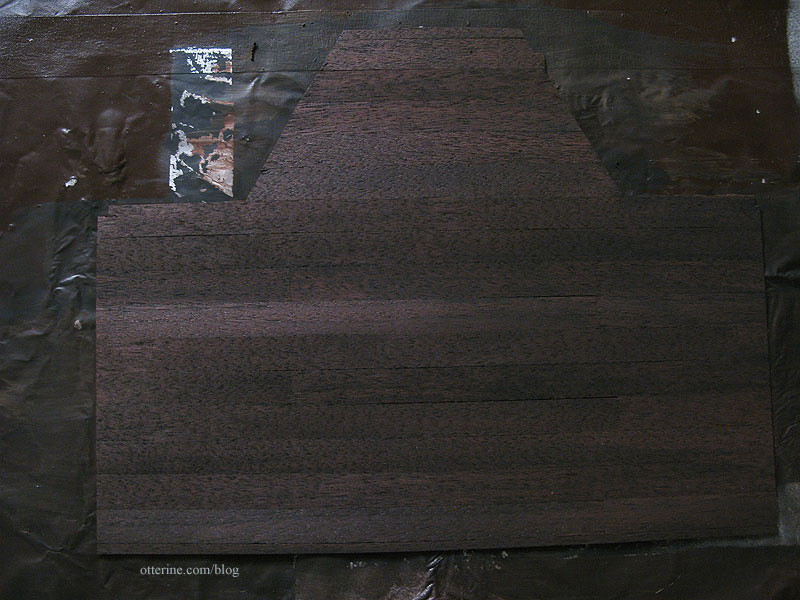
I then added a few dark washes of black and brown acrylic paint. Now we’re getting somewhere – all those years of grime. ;]
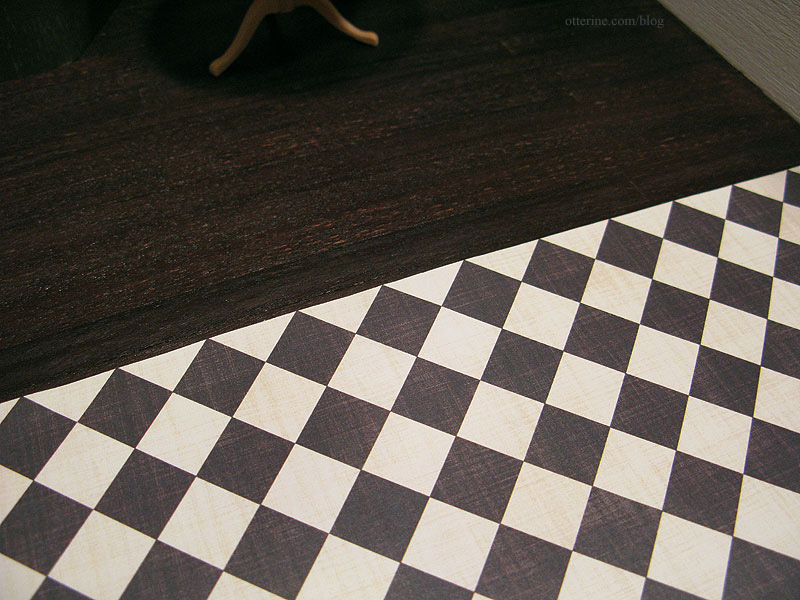
I sprayed the floor with matte sealer and once dry I sanded the hell out of it. I brushed on a thin coat of satin varnish, which I wiped away before it dried. I’ll mess with the finish more when I install it, but it is at least the basic color I was looking for. The table is a House of Miniatures kit – assembled but not yet finished. I am awaiting the chairs I hope will work with it.
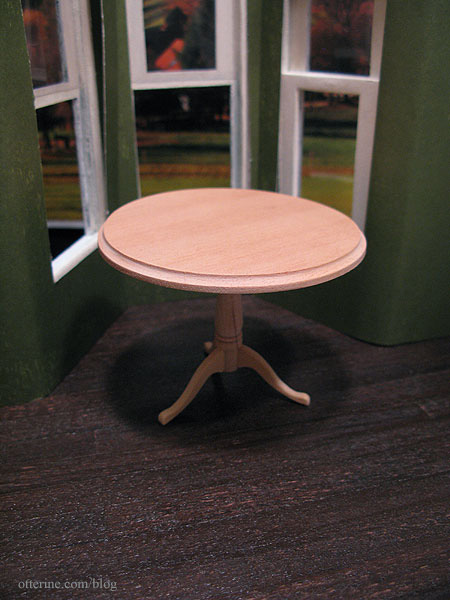
The darker floor works better with the checkered floor.
