
One of the bigger challenges in decorating a dollhouse in a more contemporary style is the limited amount of contemporary lamps and other accessories on the market. There are some modern fixtures, but most are brass or old-fashioned. The table lamp selection can be pretty good, but I wanted to see if I could custom build my own lamps.
I had the bases all figured out just from looking at real life and miniature lamps. Stack beads, feed a wire through, etc. Even making shades from paper seemed simple enough, but it was attaching the shades to the bases that had me scratching my head.
Store bought mini lamps usually have a plastic disk holding the bottom of the lamp shade. I could use acrylic disks, but I would be limited by the pre-cut size of them. Then I happened upon the handmade lamps by M Carmen at Mini Shabby. She had used a jewelry finding to hold her shade in place, and it looked like a great idea! I left her a comment on her blog, and she was kind enough to send me the information on where she found them.
The site was Bindels Ornaments, and let me tell you, they have great items and ideas! They sell components and kits for lights and accessories in small scale. They even have pages showing you how they built bottles, lights, trays and candlesticks from jewelry findings. I bought both the three-prong and four-prong findings, but I found the four-prong worked best for this particular project.
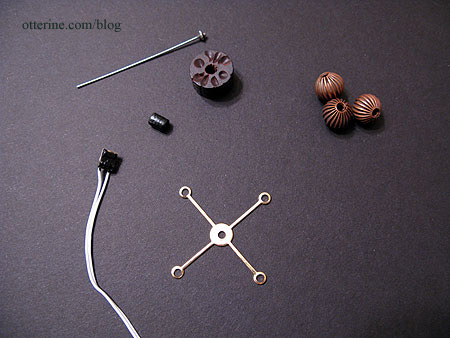
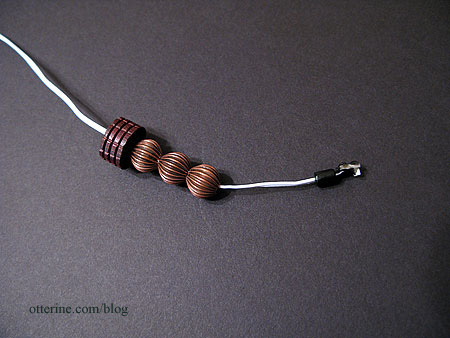
I started with a wood bead base, three copper colored beads, a NovaLyte LED and some miscellaneous jewelry findings.
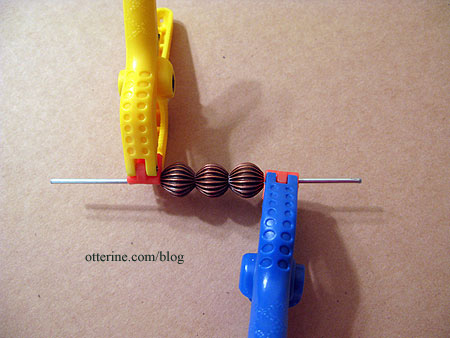
I first glued the three beads together, using a metal rod to keep them lined up as they dried. It’s not very stable, but it kept them from shifting around while working with them.
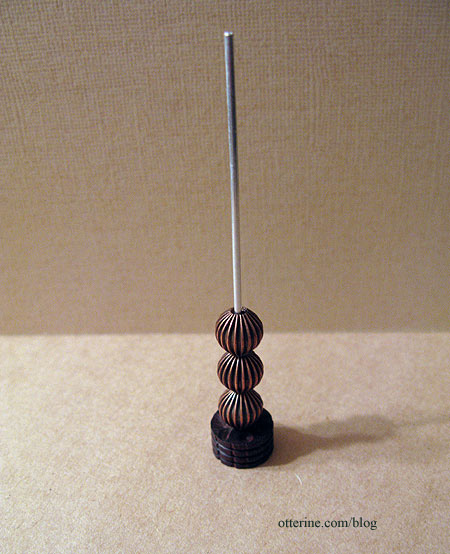
I glued the stack of three beads to the wood base. Again, the metal rod is only to keep things aligned and not glued inside the beads.
I had cut out a groove in the bottom to let the wire out the back and to keep the lamp bottom flat.
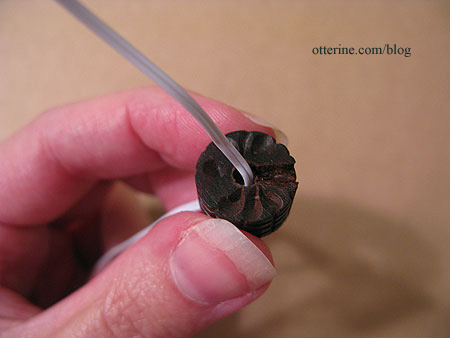
I fed a small black wood bead onto the LED wire and then fed the wire through the bead assembly.
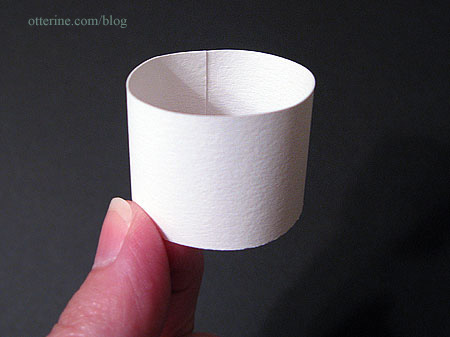
The shade is made from a strip of heavy paper 1″ wide and 4″ long, the ends lapped and glued.
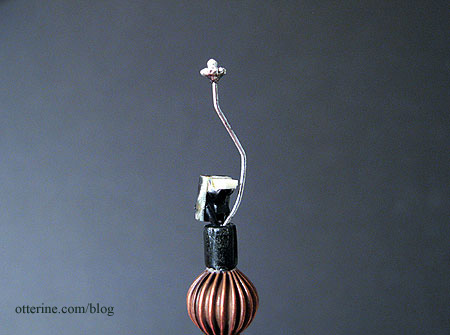
I formed a holder from a fancy head pin and glued it inside the short black bead under the LED.
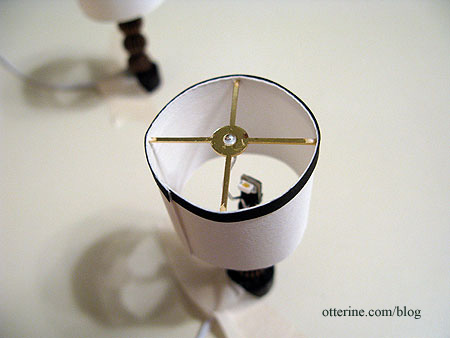
Unlike how M Carmen made her shade, though, I cut off the four circles on the jewelry finding and used it to support the top of the shade, not the middle. Since the four-prong holder showed when the light was on, I glued a strip of black quilling paper around the top edge of the paper shade.
Here are the two lamps on either side of the master bed.
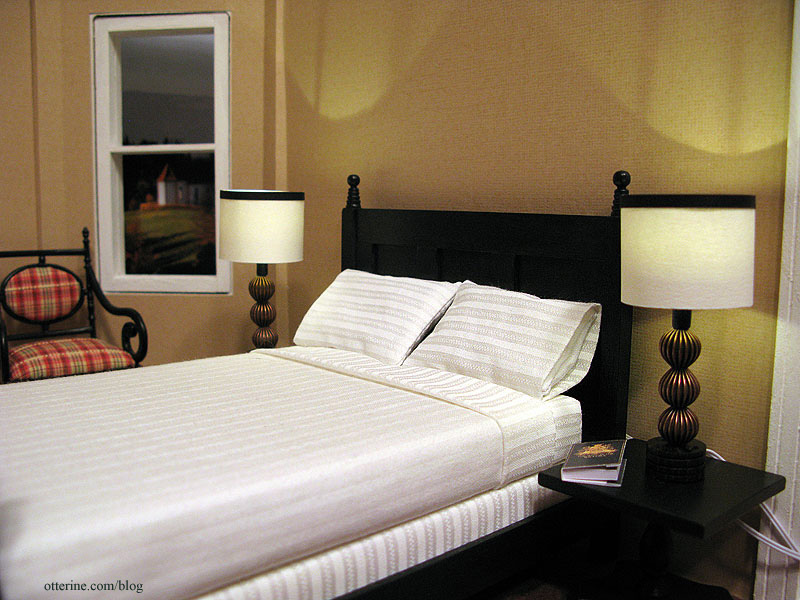
I love the way they turned out, and the LEDs provide great light not usually seen in miniature lamps.

I didn’t save any money making my own lamps since I used pricier LEDs and had to buy more materials than necessary just for two lamps, but I have unique fixtures in a more contemporary style than what’s available on the market.


