
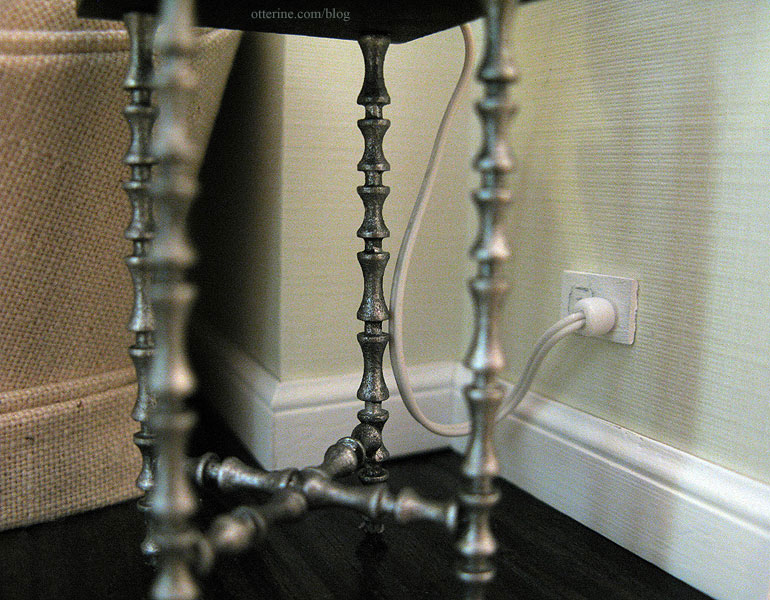
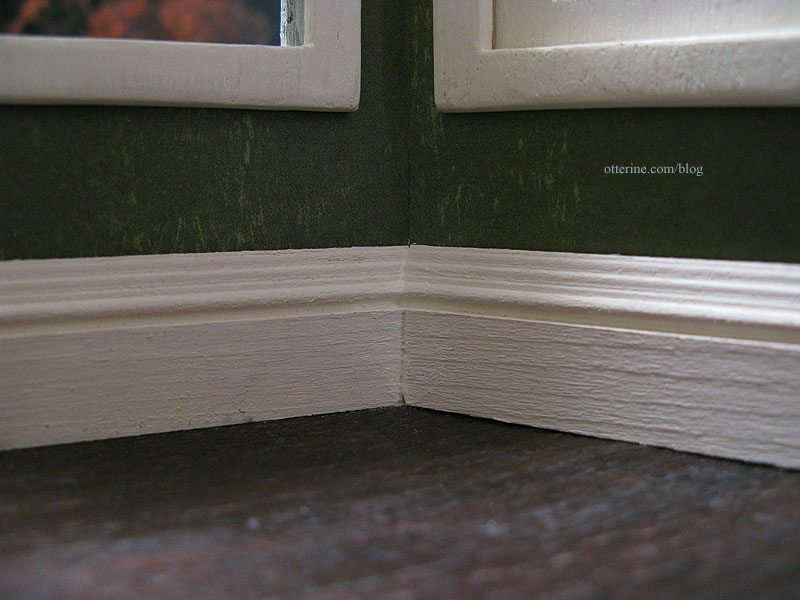
One of the best ways to achieve realism in a miniature setting is to add baseboards. But, nothing ruins that illusion more than big gaps at the joins. With a little patience, there’s a relatively quick fix to achieve perfect mitre joins, even if your cuts are off. (Note: for my tutorial on the electrical outlet, see this post.)
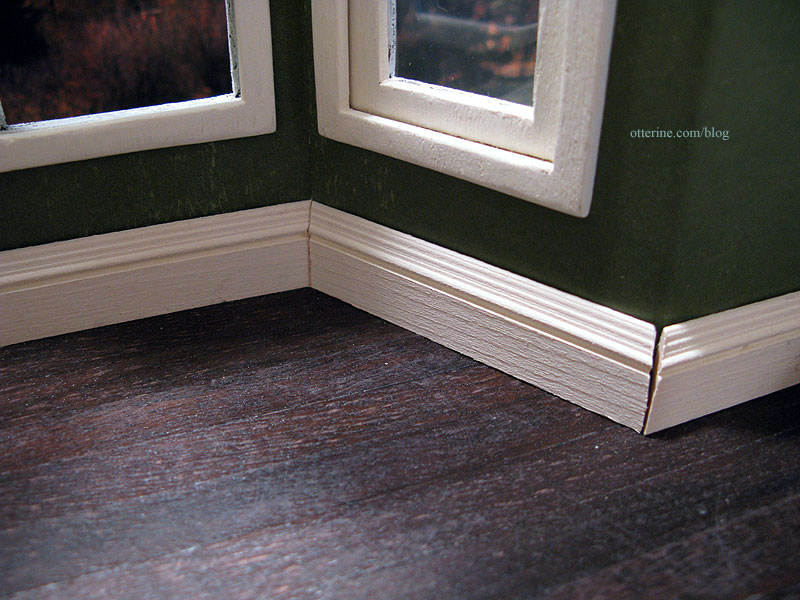
Here’s the process I followed in the Heritage kitchen, where the uneven angles of the bay window left rather noticeable gaps in the cut baseboard. Dollhouses are not often square, even with the best of intentions.
I use an Easy Cutter to make my mitre cuts in the first place, though this tutorial doesn’t cover that part of the process since I can’t photograph myself working on something that requires two hands! :D I’m starting at the point where you already have the best mitre cuts you could make. The baseboards need to be finished, cut and glued in place, matching the mitres as best as possible. I’ve left my baseboard relatively rough to reflect the age of the house.
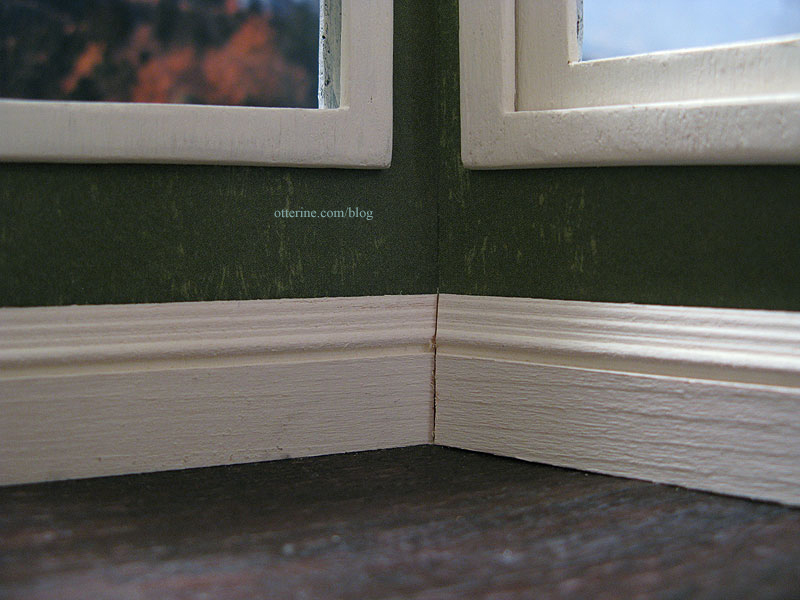
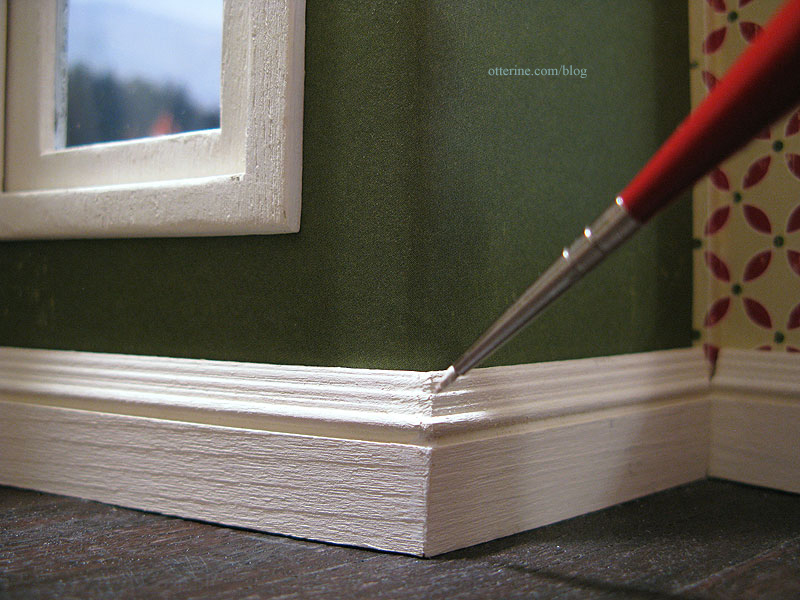
Inside corners usually have minor gaps, if any, and are the easiest to fix.
I take a tiny paint brush dipped into the same paint used on the baseboards and dab small amounts of paint into the crease.
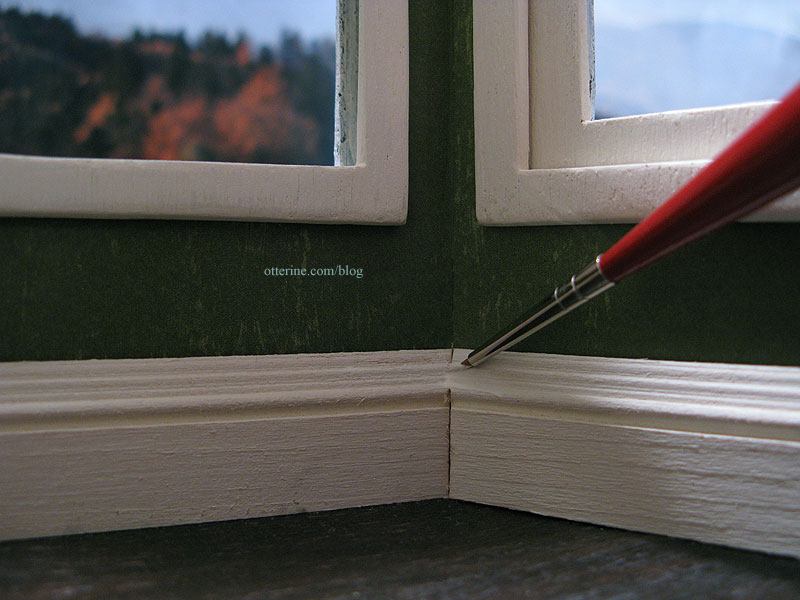
Be sure to blend the paint outward to eliminate bulk and obvious brushstrokes. In the photo, I could see I missed the very bottom – so I went back and filled that in later. :]
Be careful not to get any paint on the wall or the floor. If I get some stray marks, I usually wait until the paint has dried and gently chip off the paint from the wallpaper or flooring with the tip of an X-Acto blade. Wiping it while wet can often cause a bigger mess that’s harder to clean up.
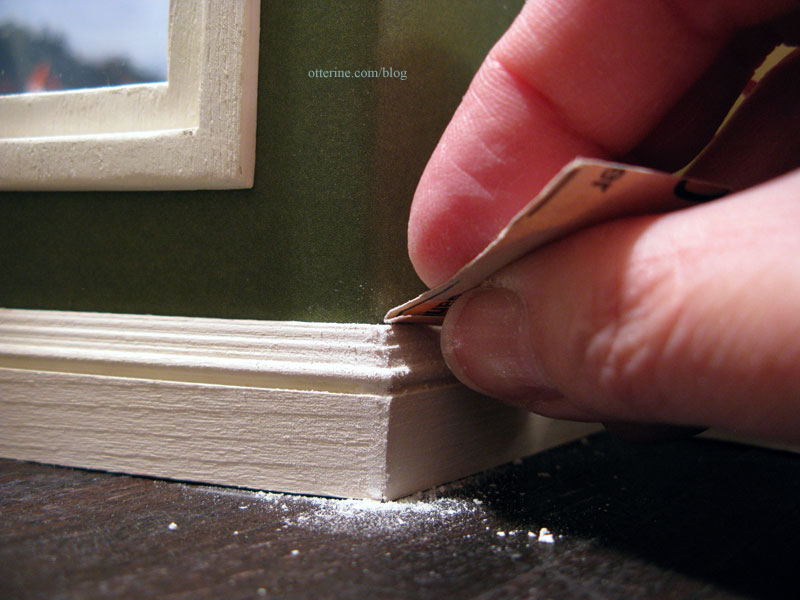
For outside corners, minor gaps can be filled in the same way, with paint. For larger gaps, I apply spackling compound into the gap using a palette knife.
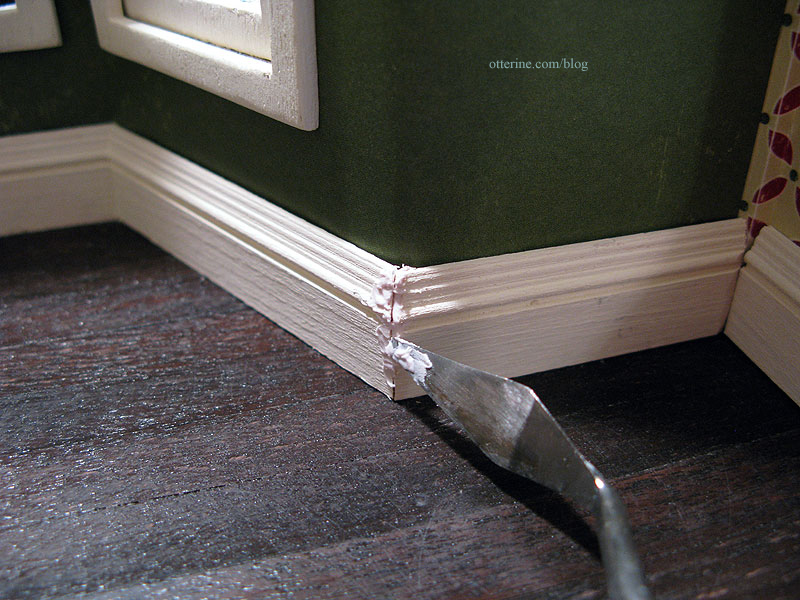
I then smooth the material with my finger and reapply as necessary. It’s better to build it up a little than to use too little.

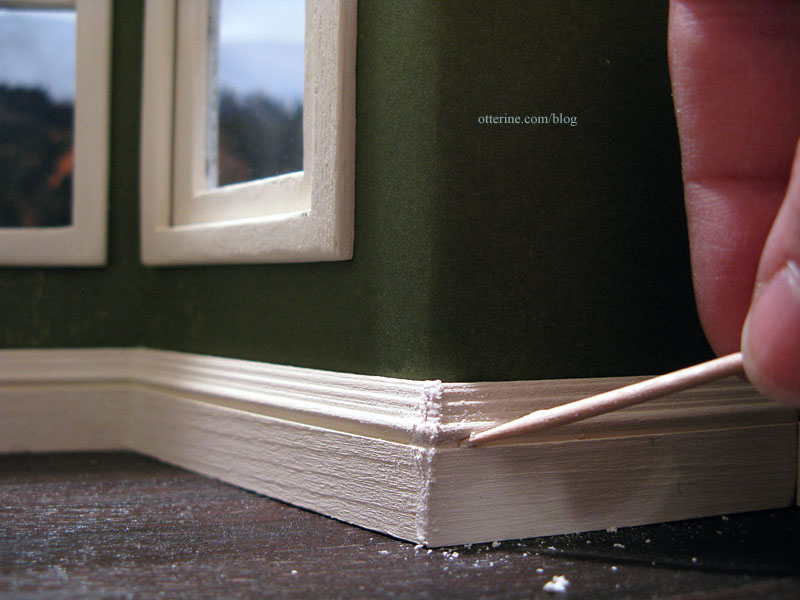
Before the compound dries, I use a toothpick to mimic the grooves of the baseboard. It doesn’t have to be perfect since sanding will take care of that.
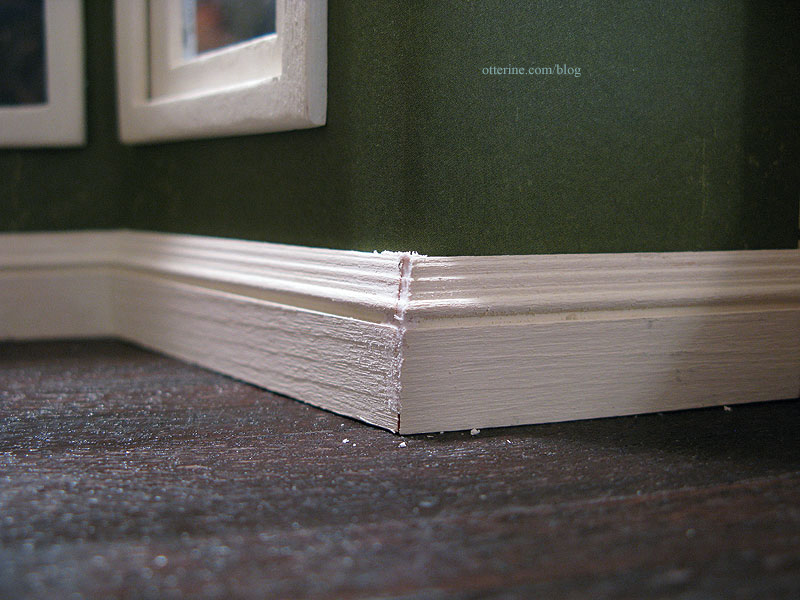
Once dry, I sand the spackling to a point at the corner. I do this by sanding the flat surface of each board toward the corner without sanding directly on the corner. I also fine tune any routed details with sandpaper in the same manner, though this time I follow around the corner.

I make sure the top is level by sanding.
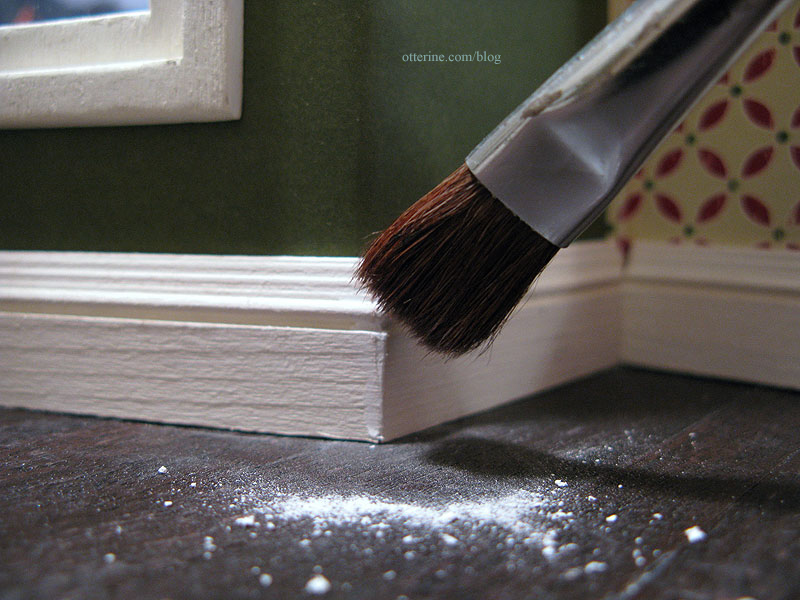
Using a clean, dry brush, I remove the excess dust from sanding and refine further. You can add more spackling if needed, let it dry and sand more.
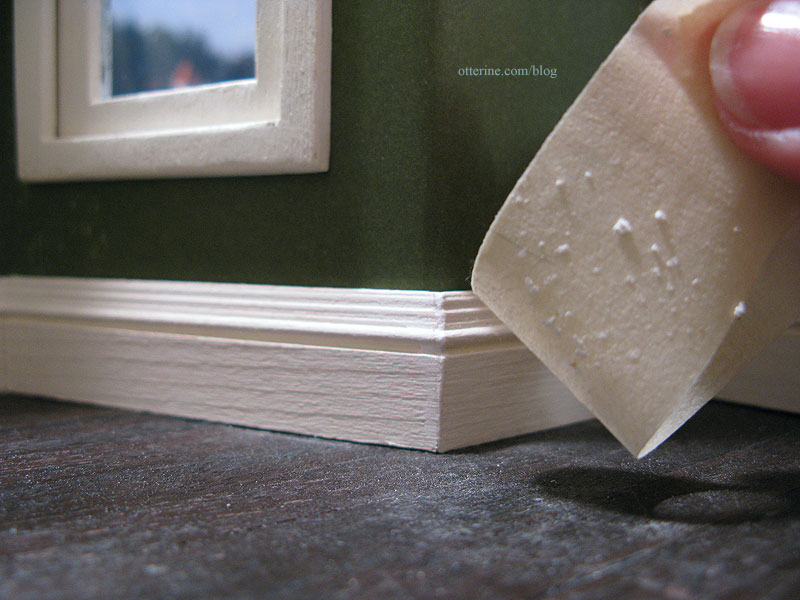
I use a piece of masking tape to pick up the dust.
Since this is an old house, I decided to leave the baseboard a little imperfect as though the corner has been knocked into repeatedly over the years. ;]
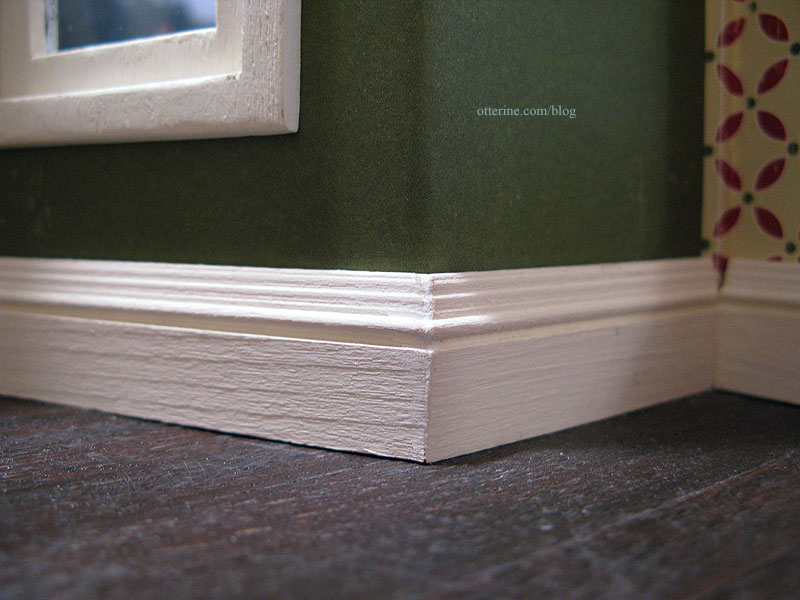
Once I have good form to the corner, I paint over the spackling compound, blending the paint along the baseboard.
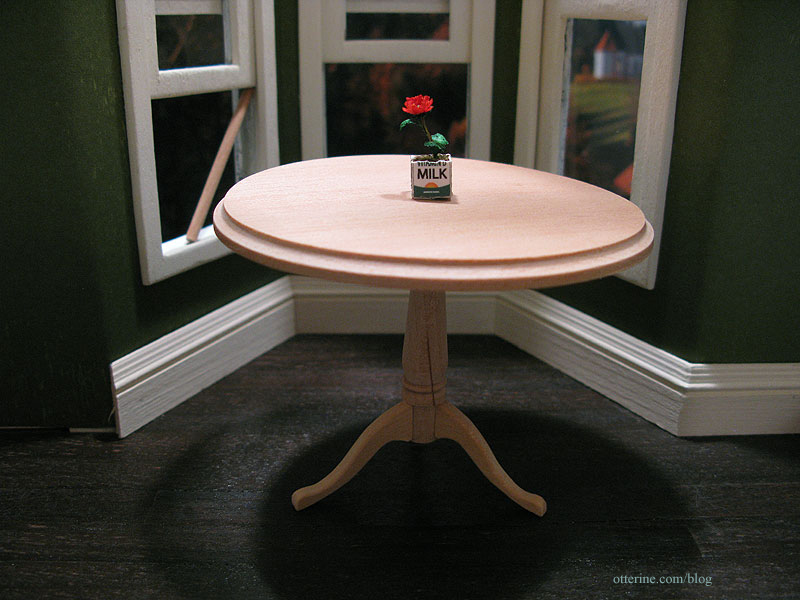
Now, the gaps are nearly invisible and won’t interfere with your miniature scene.
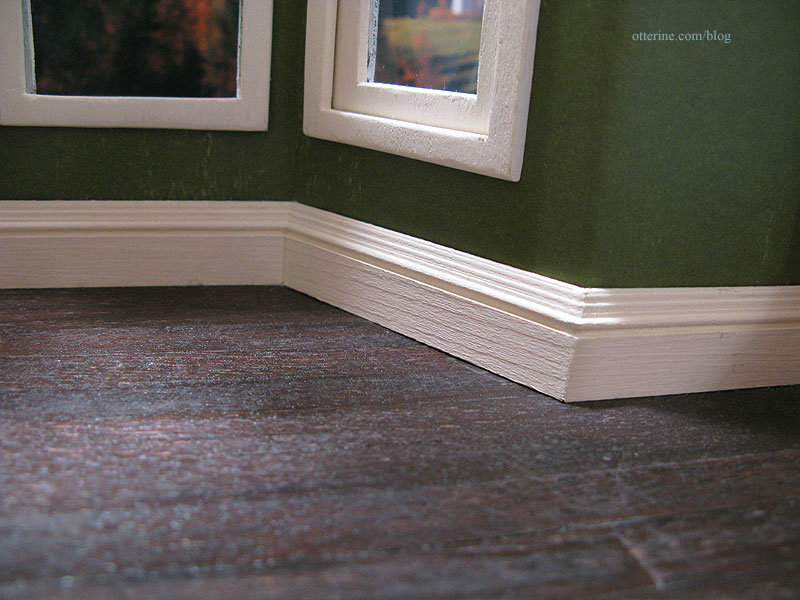
Your furniture and accessories become the focus, not bad mitre cuts! :D
This method is for painted baseboards, though it might be possible to use stainable wood filler to achieve the same results on stained wood. I’ve not tried that yet, though.


