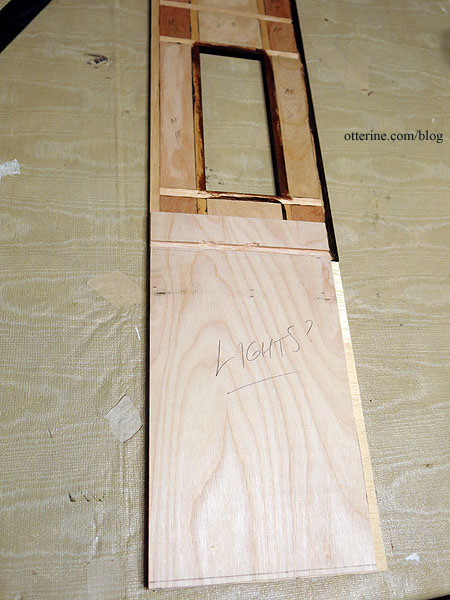
The side addition has a front wall with two large windows made in the same manner as the original kit. As with the front main wall, I had to modify the backer board for the addition to trim the windows. I had originally planned to rout channels for the floor boards, but I don’t have the right setup for making straight channels with my Dremel tools. You can see my initial Dremel attempt here on the left. On the side wall, which is solid without window openings, I cut the floor channel by hand. The note about the lights reminds me not to glue the unit together without first addressing the wire channels. :]

I didn’t think the wall would be stable enough glued end to end, so I needed some of the backer board to remain intact. I will cover this thicker portion with a built-in window seat.
When I textured and painted the filler pieces for the side wall, they curled since they are only 1/16″ thick.
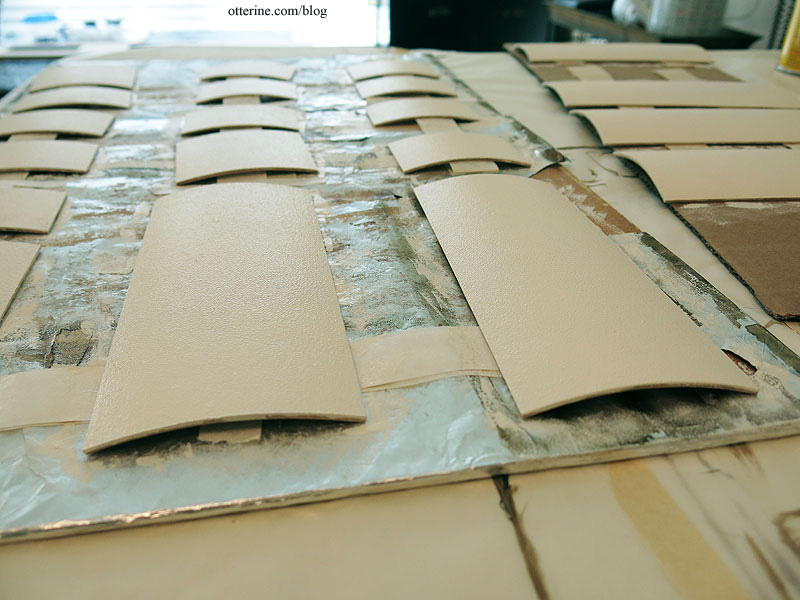
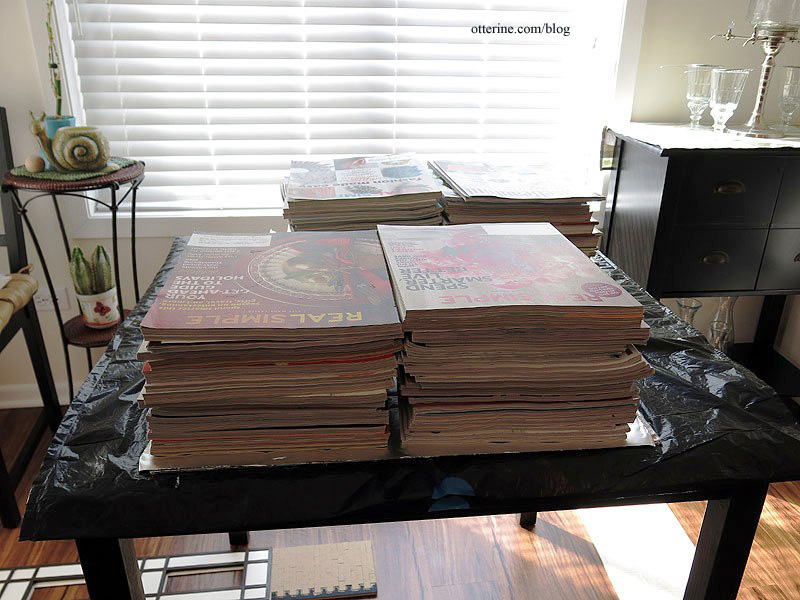
Once the surface was dry, but before the pieces had dried completely, I covered them with a layer of aluminum foil and pressed them flat with magazines. Problem solved. :]
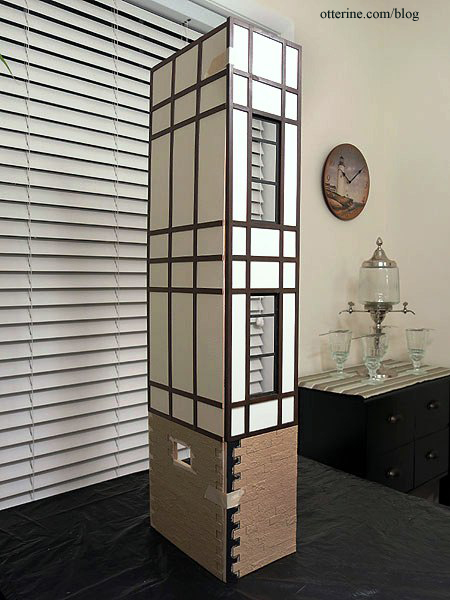
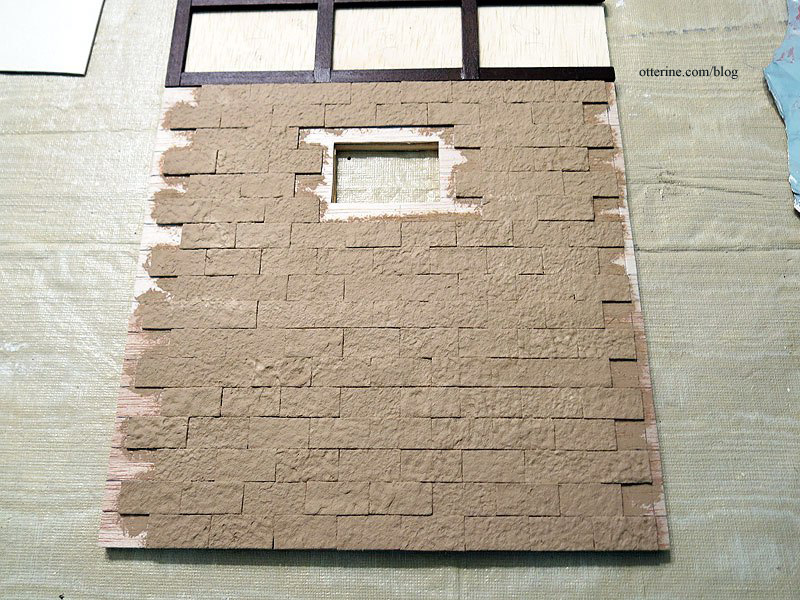
I added the stone to the side wall. I will install the basement window “backward” meaning the front of the window will be inside. I did this for a couple of reasons. First, the depth of the wall is thicker than needed for the window, so I would have to add trim to get it to fit properly. Second, the stain wouldn’t match the exterior paint colors. And, third, a window such as this would be set into the stonework. I didn’t treat the lower front door and garage door in the same manner since it would have been more work than it was worth in the end.
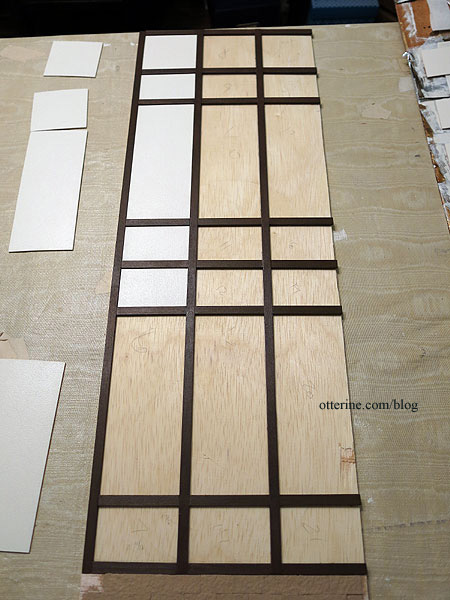
For the thicker grids and fillers, I glued the pieces together and then added the backer board. For the thinner pieces here, it was easier to glue the grid to the backer board and then adjust the fit of the filler pieces afterward. I glued the filler pieces in place with wood glue supplemented with drops of super glue gel to keep them flat.
I added the black window frames to the addition front wall. These had to be cut from lengths of wood I purchased since there was only so much wood trim included in the original kit. I glued the bottom stone portion to the top grid assembly.
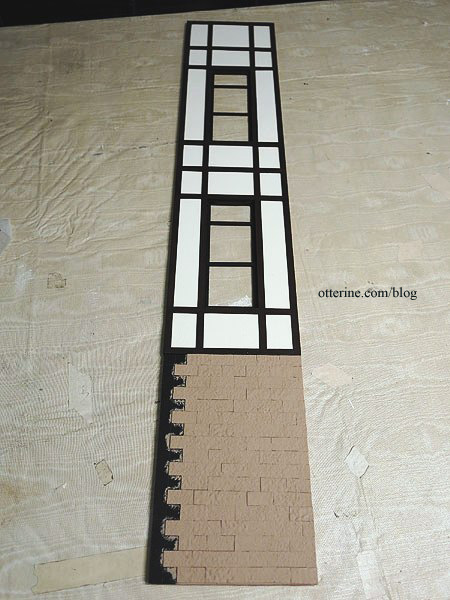
Next up, window trim and interior padding for the addition front wall, but here’s the addition in dry fit. :D