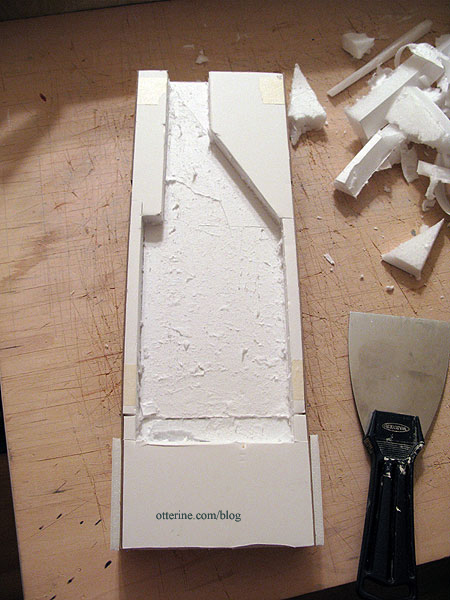
Continuing to work on the chimney. I cut out space for the firebox and any wiring I might end up running through the house. To do this, I scored lines in the foam core, and then lifted the pieces out with a putty knife. I waited until after assembling the chimney since it’s far easier to cut portions out in the size and shape I want than to attempt to frame the area with thin pieces of foam core board.
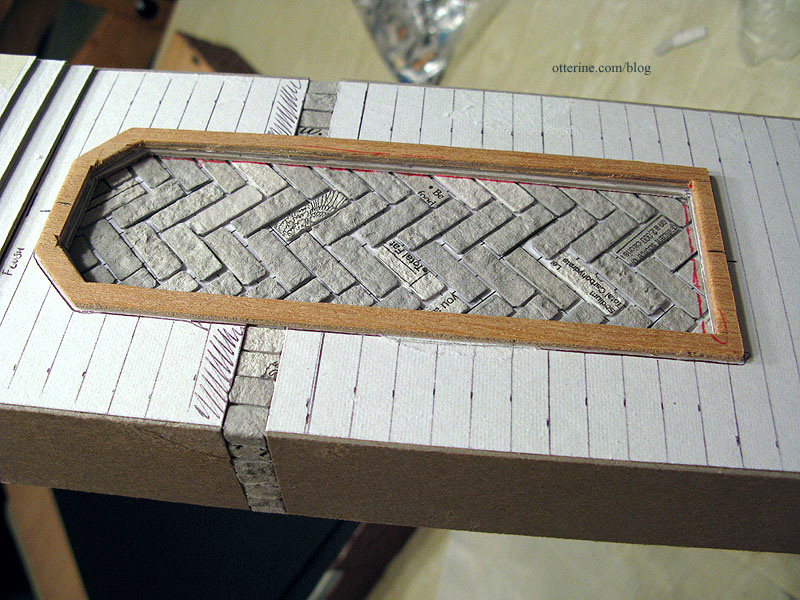
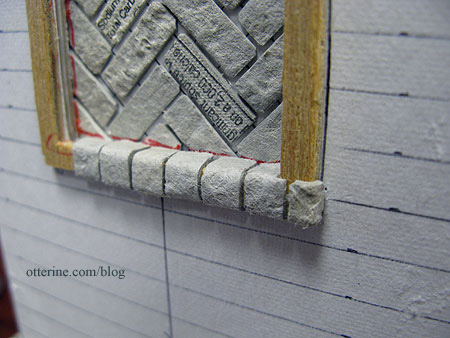
I added vertical bricks to the slightly recessed section at the sides by cutting the pieces to fit individually and gluing them in place between the cardboard top and bottom. Putting the outer brick surface on the adjacent cardboard while leaving this section as is will create the indented layer. I then glued the wood frame in place.
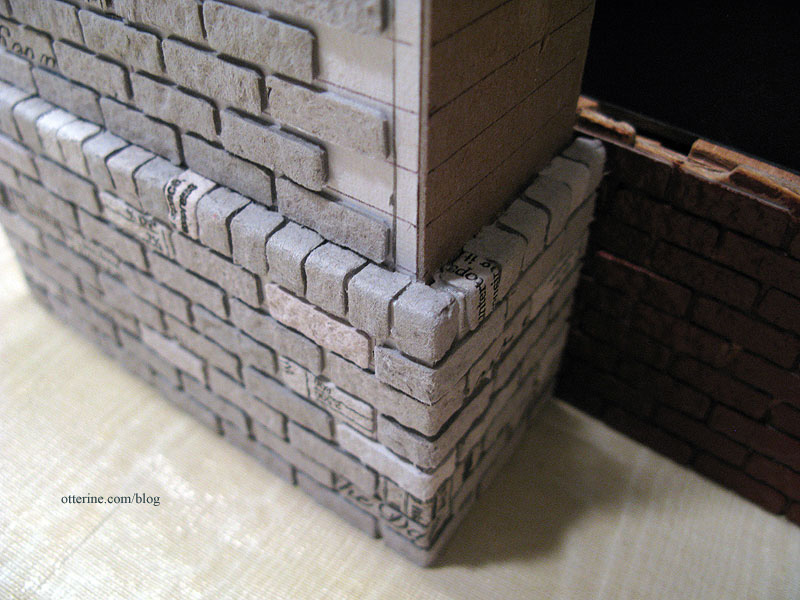
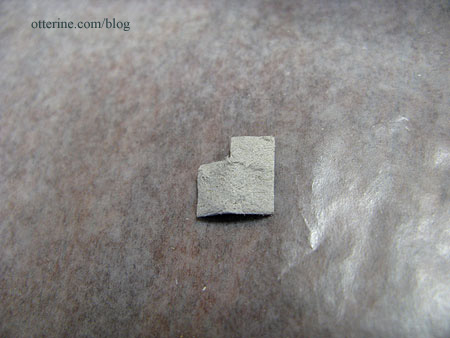
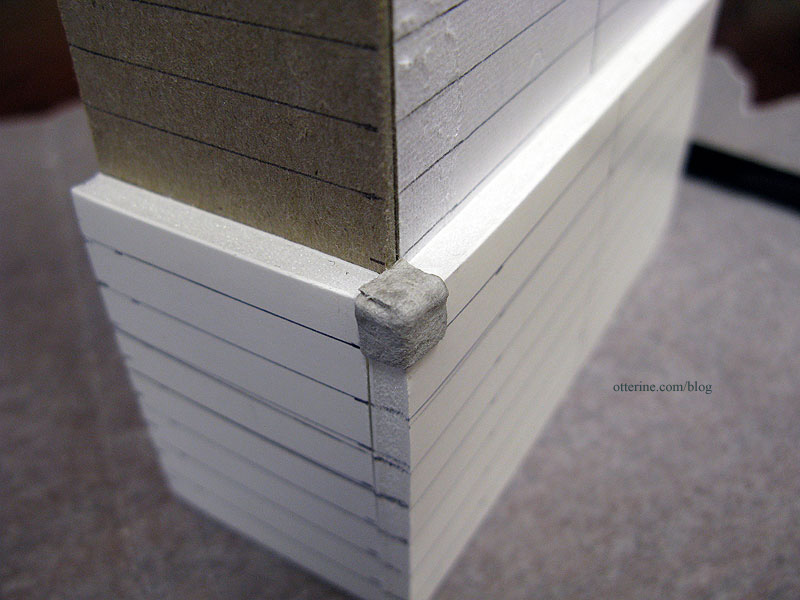
For the bottom portion of the chimney, I created a vertical row at the upper edge. To cover the corners I cut special corner shaped bricks and glued them around the corners. Once painted and grouted, the seams won’t show.
Sometimes when the bricks didn’t want to stay put while the glue dried (I use Aleene’s Quick Dry for bricking), I used sewing pins to hold them in place.
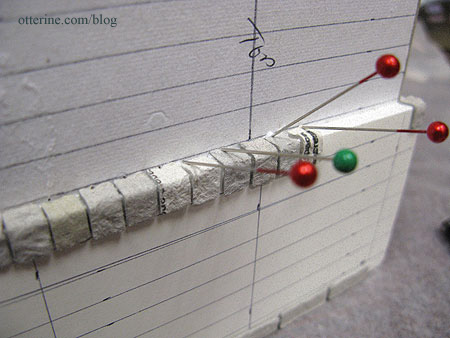
Mini masonry goes much faster (and with better results) with guidelines, though there is the time involved in making said guidelines to be considered. ;]
Amazing but my white cutting board looks a lot like ice in this photo. :D
After completing the base, I started applying the bricks to the herringbone frame.
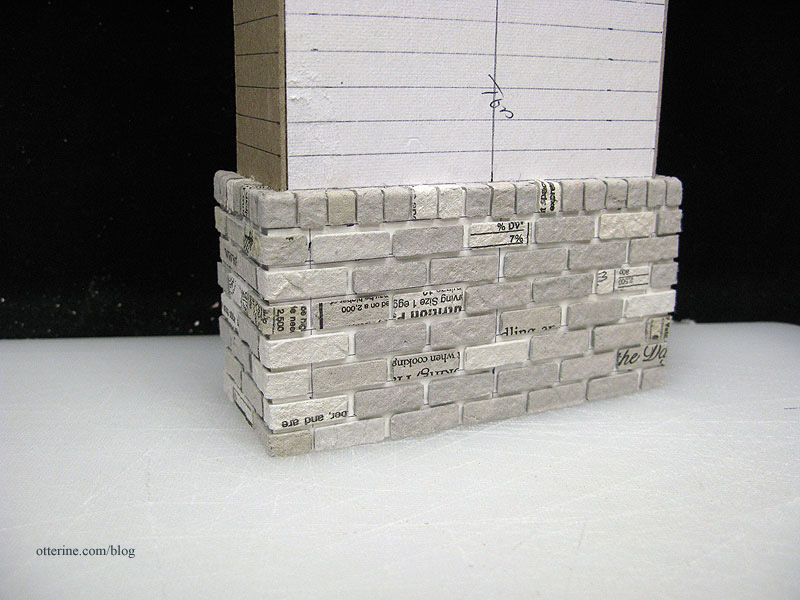
This part was tedious even for me, so I took a break and started to brick the rest of the lower portion from the base upward.

I think having the extra base the same height as the foundation will work out nicely.