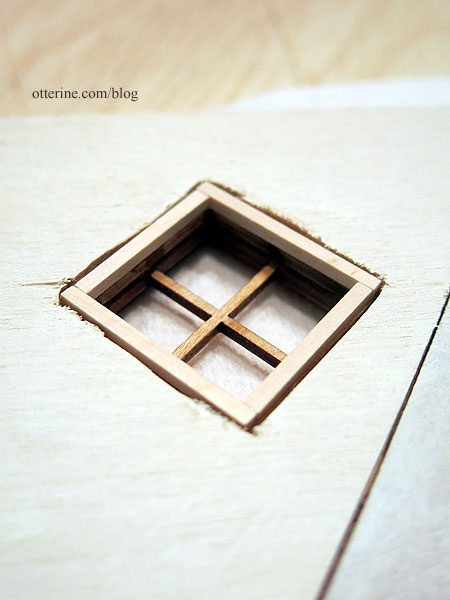
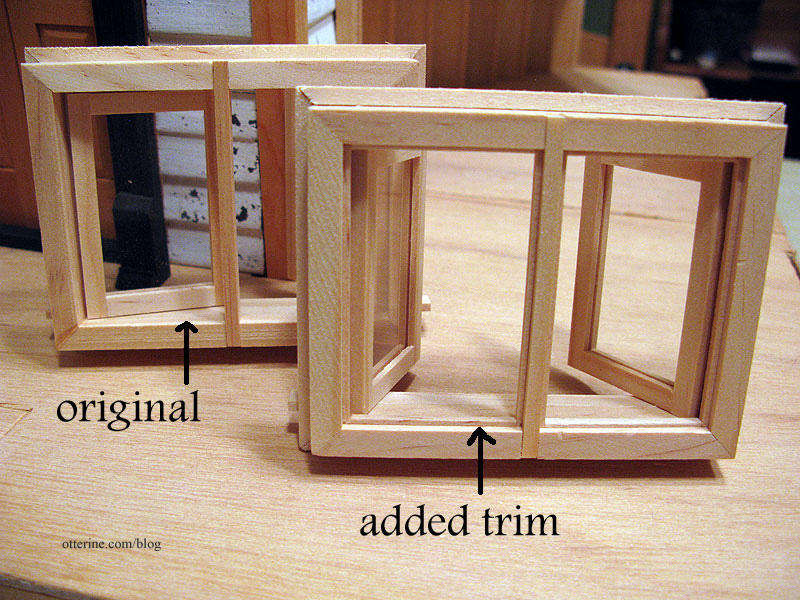
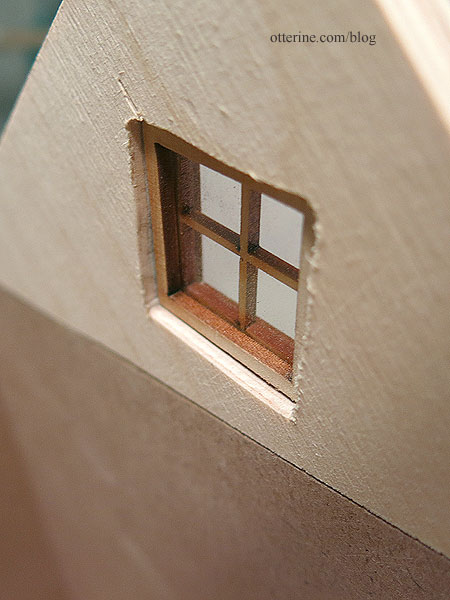
The casement window in the kitchen is a Houseworks component, and as such requires a deeper opening than the Heritage walls have. To get the window to fit properly, I added a border of 1/8″ thick strip wood under the outer frame. Here you can see the altered one compared to the original.
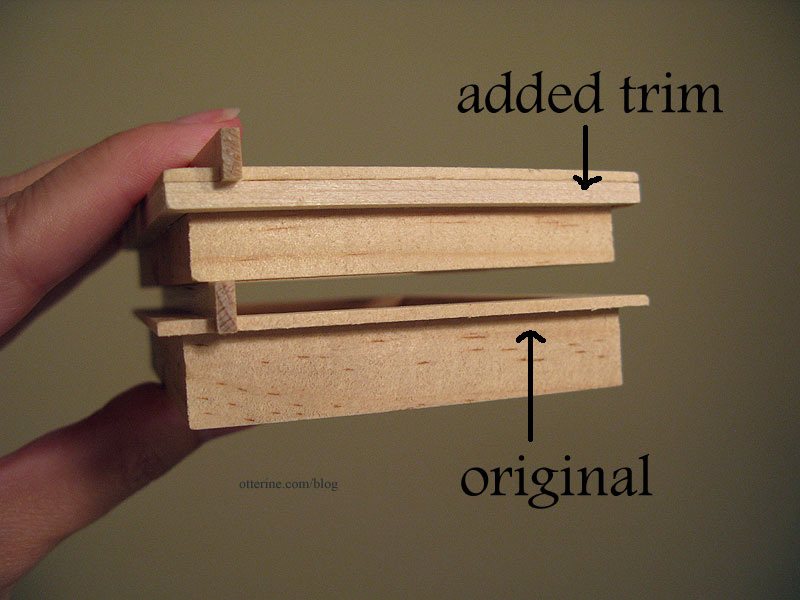
This helps the window sit outward in the opening without seeming out of scale.
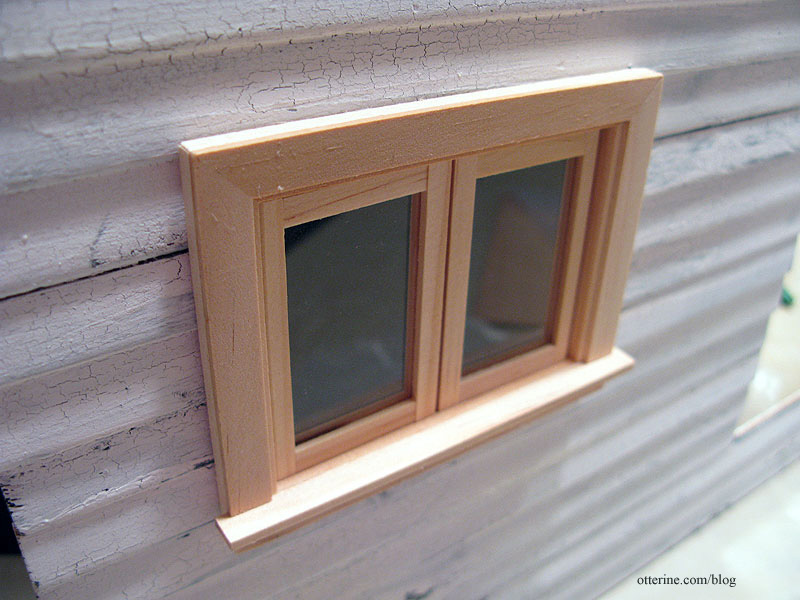
This still leaves 1/8″ of overhang on the inside.
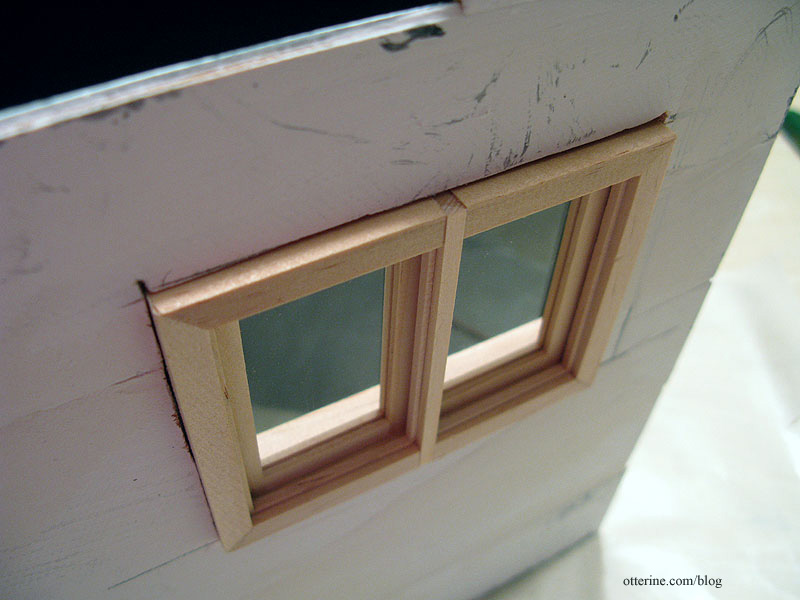
I later padded this kitchen wall when I added a new double working window. This made up the remaining part of the difference in depth between the original wall and the added windows.
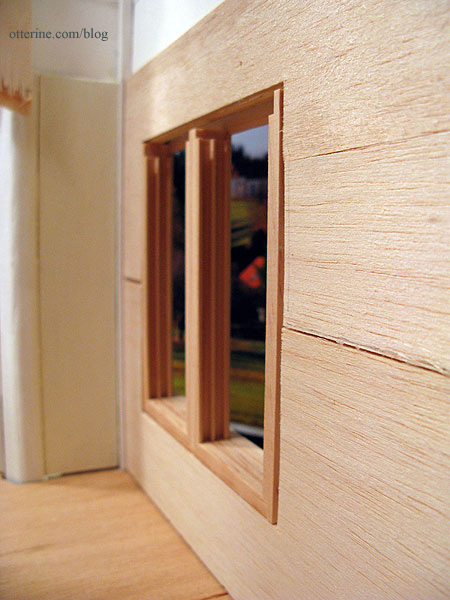
The other issue of this window happened to be something I addressed for Baxter Pointe Villa; there were gaps all along the window edges allowing light in. I added strip wood along the inner edges to block this gap, though I had to leave a bit of wiggle room for the window to move correctly.
The front Palladian door was another matter. Because it has a rounded top, I would need to recreate this curve to near perfection otherwise it would look like a deliberate addition to the door, rundown house or not.
But, this wasn’t the only reason I tried something different for this particular component. I wanted to eliminate the obviousness of the connectors on either side of the front door to obtain a cleaner look to the foyer. To that end, I first lined the wall between the two connectors with 3/32″ thick basswood. This is the thickness of the connector edge leading toward the kitchen.
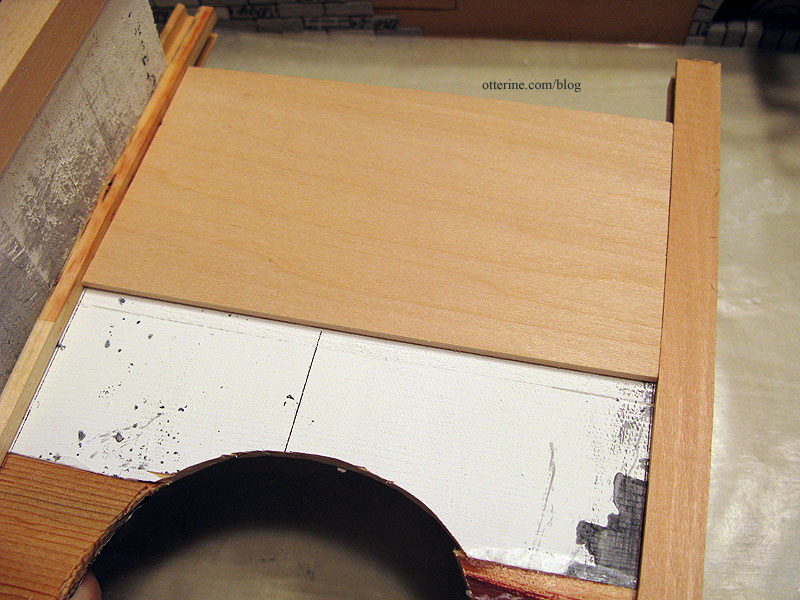
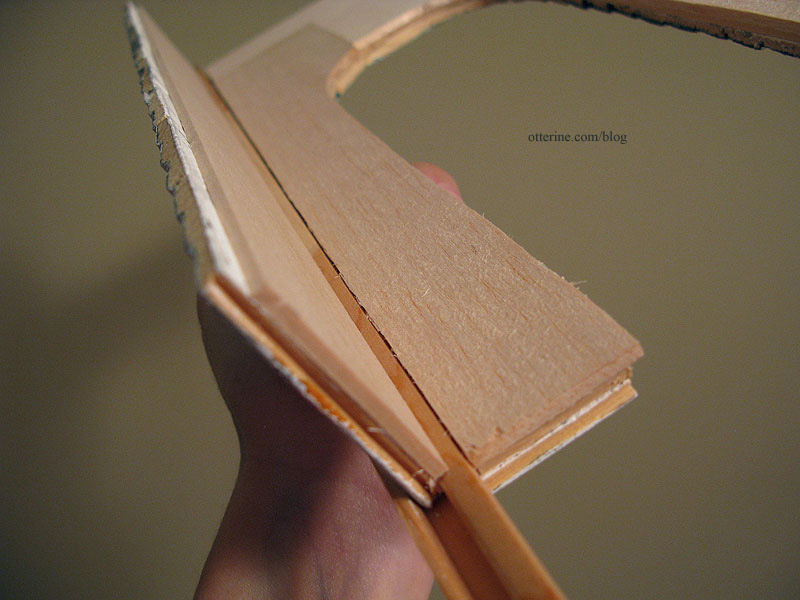
I then lined over this layer with 1/8″ thick balsa from the inner connector to the outer edge of the connector leading to the kitchen. I used bass wood and balsa since that’s what I had on hand. Balsa is also very easy to cut around curves.
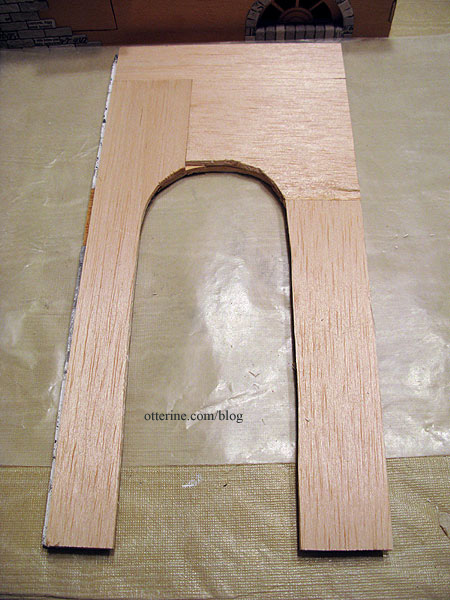
The door opening then had enough thickness to accommodate the door upgrade.
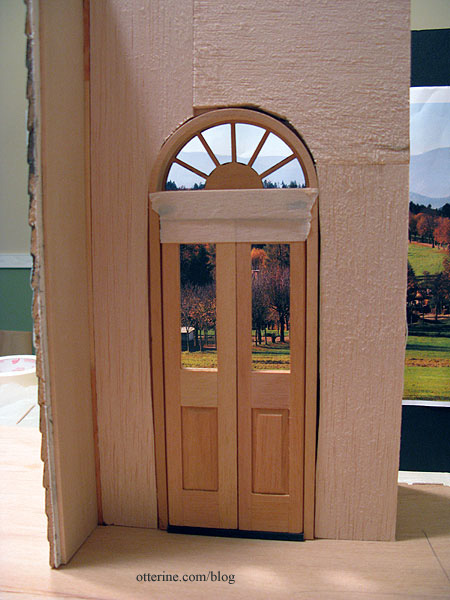
To finish off the clean lines of the foyer, I filled in the side wall in the same manner as I had for the front wall. I needed only the 3/32″ bass wood layer since the front wall was now a flat surface and I needed to match only the opposite connector.
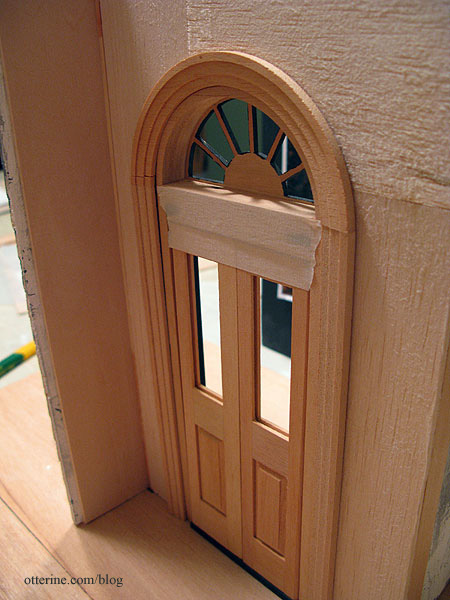
With the interior door trim taped in place, you can already see the cleaner lines of the walls.
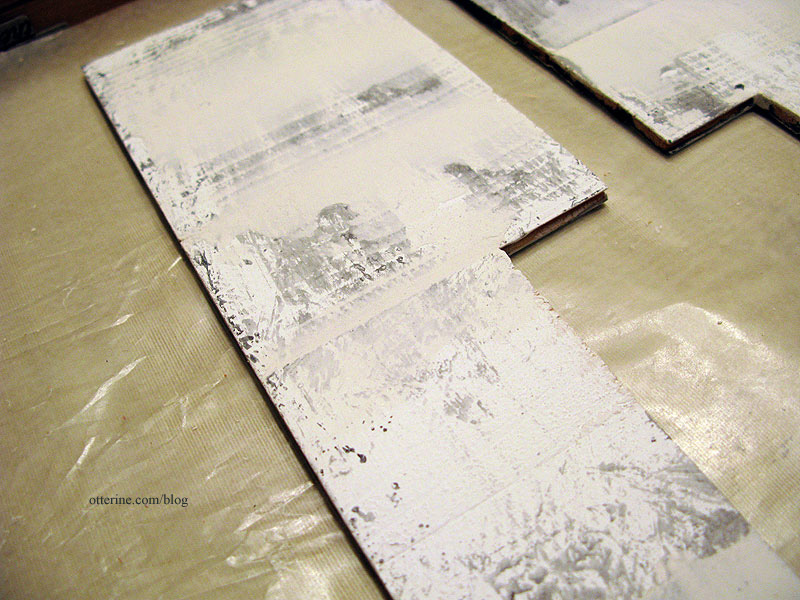
Padding the walls makes for a smoother surface to wallpaper. Dura-Craft walls assembled from siding pieces invariably have uneven back surfaces. For the walls I didn’t plan to pad, I spackled some of the deeper imperfections. Uneven walls work well for an aging house, but I wanted to be able to control the aged look not have it appear to be sloppy construction.
Conversely, if you have a wall that’s too thick for your component, strip wood can added. Here the window has a gap.
I added strip wood around the inner edge of the window to fill this gap.
