
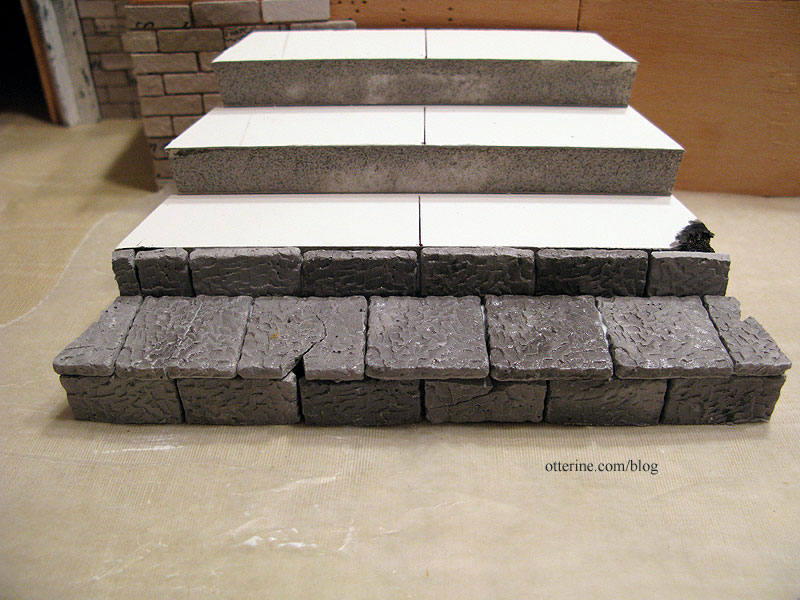
The new front stairs for the Heritage are made from a 1/2″ thick foam core base.
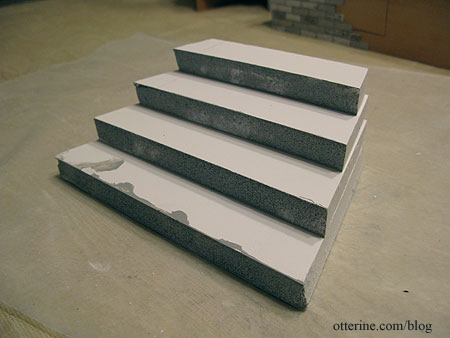
I had considered using paperclay for the stone texture, but I then remembered I already had 50 granite pavers in my stash of mini supplies. These can be easily cut with a utility knife, so I opted to use them instead. I started with the risers, cutting each 1″ paver in half.
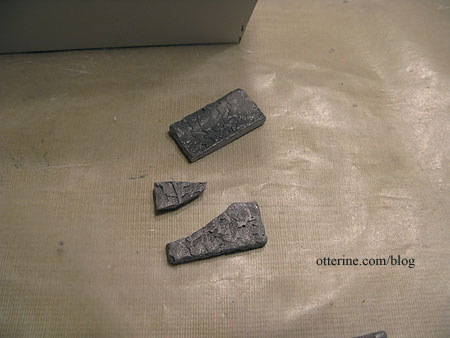
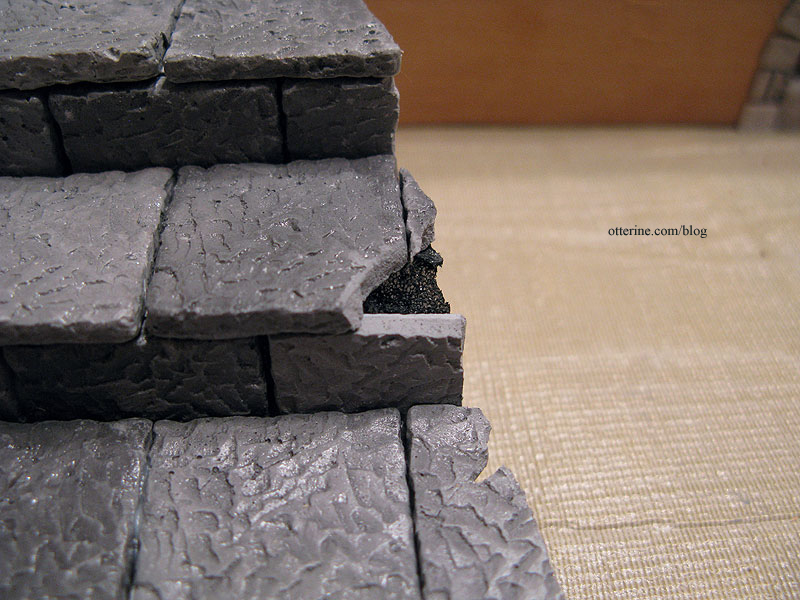
As I was getting the hang of cutting them, a couple of them broke. Perfect for my worn out old house! I gouged out the foam behind the hole in the paver and painted it black before gluing the broken pieces onto the foam base.
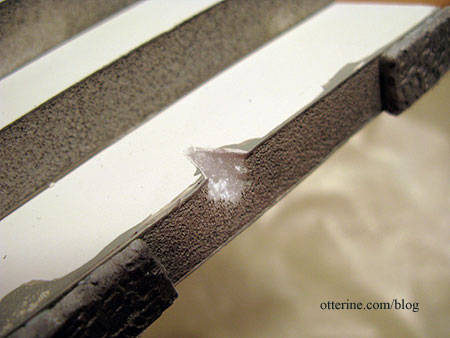
With the tread pavers in place, it looks awesome! :D
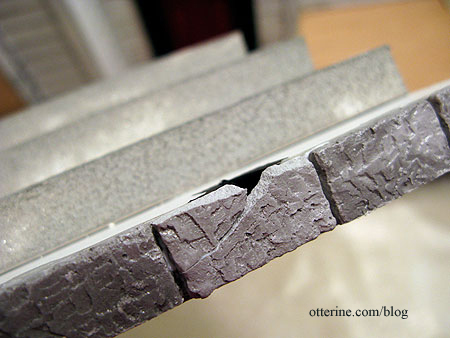
As you can see, some holes are larger than others. I can put plant matter and moss here when I get to the landscaping part.
I decided to line the top of the foundation with stone as well. I thought having brick on this section would look inconsistent and out of place. Interestingly enough, trying to break them isn’t as easy as accidentally breaking them! But, I managed to intersperse some other breaks and holes throughout.
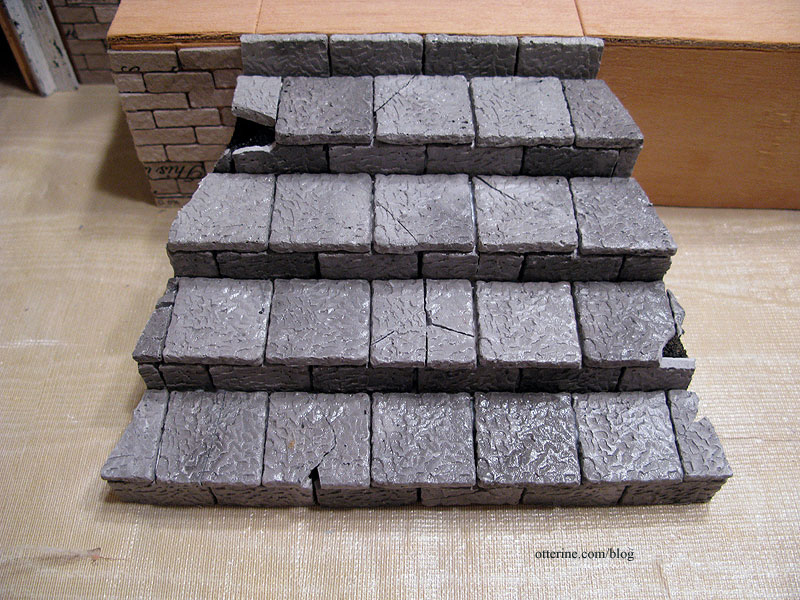
here’s still the aging process and grouting to come, but already I love the look of them!
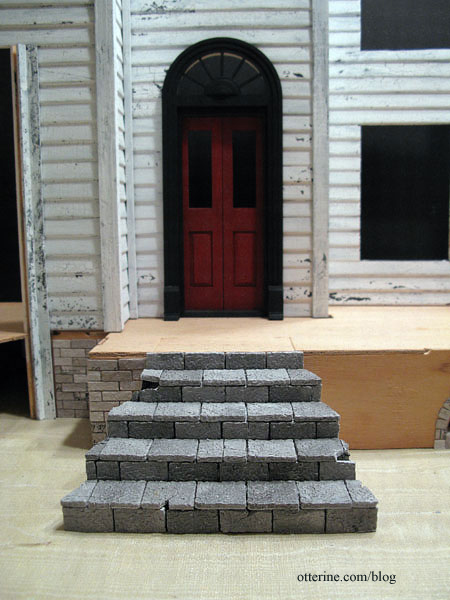
I used the remaining pavers to cover the exposed areas of the side walls. I’ll use a different material for the tops and there will be short pillars at the ends of the side walls. The base steps and side walls are not yet glued to each other or to the foundation. I need them separate to continue working on them.
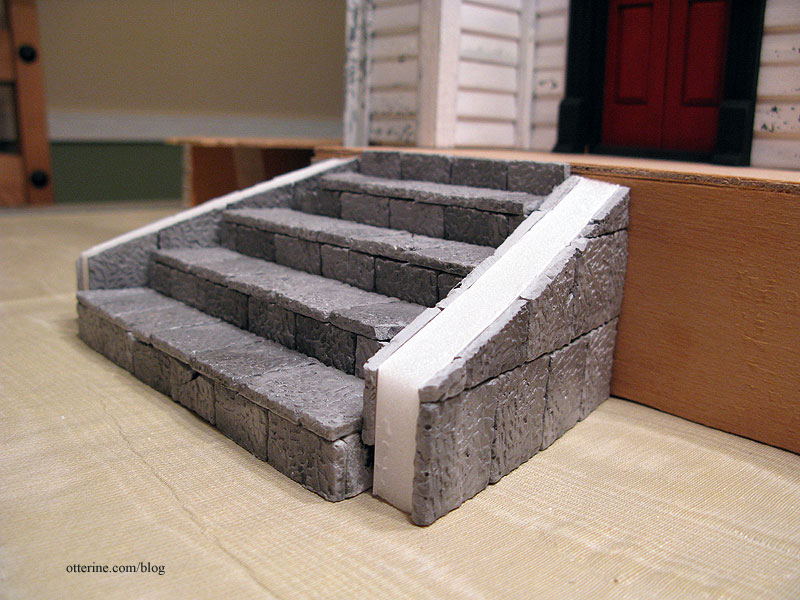
I had one full paver left over! I saved all the cut extras and shards to use later during landscaping. If I want the walkway to match the steps, however, I’ll need to get more pavers.


