A few of the square connectors were broken in the kit, so while I await replacement pieces from Manchester Woodworks I used some extras from the Newport kit to set up the first dry fit.
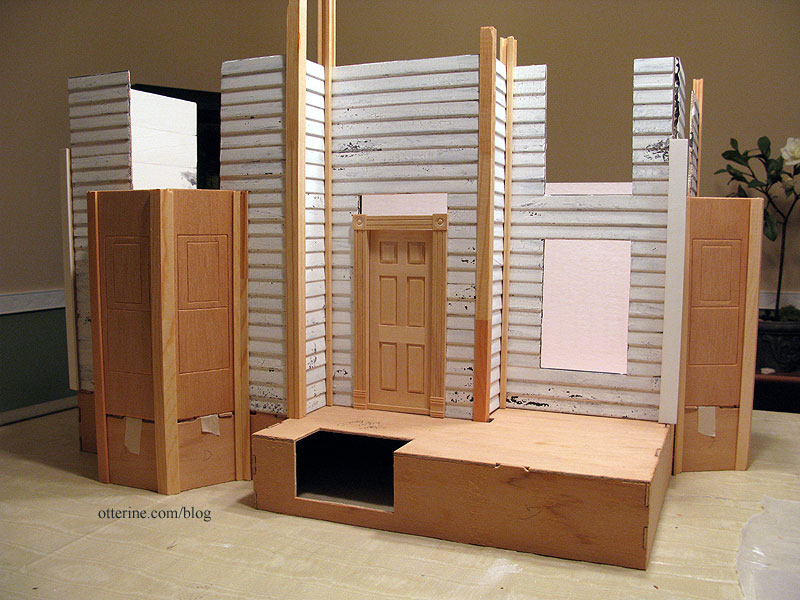
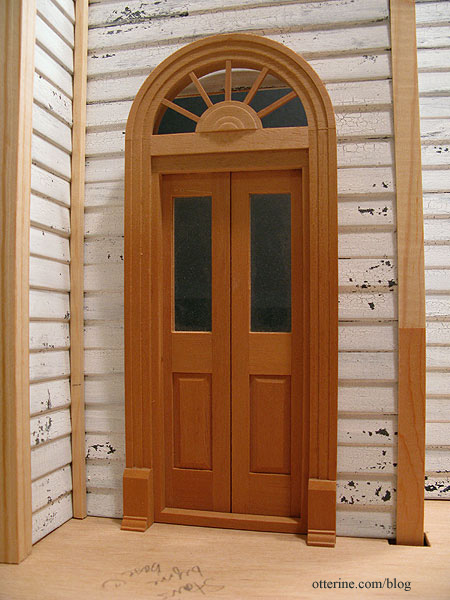
Above is a Houseworks interior door as a stand-in for the moment. But, I am considering using this gorgeous Houseworks Palladian Double Entry Door that I had in my stash from a bargain lot of miniatures I bought awhile ago. I even tried to sell it at a bargain price but no one wanted it. It was meant to be. Using this door will involve some extensive bashing, but that’s pretty much my way these days. (Yes, that’s the first note to myself written on the porch. It reads, “Stairs before base” with a smiley after.)
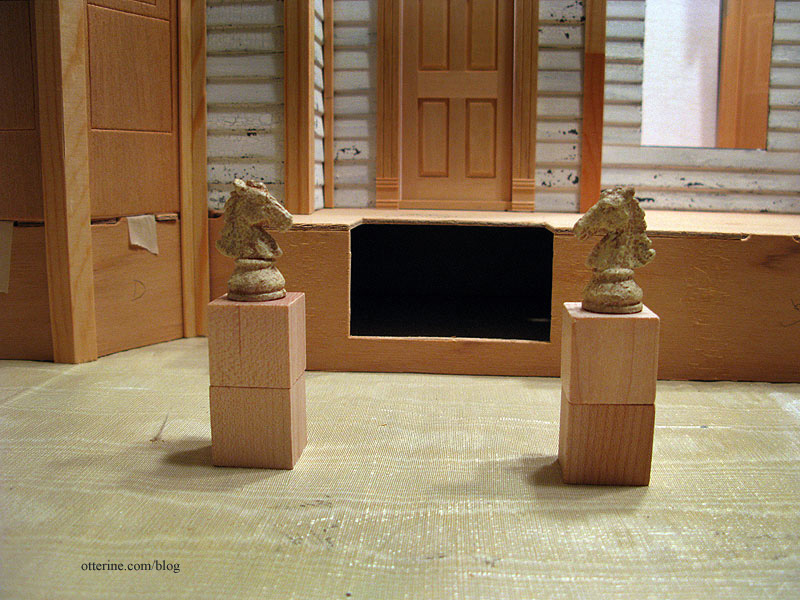
I also made a fine purchase from Katie’s Clay Corner…two stone horse heads. They are wonderfully made, and I see them atop columns on either side of an iron gate. =cue spooky music=
The angled bay window connectors for the Heritage needed to be cut from lengths of provided wood and assembled. I am glad this is not my first attempt at a kit so I have an idea of what the instructions are getting at and what the end result will be. I’ve mentioned my old Dura-Craft kit from when I was younger. That kit languished in the basement after overwhelming both my mom and me, then was lost almost entirely to a flood. Even with the limited experience I have now, I can easily see why this sort of kit overwhelmed us.
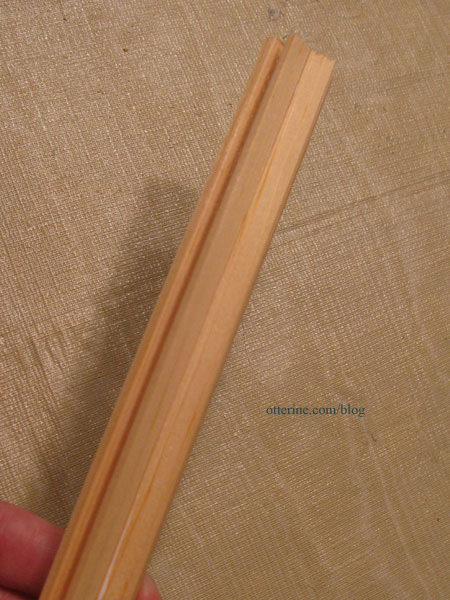
I cut the appropriate lengths for the small connectors and taped them together along the outer edge (without glue). This held them in place for me to check the fit.

I opened the two connector pieces like a book and spread glue along the inner surfaces.
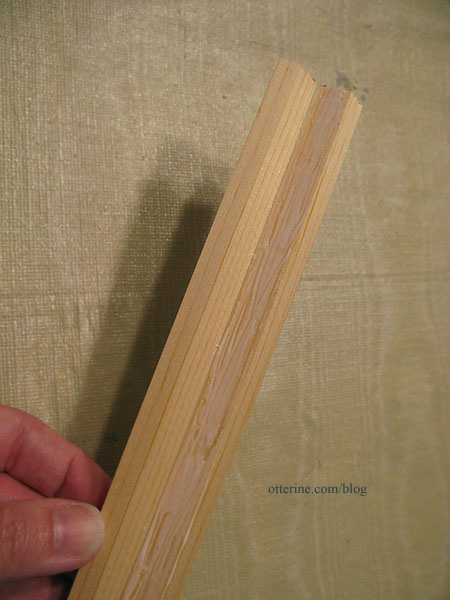
I then pressed the glued edges together and taped around the assembly at the top, bottom and middle.
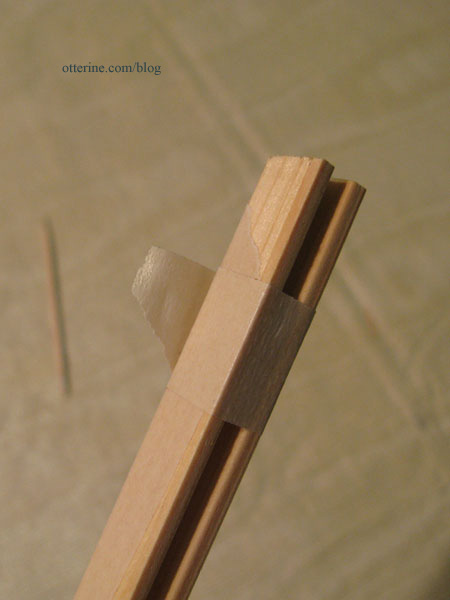
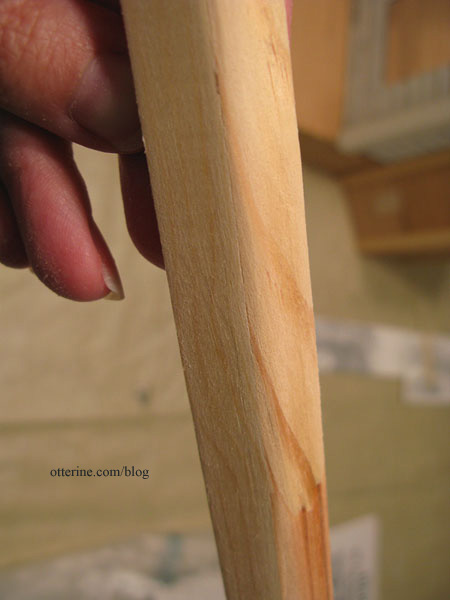
Easy peasy…until I got to the next step. I had to glue a small connector to a large connector then cut off the excess from the long edge.
Uh…okay. I followed the same principle for assembly as above but first taped the inner edges together to keep the pieces in line while I applied the glue to the inner surface. Cutting off the excess was a bit of a leap of faith. I used a utility knife to score along the edge and removed most of the overhang.
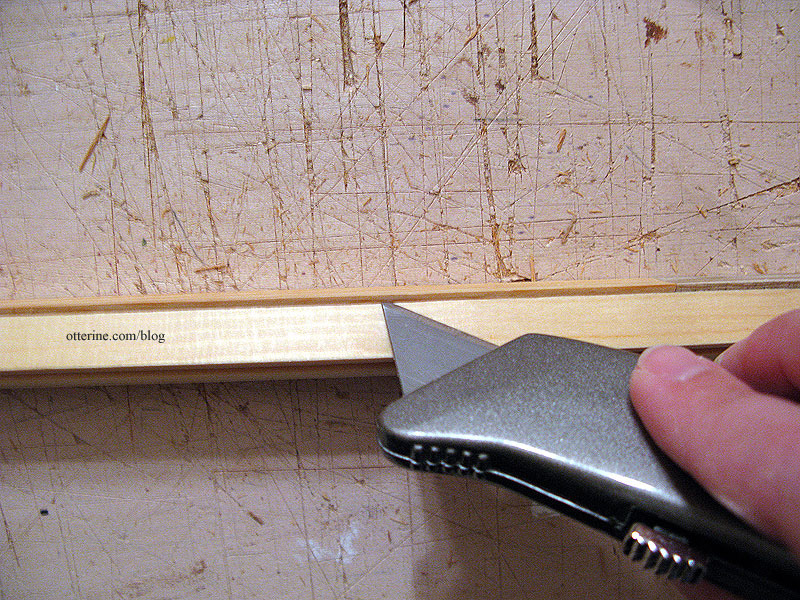
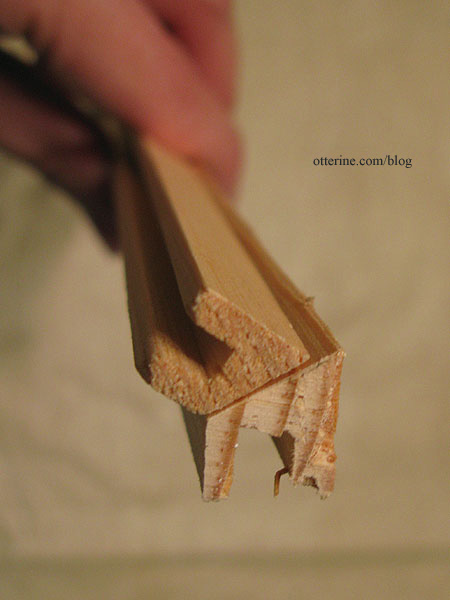
I then used the blade like a vegetable peeler to smooth it out. I was left with a choppy edge, though.
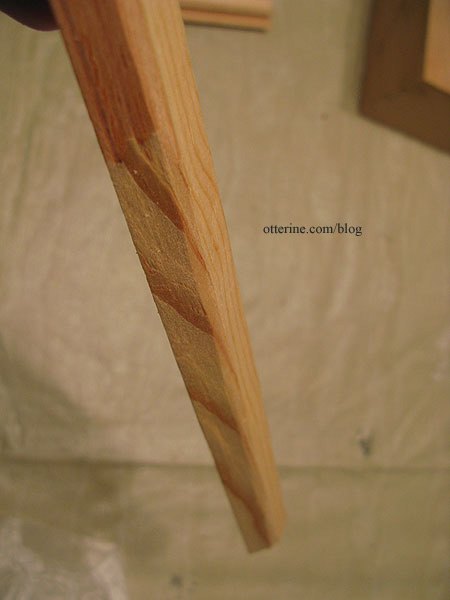
I sanded the edge it into a smooth, rounded corner. I actually think this unintentional detail might work wonderfully for an old house. But, it was my least favorite part so far.