
This is perhaps a bit of a boring post, unless you plan to build a Dura-Craft Heritage.
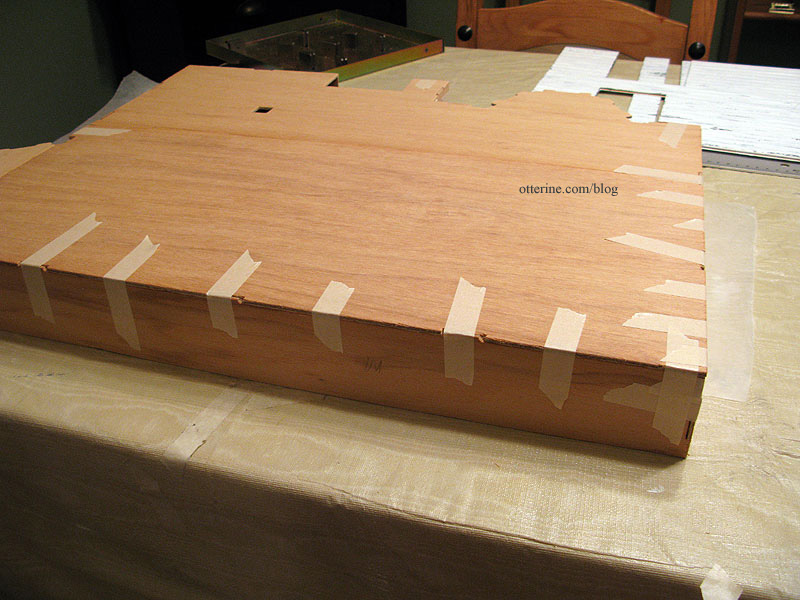
I took some pictures while assembling the first floor board. I cut the five required pieces from the die-cut wood sheets and sanded the edges smooth. The instructions tell you to place the boards right side down, but I started with them right side up. I held the front portion and the back portion close together and taped along the join. I did the same thing for the bay window portion.
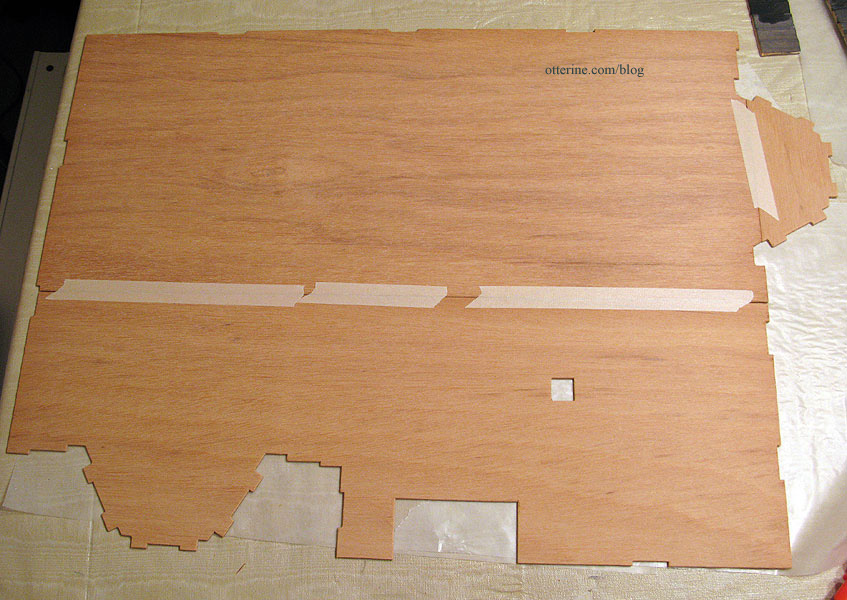
I flipped the board over and used wood glue to attach the long center splice and the bay window splice. I’ve been using tacky glue otherwise but I wanted a stronger hold in this instance. I then put some tape over the splices to hold them in place.
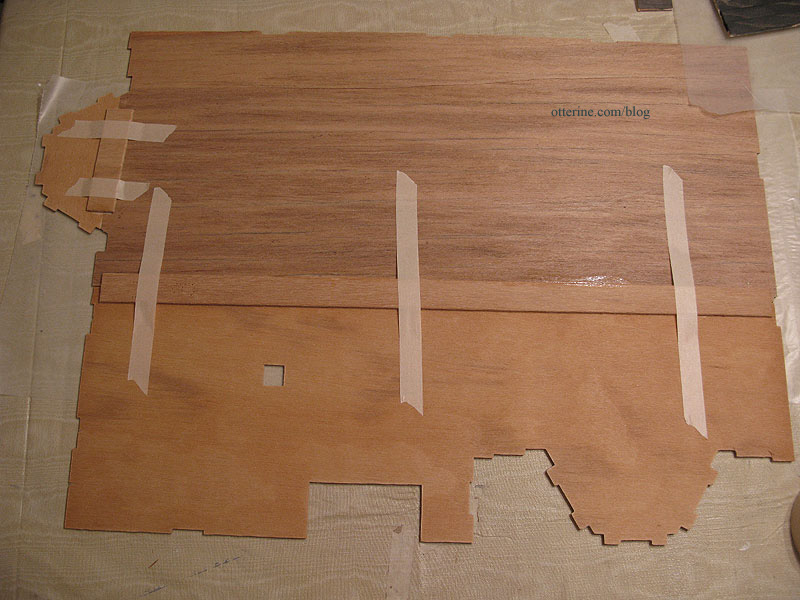
I flipped the board over once to make sure I didn’t have a ton of wood glue seeping through the other side and then returned it to its right side down position. I put magazines over the splices to hold the assembly flat while it dried.
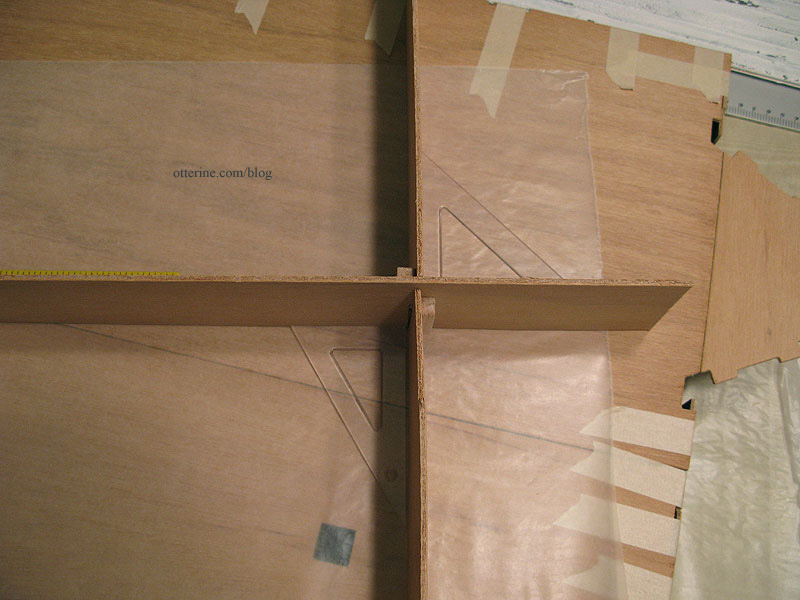
The foundation pieces went together well following the instructions, but I raided my wood scrap bag and added balsa or bass wood supports in the corners. Even though this is supposed to be an old house, I don’t need it falling off a rickety foundation! These braces helped keep the corners square as I worked with the foundation pieces and I think made it a whole lot easier. Most of the tabs did not fit well and the braces are pretty much the only thing holding the corners together.
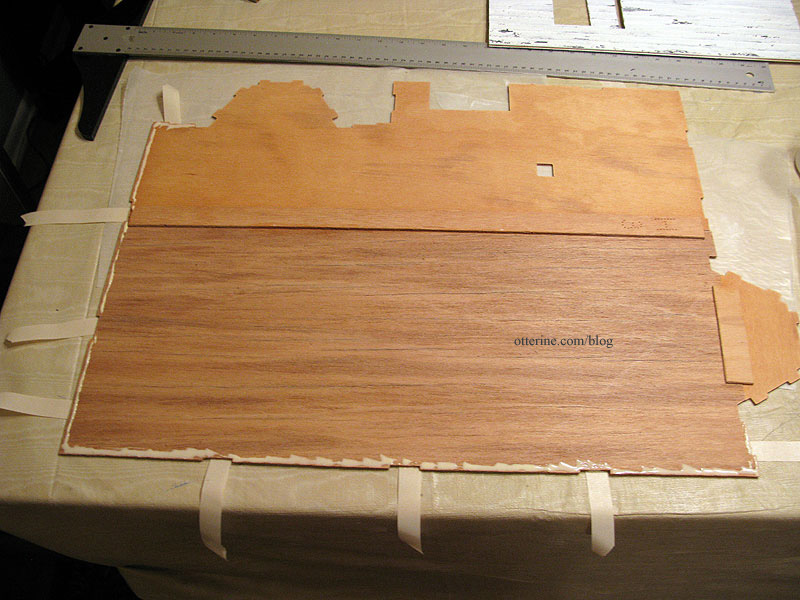
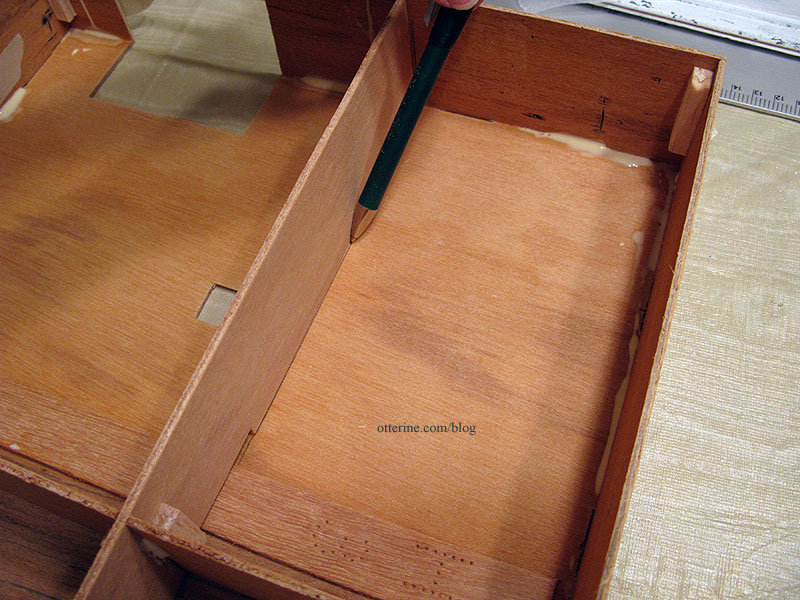
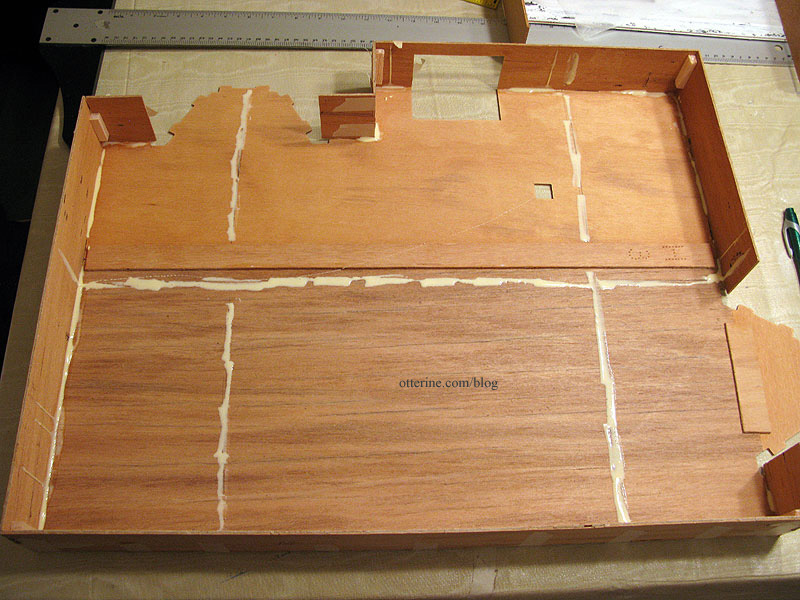
In order to glue the two foundation assemblies to the first floor, I flipped the first floor board upside down on the table, placed a few pieces of masking tape along the edges and then drew a line of wood glue all along the outer edge. This photo shows the tape and glue for only the first of the two assemblies attached in this step.
I placed the foundation assemblies on the board and then pulled the tape tight around the edges. I flipped the whole thing right side up and added more tape around the edges to make sure everything lined up well, especially at the corners.
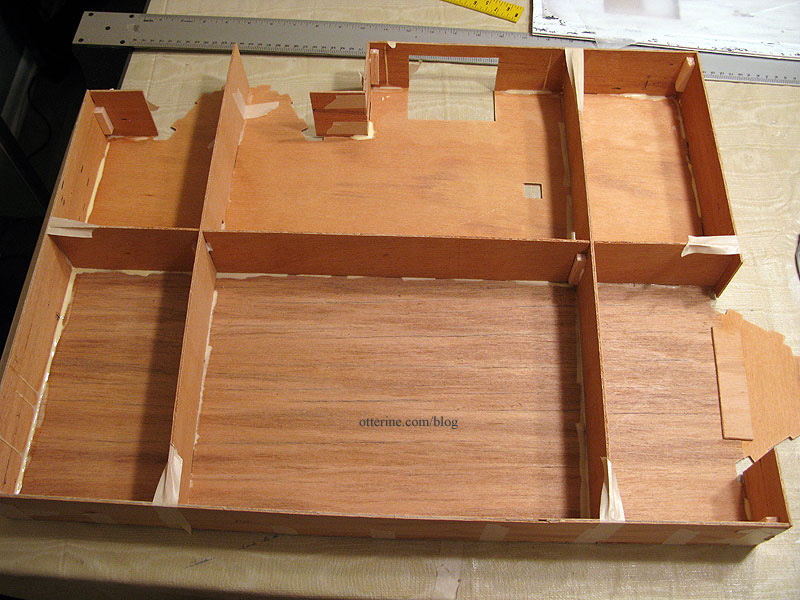
For the base floor supports, I added a similar type of corner brace as I had for the base walls.
I flipped the foundation upside down and put the support assembly in place without glue. I traced around the boards and then drew lines of wood glue following those lines.
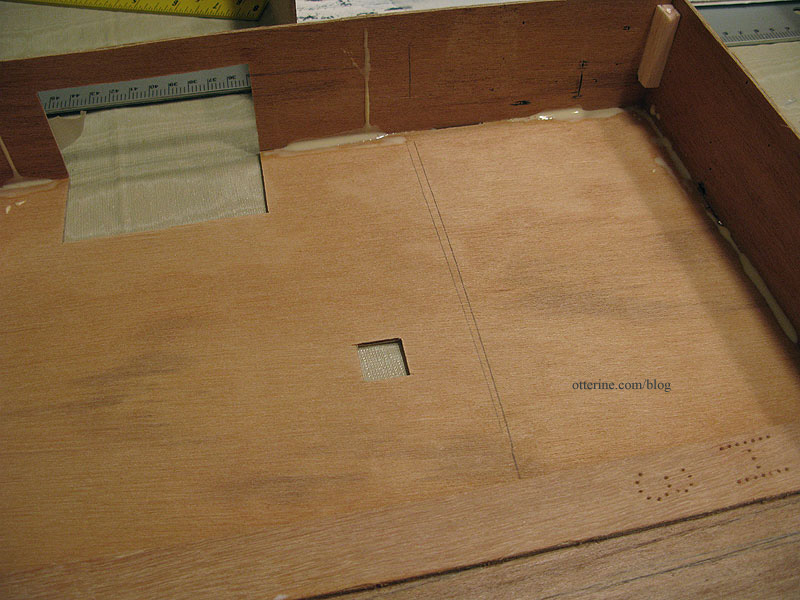
I put the supports in place on the glue lines and added tape to hold them in position while the glue dried.
I flipped the whole thing right side up again and placed magazines on top of the floor board so the base supports would form a good bond with the underside of the floor.
The next step for this portion will be bricking the foundation. The Heritage kit comes with Magic Brik to finish the foundation with a brick-like surface texture. I briefly thought about using this but decided against it for several reasons. First, I’ve seen it done well and I still don’t think it looks as much like real brick as I would personally like. Second, I’ve heard horror stories of it not working well at all for people and the subsequent mess involved in removing it. Third, this is an old kit (the instruction manual is stamped 1995) and I am not sure of this product’s shelf life. And lastly, when it comes to the results from the time-consuming process of egg carton bricks, I know it, love it and find it well worth the effort.
I opted for bricks measuring 1/4″ wide x 3/4″ long just because it sounded good to me. I usually use measurements somewhere close to these. Now, I’m off to cut a bunch of tiny egg carton bricks!


