In my perusal of windmills online and from my own stash of vacation photos, I’ve found that the windows and door frames are often rust red or white. Check out this beautifully converted home, for example. I’ve opted for Americana White Birch in satin instead of true white. Painting frames instead of staining makes life easier all around. I don’t have to split between interior and exterior colors, and the filling on the arched door conversion won’t show.
I microwaved the window purchased from Hobby Lobby to take it apart since it was not the kind that already comes in parts for easier painting. White trim on the interior would be a bit stark, so I stained the interior trim Minwax Driftwood to coordinate with the circle library. The tiny bit of white showing will be fine and not as intrusive as large white frames. I need to finish the sashes, so this isn’t back together just yet. (Note: this window was later scrapped due to warping issues.)
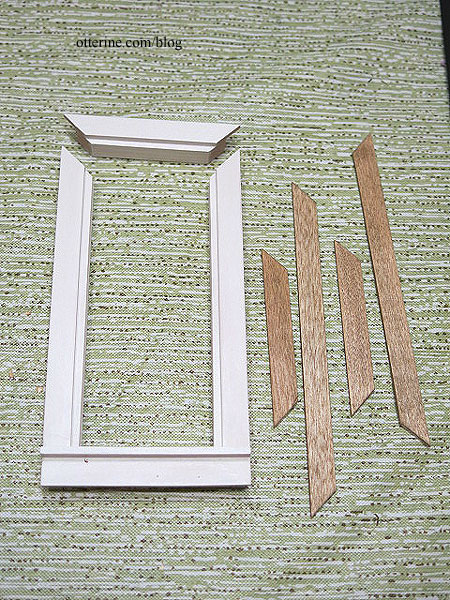
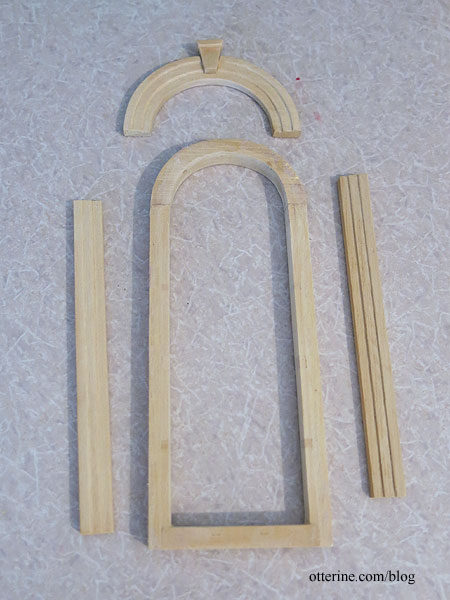
To make life easier, I also microwaved the door frame to separate the interior trim. I was then able to work with all the pieces without masking.
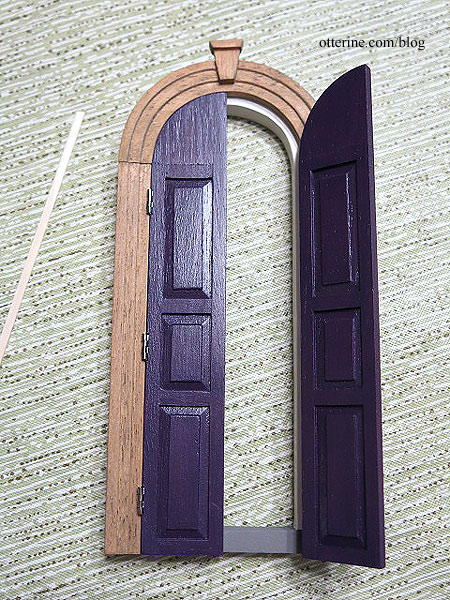
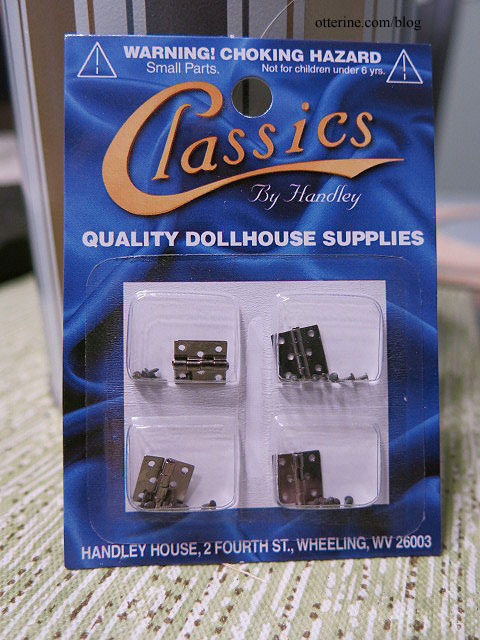
As for the door color, I fell in love with this inspiration photo. To achieve a close approximation, I used two coats of Aubergine by Folk Art followed by two coats of Purple Pansy by Anita’s. I finished it off with Krylon satin spray. The hinges are by Classics.
I cut mortises in the door panels to hang the doors like the real deal using a very sharp X-Acto knife to cut and shave the wood a little at a time. The mortises on the door ended up a little large, but both the door and hinges are dark so it will be less noticeable.
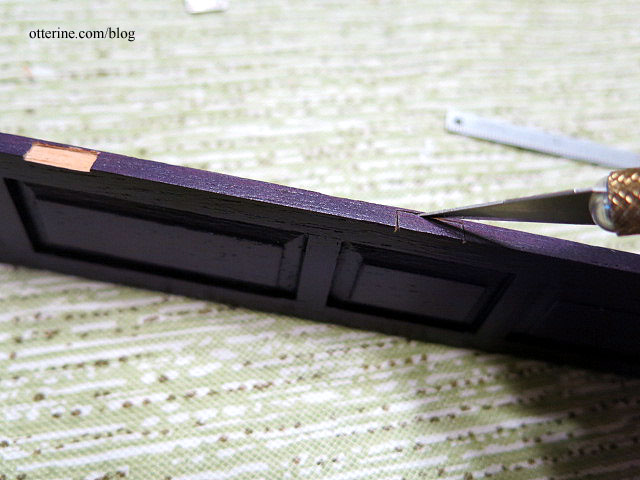
I matched up the two sides to get the hinges as even as possible.
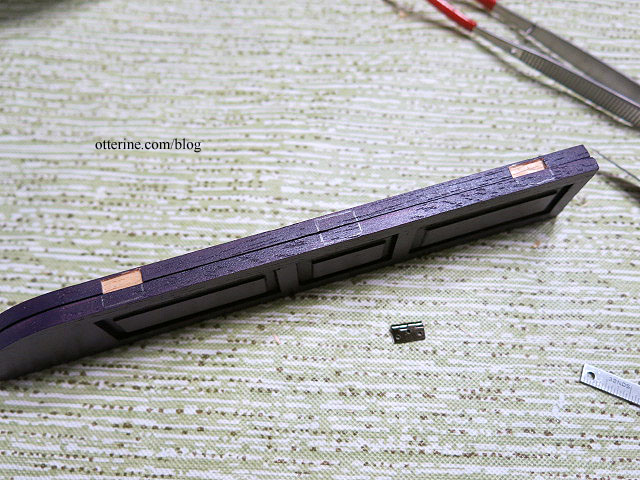
I painted the cut portions purple to blend better.
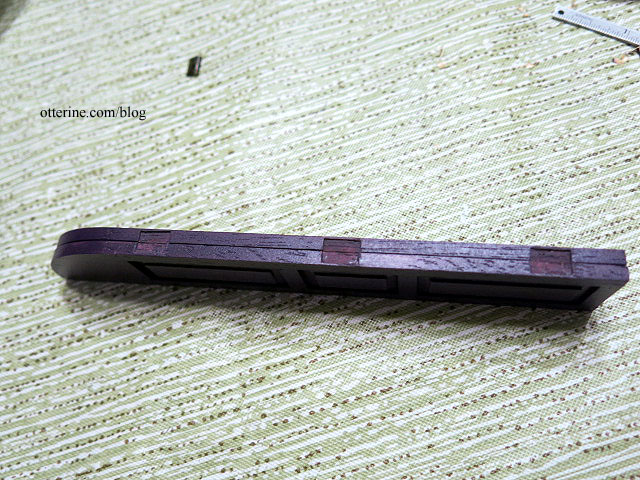
I used Aleene’s Quick Dry supplemented with super glue gel to hold the hinges in place.

I let that set, then drilled pilot holes for the nails.
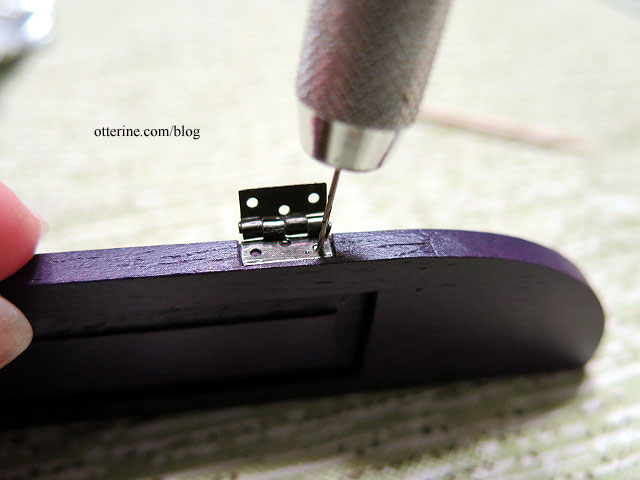
I added a dot of super glue gel to the nails except the one closest to the working portion. I didn’t want to risk getting any glue on the mechanism.
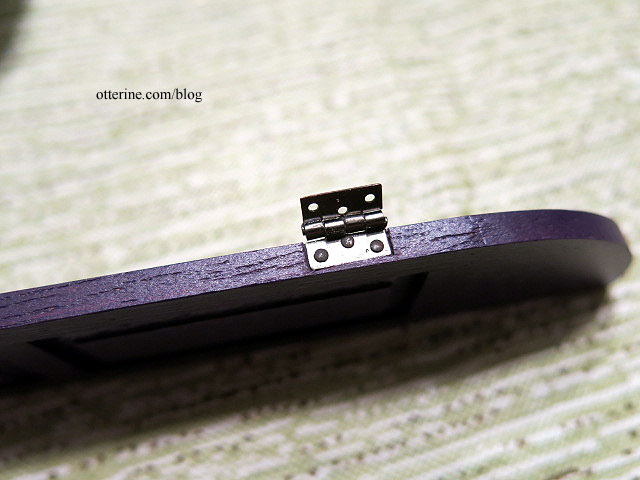
I set the completed door panel into the frame along with the one without hinges. I marked the hinge placement on the frame, then cut mortises to fit.
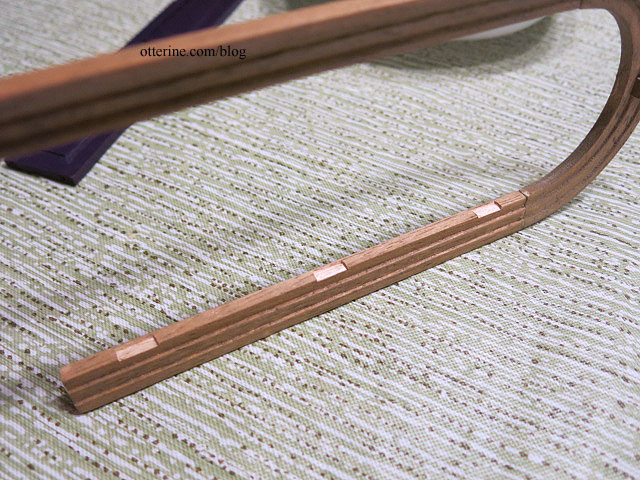
These turned out better after practicing on the door panels. I followed the same process for attaching the hinges to the frame.
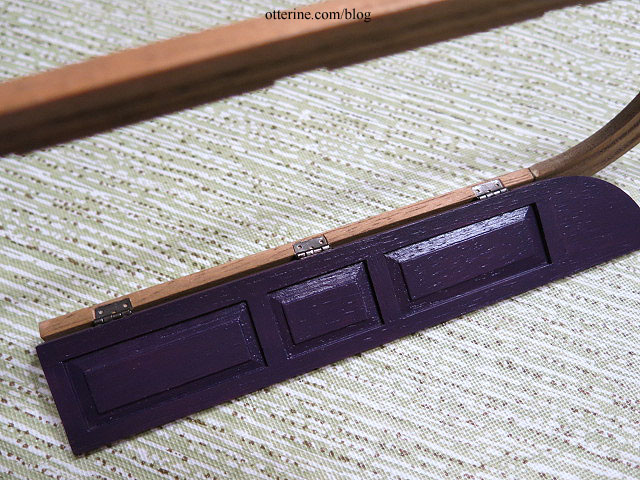
After cutting the remaining frame mortises, I glued the trim back to the frame.
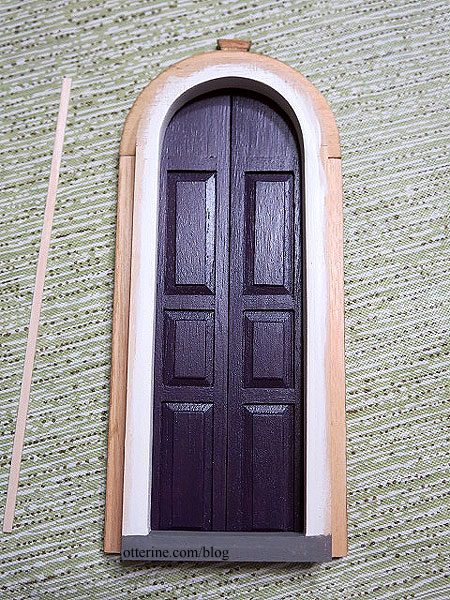
Tiny hinges are fiddly and temperamental, but the door turned out pretty well considering it started as a window with shutters. As expected, there was a gap between the door panels. If I had built the doors from scratch, I could have made a rabbet join down the middle. Instead of trying to reverse engineer that sort of thing from a ready-made component, I will just add a thin strip of wood painted to match down the middle on the interior.
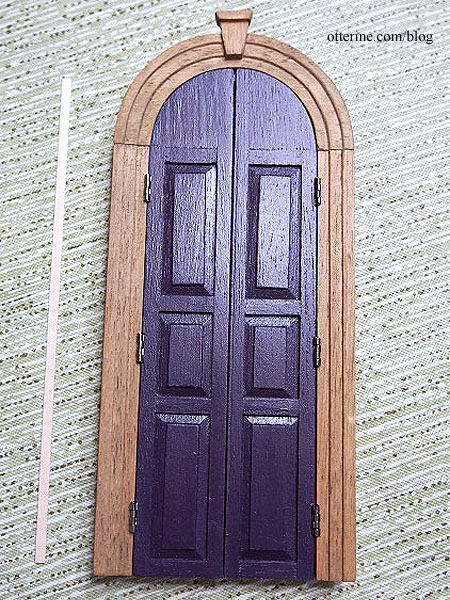
The left panel hinges are fairly tight and don’t want to stay completely closed, so I might end up adding an interior bolt. We’ll see after I get the knobs in place.
