Continuing work on the windmill sails. I’ve done some research on windmills and a fair bit of virtual sightseeing, but I am by no means an expert. I am also not planning a precise model, though there are some remarkable works out there. The first one I ran into is a 1:30 scale mill kit by Amati. The model has a hub made from wood that looks fairly straightforward for me to recreate for my own model. I’ve been using an offset alignment on the mock-up hub mainly for ease of use, but I plan to have a hub setup more like the real life mills (and this Amati model).
Another fabulous resource is Penterbak, where you find many different scale models with exacting details. It’s in Dutch and google translate works only so well, but you can see from the photos alone just how much work went into these. The hub on the windshaft here is remarkable and gives me some ideas on how to dress it up.
Finally, let’s learn some terminology. There’s a wealth of information in the online publication of The Dutch Windmill by Frederick Stokhuyzen (link no longer active), though I admit I skipped around to parts I needed. There’s also this awesome website with a video by The Yorktown Windmill Project showing how to make a common sail. (They also have a great page on the conical roof, which I have done in miniature in the past.)
After seeing this real life example, I decided to change my design to match. My sails won’t have the gentle curve of the true sails unless the wood warps so let’s hope it warps in the right direction.
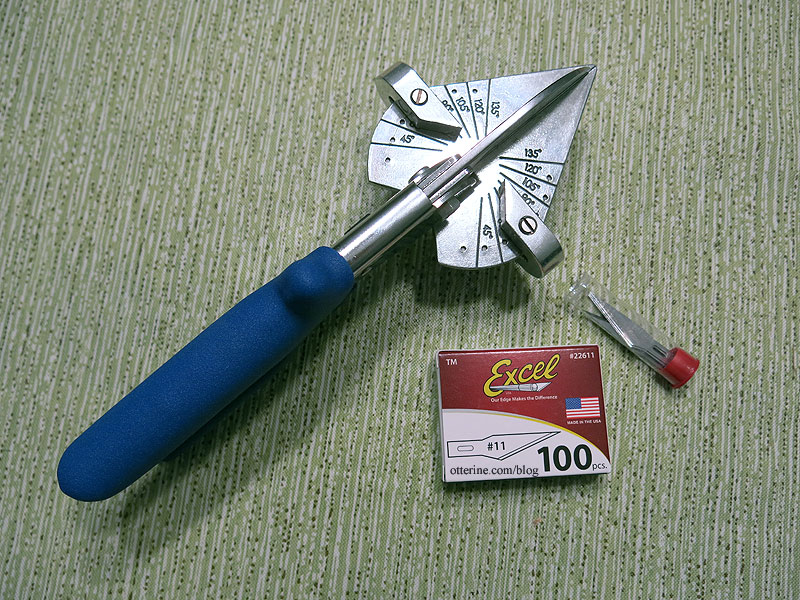
In the Bruce Hirst model, he used 1/8″ square strip wood, but mine will have mainly 1/16″ x 1/8″ strip wood. The adhesives used were Elmer’s Wood Glue supplemented with super glue gel. The Easy Cutter Ultimate was a lifesaver here. Mom also gave me a box of 100 X-Acto blades for Christmas. Maybe that will be enough.
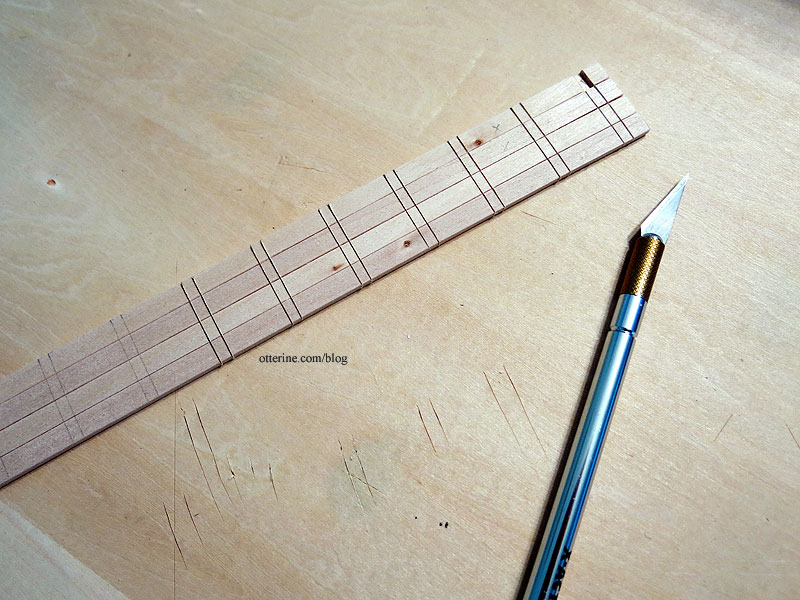
I cut four 12″ lengths of 1/4″ x 1/8″ strip wood to make the whip (center shaft of the sail). This is longer than I will need, but I wanted extra just in case. Instead of trying to cut holes in the whip to form mortises, I notched the pieces every 3/4″ from the end.
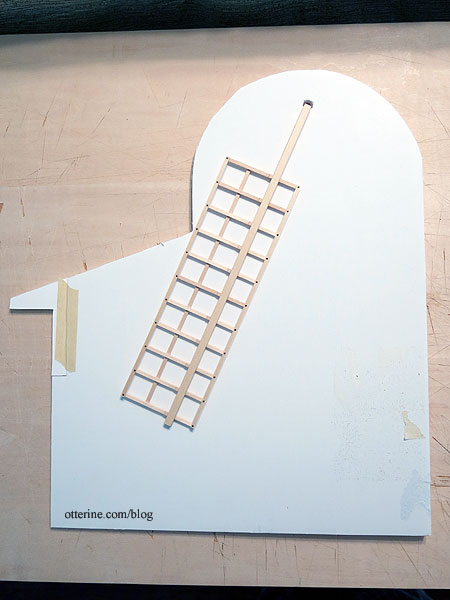
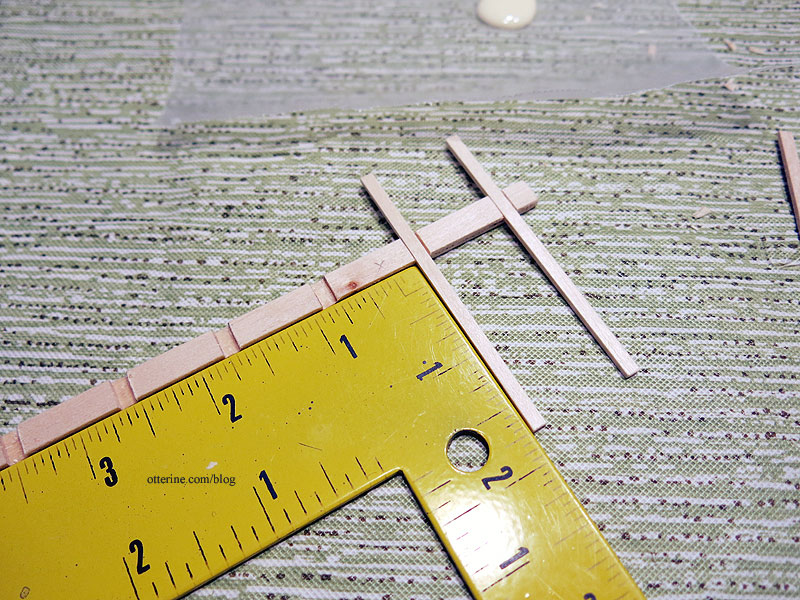
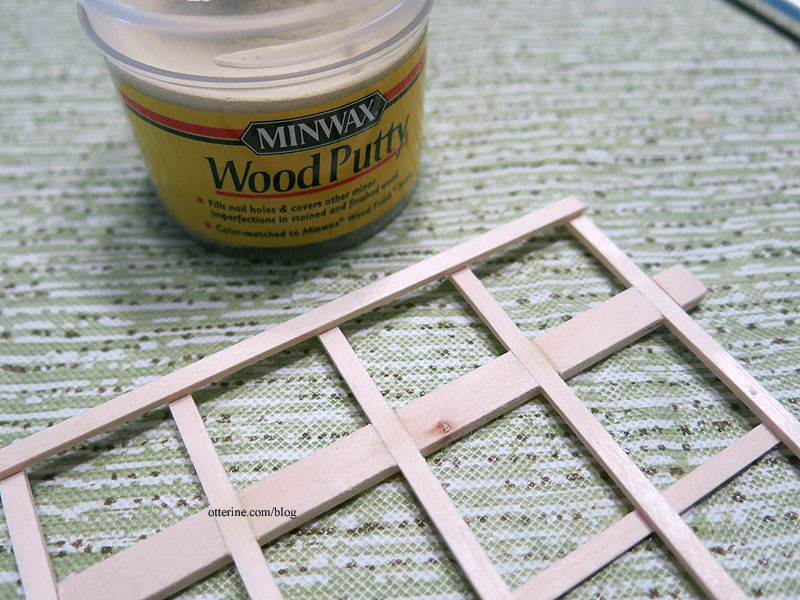
Time to cut 44 sailbars, 11 per sail, at a length of 2.75″ each. This is more than I had in my cardboard mockup, but it should add stability. I also cut 12 hemlaths (outer vertical strips), 3 per sail, at a length of 9″ each. Again, this is slightly longer than my mockup, but it made for easier math.
Since I was cutting by hand, there were some gaps. I used Minwax Wood Putty in natural pine as filler. Could I have been more precise? Maybe, but I get in a hurry for tedious portions of a project. Once it’s all stained and aged, it will all blend in.
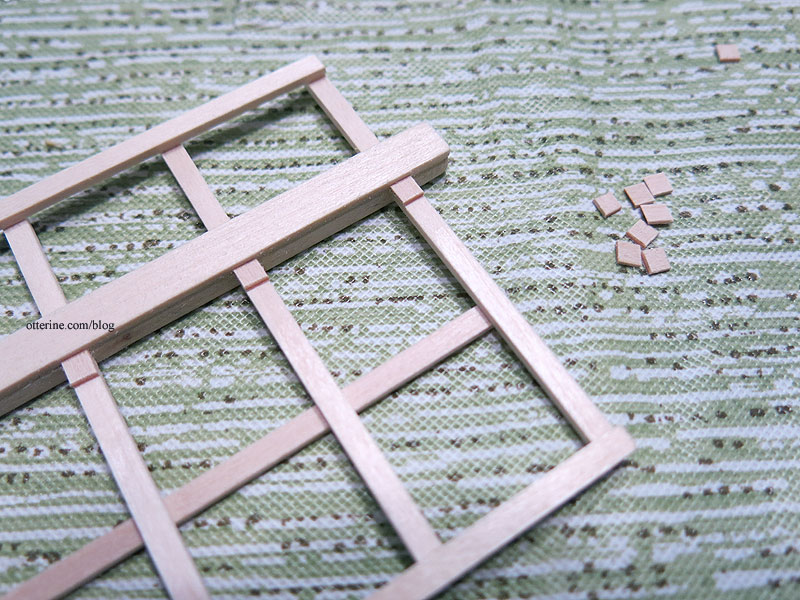
A corresponding piece of 1/4″ x 1/16″ strip wood encloses the notches to make the mortises in the whip. I cut and added the little blocks (don’t know the term) that keep the sailbars uniform along the whip. This makes me lament all the times I’ve discarded tiny bits of wood. Who knew?!! They add detailing that makes the sails seem more realistic.
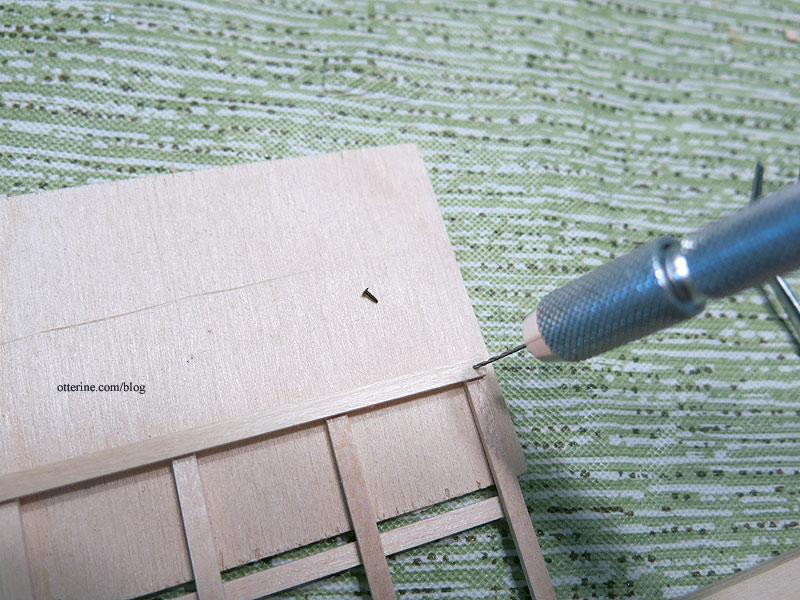
This might have been a bit of overkill for a model, but I also used nails in addition to the glue. I don’t need these suckers popping apart later on down the line, and since they will be motorized it’s likely worth the extra time and effort. I did drill pilot holes so I wouldn’t split the boards.
I am going to leave the final finishing as far as stain goes until after I have all the parts fabricated just in case something breaks along the line and needs to be redone.
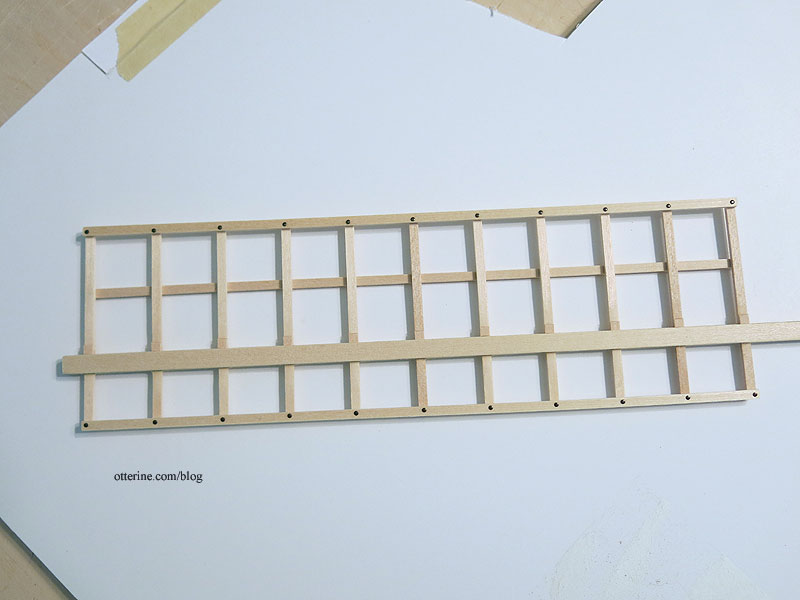
One sail down, three more to go. :]