
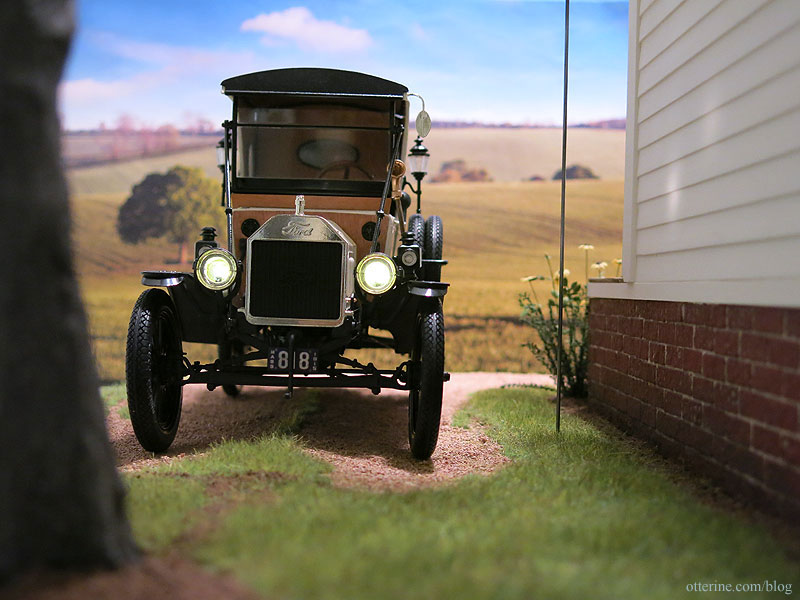
Continuing work on the RX-7 in half scale. Yeah, ever since I wired the Model T for LEDs, I’m going to have a hard time not wiring all my cars going forward.
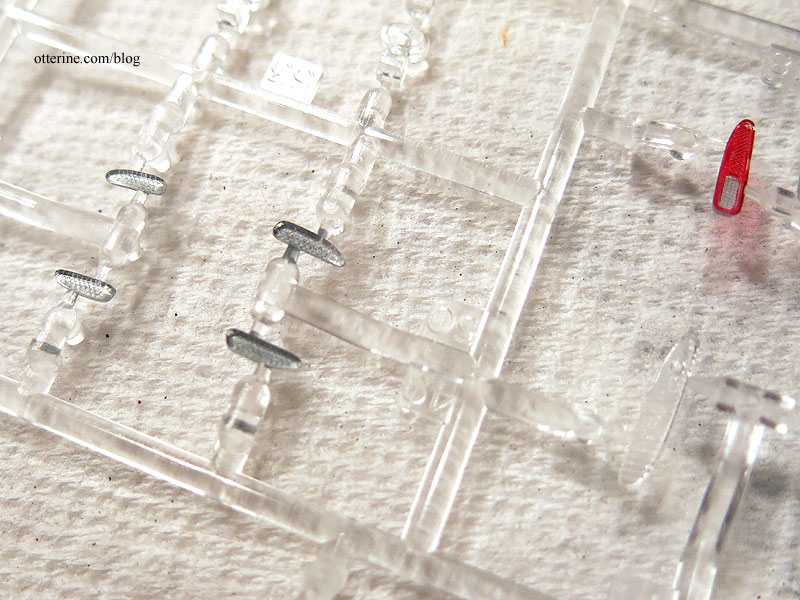
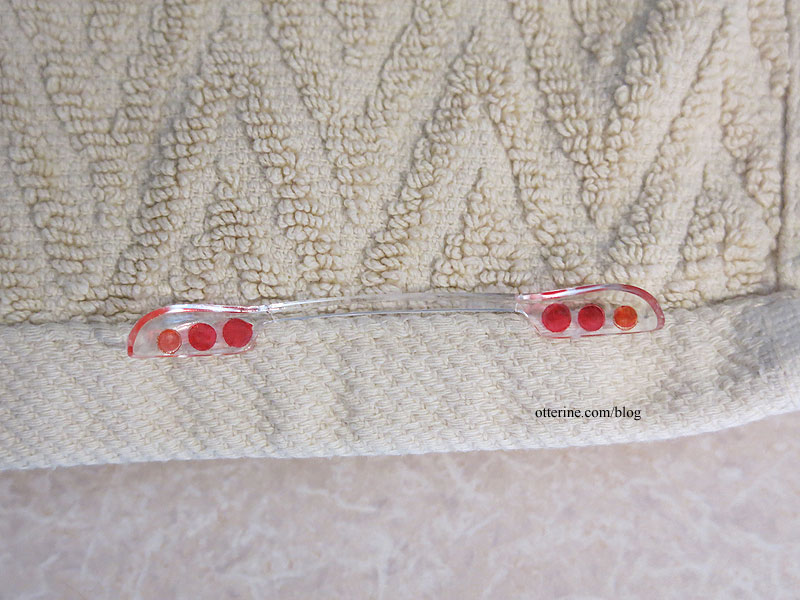
Since I’m looking to put in only headlights and taillights, I painted the back of the clear reflectors/side lights silver. The paint brings out the detailing and makes them appear brighter.
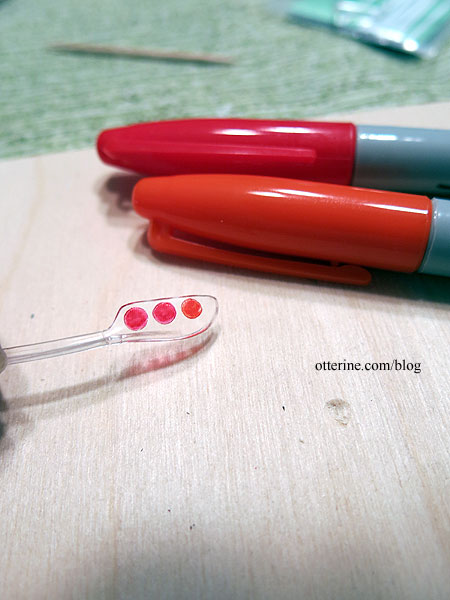
The rear lights are one continuous clear piece. I colored the red and orange portions with Sharpie markers. There is a slight third brake light in between, but there was no way I could have painted that without getting red all over the rest – it’s a tiny sliver too narrow for my markers. So, we’re not going to worry about it. Picking my battles. :D
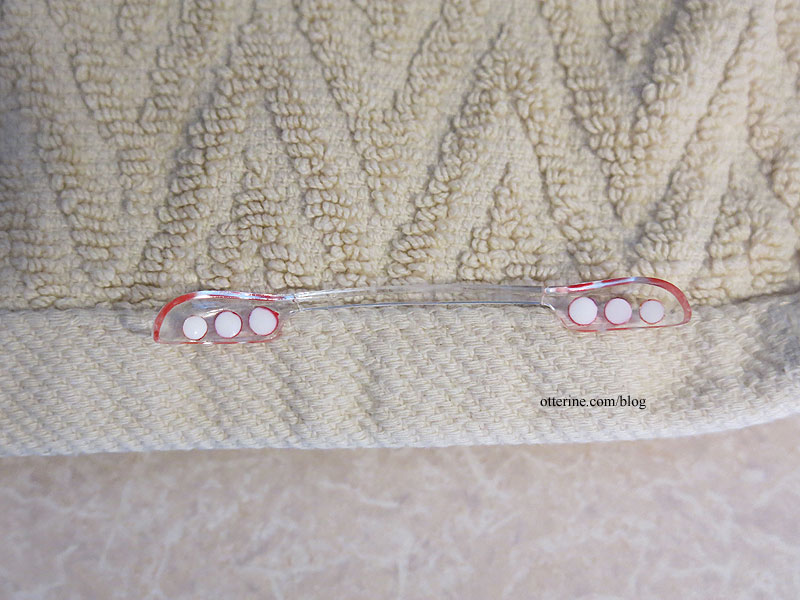
I masked the colored areas with Winsor & Newton Masking Fluid. This is a pricey fluid used for watercolor painting; it covers any space you want to remain white on a painting. You use an eraser to remove it from the paper after the paint has dried. I used a 50% off coupon at Michaels.

I thought it would work well to mask the lights since I didn’t think tape would really seal the area that well if I could even cut circles that small.
The nice thing about the liquid is if you don’t like the mask, you just let it dry and remove it to start over. It dries clear, which is good or bad, depending on how you look at it. Just make sure you are happy with the mask while it’s still white.
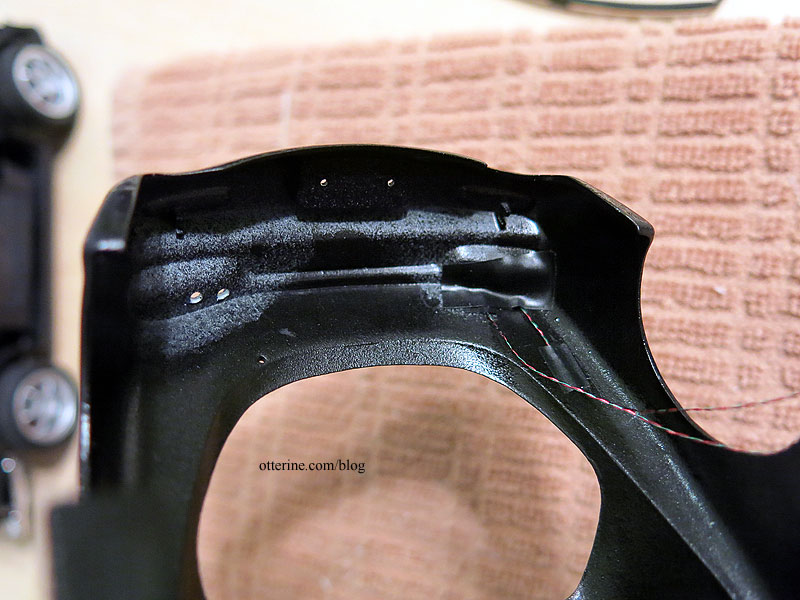
I painted the back of the piece with black acrylic. I used acrylic instead of enamels since I wasn’t able to figure out how to mask the outside well enough to prevent marring the finish. Acrylics clean up easily, and this back side will not be seen.
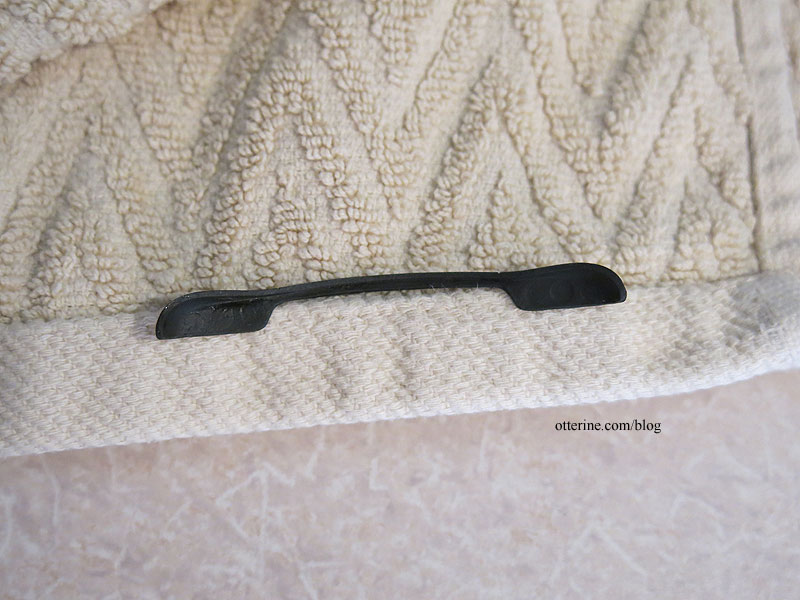
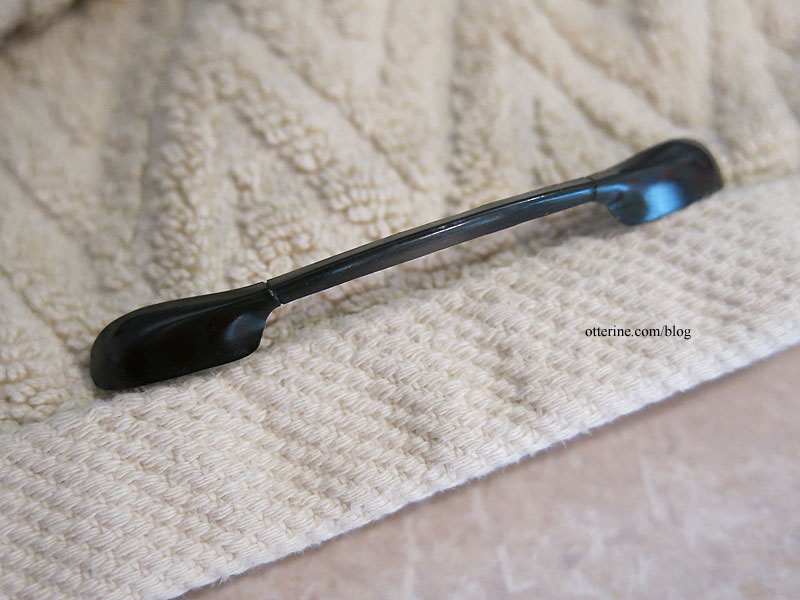
The exterior surface remains glossy, and the color fills in the back. It looks great like this, but the masking is still in place.
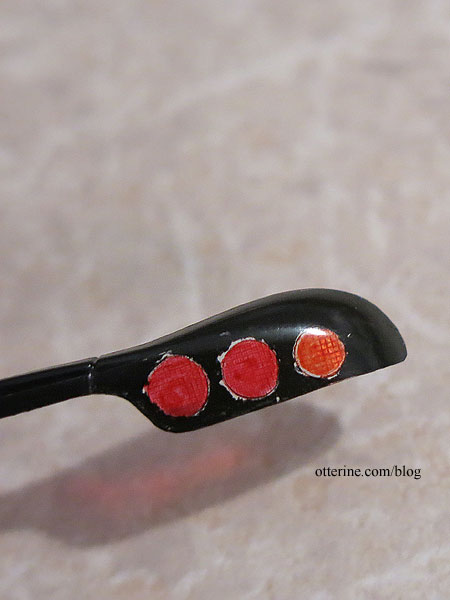
I removed the masking, and you can see how uneven the mask ended up being. Still better than I could have done free hand painting around the circles. I touched up the paint with a tiny brush as best I could (sorry, forgot to take a pic after touching up).
I am using 3V pico LEDs from Evan Designs. These are so wee! I lined up the cover piece with the back of the car to determine where to drill holes for the lights. I painted the area under the light covers silver.
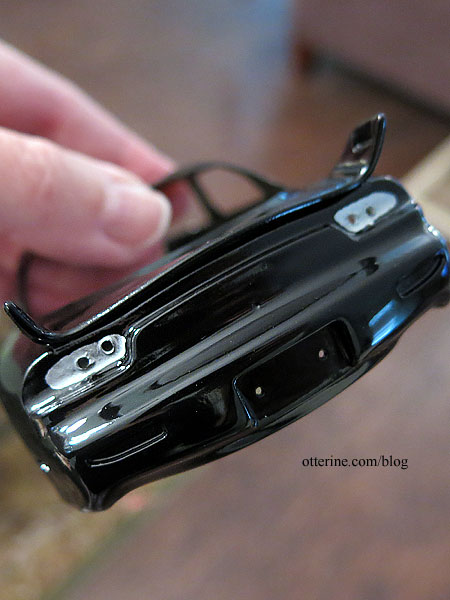
I pushed the pico lights into place and fastened with electrical tape on the inside.
I don’t want to glue the plastic cover on just yet to limit the handling, but it looks like it will work well. :D
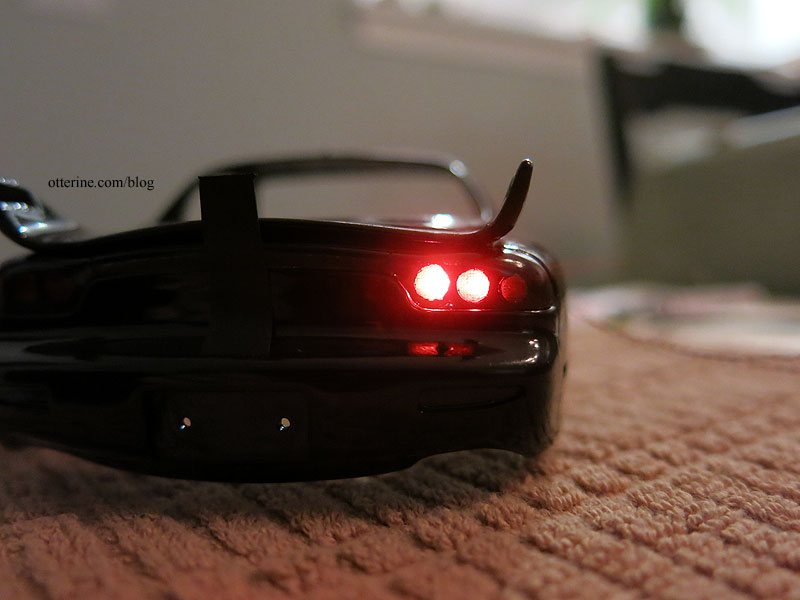
I didn’t put in lighting under the orange. Working turn signals are for another time. The headlights are up next.


