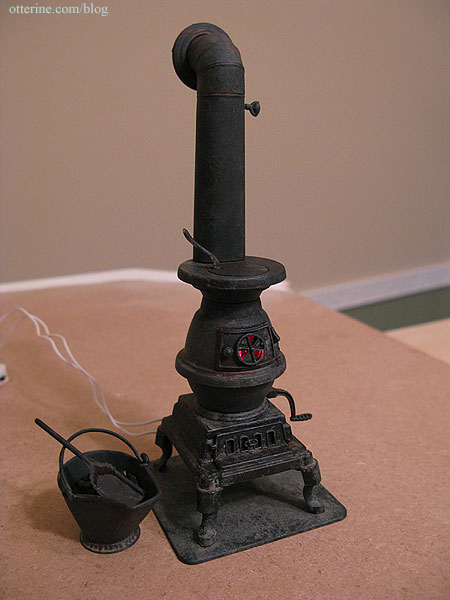
Continuing work on the potbelly stove. There’s always the kit stovepipe, which has excellent detailing, but I wanted to attempt a straight pipe up through the ceiling, which would be more in line with my inspiration photo. The rub lies in the oval opening at the rear of the stove. I can’t just take a round polystyrene tube and use it out of the package. I also don’t want to alter the kit parts just in case my alterations fail and I need to fall back on the original stovepipe. As a reminder, here is the stove built for Baslow Ranch.
Debora sent me some defunct Chrysnbon kits for parts some time ago, and one of those was the cook stove. Look here at this part. It’s an oval to round adapter.
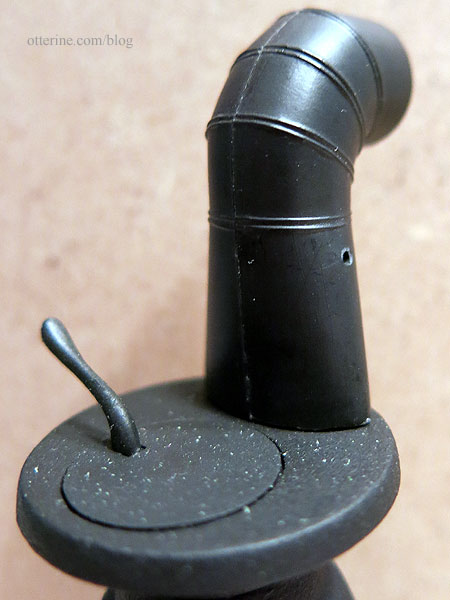
I cut the top away using the scroll saw and sanded it smooth.
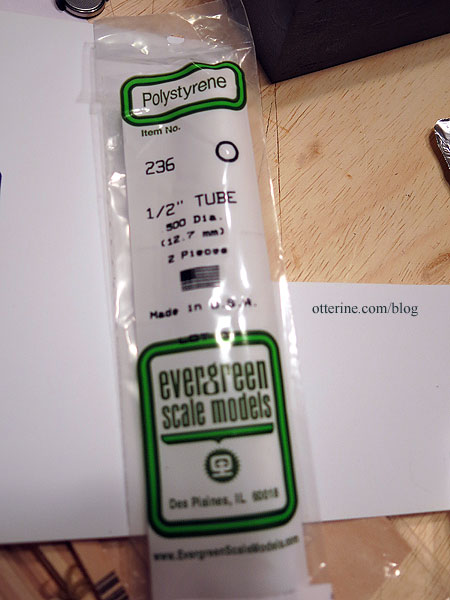
To make the stovepipe that will continue upward, I used 1/2″ polystyrene tubing.
In order to make it easier to hold the stovepipe steady while the plastic cement set, I glued three polystyrene rods inside the pipe adapter.

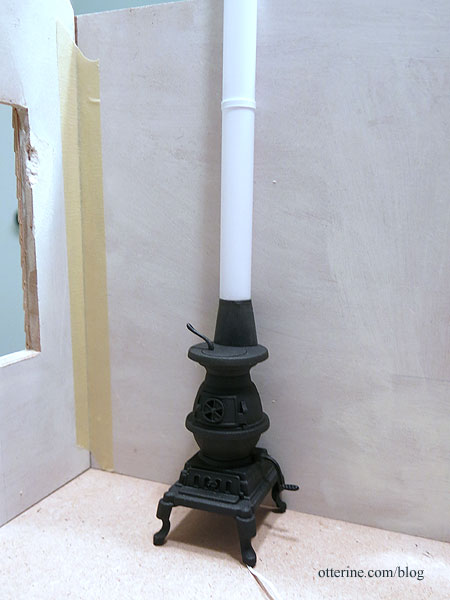
Once the glue set, I glued on the stovepipe, leaving the full length intact. Once I get to the roof, I’ll cut the top angle and fashion a chimney pipe for the exterior. I cut a thin band of polystyrene and glued it approximately 3 inches from the top of the adapter to make it look like the stovepipe was assembled in two pieces, which it likely would have been.
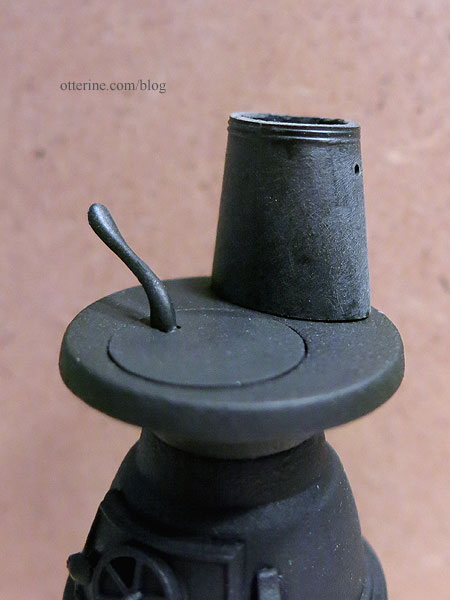
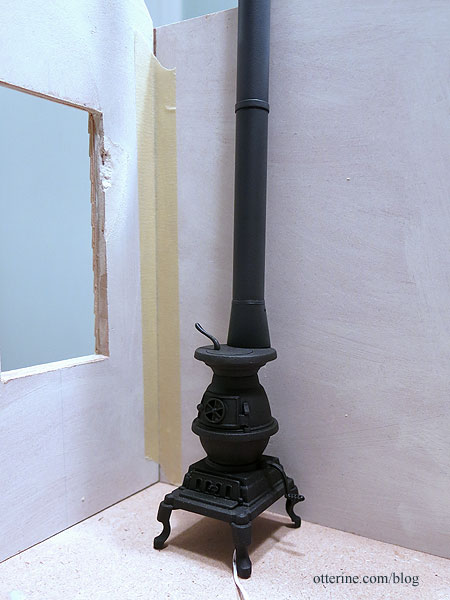
I roughed up the surface with sandpaper and spray painted it flat black. It will remain unattached until installation.
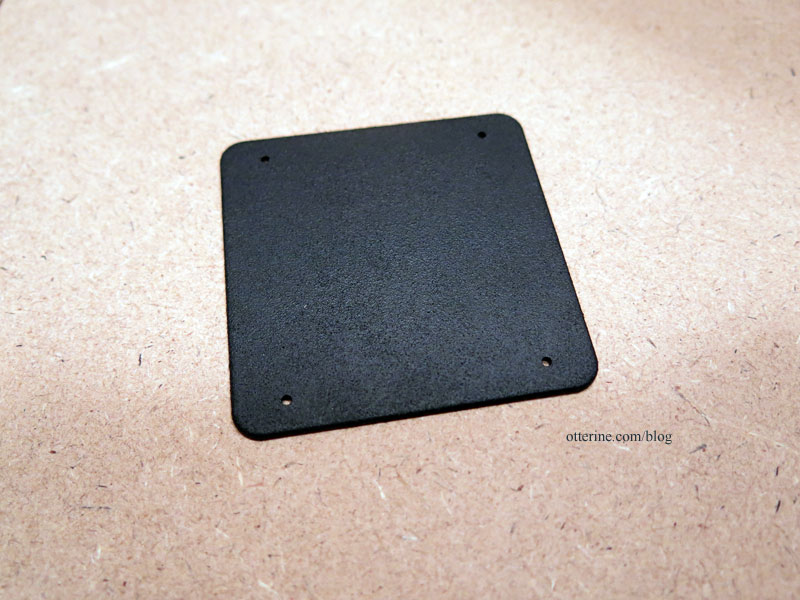
While I was painting, I finished the floor pad in the same stippled black finish as the stove.