
With the light fixtures installed, I could start running the cord wire for the knob and tube system. I started with the cross beams.
I mentioned adding cleats. These allow two wires to travel a parallel path. Knobs also carry wires parallel, but I believe the difference is that knobs can be enclosed whereas cleats are used for external use, like running along a ceiling out in the open. After some further consideration, I decided to skip the cleats and just go with knobs and tubes.
I drilled holes in the ends of the light fixture back plates.
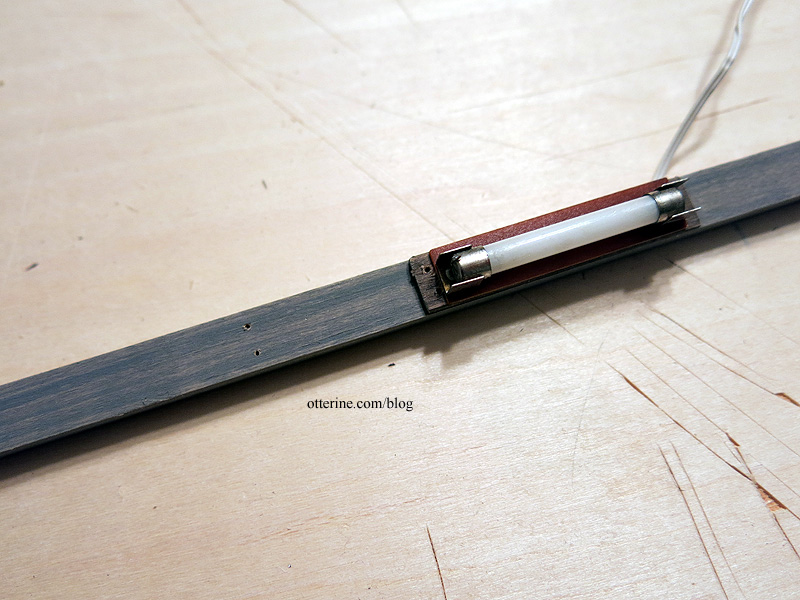
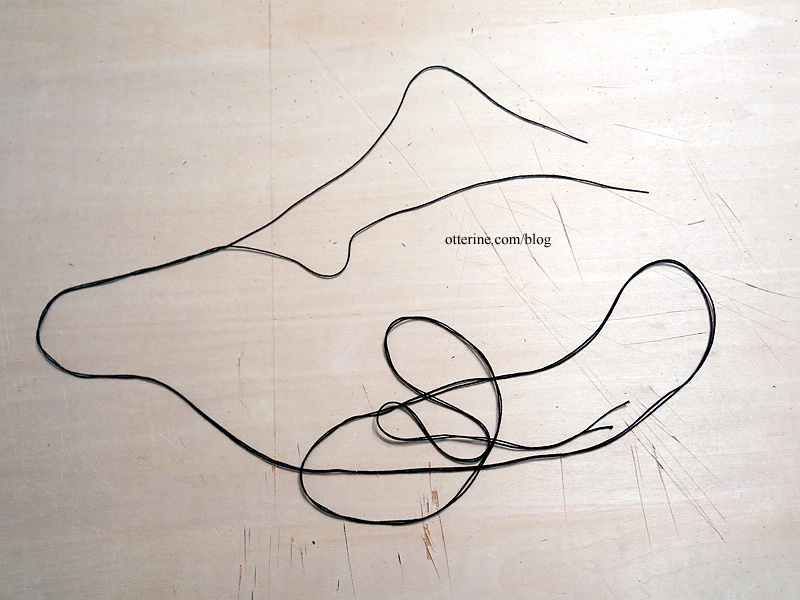
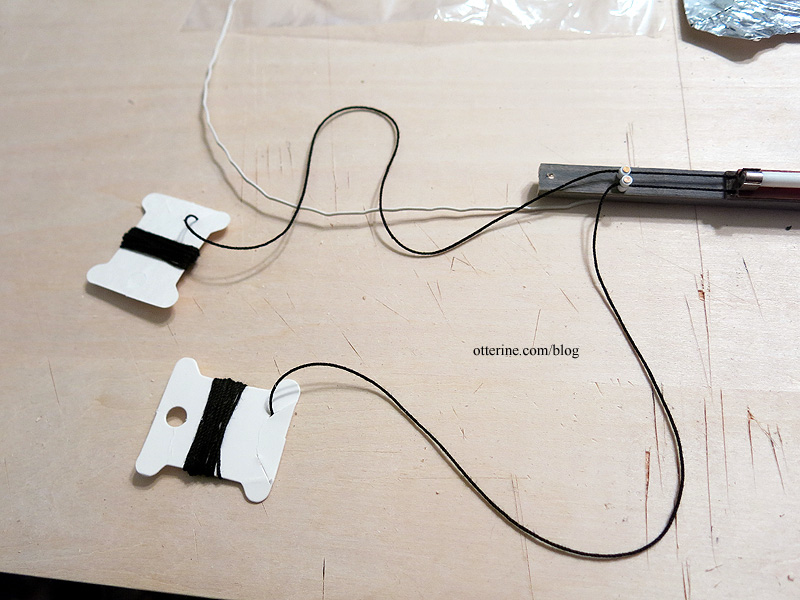
I cut two extra long pieces of crochet cord and knotted one end for each. I used glue to stiffen the leading end.
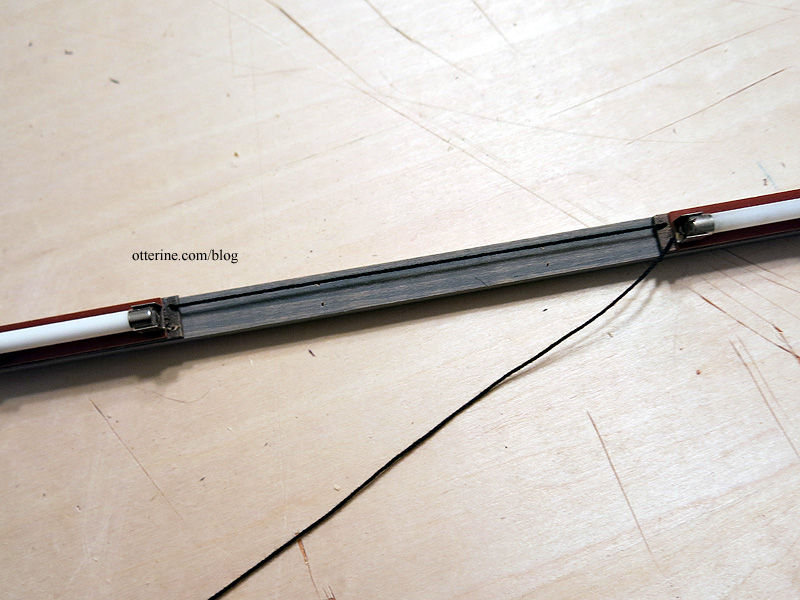
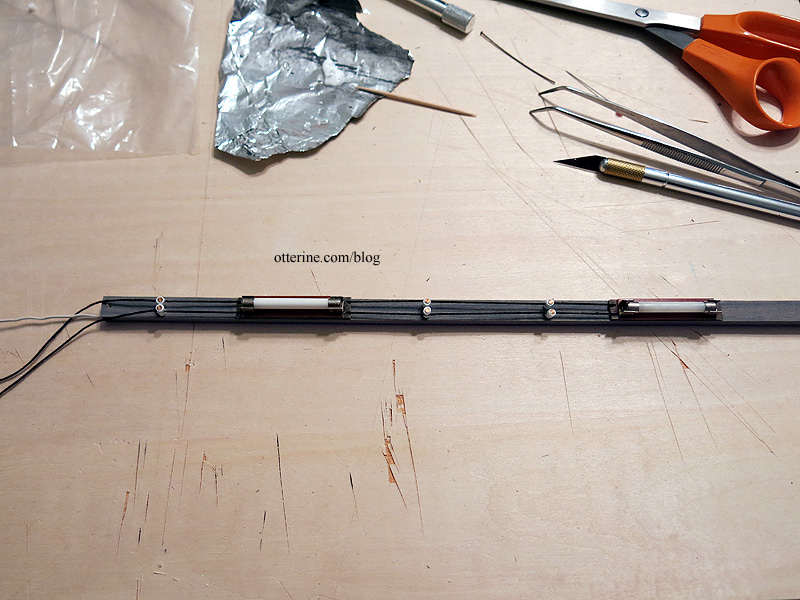
I fed the cord through the holes of the first light fixture, across the beam, into the holes of the next fixture and out the other side of the second fixture.
In real life, the nails would not touch or intersect the corded wire, but in my mini version, the nails keep it all in place. I’m using aged copper headpins for nails cut down to size. I fed the nails through the upper knob section, then through the cord and into the lower knob section, using a dab of glue to secure. I added larger globs of glue inside the channel.
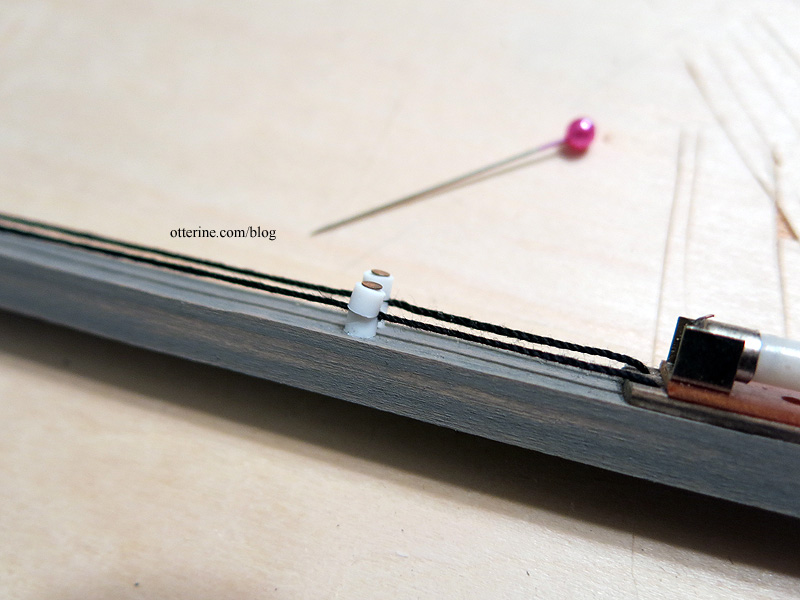
I tightened the cord as I secured the knobs in place and continued the length of the cross beam.
I used cardboard floss bobbins to keep the lengths of cord tidy.
I repeated the process with the second beam. I made this cord just as long though I intend to splice them together once I get to the knobs on the side wall. I figured, just in case that didn’t work, I wouldn’t have to redo the whole thing. I would already have a good length of cord to work with.
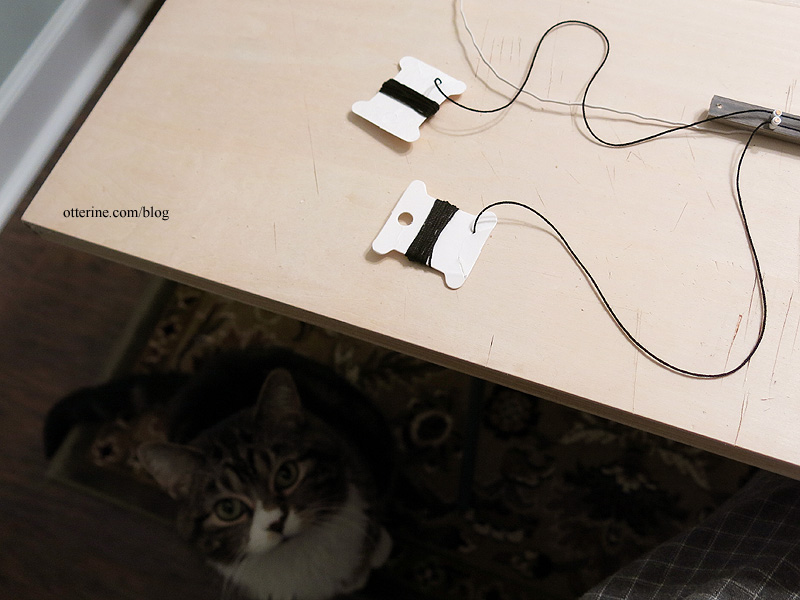
Overall, it was a fiddly process, but the biggest obstacle was Jasper chasing the string ends as I worked.
The cross beams are almost ready for installation. Next up, wiring the 12V lights.


