I roughed up the windows with sandpaper and added one last dark wash to the frames before gluing them in place. They sit flush on the outside and protrude on the interior. With the windows and flooring installed, I can now address the interior structure. This is by no means meant to be a precise carpentry replica. It’s meant to disguise seams and give the illusion of a structured barn as well as provide a way to hide the 12V wiring system. I painted all the pieces prior to cutting and gluing.
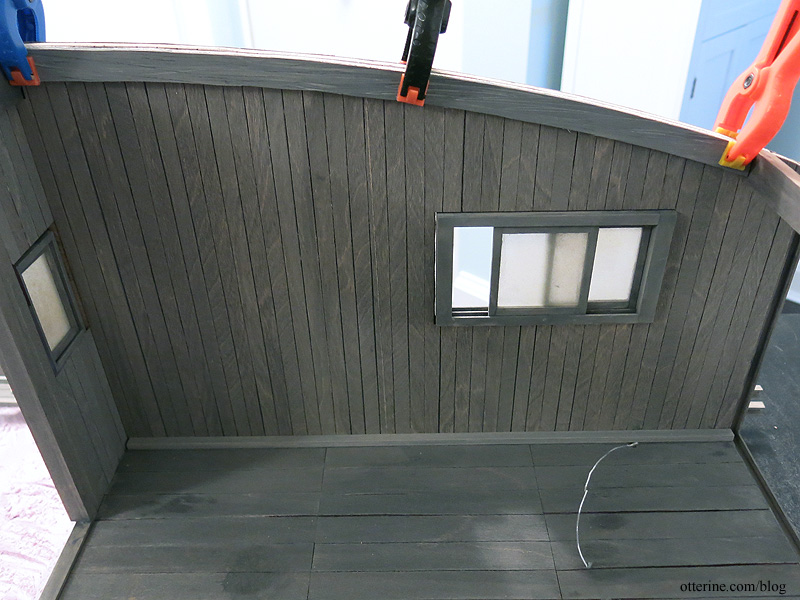
I started with adding 3/16″ x 1/4″ boards along the outside edges of the floor. For the board on the side with the electricity, I made sure not to cover the hole in the board with my floral wire lead. (This lead is for the actual 12V system.)
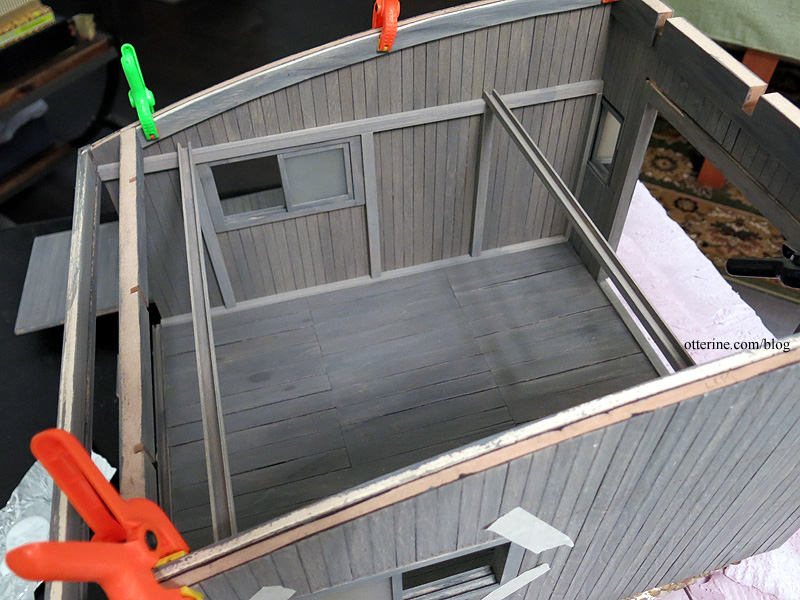
Along the roof line, I had to cut curved pieces from 3/16″ thick plywood since I didn’t have extra trim pieces to spare. I would have needed a double thickness of the supplied trim on each side to match the rest of the beams, and the kit comes with only two pieces. I used the kit exterior trim as a pattern then cut the pieces to fit inside.
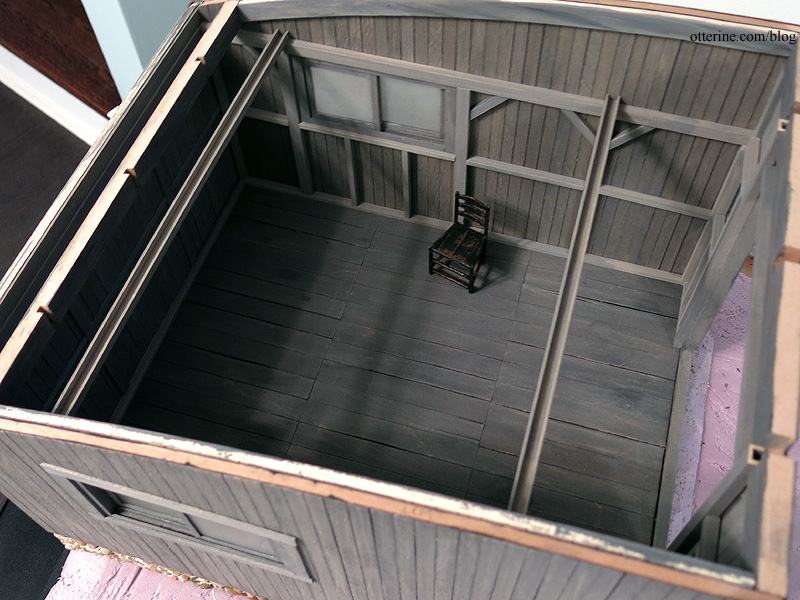
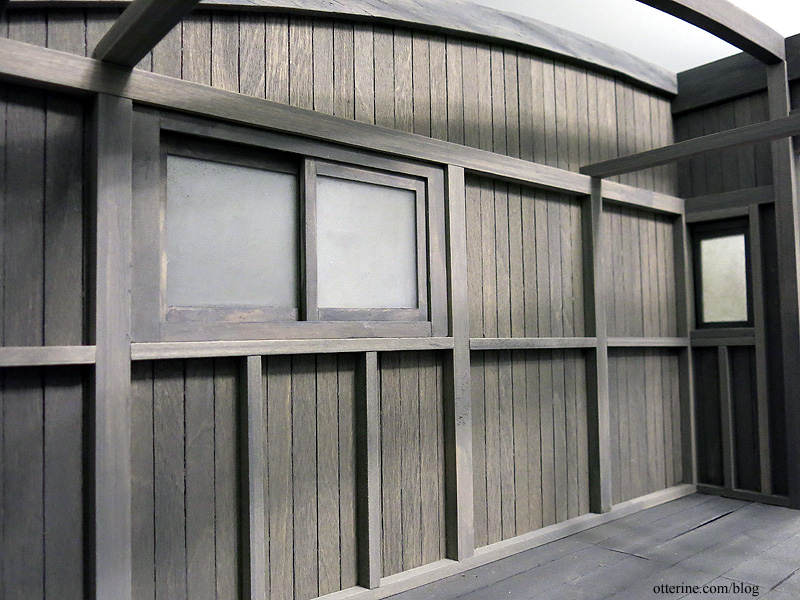
I used 1/4″ x 3/8″ channel molding along the top of the side windows and to make three main vertical supports, one each on either side of the window and one roughly centered toward the front. I added 3/16″ x 1/4″ vertical studs in the corners.
I cut channel molding pieces to span the room in two places, hitting at the tops of the two outer vertical supports. These cross beams are not glued and will hold the lighting fixtures when I get to that part (the wall beams on the electrical side were also left loose for now). I thought about adding a third, but with the curved ceiling beams yet to be added, this will be busy enough. These two will serve a purpose of holding lights whereas the middle one would just add visual clutter.
I added additional trim under the windows. You can somewhat see on the far right in the photo below that I also added channel trims from floor to ceiling on either side of the barn door opening.
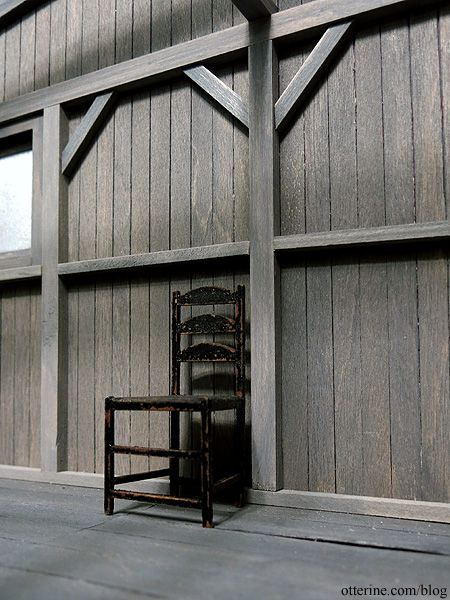
I made angled supports for the vertical beams. I will make angled supports for the cross beams later on.
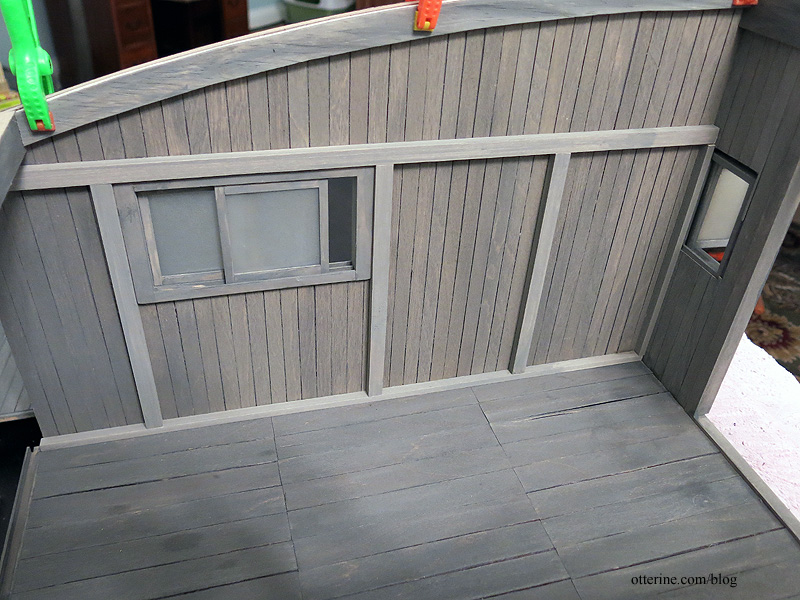
To finish the upper part of the back wall, I just added a piece of strip wood instead of making tiny siding boards. The curved ceiling beams will remain removable until I am ready to put on the roof.
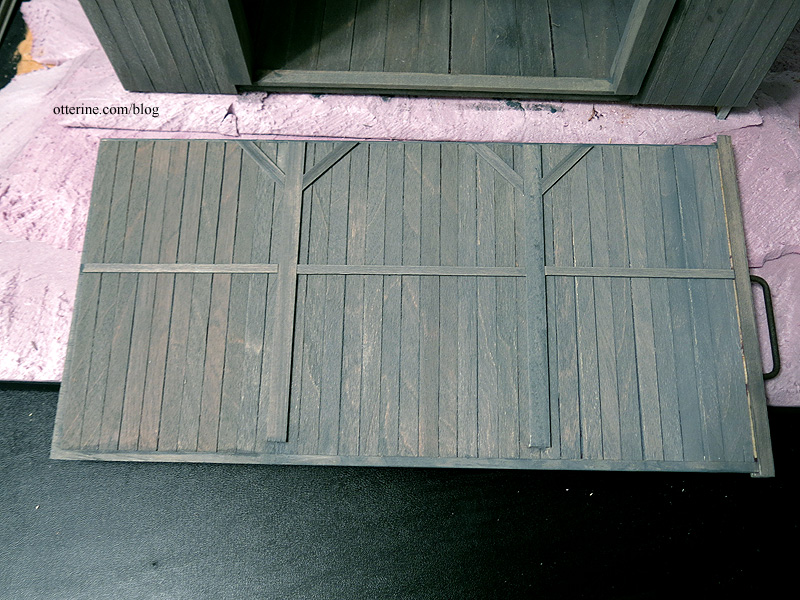
For the removable back wall, the floor trim is glued to the floor but not to the back wall and the top trim is glued to the channel that holds the sliding wall. The faux beam trim is thin and glued to the wall but doesn’t interfere with the functionality.
It’s a decent illusion at first glance and creates continuity with the side wall detailing.
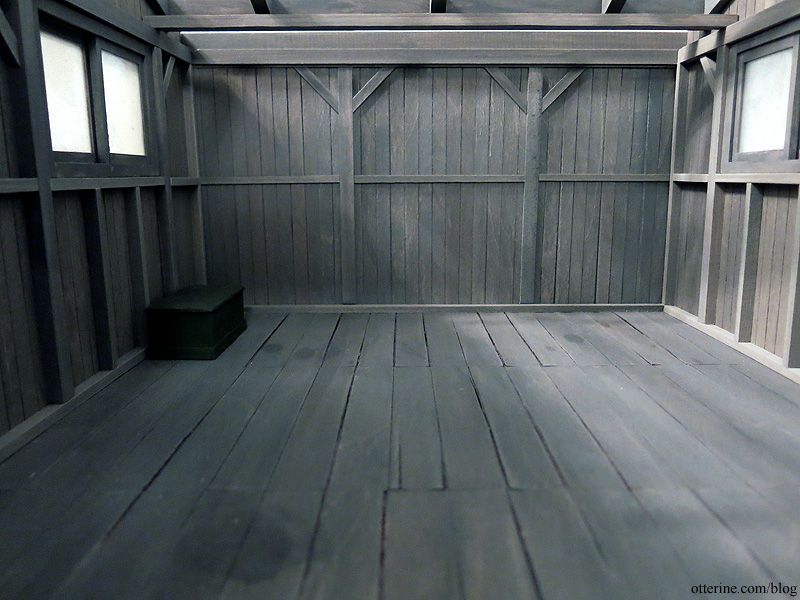
I think we’re getting somewhere. :D