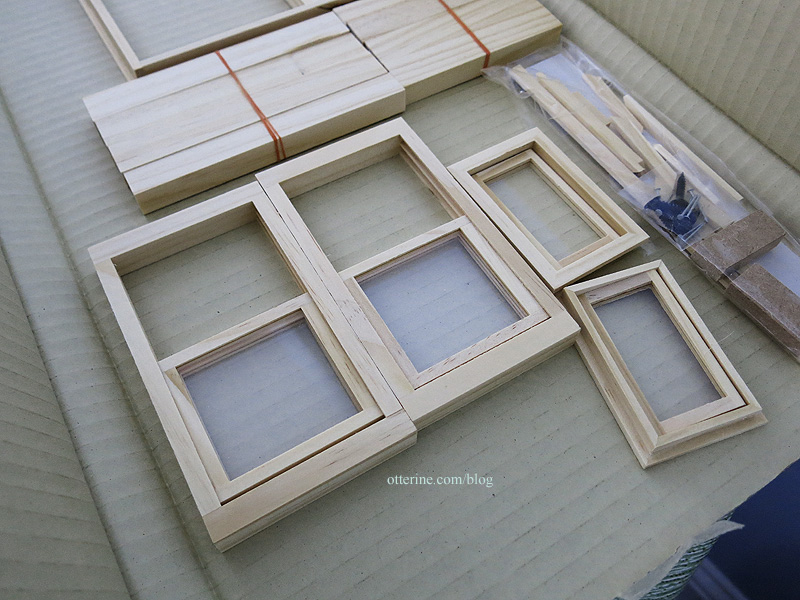
The windows for Denise’s City Cottage come already assembled. This is good and bad. Good in that you don’t start with an overwhelming amount of small pieces and have to ferret out a window (or four) from said pieces. Bad in that you have no way to remove the acrylic inserts for painting or staining.
Some readymade windows on the market have solutions to this problem. They leave a hole to slip an insert in and out of a channel. Some I have seen have a thin piece of wood to remove to access the channel.
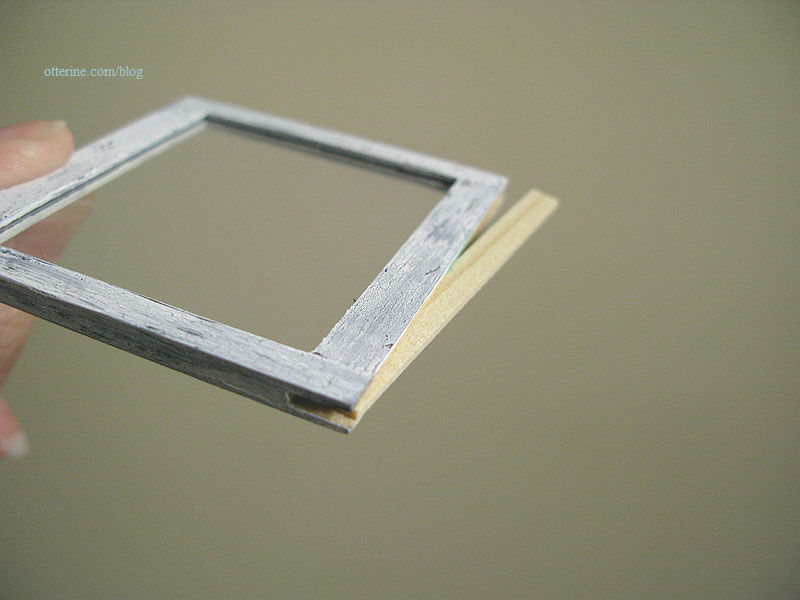
Twisting ever so lightly, I popped the sliding window frames apart.

For the swinging windows, I removed the hinge pins.

I added scant trim to the inside frame of the swinging windows to prevent the windows from swinging inward. This also added thickness. My front walls are thinner than the original kit walls, but I can use the extra depth. More on that later.

Masking does only so much since bare wood can show in the tracks around the window not to mention it takes so long to do a good masking job, so I took the individual panes apart as well. You can pop the windows into the microwave for a quick 10 second burst to loosen the glue. I keep each window with its completing piece in the proper direction throughout finishing to make sure they go back together easily.

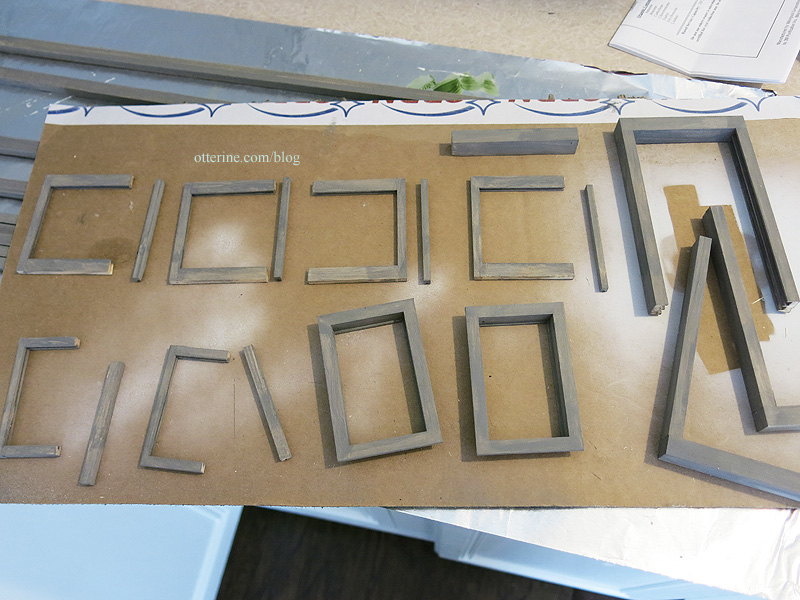
I used the same painting technique as I had for the siding.
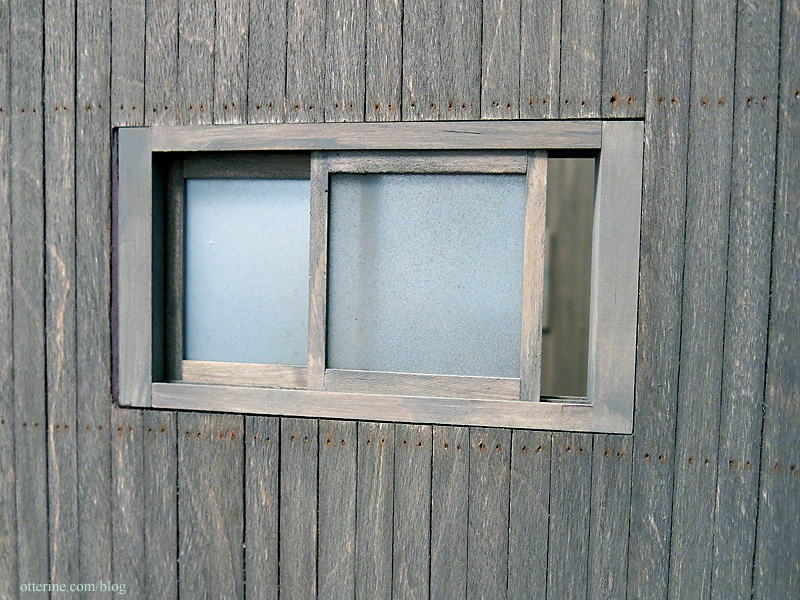
Now to mess up those clean inserts. I used Testors frosted glass, flat olive drab and Krylon grey primer. I didn’t wash the window inserts prior to finishing since any dirt or oil on them would just add to the imperfect finish in the end.

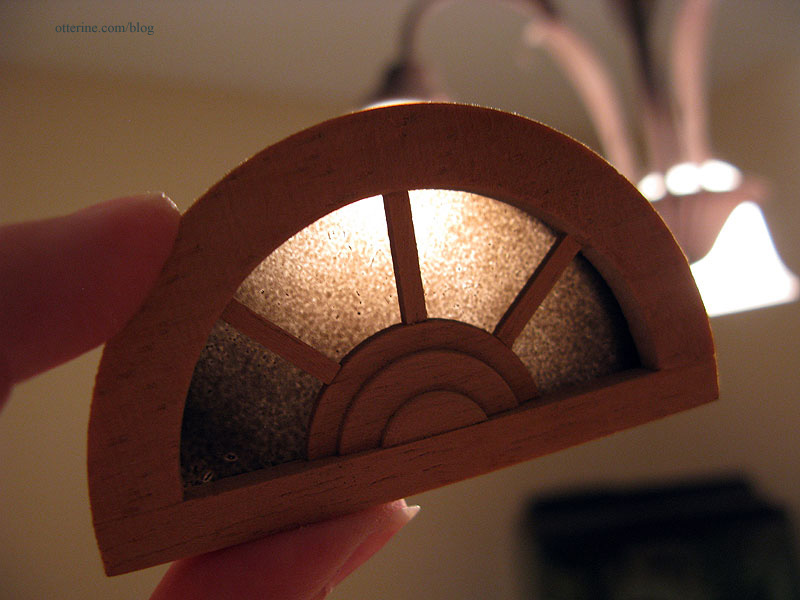
I first sprayed each side of the windows with the frosted glass finish. If you do this lightly, you will still have a moderate window reflection shine but a more obscured view through the glass.
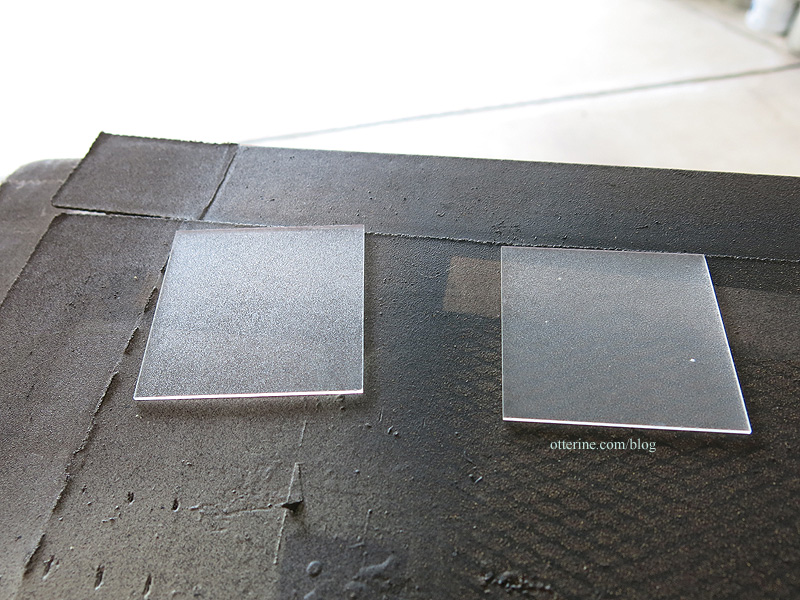
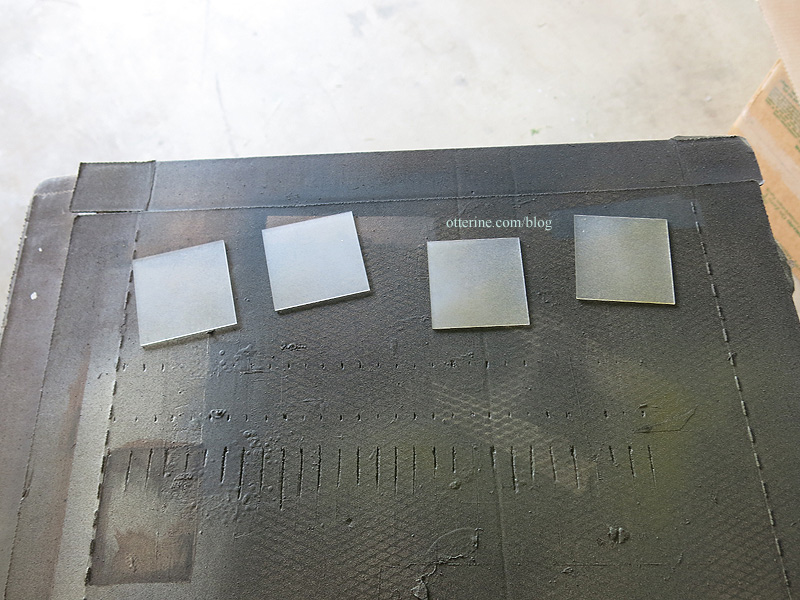
For the two color spray paints, I sprayed under the windows on the board. This allowed for overspray to hit the glass. A few sweeps here and there are enough to cloud the glass, reduce the shine and add some color depth to the dust. You can always add more, but too much paint will look like…well…painted glass. These windows will be seen from the inside and outside, so I went with a lighter color to simulate dust.
I used this technique on the cellar windows for the Heritage, but in that instance I used black paint and did only the interior portion.
I put the windows back together once the inserts were dry. I left the shinier side on the outside and the dustier side on the inside. The exterior portions will be washed by rain from time to time.
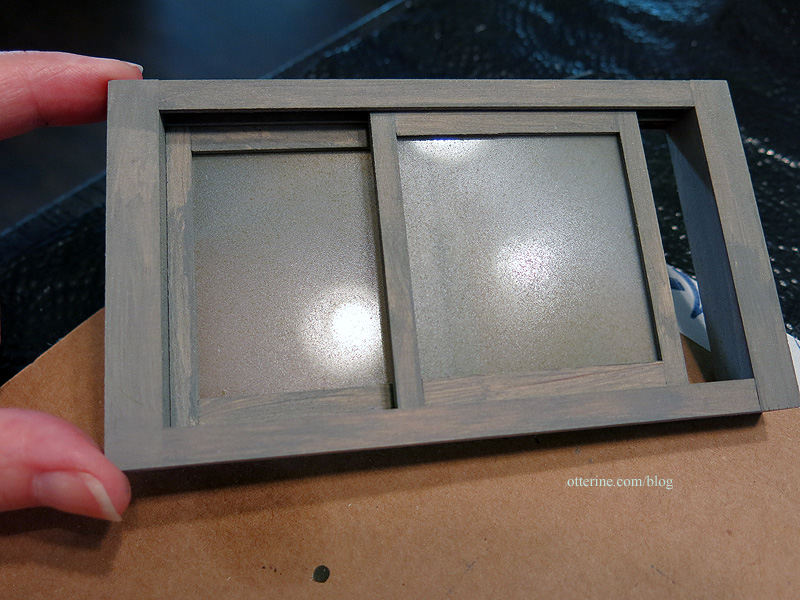
I’m not ready to install them just yet, but I tested them out on the building. Since the sliding windows were meant to be used with the thicker mdf of the front, they stick out inside. This won’t be an issue since I will be building a faux structure of studs.

The whole structure will get more aging later, including the windows. Looking good so far! :D