Continuing work on the removable back wall. After some further thinking, I realized I wanted my break in the wall to match up with the interior horizontal beams…so I would need to make my sliding wall taller and my anchored top shorter. Here it is adjusted.
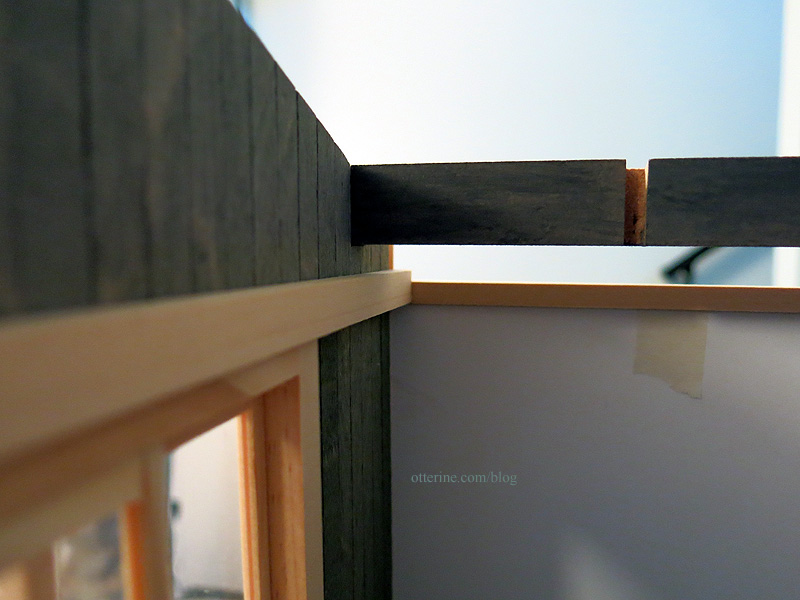
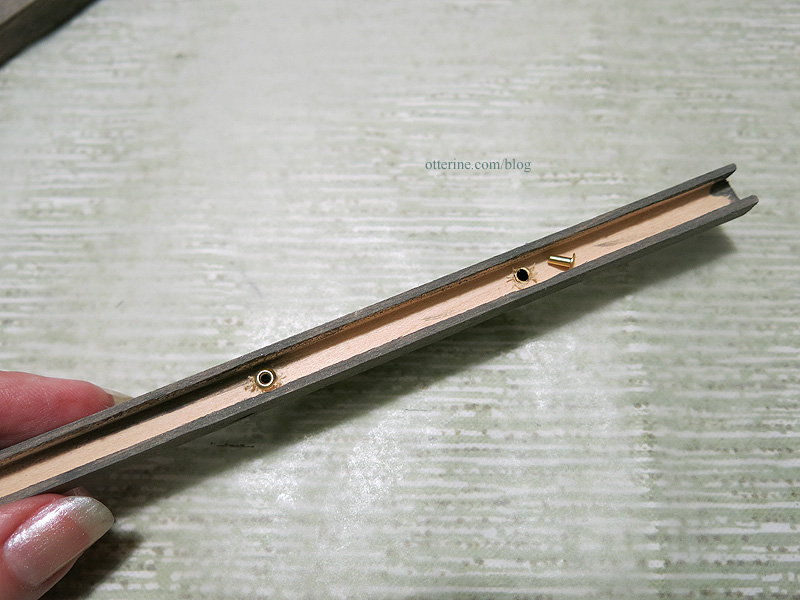
I would also need to split the vertical channel on the moving side. The top portion would anchor my top wall; the bottom portion would move freely.
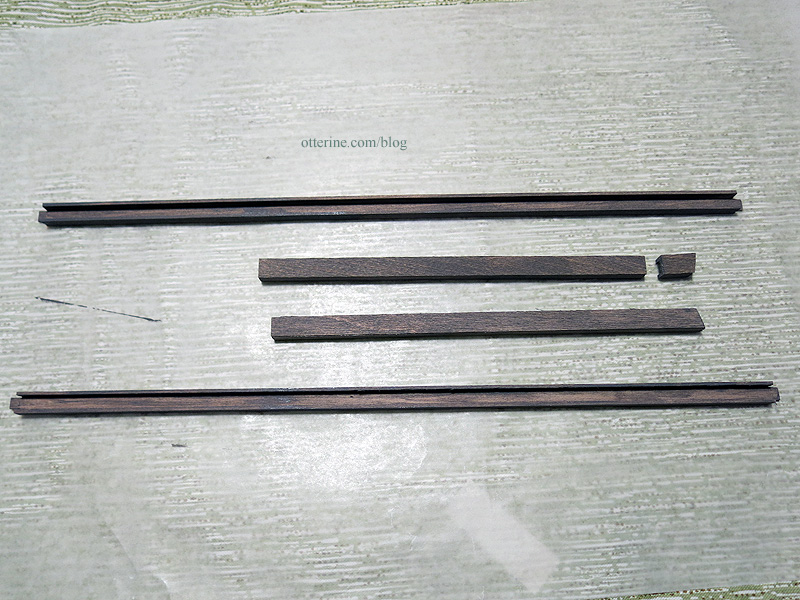
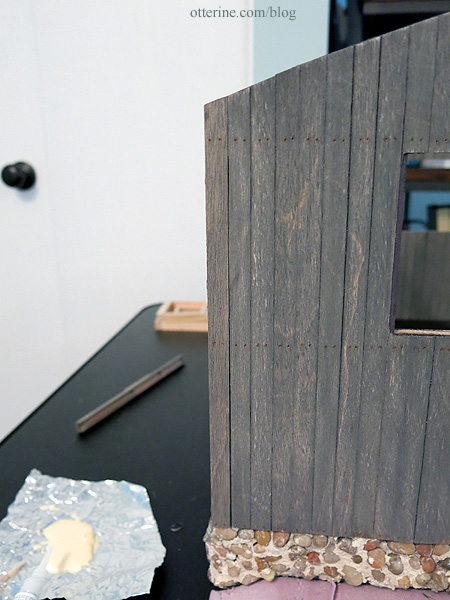
I covered the back of the vertical channels with siding strips cut to fit. I stained all the pieces to match the siding to prevent any bare wood from showing once finished.
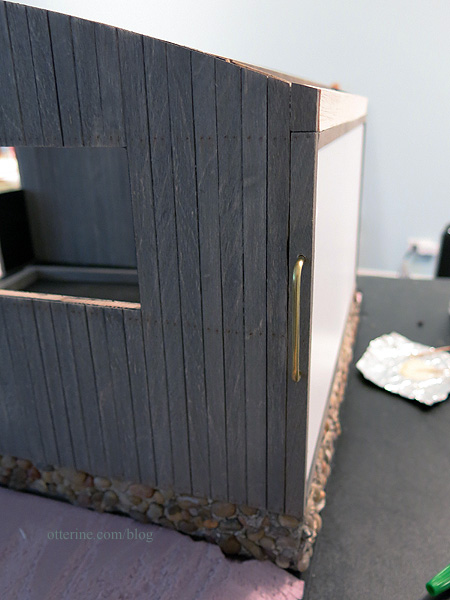
I will need a pull for the movable side, so I bent some brass tubing to serve as a handle using a Du-Bro Tubing Bender (here’s the post on how the tool works). I needed a handle large enough to grip and pull but in scale to look like a planned part of the build. Maybe this was an old bar used to tie up horse leads.
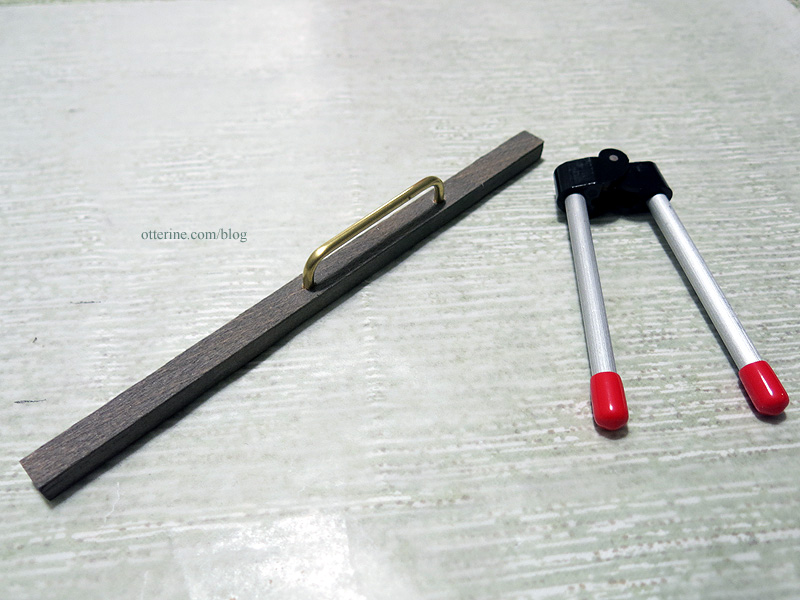
Eyelets will be glued on the inside to add stability. I’ll need to finish the metal to make it aged, so more on this later.
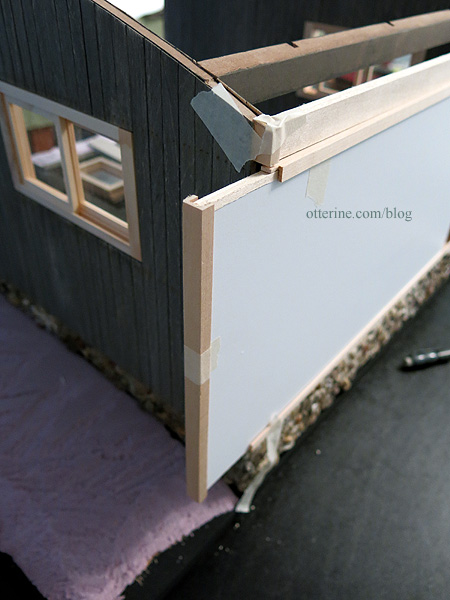
I glued the stationary side pieces and lower channel in place with the removable board inserted to keep things square.
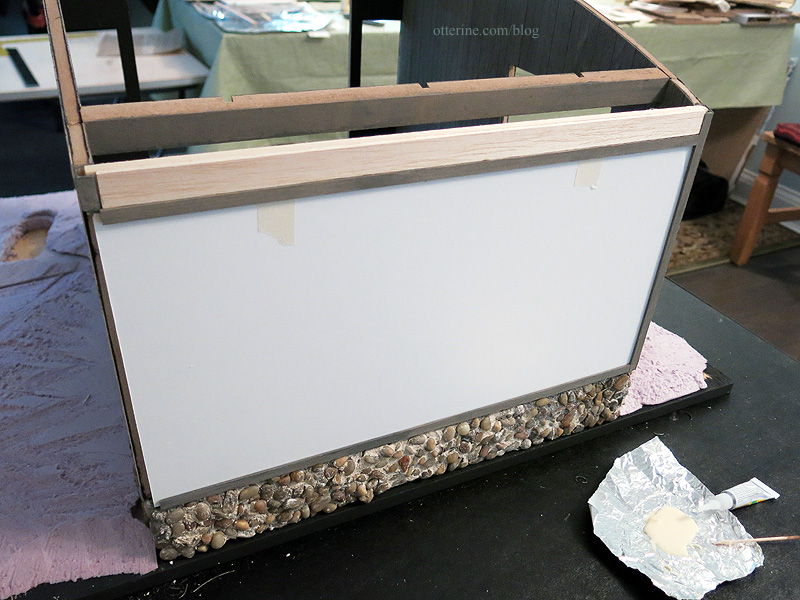
I padded the top stationary wall on the outside make a smooth surface across. Trim will cover this portion later.
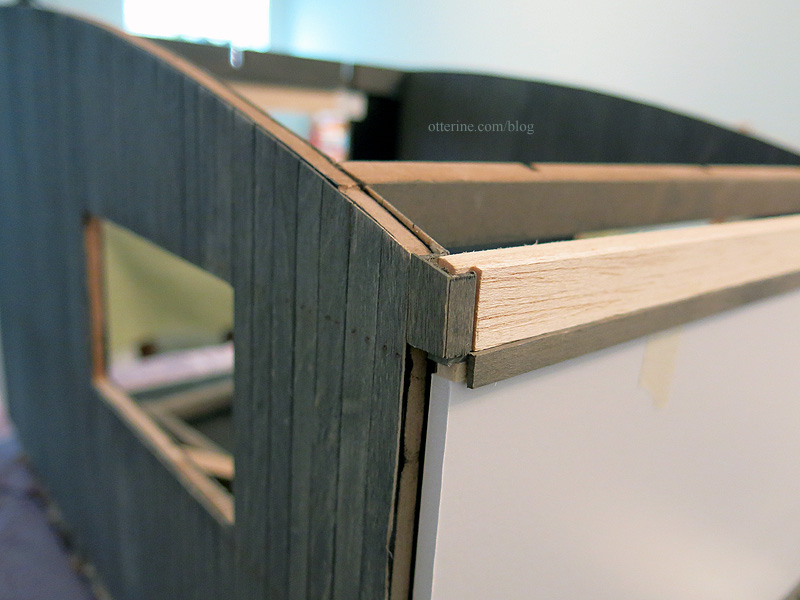
The siding strips on the side channels make them blend in well, especially on the stationary side.
The side with the handle will have a break in the vertical siding board, but the upper trim should help disguise this. Besides, I’m hoping the build will be so awesome you won’t notice. :D