
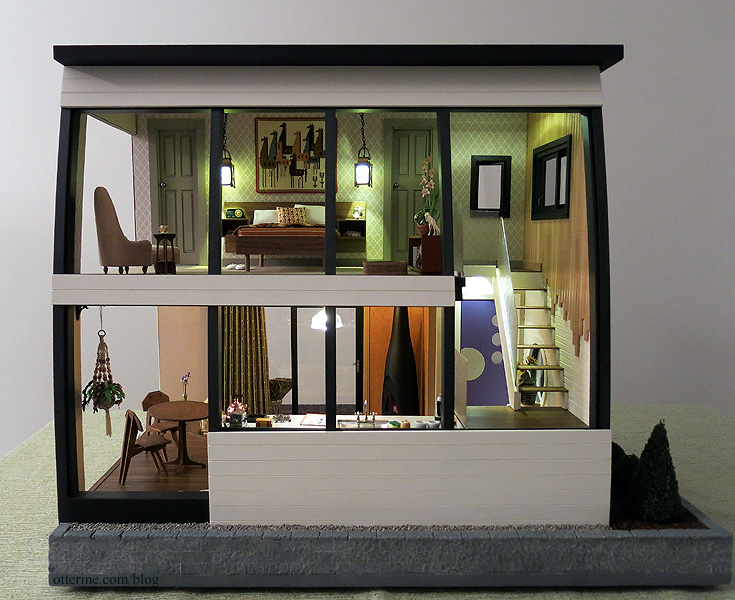
This photo is only possible with the window inserts removed, otherwise you would see me and my kitchen. :D Even if I dressed in all black, you’d see a Ninja in my kitchen. That’s a lot of reflective surface!
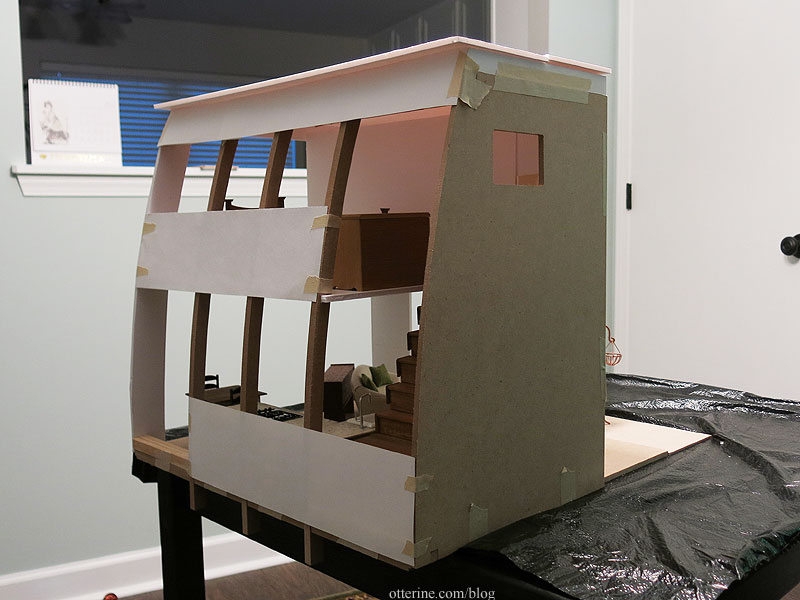
After tipping the kit over onto its side, I had to figure out my wall of windows. Unlike The Artist’s Studio, which had an entire wall of open windows, this build would require some portions to be solid to hide the back of the kitchen cabinets, base of the stairs, floor board and upper beam structure. Here’s the earliest mock-up using paper. I ended up making the wall a bit more open in the end.
To make things easiest, I decided to make the window inserts go from top to bottom and built the solid portions to encase them where needed. Plexiglass will bend in long strips but wants to stay straight in short runs. Having long pieces would allow for a gentle curve.
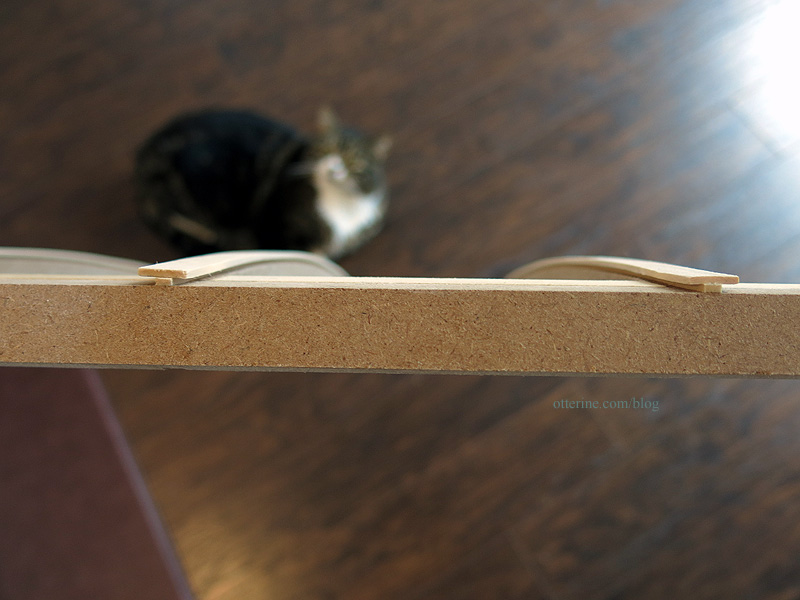
I started by gluing the beam structure together along with the added support pieces. Along the center of each beam, I glued a piece of 1/16″ x 1/8″ strip wood.
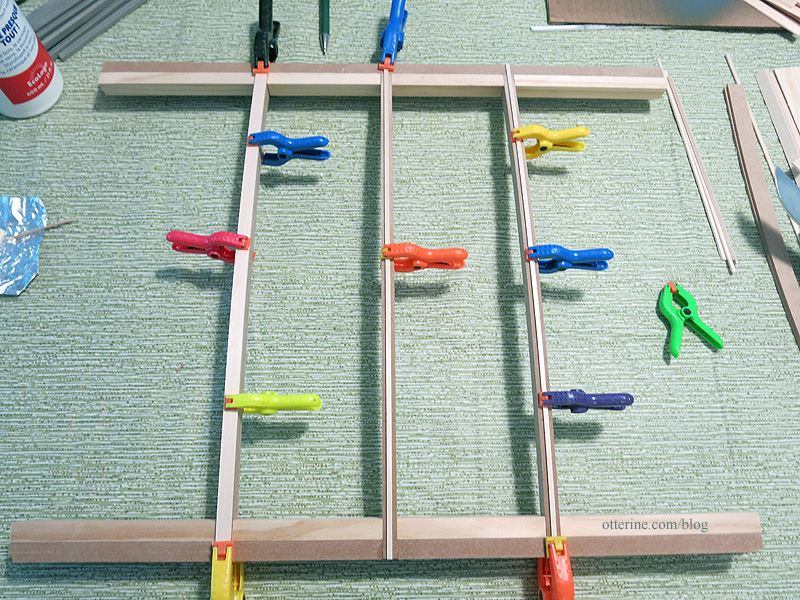
Over these, I centered 1/16″ x 3/8″ strip wood.
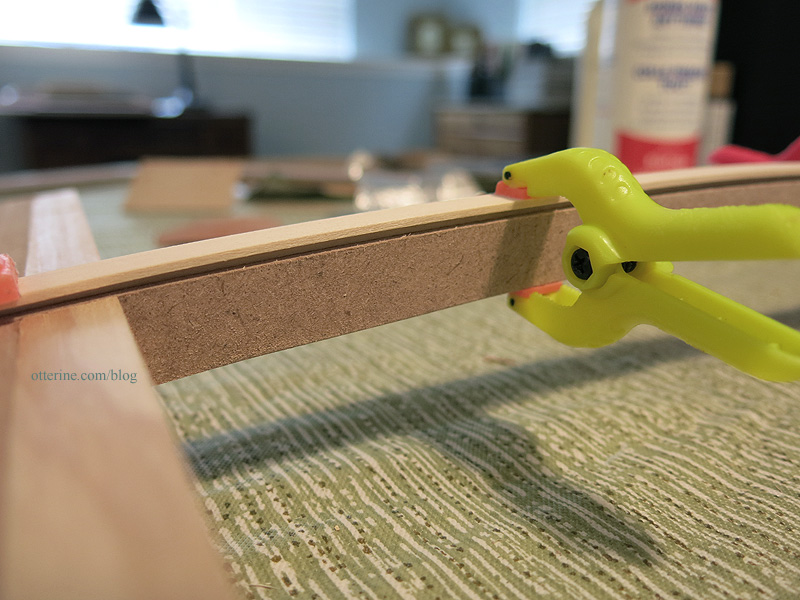
This created a channel on either side to add plexiglass strips. Hey, there’s my building buddy. :D
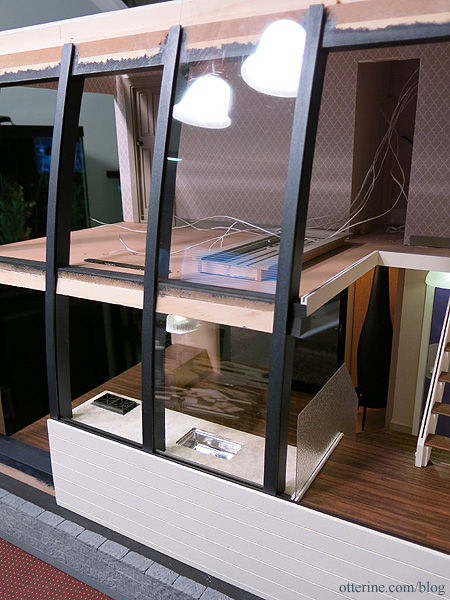
I painted the pieces using a mix of 2/3 Liquitex Payne’s Grey and 1/3 Silver by Apple Barrel. It’s a dark navy metallic – a beautiful color that is hard to see in photographs and ends up looking like coated steel.
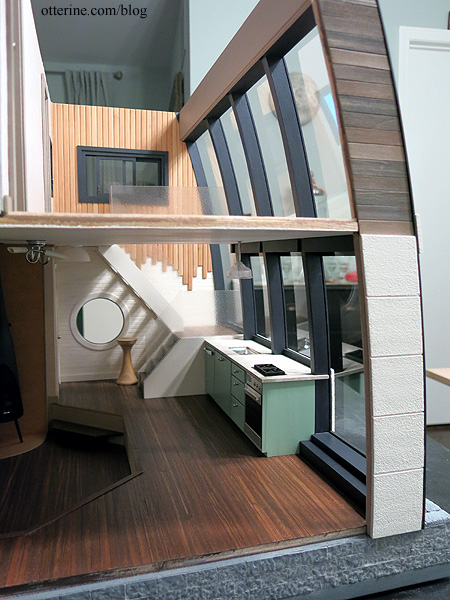
Once the window channels were in place, I used the original scored roof board to fill in the areas that needed to be covered. I painted these Warm White by Americana, patting the surface with a sponge brush to eliminate brush strokes. The scored lines look like siding.
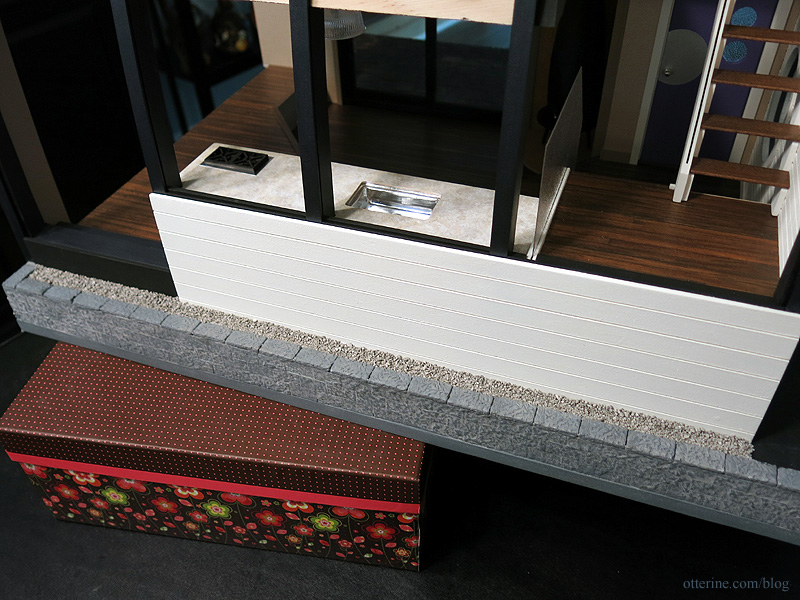
I added strip wood trim painted black to the tops and bottoms of the siding panels as needed to enclose the glass and serve as weather-stripping. It just sort of blends in and would only be truly noticeable if it were absent. :D Here’s the test window insert in place.
One thing that bothered me was the idea of not being able to photograph the interior without glass glare (or my reflection looming there). But, once the roof was on, there would be no way to slide the window panes out of their pockets. It hit me late in the game — a week before the deadline — to add a slot in the roof to remove the panes.
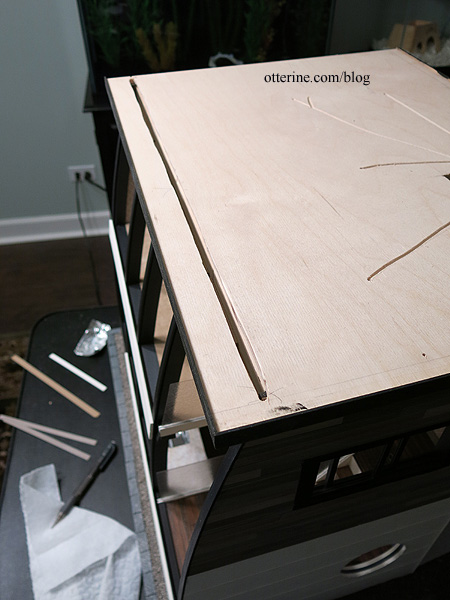
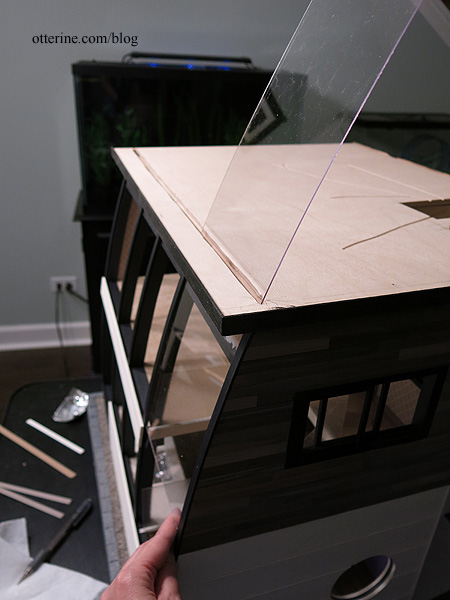
It’s not as elegantly executed as it would have been had I planned ahead for it…but it works! The windows fit through the slot in the roof and slide into the channels.
The cork covers the hole and can be peeled back as needed.
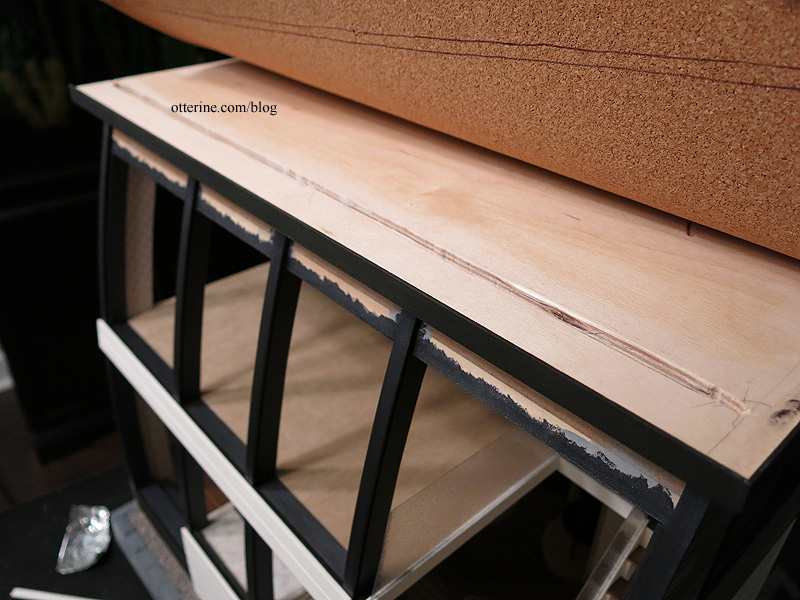
The entire roof is topped with cork painted black, leaving a hole to access the wiring closet. It’s not really usable as an electrical access, but it’s better than nothing and it helped with wiring the lights attached to the roof board. The chimney is made from bits and bobs.


