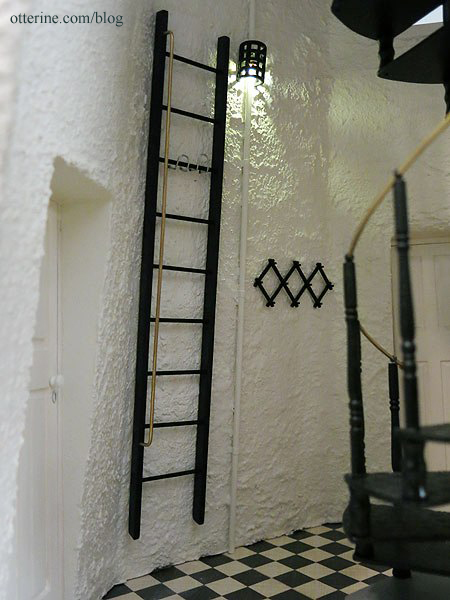
One of the prominent features in Walnut Bay Light is the 16.25″ tall spiral staircase in the tower. It was scratch built from textured and smooth plastic sheet, an orchid stake, wood beads and spindles, jewelry findings and brass wire.
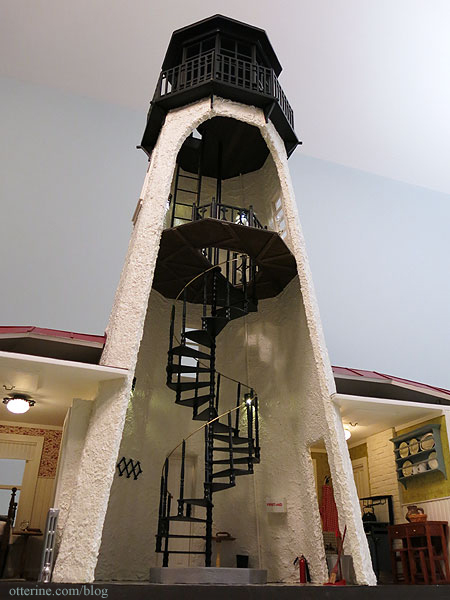
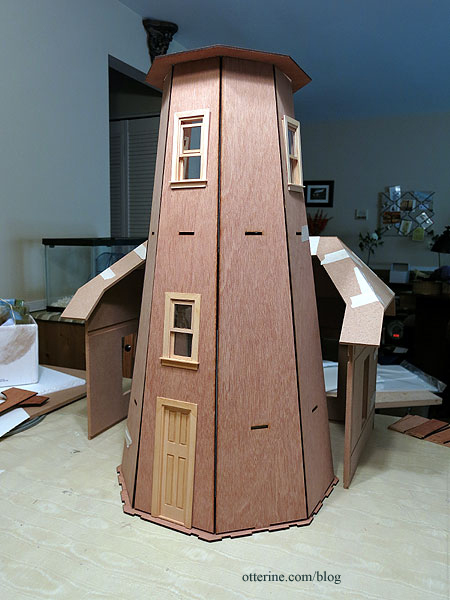
Since I planned to have a substantial base, I cut part of the first floor of the lighthouse tower down. I replaced the kit windows and door with Houseworks working attic windows and narrow door.
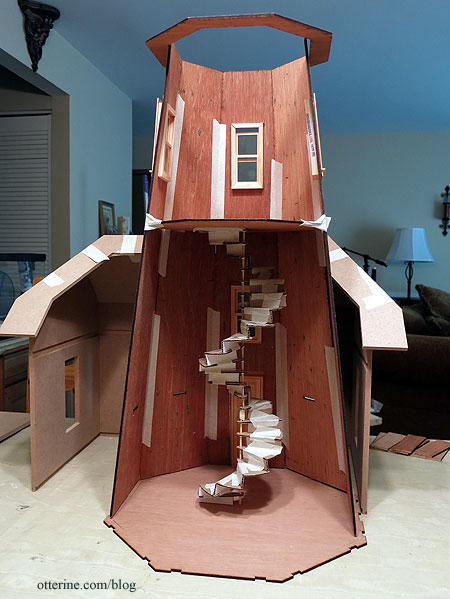
This eliminated the middle floor in the lighthouse tower, which meant I needed a breakneck staircase to access the upper floor. That’s my initial mockup of the spiral stairs in cardboard, tape and bamboo skewers. Yes, there was math involved, but it worked out really well.
The textured sheet is 1:16 scale double diamond plate by Plastruct. Due to its thinness, I glued plain white styrene to the back and then traced my tread pattern onto the sheet. I had to redraw part of it to fit all 22. Each one was marked with an arrow to keep the direction consistent.
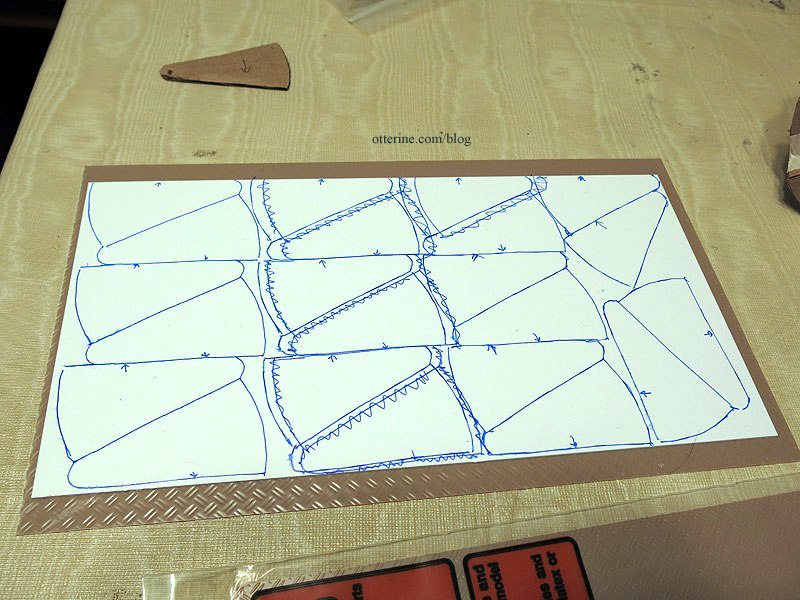
Each of the stairs was cut using my Proxxon scroll saw — I actually used that saw more than I thought I would for this build. It saved me so much time and aggravation.
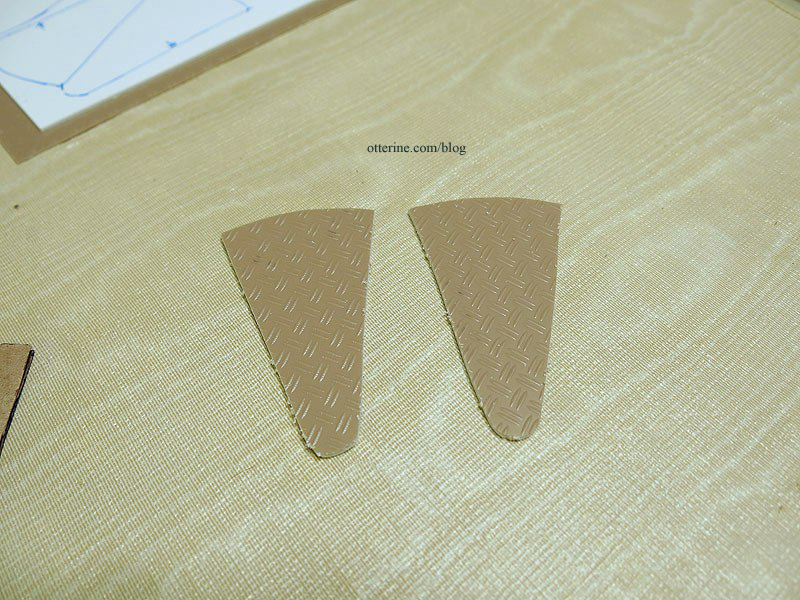
I then sanded the edges smooth and added the drilled holes in the middle (for the main support) and outer points (for the spindles).
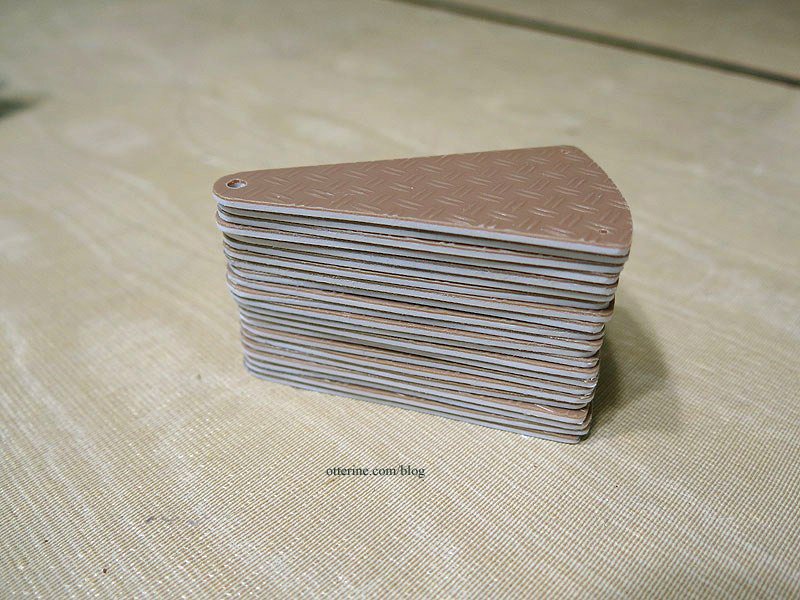
Here is the trial run with the final materials.
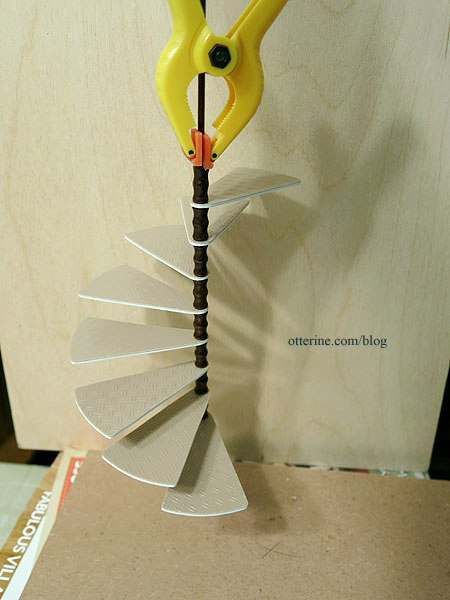
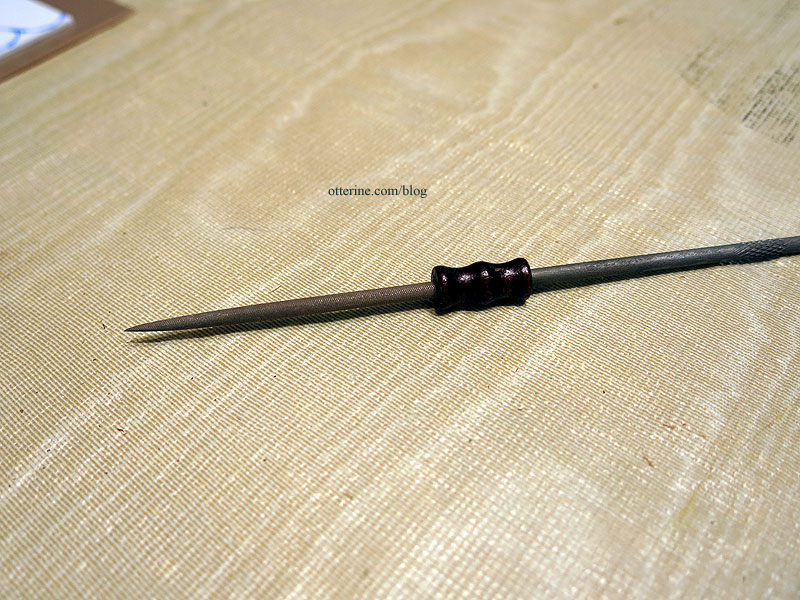
The wood beads are 1/4″ x 5/8″ and have a fancy shape to them, but the holes were just a little too narrow for the orchid stake used as the main support. I used a metal file to open the hole wider for the ones in the middle support. The outer beads didn’t need adjustment.
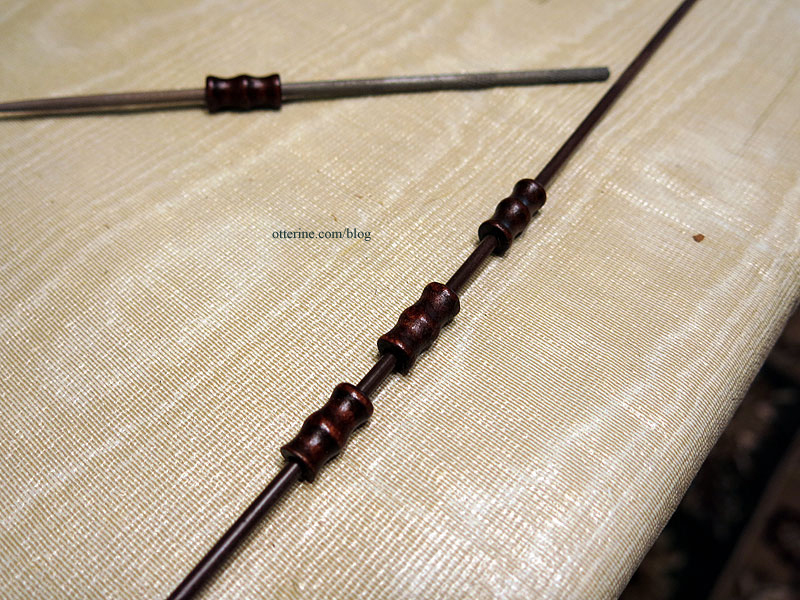
I used a combination of E6000 and super glue gel. I needed each part of the assembly to be solid to build the next one on top. I used a headpin inserted from the bottom of the lower tread, up through outer spacer bead, through the upper tread and then clipped to fit into a pre-drilled hole in the spindle. The spindles each had a drilled hole to insert an eyelet pin.
This is just over half of the staircase completed. I left a few inches of the orchid stake open at the bottom to insert into the base for stability.
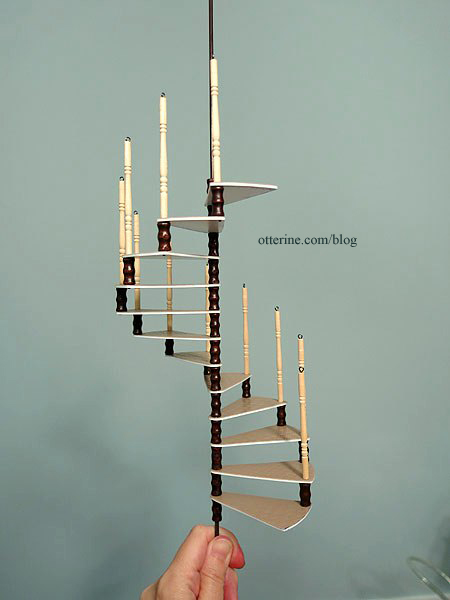
Once it was spray painted flat black, it transformed. :D I later applied a semi-gloss sealer.
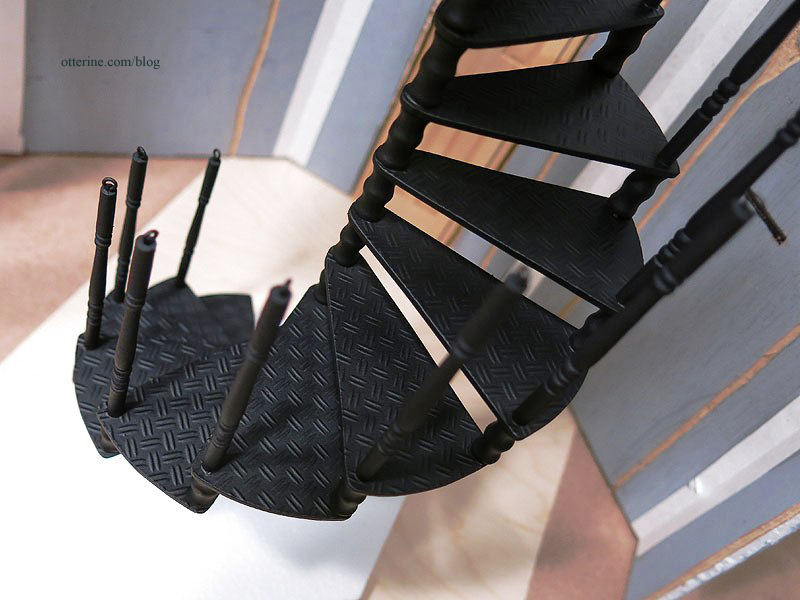
The 1/16″ brass railing was curved by hand and then fed through the eyelets as the last stage of construction.
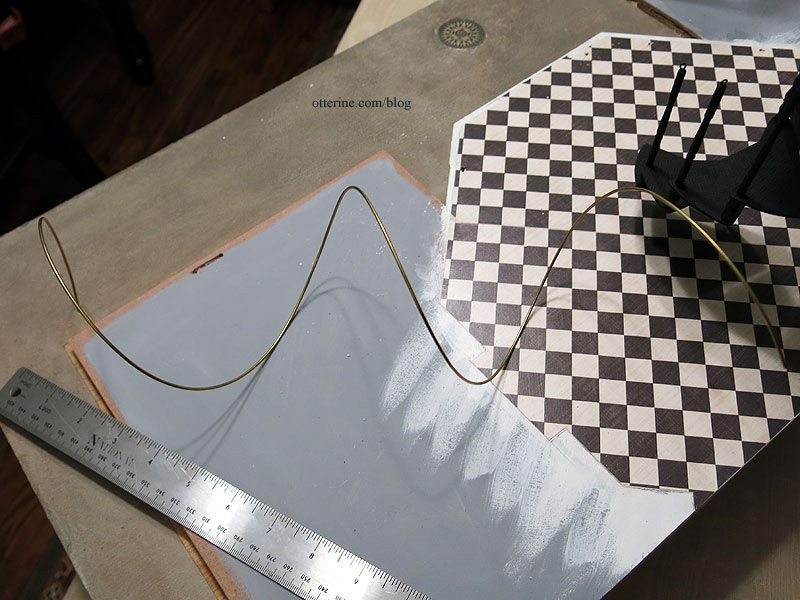
Yes, this was a right proper pain. Spindles and eyelets popped repeatedly, but I was able to wrangle it into submission and glue it all back in place. :D After final installation, I finished the ends of the brass with round caps from Bindels Ornaments.
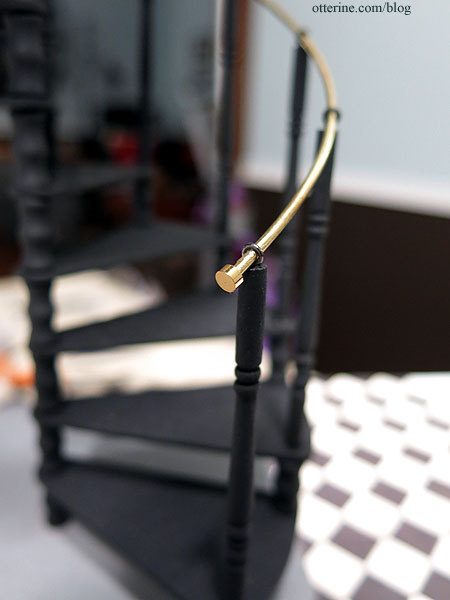
The staircase ended up being about 1/2″ too short, so I made an octagonal base for it from styrofoam.
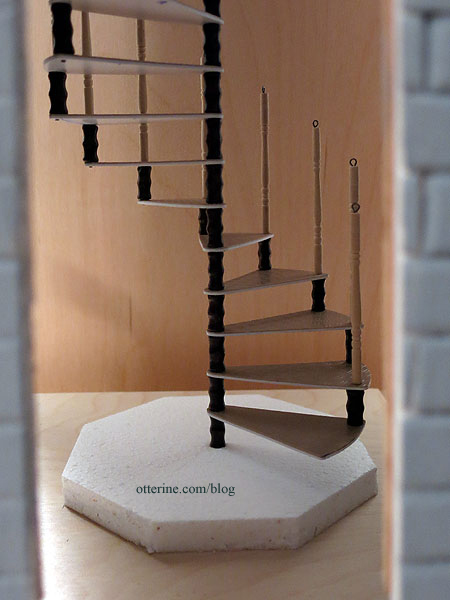
I covered the top with wood and the sides with cardboard.
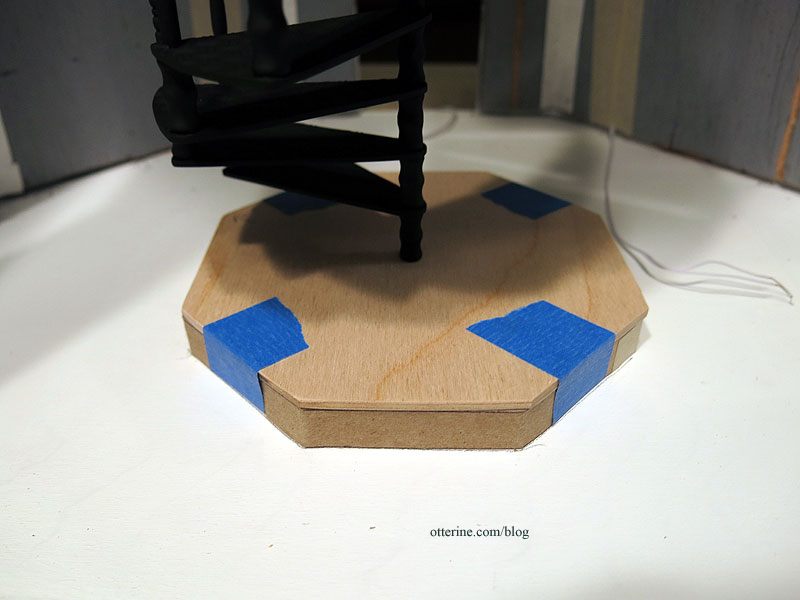
After spackling the base, I sanded and painted it to resemble painted concrete.
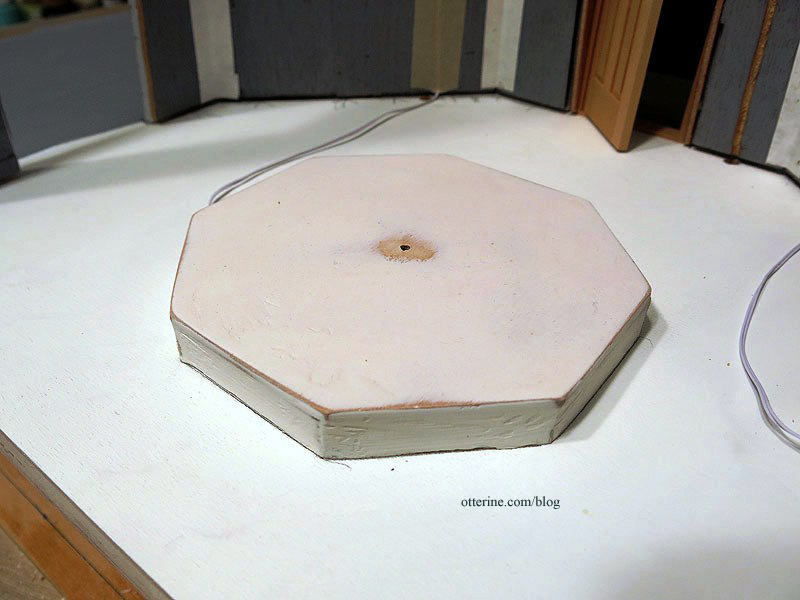
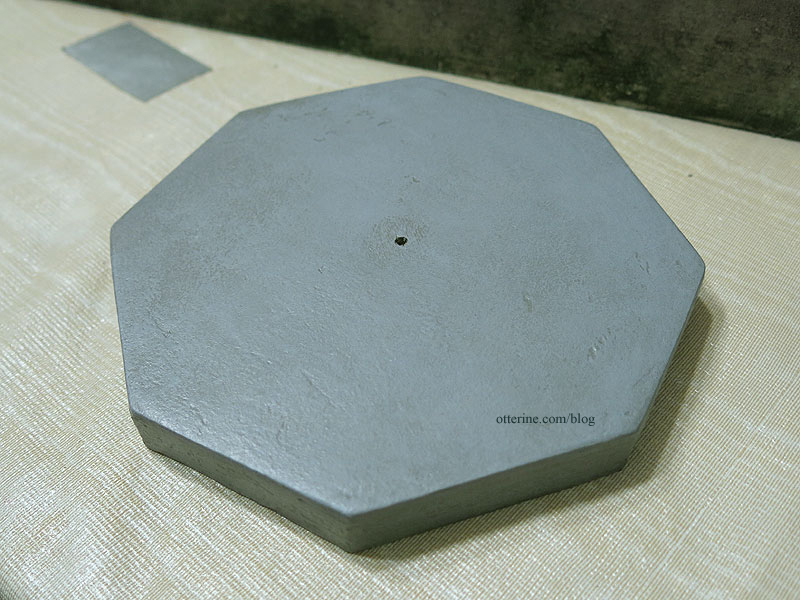
I installed the lower tower tile floor and adjacent wood floors before installing the base and staircase.
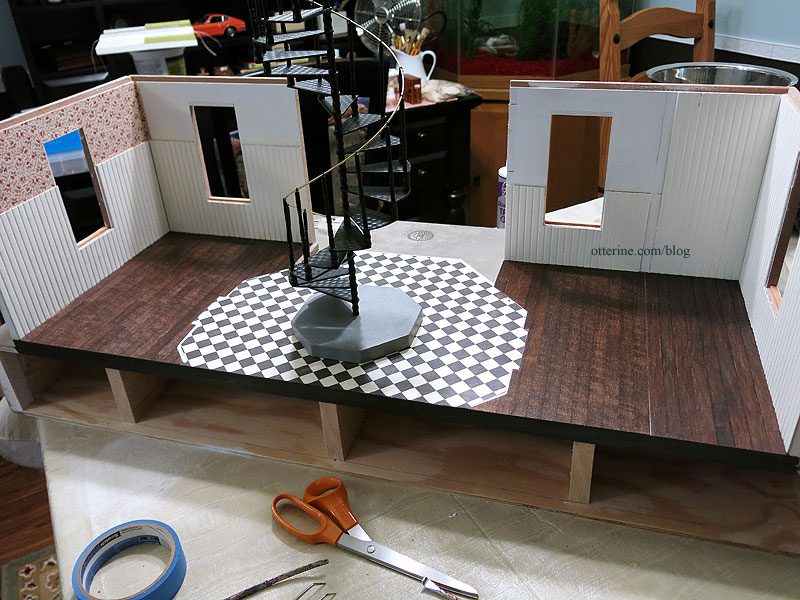
I made a mockup of the upper floor from cardboard to determine the opening since I didn’t want to risk ruining the kit board.
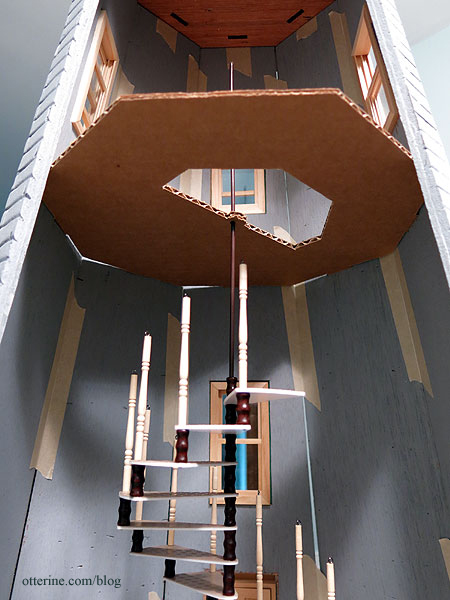
Once I had the shape and opening cut in the mockup board, I altered the original kit piece, using the scroll saw for the opening. I scored lines on the bottom of the board and added strip wood trim to mimic support beams. After staining, it looks like a convincing structure. You can see my arrows on the underside of the treads.
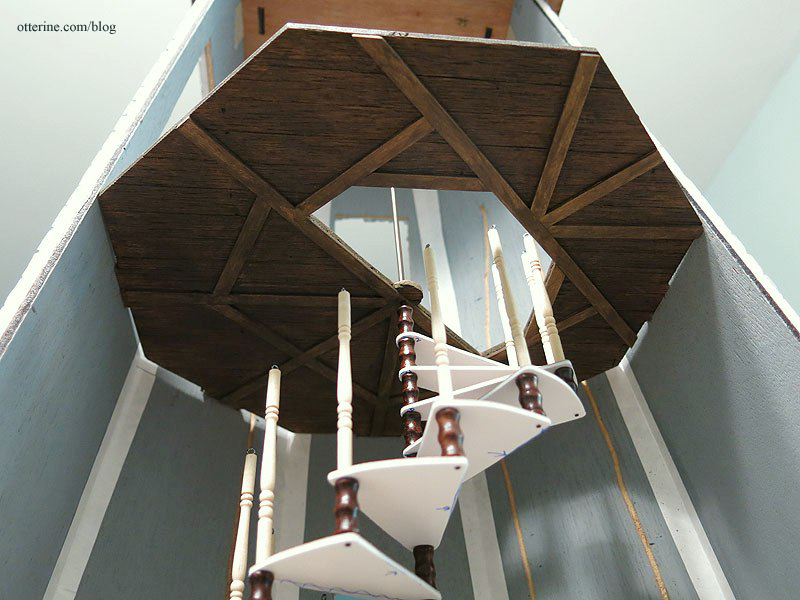
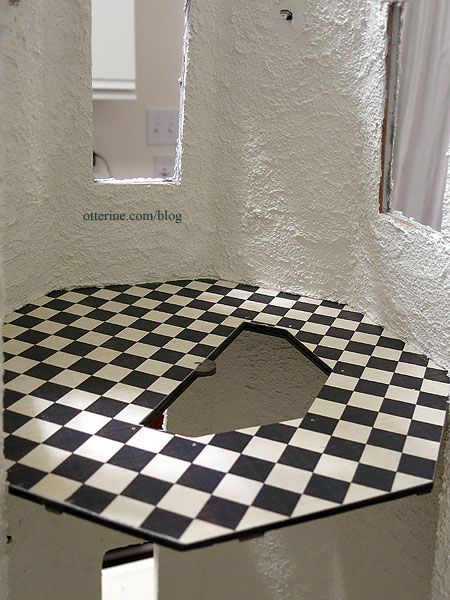
I added scrapbook paper called Cream Diamonds by The Paper Studio to the top side of the upper floor, sealing it with Delta Ceramcoat Satin Varnish. Even though I glued the upper floor in place before applying the stucco finish, the tower remained removable until I was ready to install the spiral stairs permanently since there was a guide hole in the upper floor.
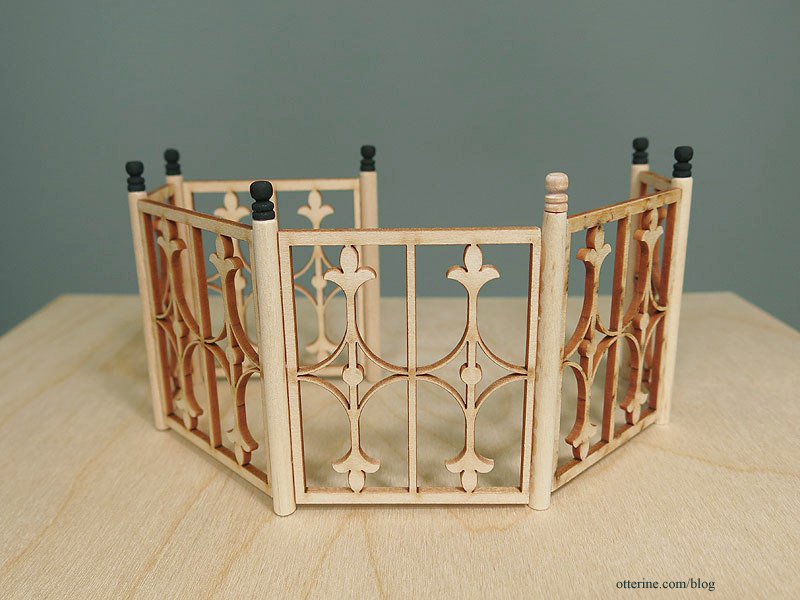
The upper railing was made from Laser Tech railing, wooden dowels and Tiny Turnings.
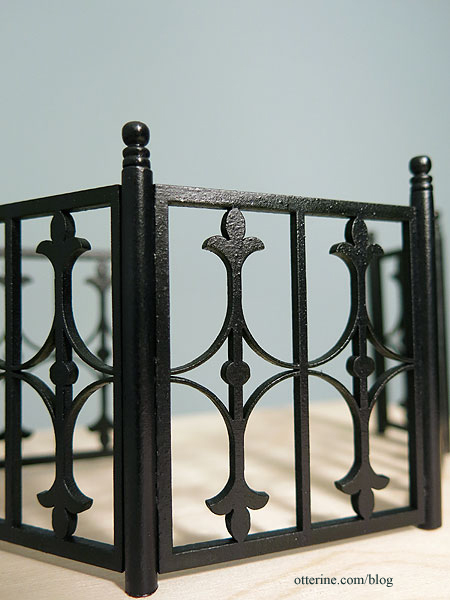
I sprayed it flat black followed by Minwax Polycrylic Semi-Gloss spray sealer for a wonderful wrought iron texture.
There’s a hollow aluminum tube that extends from floor to ceiling in the upper tower room. I sprayed it flat black and then added a satin sealer.
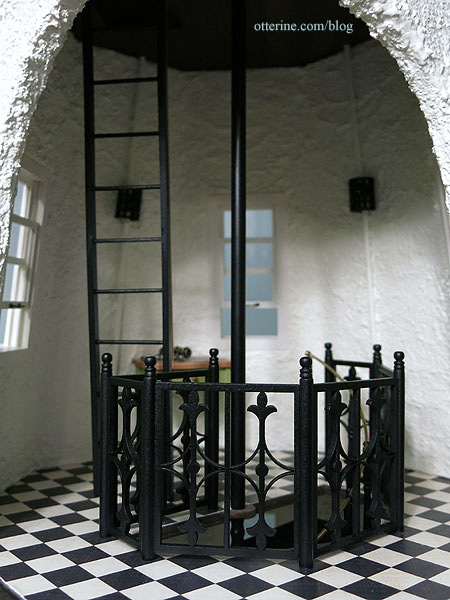
The tube encloses the top portion of the orchid stake.
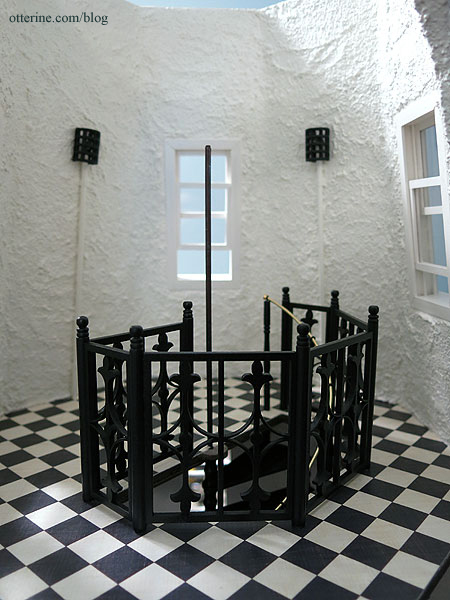
I’m so pleased with the way it turned out! :D
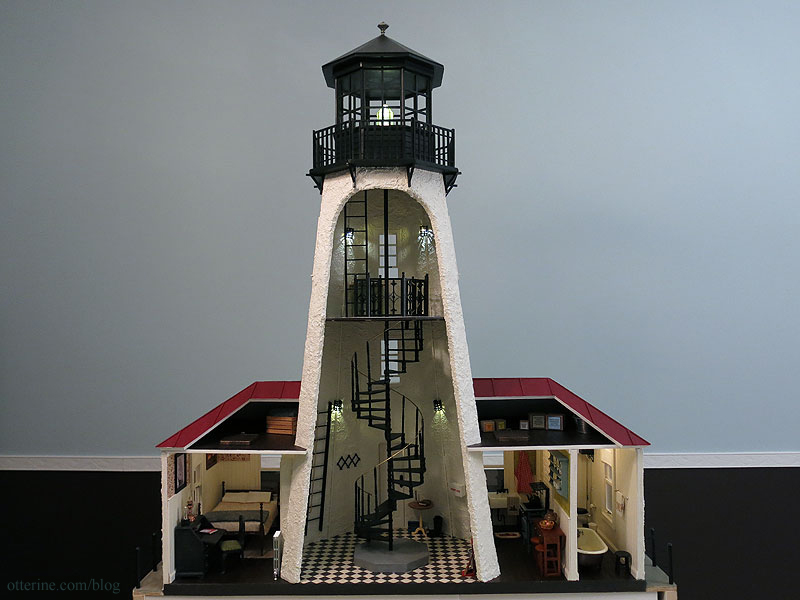
It fills the tower but still allows for a realistic amount of room to move about and place lighthouse related accessories.
