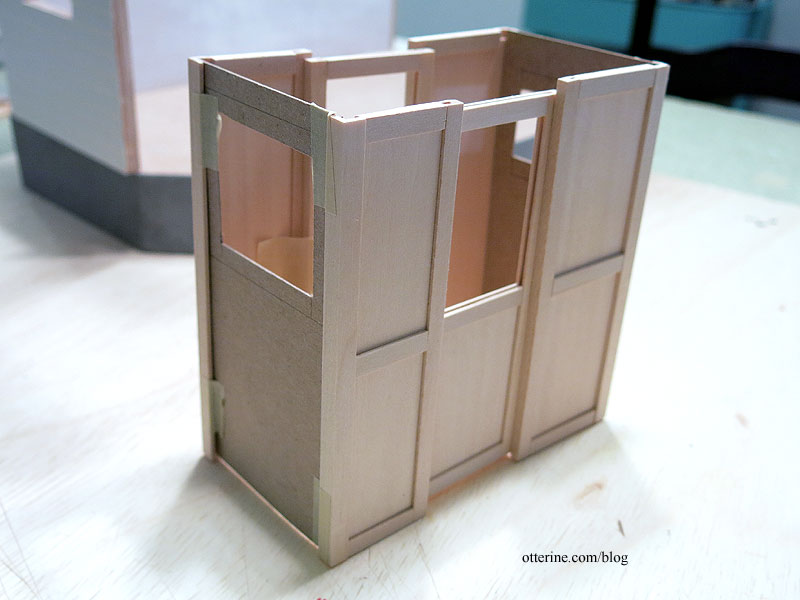
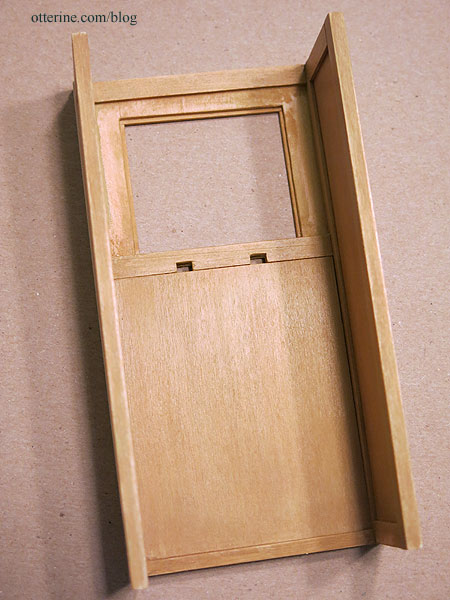
Continuing work on the mail wagon. Here is the mock-up from last time.
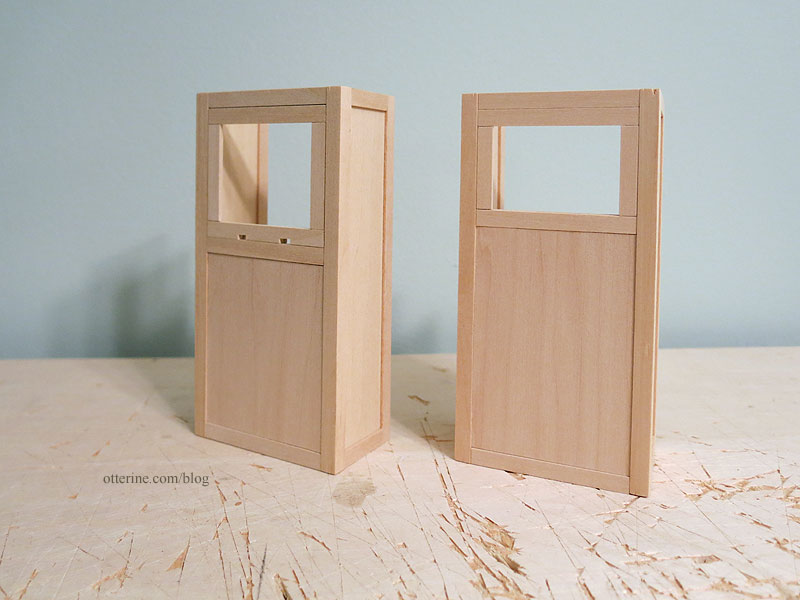
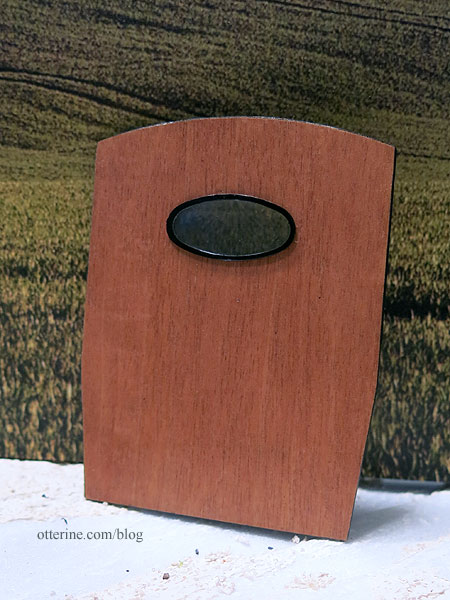
I originally intended to build a working window for the front, but after considering that the small space would make it difficult to actually operate the window, I opted for faking the window instead. I cut a front following the cardboard template from the mock-up and then built the trim to fit. I will enclose acrylic sheet inside the window frame during final assembly. No sense in risking marring the acrylic as I continue to work. Even though the window doesn’t operate, I did add the holes for the horse reins.
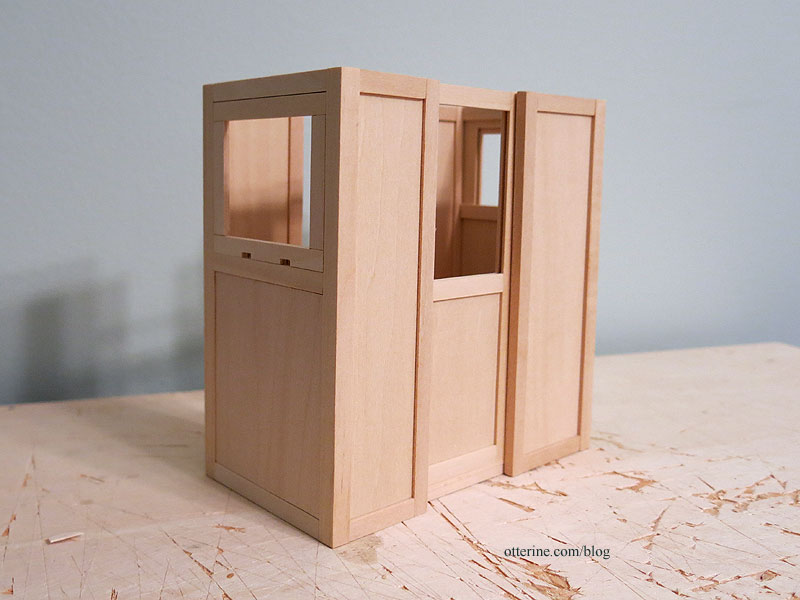
The back wall has a slightly smaller window and is also non-opening.
After building the front, back and doors, I figured it was easier to prime and paint what I could before assembly. I started with the interior since I could start putting things together as I painted if I wanted to do so. The first coat on the interior was Camel by Folk Art mixed with Staining Medium by Americana. After a light sanding, I added a second coat using Honeycomb by Folk Art mixed with Staining Medium by Americana. I followed that with a light coat of Delta Ceramcoat Satin Varnish. These layers give the look of varnished wood.
It reminded me a lot of the Model T wood portions as shown below, which would fit the era well.
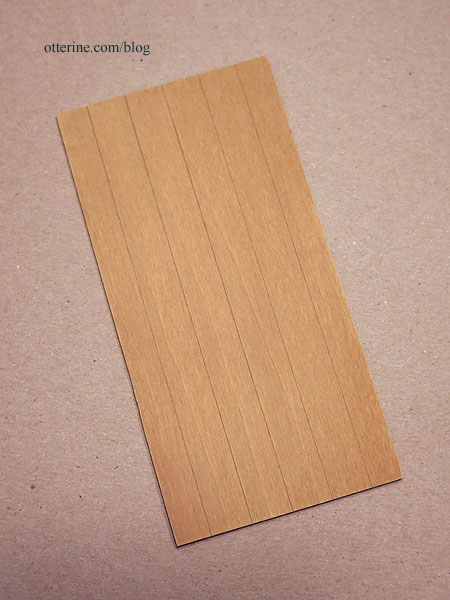
I cut a solid floor and then scored lines to mimic individual boards. Much less fiddly than trying to use actual planks. This is painted to match the remaining interior.