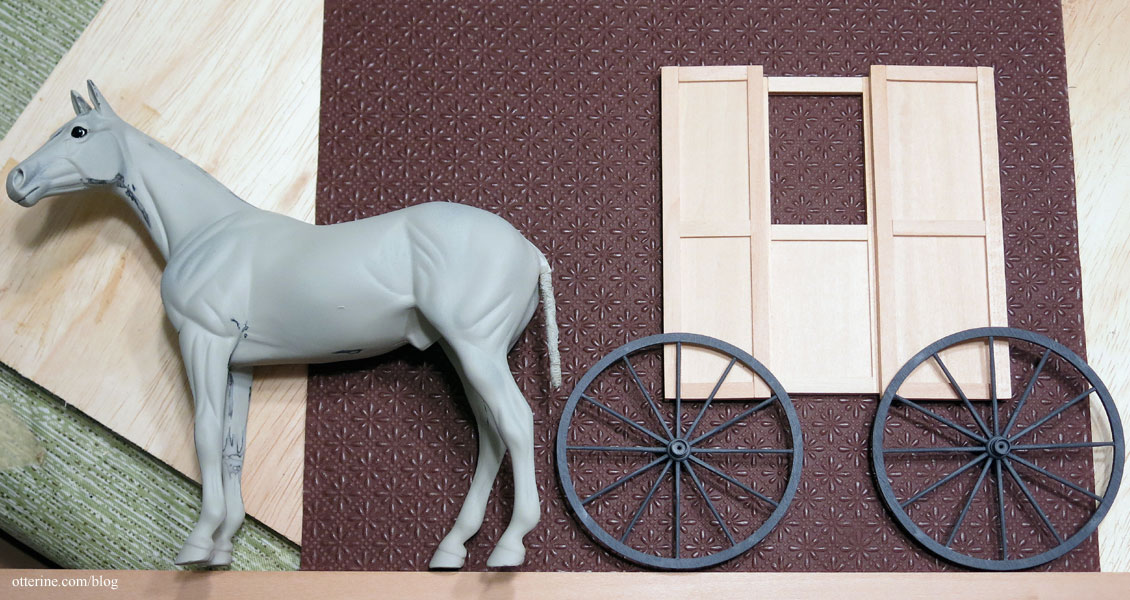
Continuing work on the mail wagon. I’m planning a basic box cabin with trimmed details, a hinged front window, and sliding side doors. I’m using 3/64″ thick basswood sheets (3″ x 24″) for the majority of the parts. It’s thinner than 1/16″ and therefore lighter in weight but still durable when trimmed.
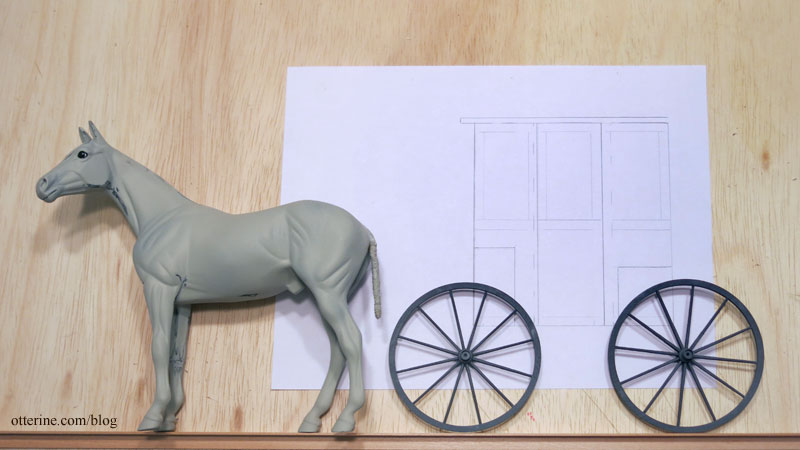
I started by drawing a quick sketch using the Rondel kit sides as a starting point, then refining from there based on measurements for average seat height, the seated height of my artist model and general proportions from the various mail wagon examples I’ve reviewed.
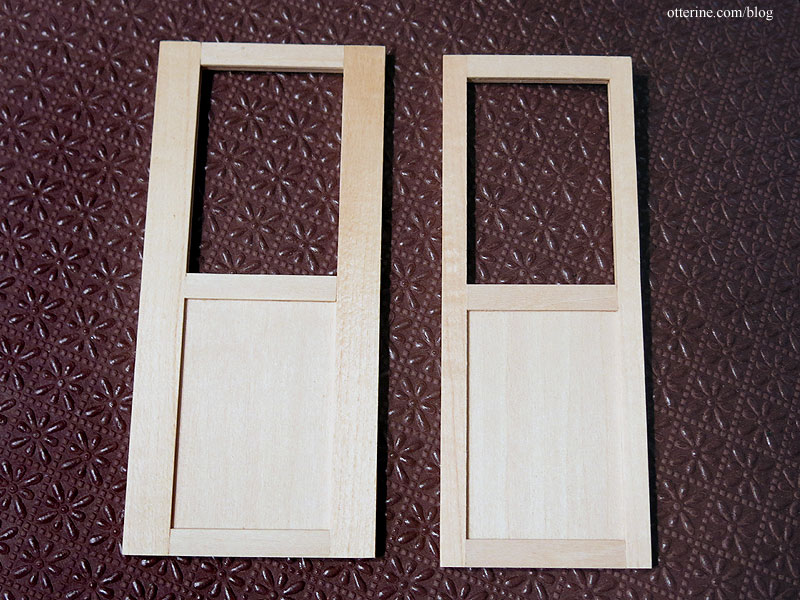
The two doors are where I will begin, then I can build the walls to enclose around them. If these don’t work, then my basic construction will change since I’ll make hinged doors instead. I’m using door frames from Northeastern Scale Lumber, cutting them down width-wise. I am sure there must be a place to get the window channel that Houseworks uses to make their windows, but I have yet to discover it.
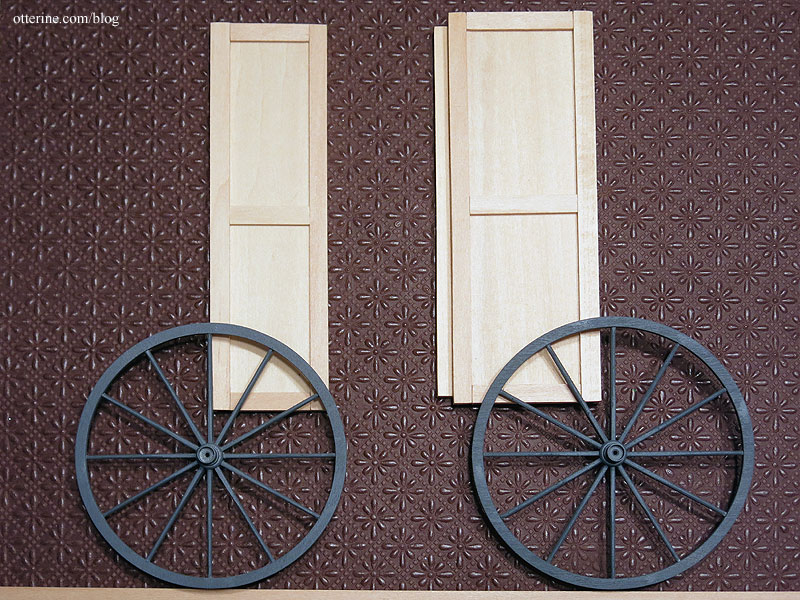
The door frame material holds the 3/64″ thick basswood perfectly as an insert, and 3/64″ thick trim finishes the frame. The top will have acrylic sheet for the window. As I was working, I decided to make my door a little wider than my drawing for practicality. This will add a modest amount to the length of the wagon, but it seemed necessary for better proportion. Here is one door with the original width of door frame material on the side and the other with the width cut down.
I built the side front and side back walls using the door frame material for the lead edge of the door openings as well as the tops and bottoms, cut down to size width-wise. I used 1/4″ corner trim for the front and back edges to make it easier to join the front and back of the cabin when I get to that stage.

Most of the examples I saw had no side windows, sometimes small slits to peer through, so I’ve left the side walls solid to have more room for the lettering. The cross trim on the side front and side back panels isn’t glued in place yet, since I want it to line up with the door in the end. Leaving it unattached allows for adjustment later.
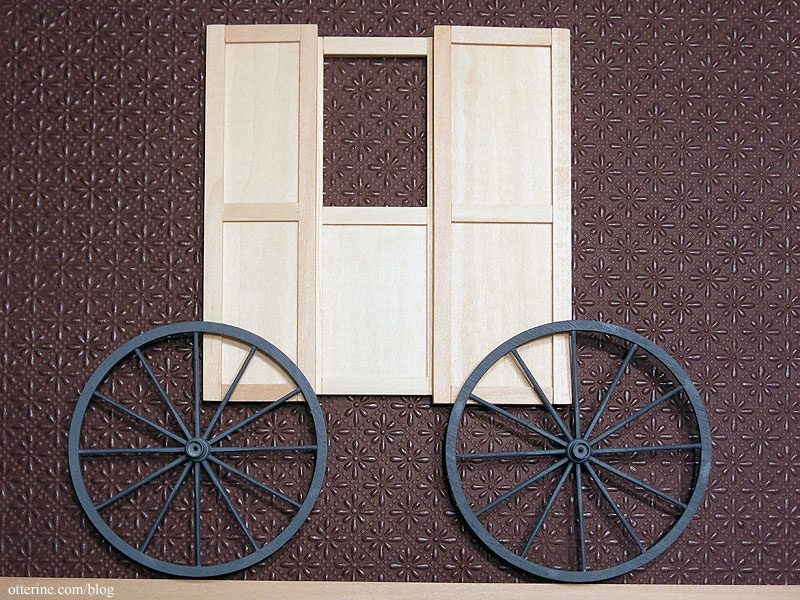
Each door will slide to the back just short of its door handle.
I think this will work well, so next I will make the front, back and floor.