While the Studio looked fine with its open front, in reality that should be an enclosed wall. As noted in a previous post, I chose the mockup with the tall upper panes.
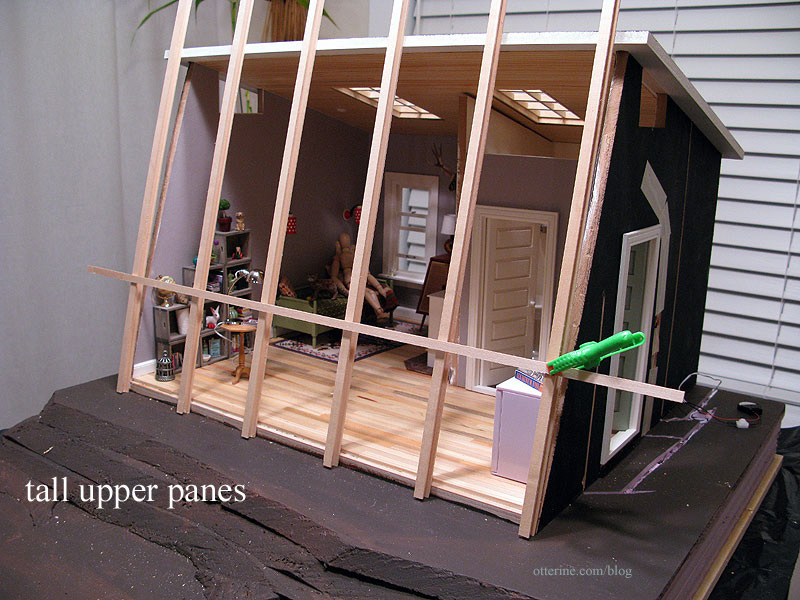
Mike helped me hammer out some details since he’s great with components and construction. I told him I planned to use wood I-beams, strip wood and clear acrylic for the vertical portion, but the top and bottom enclosing parts were confounding me. He suggested using the same I-beams on top and bottom, having the beams butt together while having the interior wood extend into the top and bottom. His idea helped it all click for me. Yes, it will all make sense with the pictures. :D
I bought the I-beams from Manchester Woodworks. The strip wood came from the local hobby shops: Michaels, Hobby Lobby, Blick, etc. The large acrylic sheet came from Hobby Lobby; it measures 2′ x 4′ and was $6 (before using a 40% off coupon). It’s not as thick as I might have wanted…but to buy a thicker sheet would have meant waiting for shipping…was not going to happen.
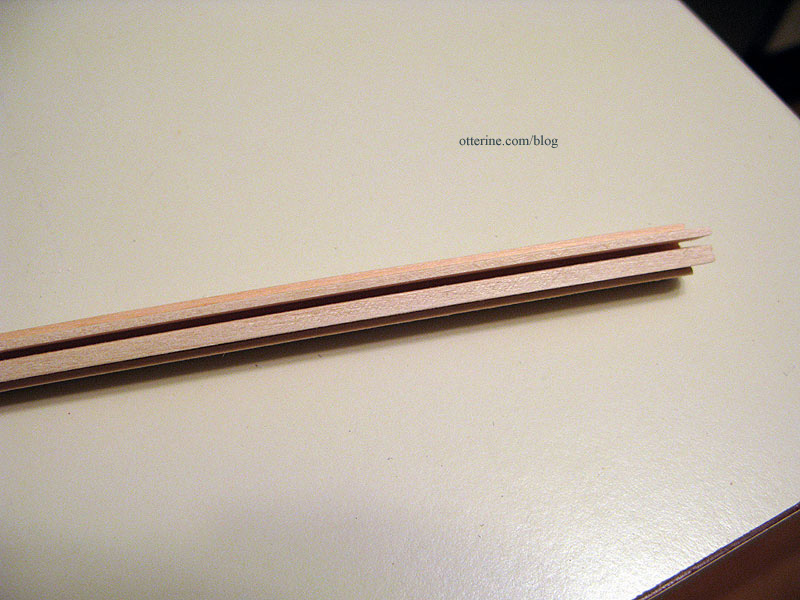
The plan was to insert 1/8″ x 1/4″ strip wood into the channel, then insert the acrylic pane, then insert 1/16″ x 1/4″ strip wood on the other side of the acrylic.
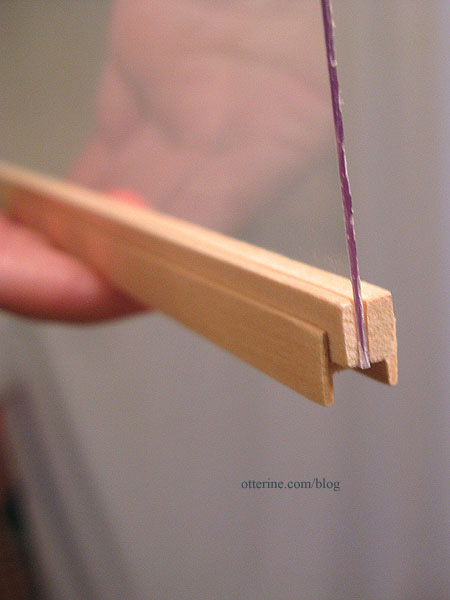
Why not make two strip wood grids and sandwich one large cut piece of acrylic inside? Sagging. I just didn’t think it would be a straight, solid (sag-less) window using that method. And, this window would be moved around to access the interior. It needed to be sturdy enough for handling.
I determined the outer frame by taping the I-beams together. Apparently, my artist’s model passed out at the thought of the math ahead. :O
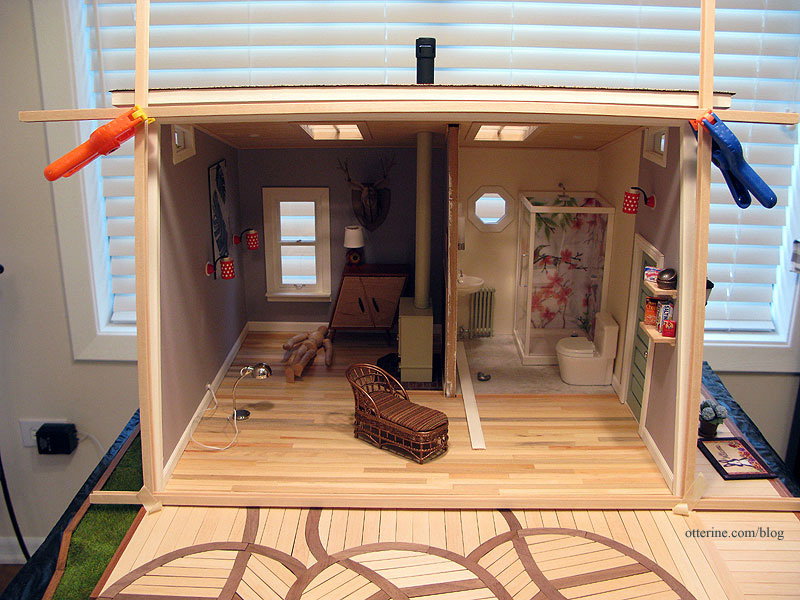
This gave me the inner vertical beam measurement of 12″ tall. I don’t want to bore you with the math, but here are the final measurements. I keep these in my blog mainly for my own reference so I don’t have to write them down. I can just search the posts. :D
The interior wood trim needed to extend 1/8″ past both the top and bottom to allow the top and bottom beams to lock in place. All these measurements made the acrylic panels slightly less than 3 1/2″ by 12 1/4″ each. In the interest of not wasting materials, I built one window panel without glue to see if this would work the way I thought it should. I took the protective film off of the test acrylic piece to get an accurate feel for the end result. I had plenty of acrylic to cut fresh panels for the final window, so it wouldn’t matter if this one was scratched during the planning and construction process.
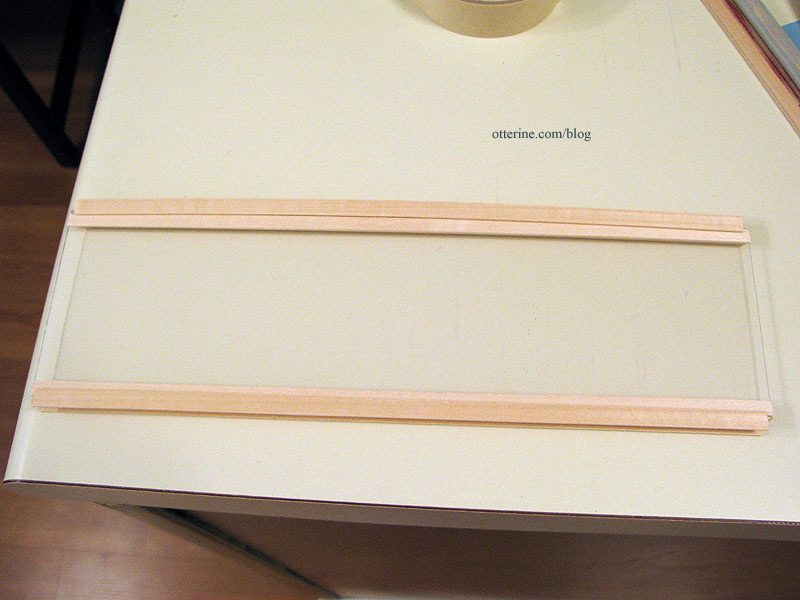
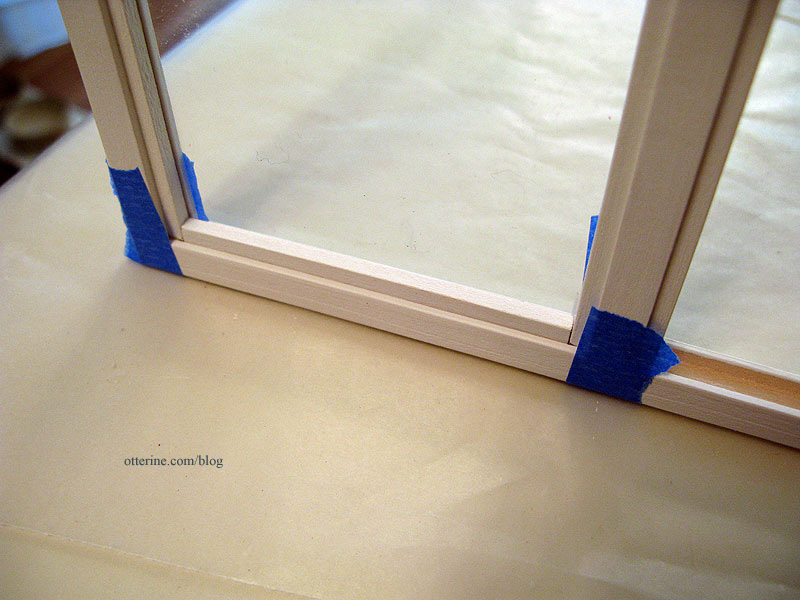
The top and bottom beams lock on. Trim wood would be used to fill in the track on the upper and lower beams later in the assembly.
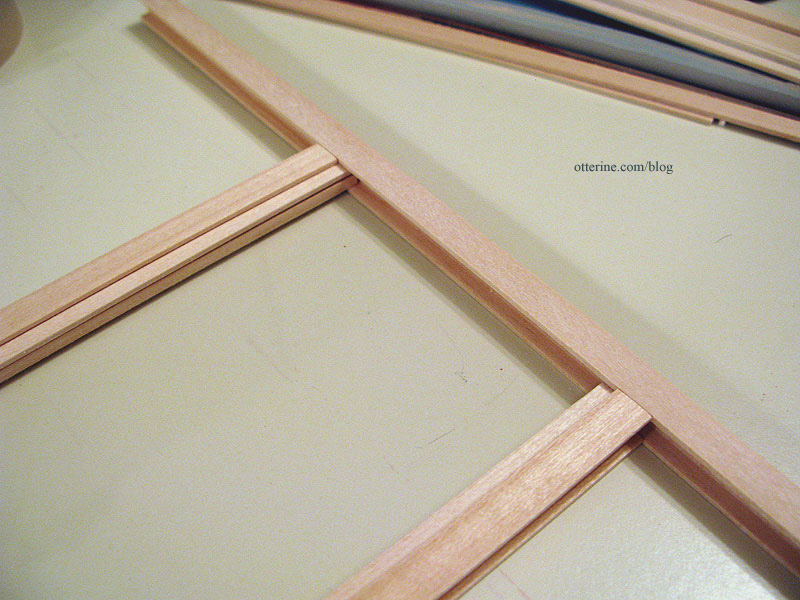
It felt pretty solid with only two bits of tape on it, so I thought, “This just might work!” :D
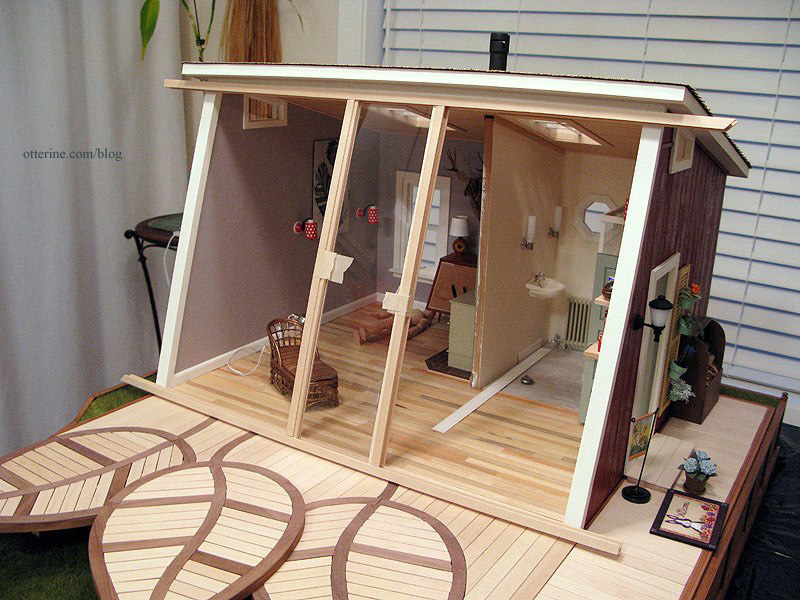
I sanded all of the wood pieces before building the window panels (all without glue), but I wanted to go further and paint as much as possible before adding the acrylic inserts. I took the mockup acrylic panel to use as my spacer and glued the strip wood into the I-beams.
Once I had the vertical supports assembled, I tested the fit on the Studio. So far, so good!
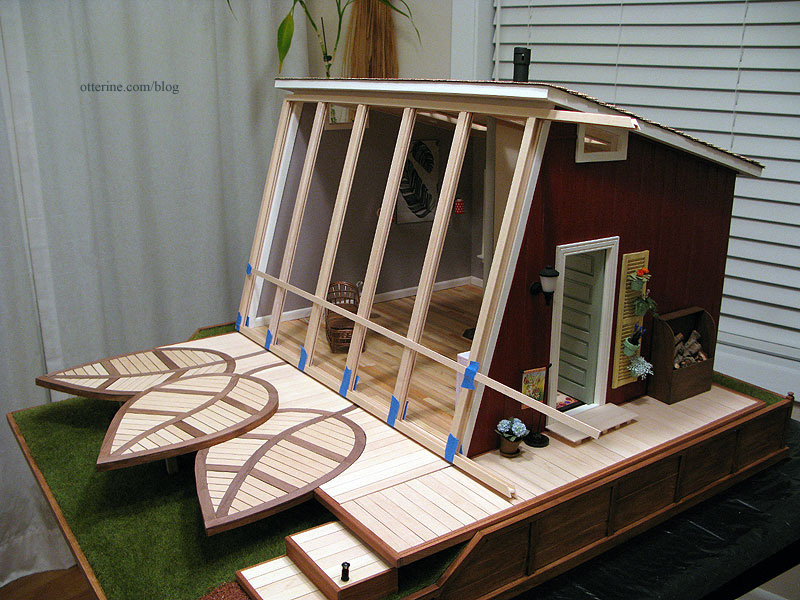
I cut the acrylic panels to use for the final window, leaving the protective film on. I slipped them into the channels and checked the overall width of the window to see if the acrylic panels needed to be adjusted.
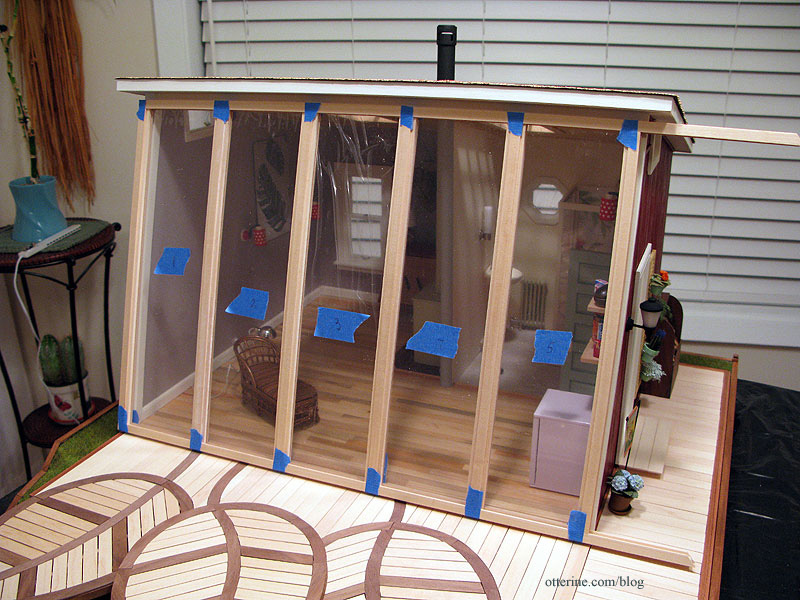
I marked the lengths for the upper and lower I-beams and cut them to fit. I filled in the open outside channels of the I-beams using leftover Dura-Craft strip wood. It’s not a perfect fit, but I didn’t want to go to the store for a few pieces of trim that wouldn’t be noticeable in the end.
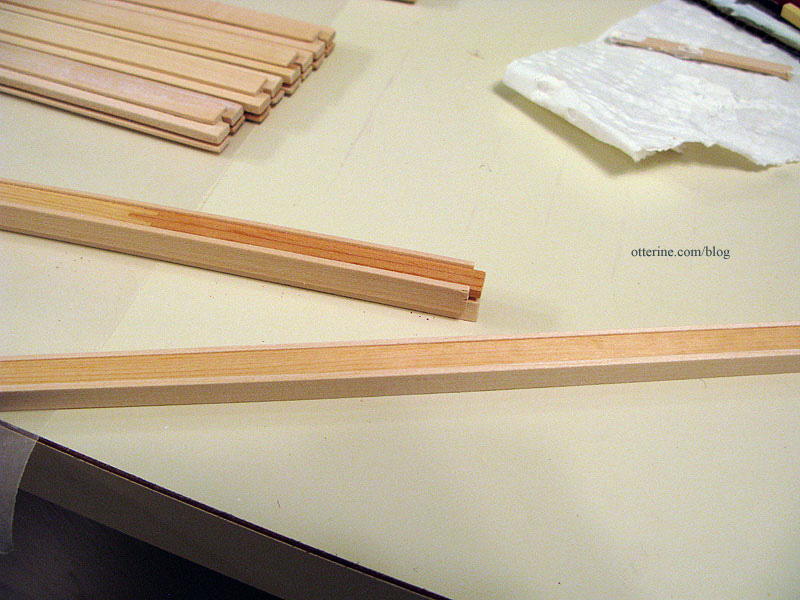
I then painted, sanded and painted these assemblies. After painting, I glued the vertical assemblies into the bottom beam using the acrylic panels and a carpenter’s square to ensure proper placement and alignment.
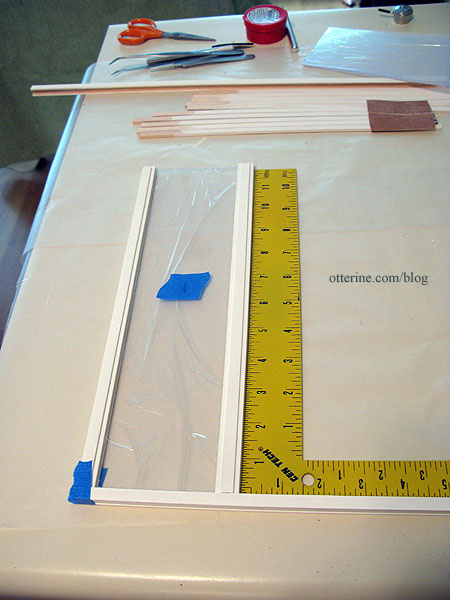
During the process, I kept checking the fit.
I cut pieces of the interior strip wood to fill in the bottom beam between the vertical supports on both sides. I used the mockup acrylic for this part since I didn’t want to get glue on the final pieces.
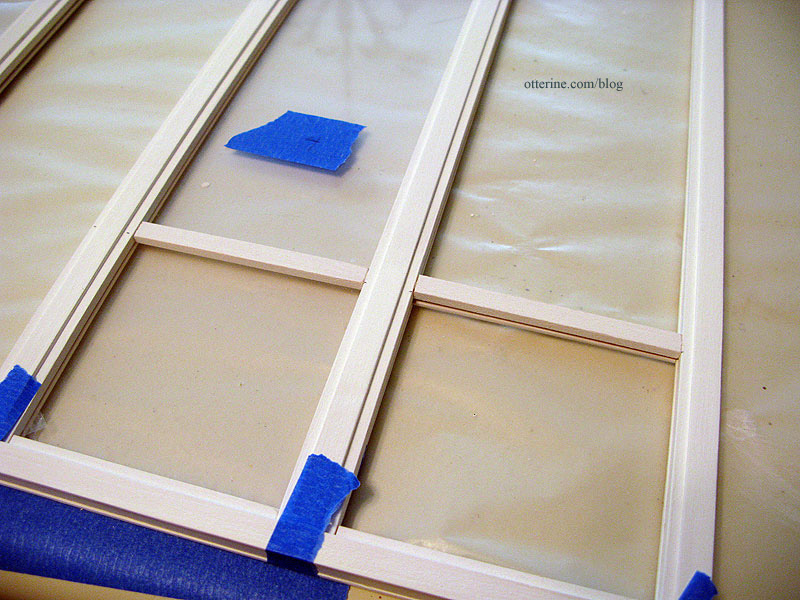
I cut pieces of strip wood to create the divide for the lower panes.
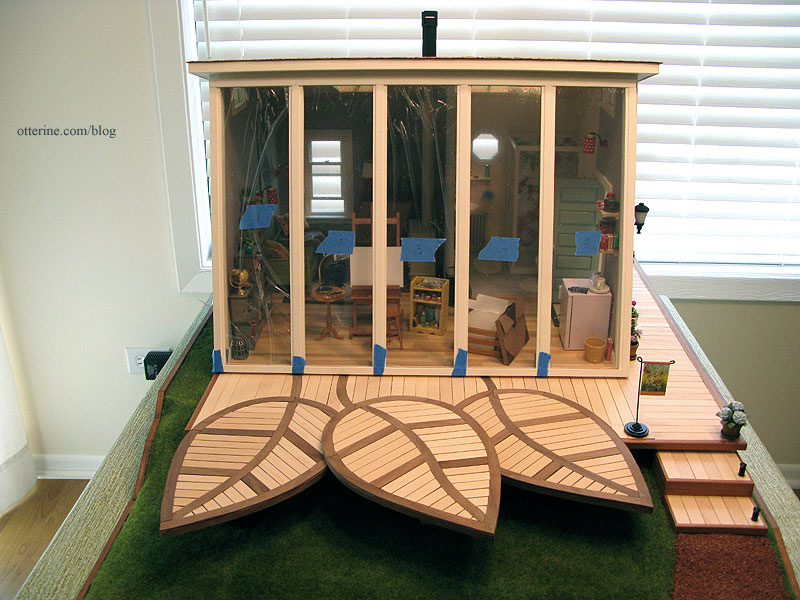
I then touched up the paint, removed the protective film from the acrylic, inserted the panes and pressed the top beam in place. I didn’t glue it because I was running short on time for the Undersized Urbanite contest and I might want to add a satin sealer later on. I slipped in the strip wood interior trim without glue as well. I placed the final window in front of Studio and breathed a sigh of relief. :D
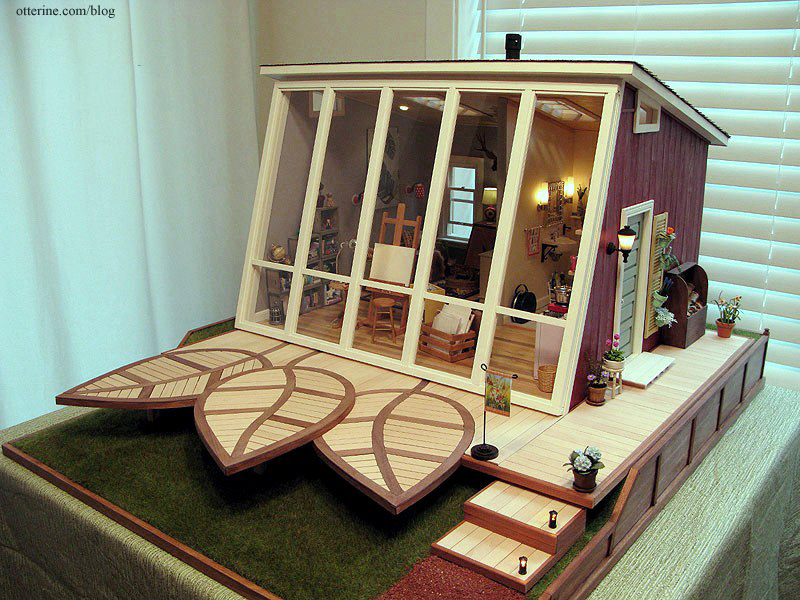
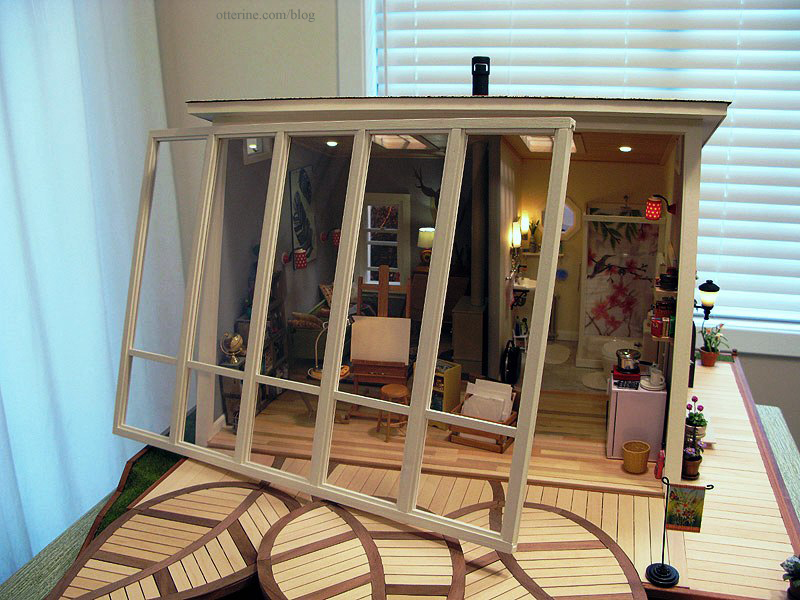
The window sits in front of the opening without any attachment beyond some mini hold wax to keep it from shifting. There’s enough of an angle to the front of the building and weight to the window assembly that it will lean in place otherwise.
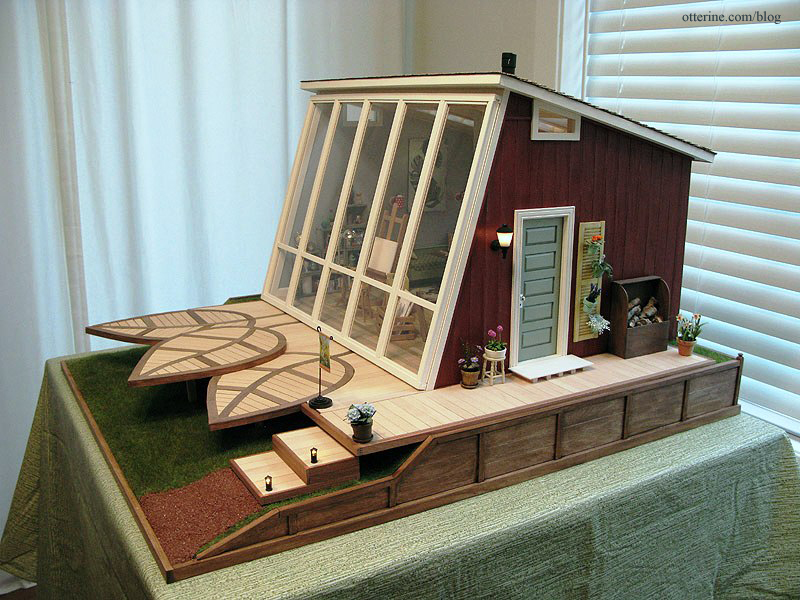
The window wall just lifts off to access the interior.
From the inside…
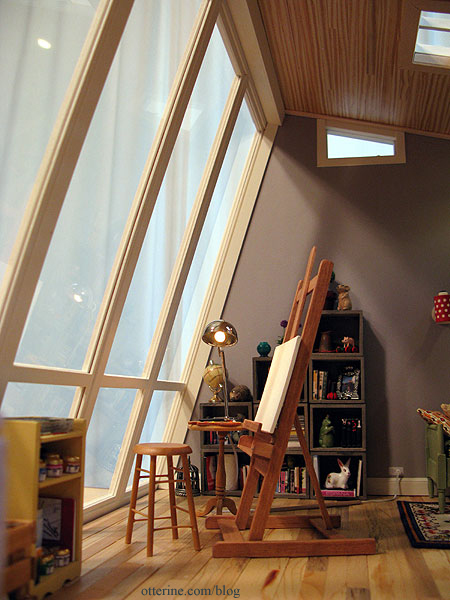
Hooray!!!! :D


