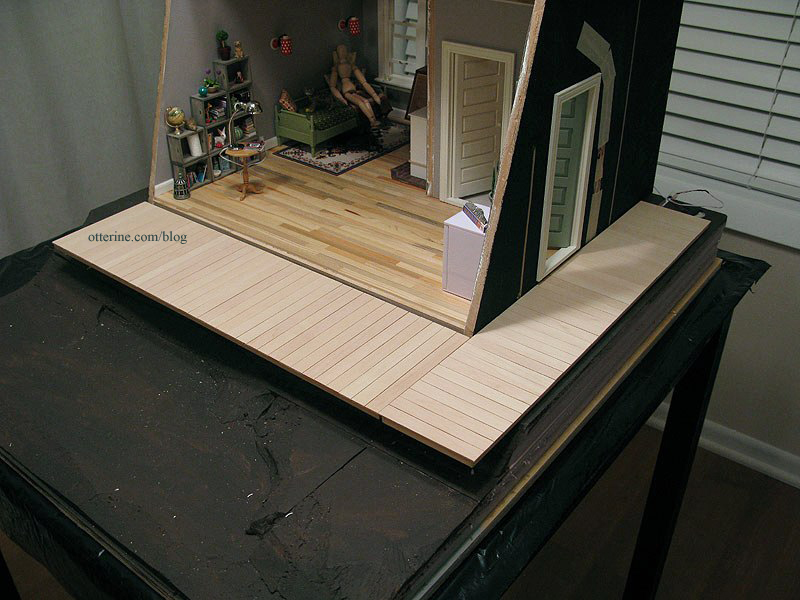
The framing under the main deck and side deck won’t show much, so I used some leftover Dura-Craft 3/16″ x 1/4″ strip wood to keep costs down. The wood isn’t nice enough to use for building or finishing anyway.
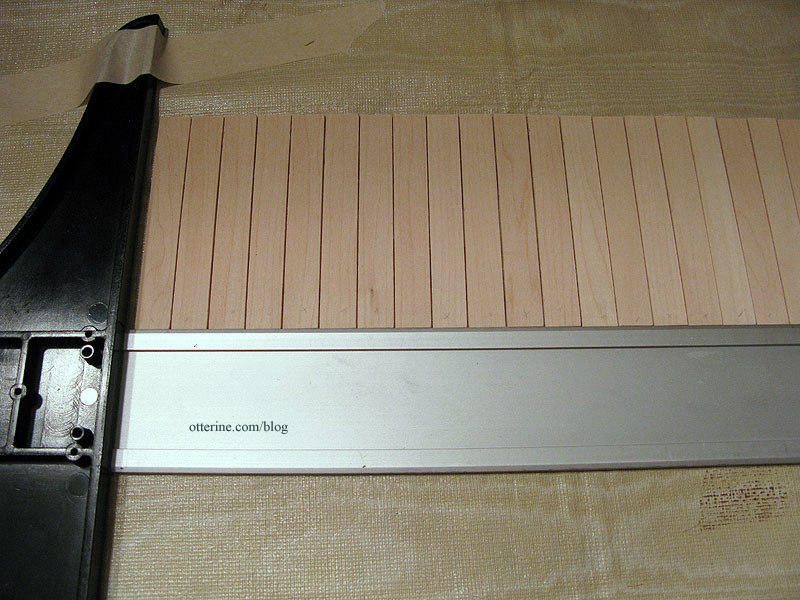
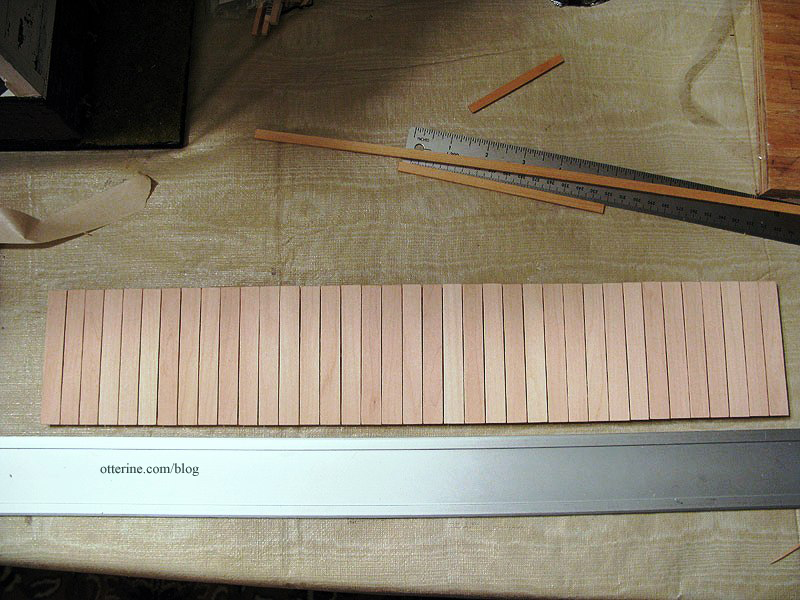
I started with the side deck since it requires the longest part of the framework. I transferred the top boards to a work surface, this time keeping the back side facing up and lining up the ends using a T-square. I used double sided tape again to keep everything in line.
I cut two long pieces and two short pieces of the Dura-Craft trim, gluing them to the flat boards and to each other at the corners. I cut one additional long piece for the center of this box and glued it in place. I had to use the glue sparingly so it wouldn’t bleed through between the boards. I left more leeway on the uneven side, which I’ll explain in a moment.
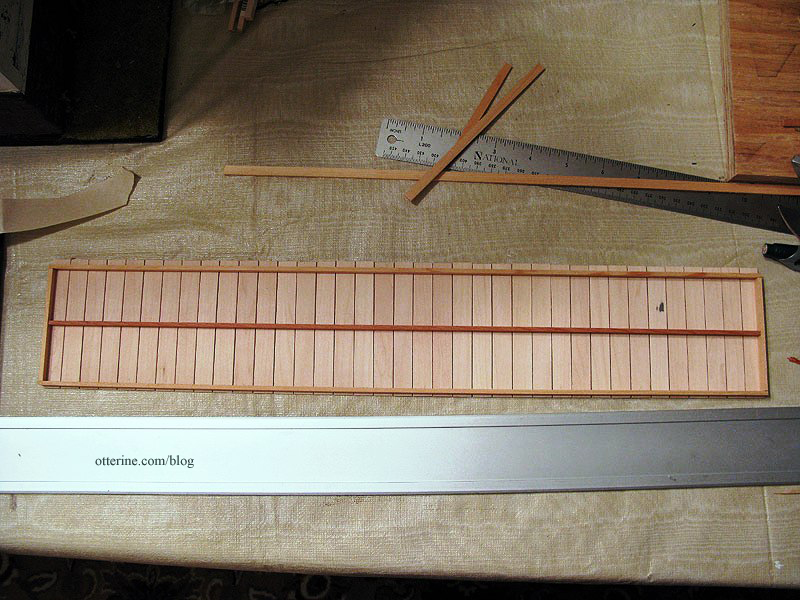
But, when I lifted it off the tape, some of the boards separated. :\
Ah, well, it wasn’t a total loss. I glued the boards back in place. A good, solid assembly. :]
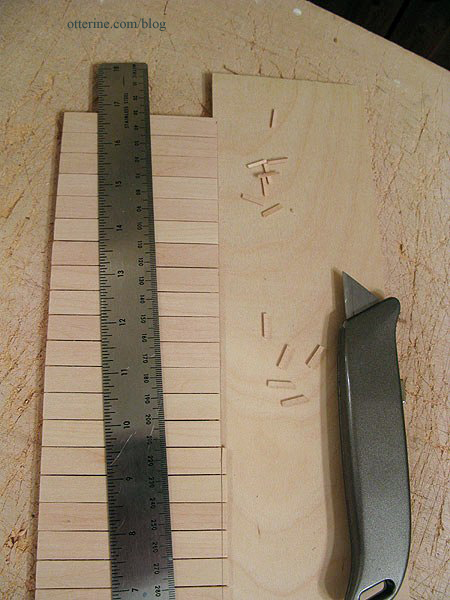
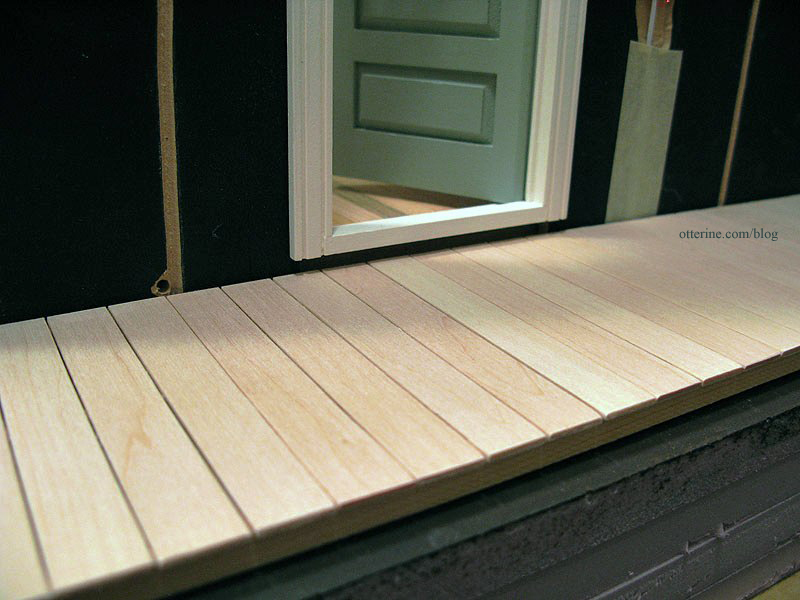
As mentioned above, since one side had been aligned with the T-square, that left the other side uneven. I marked the boards 3 3/8″ across (down from the original 3 1/2″).
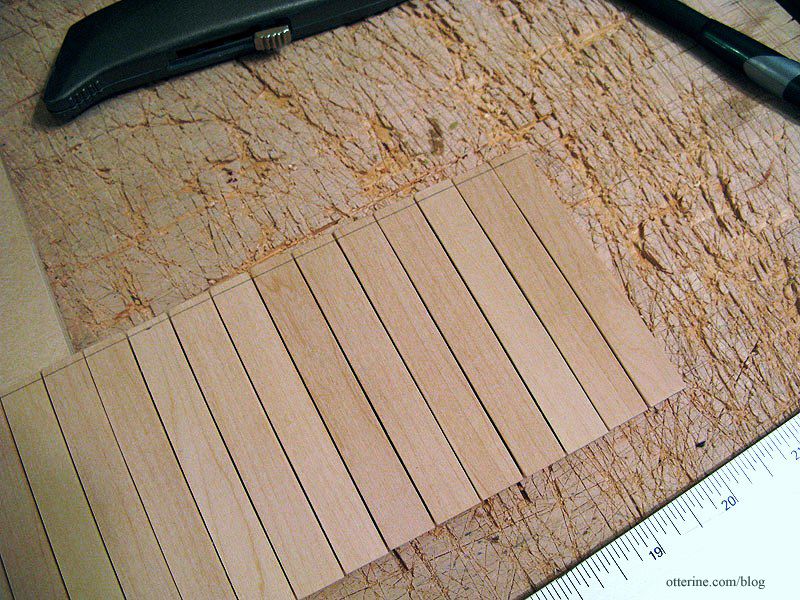
I slid a piece of plywood under the edge and cut off the excess.
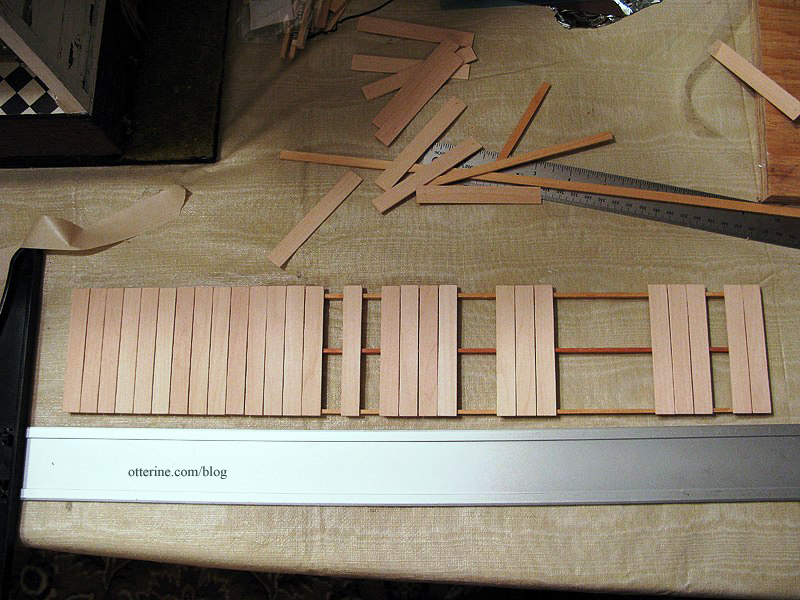
I repeated the process for the main deck, adding two inner lengths for support. This time, after putting the double sided tape on my work surface, I tapped it with my fingers to reduce the hold it would have on the flat boards. I had only two boards come loose when I flipped the assembly over.
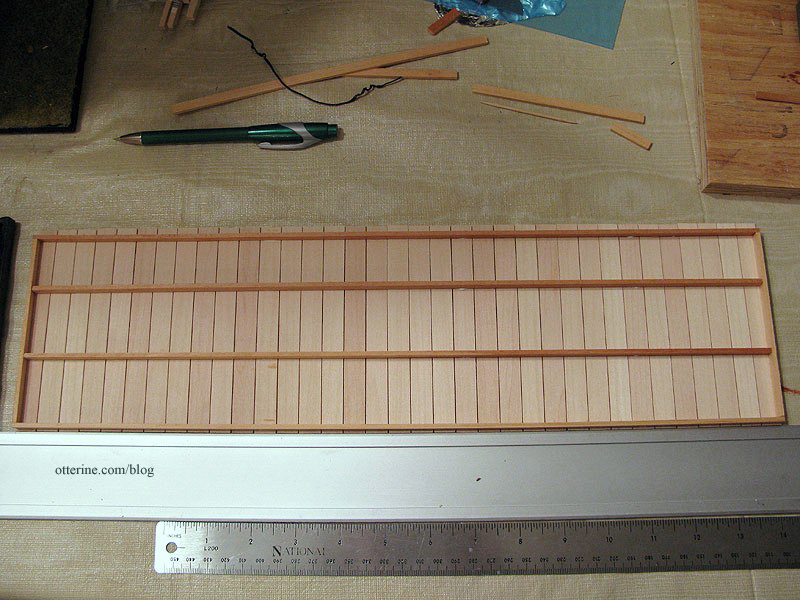
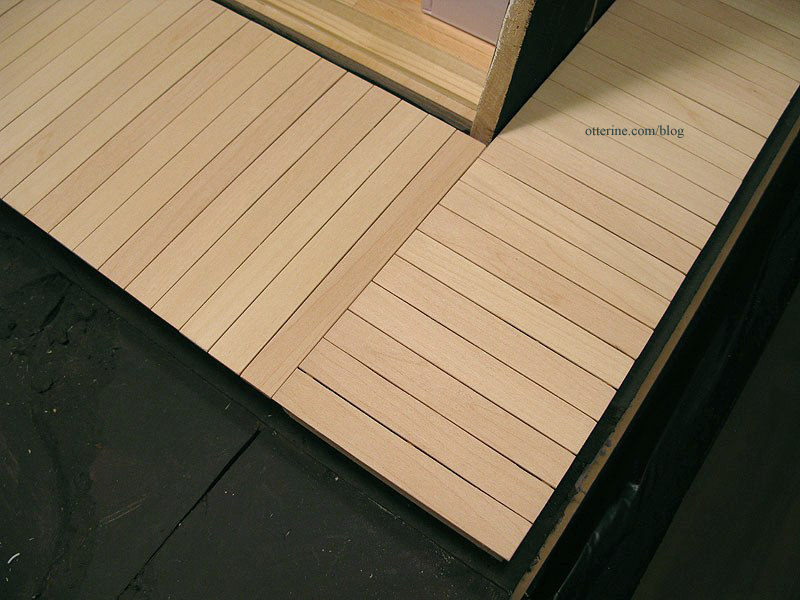
I also cut the boards down to 4 7/8″ from their original 5″ to align the uneven edge. I will keep the two portions separate so there is no strain at the corner.
It’s a clean fit. :D
So far, it’s working! :D
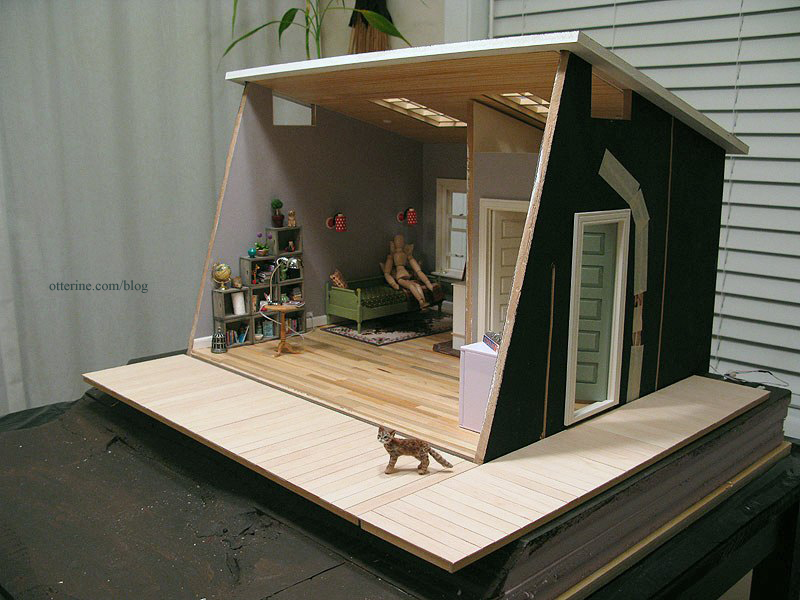
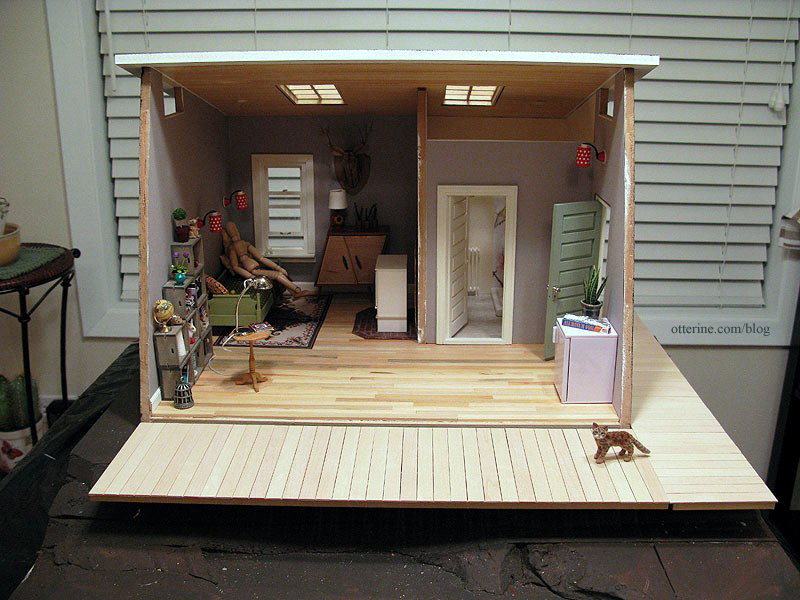
There is enough of a gap under the door to require a step.
I think Cora likes it.