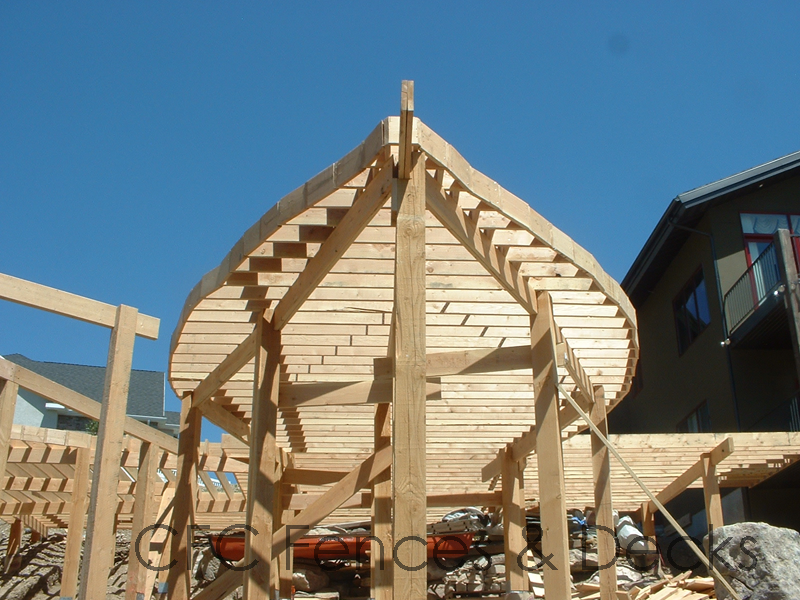
Before I can work on the front wall of windows, I need to work on The Deck. This is going to take some serious engineering. The deck will fit into the slope of the landscape and be only partially supported by firm ground around the building itself. You might recall my previous mockup.
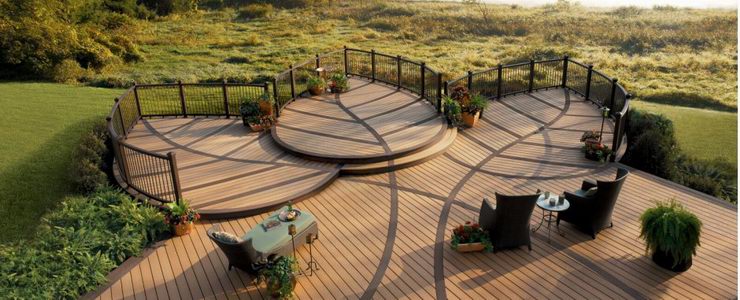
I’m going to do a bit of reverse engineering here since while the deck needs to be solid, it doesn’t have to support actual weight other than a mini chaise or easel. I figured the simplest approach would be to build the surface of the main and side portions first and then create the framing that would support this surface. From there, I would create each leaf separately and attach those to the main deck.
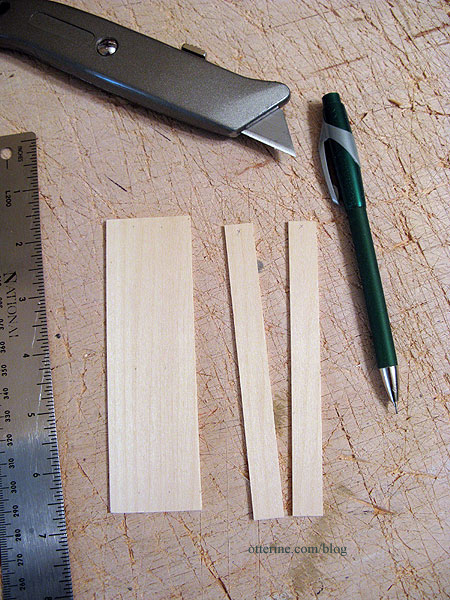
I bought five sheets of basswood by Revell measuring 1/16″ x 3″ x 24″ for the lighter boards. I will use walnut for the vein detailing and outer accent. I bought the sheets to cut my own boards instead of the precut strips because I find that the brand of basswood the stores around here carry is always so fuzzy. These sheets by Revell are less so and easily sanded smooth. And, I have a good eye for measurement when cutting by hand.
I cut lengths of 5″ and then measured 1/2″ intervals. I put an X on the back so I would know which side to face up. These Revell stickers came off the wood easily, but I didn’t want to risk having future finishes react differently due to any glue residue.
I applied a length of double sided tape to the landscaping board for planning purposes. Without some sort of adhesive, one small bump would lead to resetting every board. Uh…no. Using a T-square, I lined up my individual boards and pressed them to the tape.
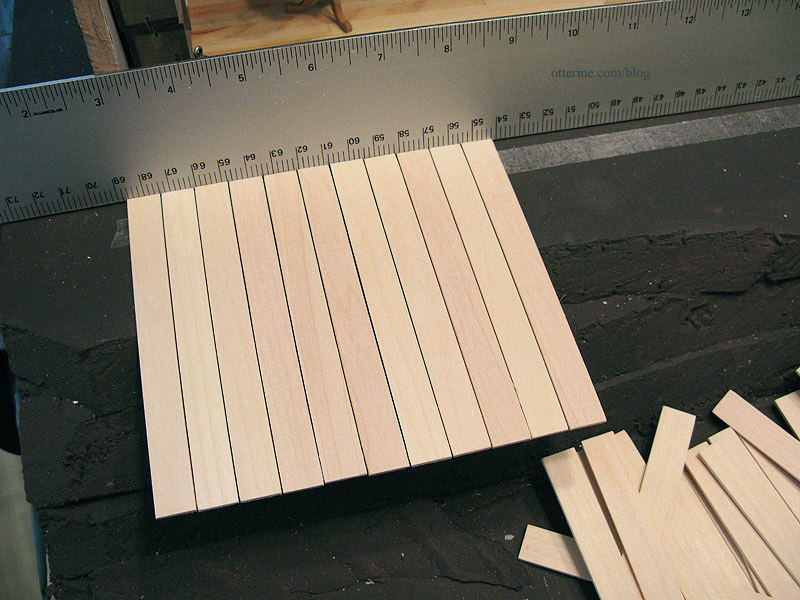
There are 35 boards for the main deck.
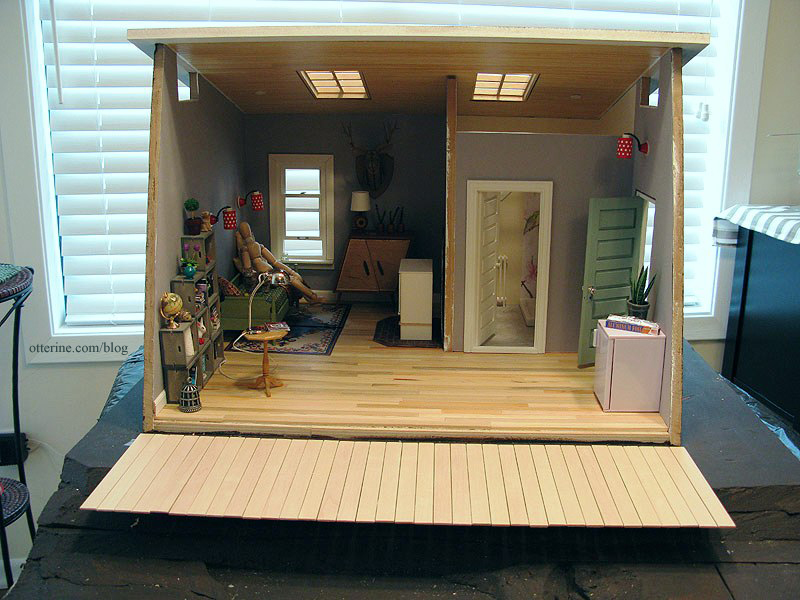
The main deck can be shifted to the side in either direction depending on the fit needed to join the side deck.
For the side deck, I had to add a small piece of cardboard to support the boards during the mockup phase. It won’t be part of the final framework.
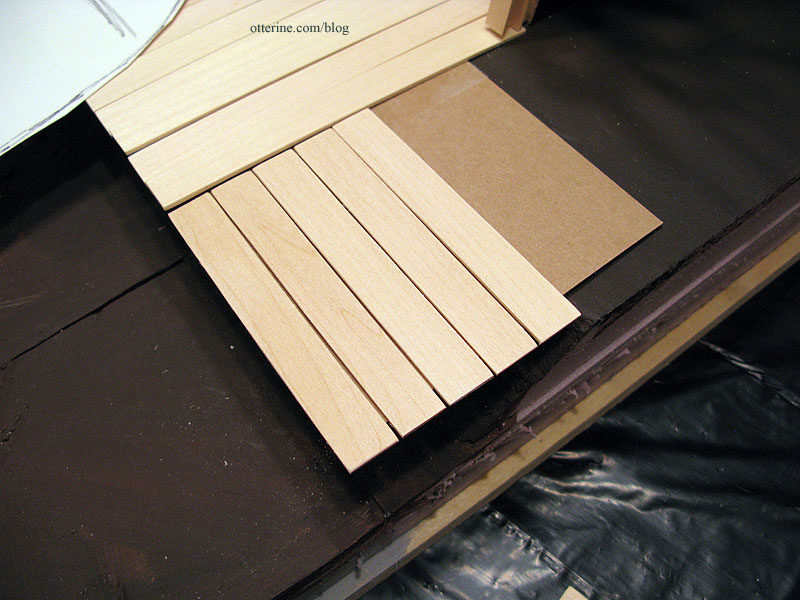
These pieces measure 1/2″ x 3 1/2″ and begin at the forward edge of the main deck. There are 37 of these boards. I continued them far past the door so there is room for the firewood box that will hold the wood stove switch. Plus, that means I can use scraps of landscaping materials instead of buying new.
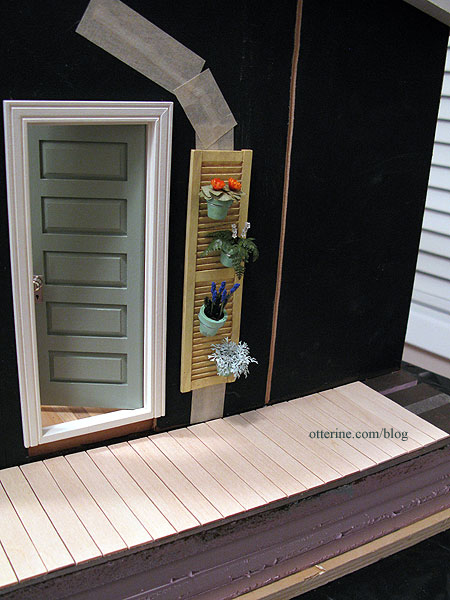
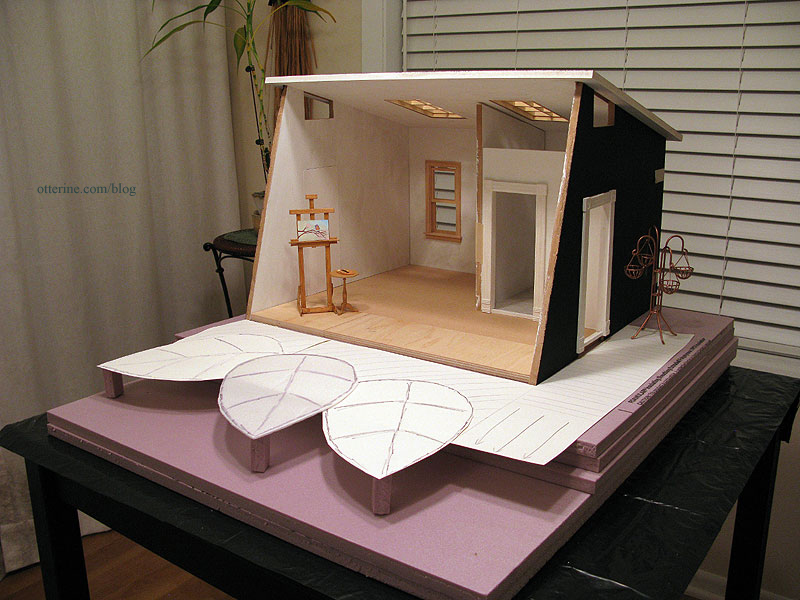
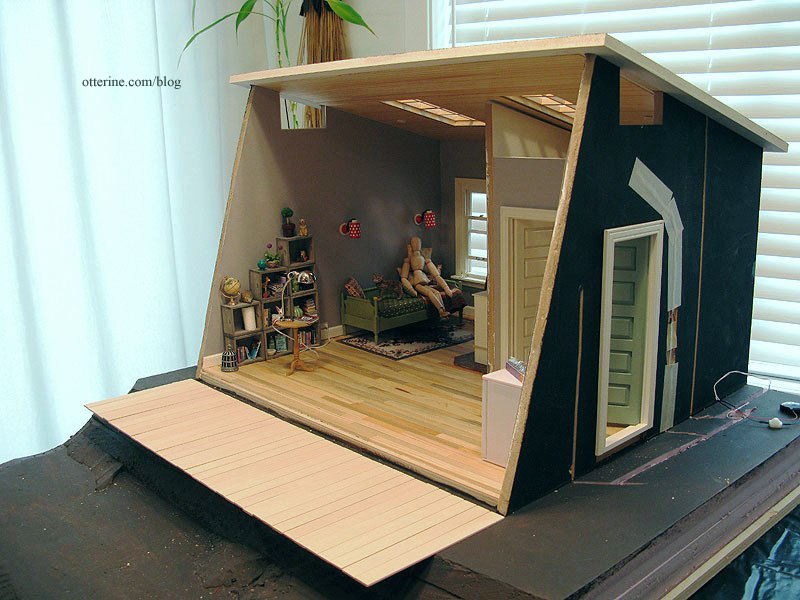
You can see the space between the top of the boards and the lower edge of the door. This will allow plenty of room for the framework, and I may or may not need a front step under the door. We shall see.
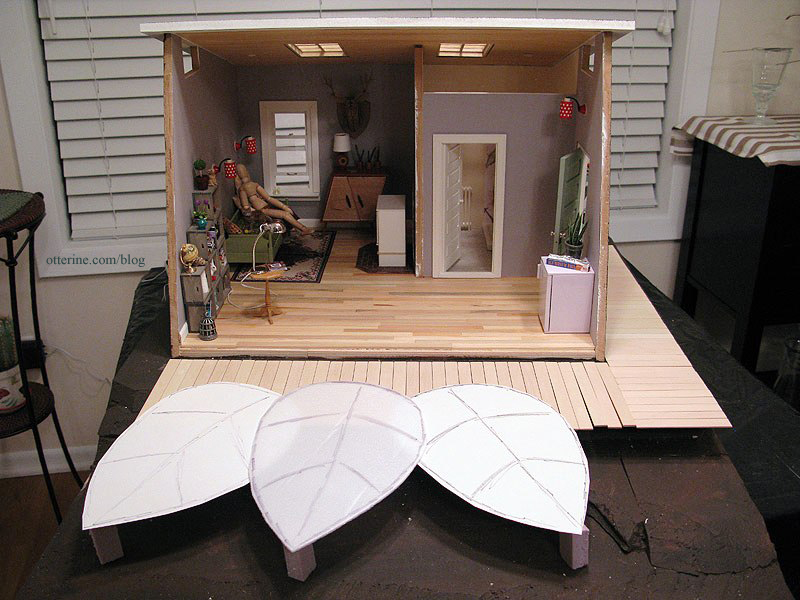
With the leaf mockups in place, it’s starting to look like something.

There will be steps in the open area in front of the side deck.
Next up, building the frame for the main and side decks. In the meantime, I’m still trying to wrap my head around the framework for the leaves. :O