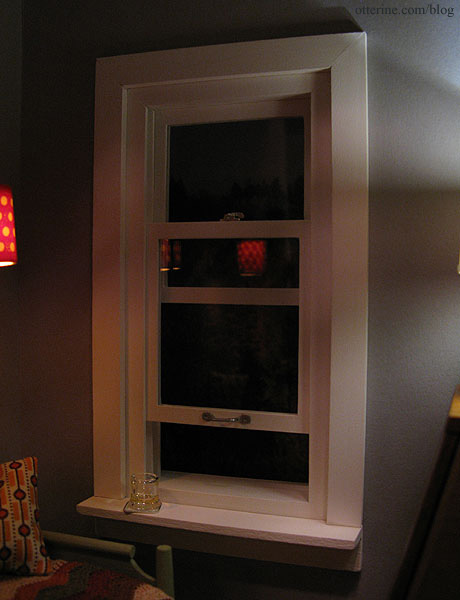
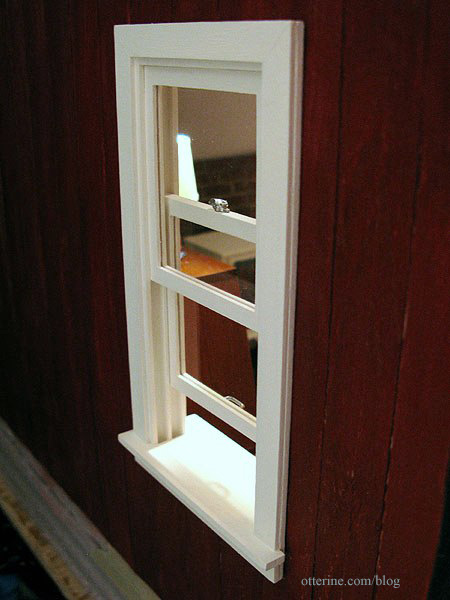
I painted the living area window Warm White by Americana. Before painting, I added trim to the window since it was built for a depth of 1/2″ but the walls are only 3/8″ thick. Before installing the window, I sanded the siding and added satin varnish. It’s a subtle change, but I like it!
I added a corner trim sill to the interior since the precut interior trim never seems to fit right and I wanted a place to display minis…like a good Scotch after a day’s worth of painting. :D Ahhhh….
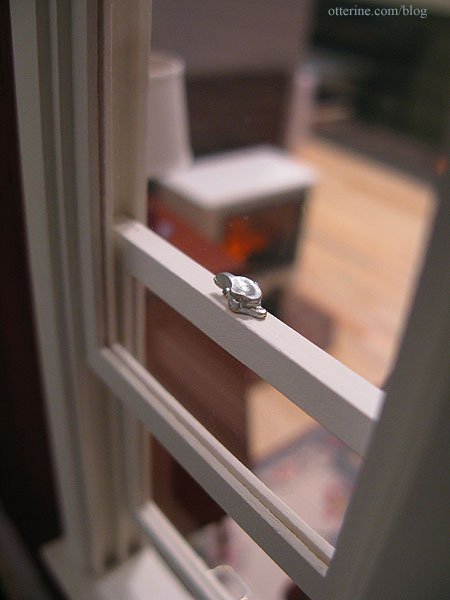
The window handle is by Houseworks and was originally brass. The window sash lock is by Realife Miniatures – vintage stock purchased from another member on the Greenleaf forum. This was also brass now painted silver.
They are wonderfully detailed. I had to look one up to see how it worked since I have different mechanisms in my home. The locks come in pairs – just like the real deal – here I’m showing the tops and bottoms of two pairs.
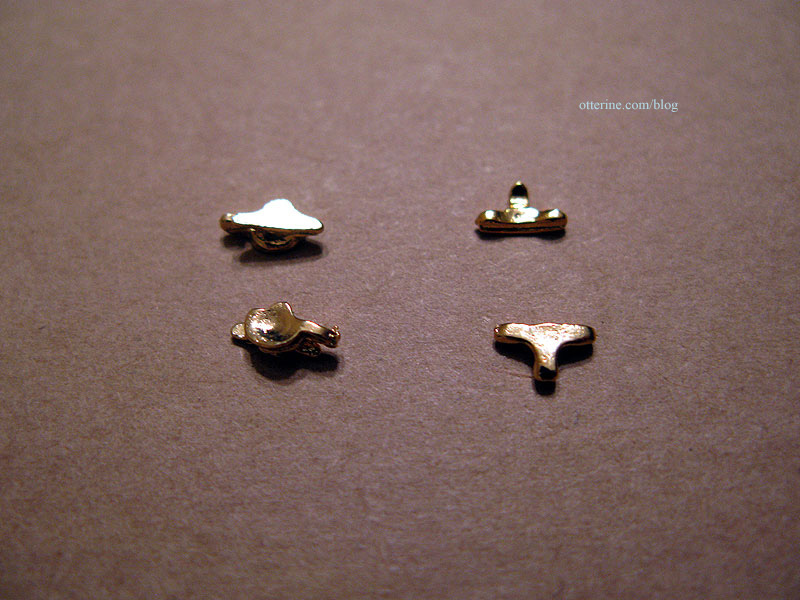
Since this is a working window and there’s not enough room on the window to install both pieces, I used only the one with the round lever. I glued it so that it would not interfere with the window operation while still looking like it might just work.
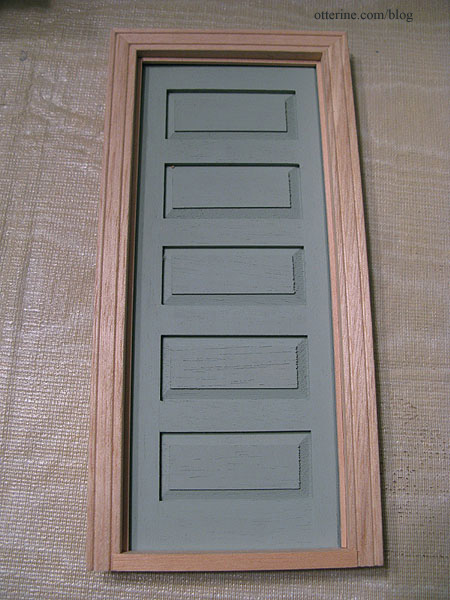
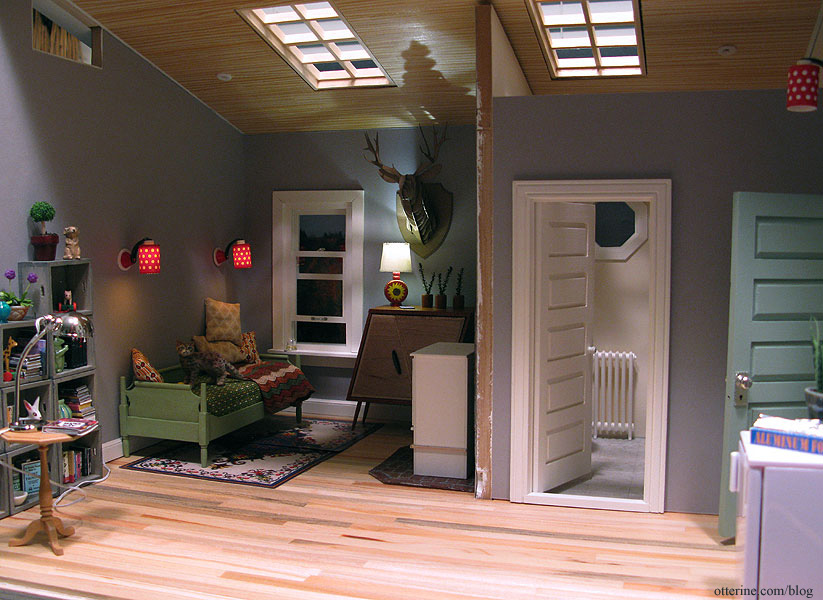
The exterior door is painted Slate Green by Americana and won’t be installed until after the siding is up. The door knob and keyplate are chrome pieces from Clare Bell Brass. I wish I could find more of these. I used satin varnish only on the exterior door (inside and out) and the exterior door trim. I didn’t like the matte finish on the green, and I thought the exterior door frame should match in sheen. I liked the matte finish on the remaining windows, interior door and trim, so I left them as is after painting.
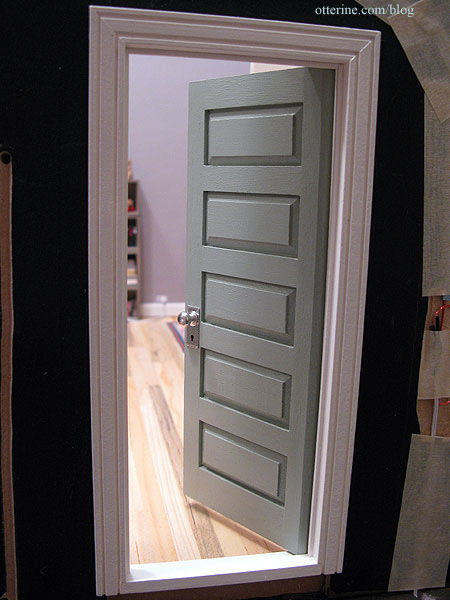
I had added trim to both doors to block out the light around the inside. It’s a simple and subtle change that makes for a more realistic door jamb.
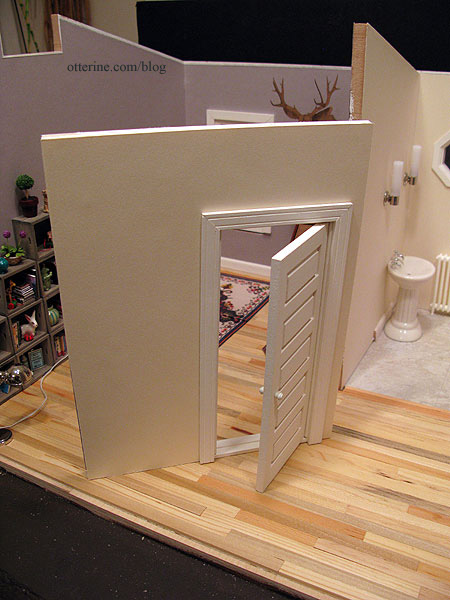
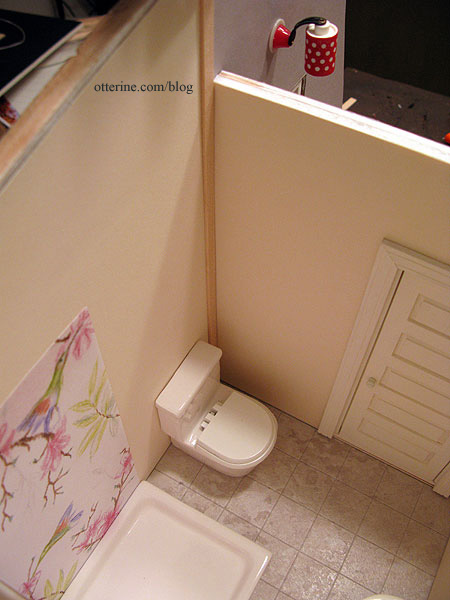
I had to flip the direction of the bathroom door. This door has a simple white knob. The removable wall is papered on the bathroom side with Canson Ivory paper. I added the door trim to the interior side but still need to finish the top edge of the wall.
Since the left wallpaper seam is larger than I had hoped and will show when viewed through the window or skylight, I’ll add a length of trim from floor to ceiling. This will also help align the removable wall when it is in place.
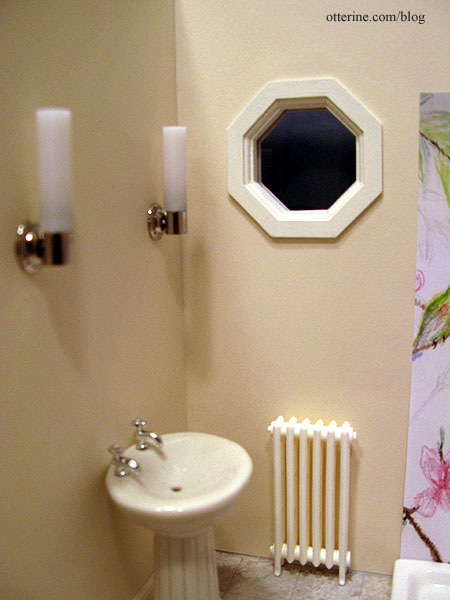
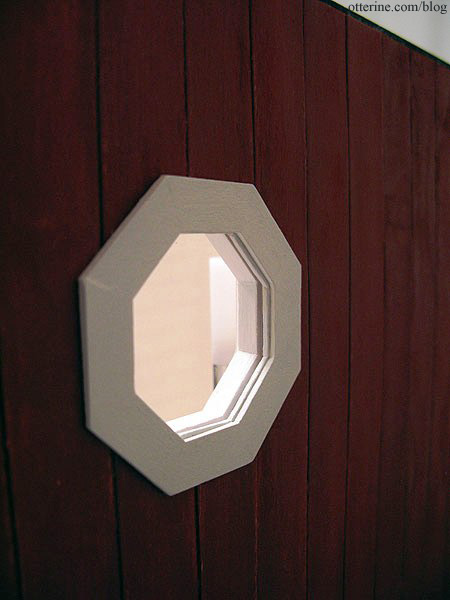
I installed the octagon window technically backward. Considering one wouldn’t be looking at the back of the Studio most often, I thought the routed detailing would be best served sitting on the interior. :]
With the addition of the siding, the wall was thicker than the depth needed. I added a cardboard octagon cut to fit.

I glued this piece to the now exterior trim, then painted it to blend.
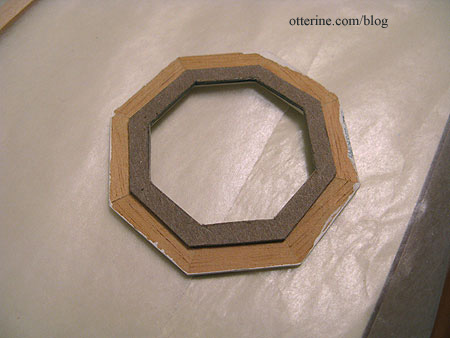
Now there’s a seamless fit for the trim on the exterior.
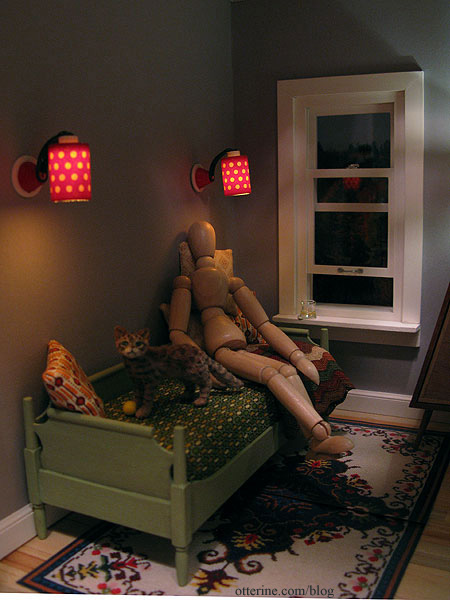
There are other posts on the clerestory windows and skylights. Doors and windows take a lot of time, but I think it’s starting to really come together on the inside.
Can you feel the cool breeze coming in through the window?