
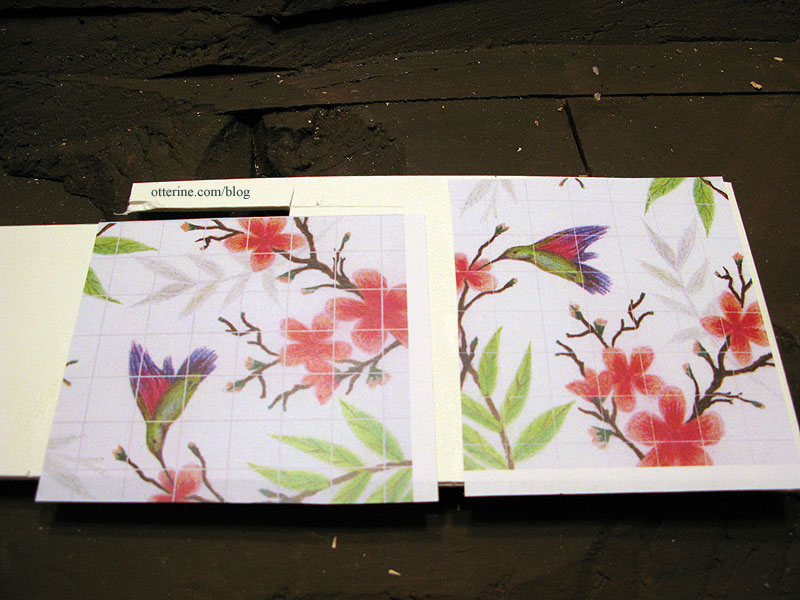
Using the two tile images shown previously, I did a test sample to see how the sealer would look. Since I had success with the Old World Tile in Baxter Pointe Villa, I decided to use the same Triple Thick Gloss Glaze in this instance. I used spray adhesive to attach my printed image to a mat board scrap, using the same part of the image for both to get an apples-to-apples comparison.
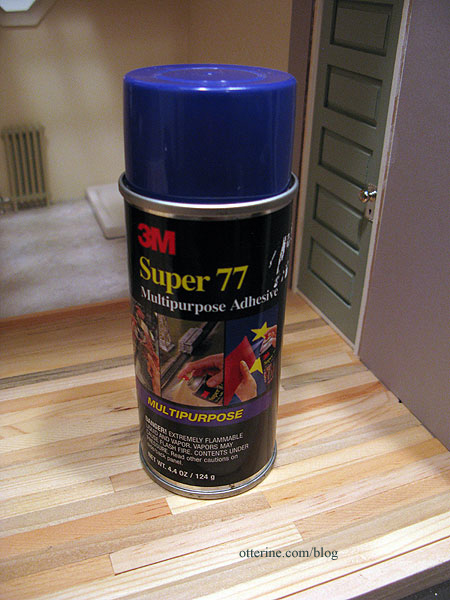
This is the spray adhesive I use. :]
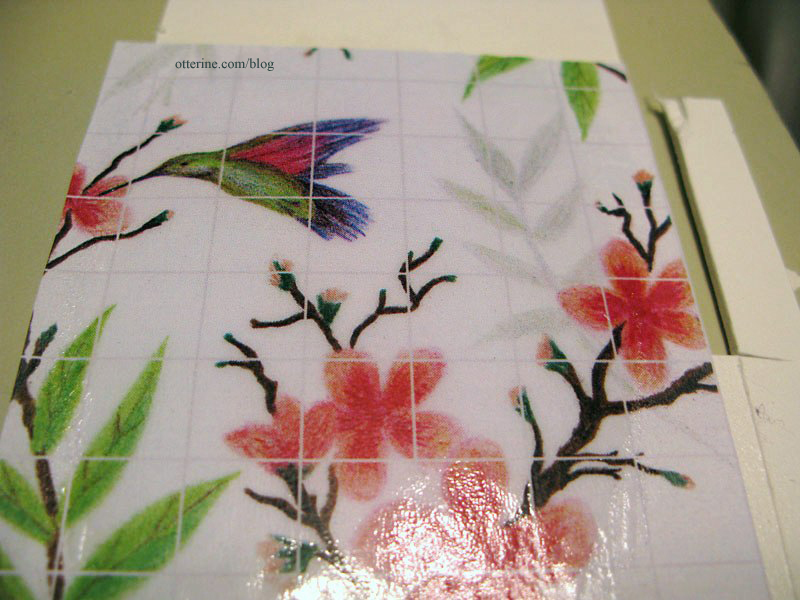
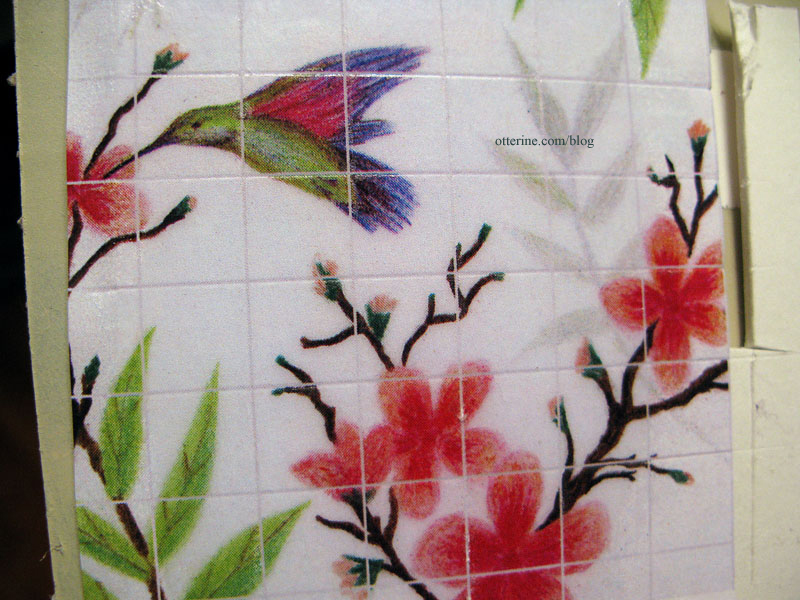
I added the Triple Thick Gloss Glaze and let it dry overnight. I recommend two nights of drying time when using this, but I just needed to get a rough feel for the grout lines and wanted to move forward with the process. Here is the glaze before scoring the lines. The thick glaze really transformed the image, though I wasn’t really careful with the application on these samples. I’ll take better care to spread it evenly for the final.
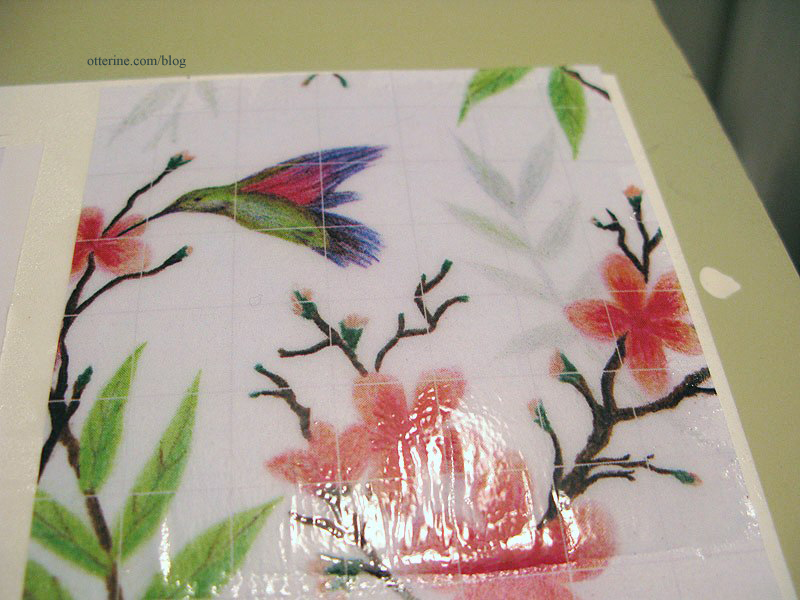
I used a ball stylus to trace over the lines. As expected, the glaze lifted in some areas since it really needed another full day of drying time. This won’t happen in the final process since I’ll be sure to leave it alone the required time.
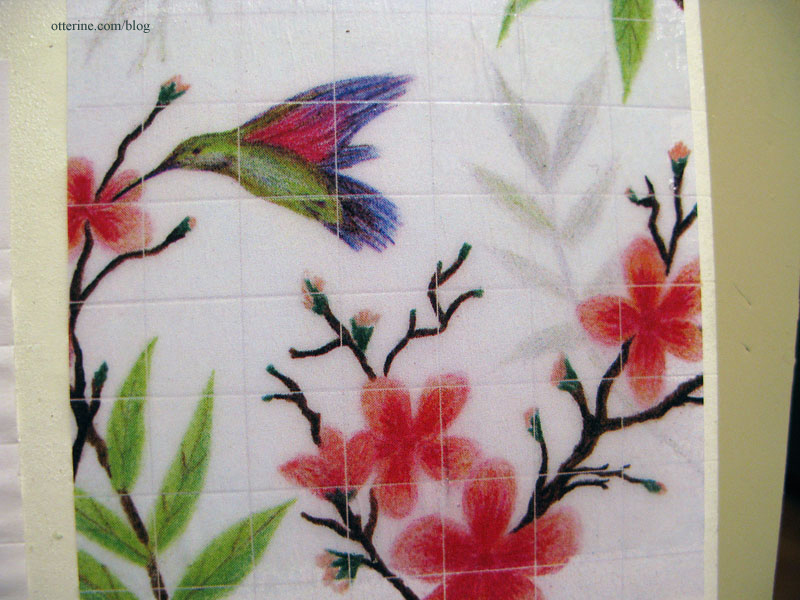
I think the 10-pixel is the clear winner here. Not only were the lines easier to see to trace but it just seems a better break between the individual tiles. Next up, the real deal…


