
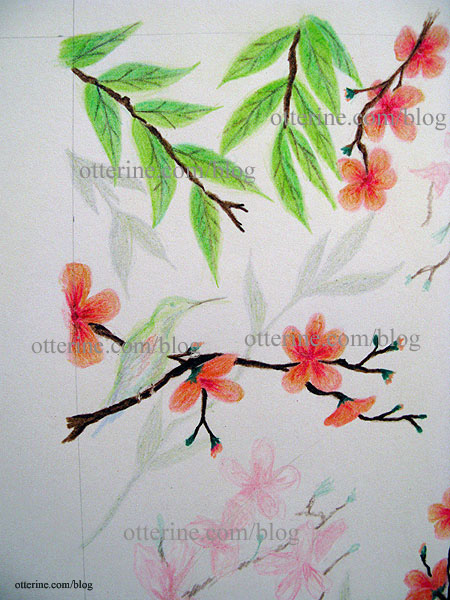
Since my initial sketch worked well for concept and composition, I’ve started filling in the final colors. I started with the leaves since I’m rather out of practice for drawing and they are the simplest part of the design.
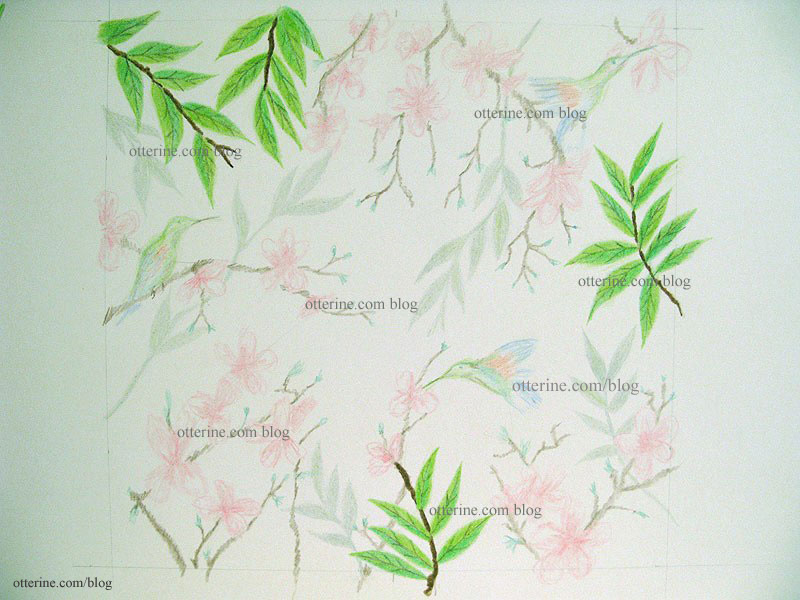
Here’s the initial sketch for comparison. I’m coloring right over the previously drawn areas.
I did all of the leaves, including the shadowy branches, at the same time. This gave me a better chance of having them turn out similarly. If I did a portion of the drawing in one sitting and then another later, my technique, pressure or lighting might be different. Once I have the drawing filled in completely, I can go back and make shading adjustments.
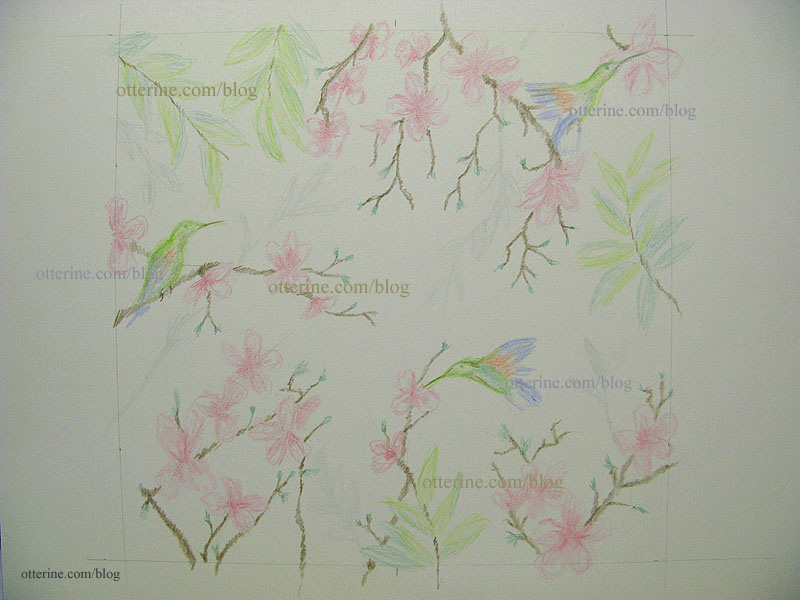
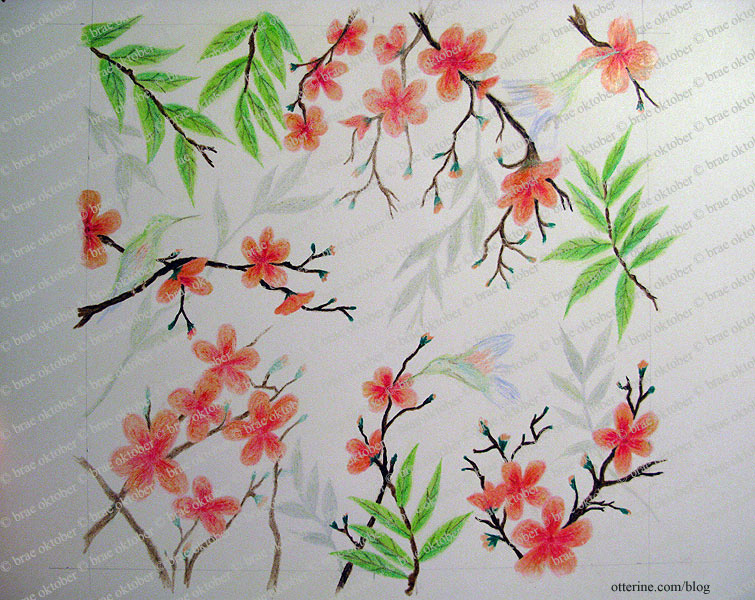
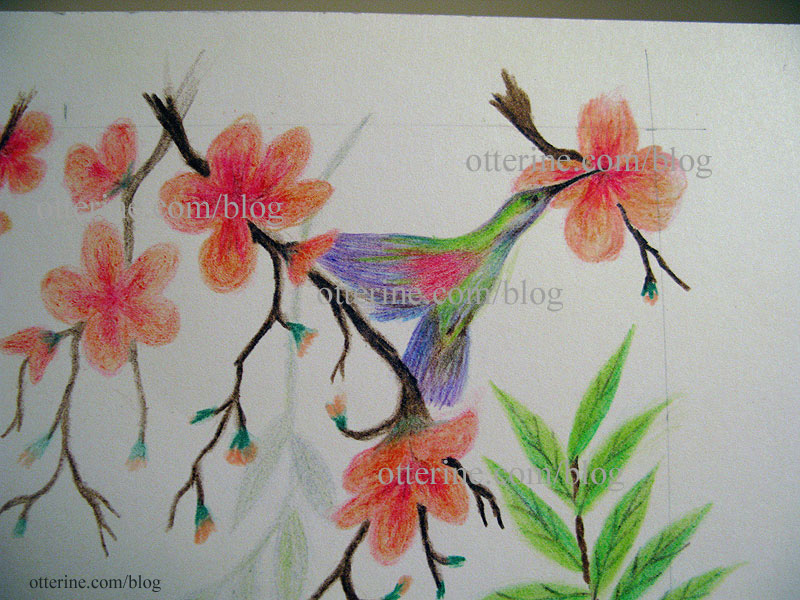
I started working on the flowering branches. Since I knew I wouldn’t be able to draw them all in one sitting, I decided to move around the drawing. If the remaining flowers end up looking a little different, at least they won’t be concentrated in one part of the drawing.
My flowers are more orange-pink than pure red pink like the inspiration art. I like that, though. Besides, once this drawing is scanned, printed and manipulated to look like tile, the colors will likely be more subdued than the original drawing. See I left room for tiny bird feet?
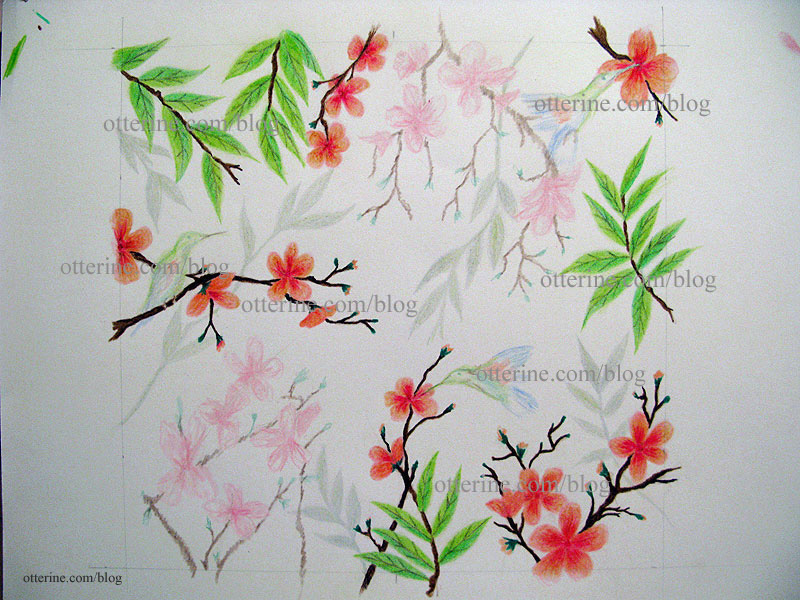
I finished the remaining flowers, though this time I went with a lighter touch. This brings the first flowering branches forward and gives some depth to the drawing.
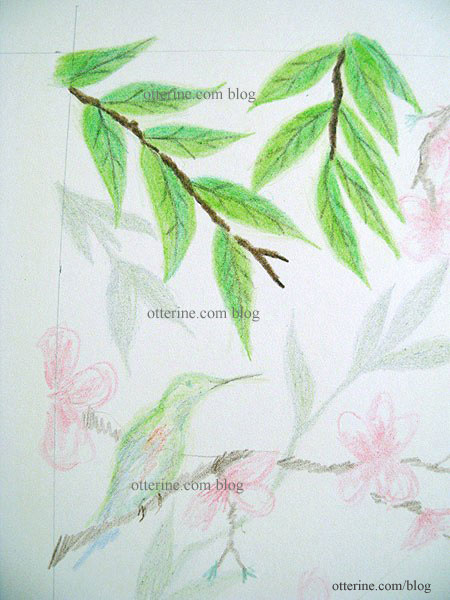
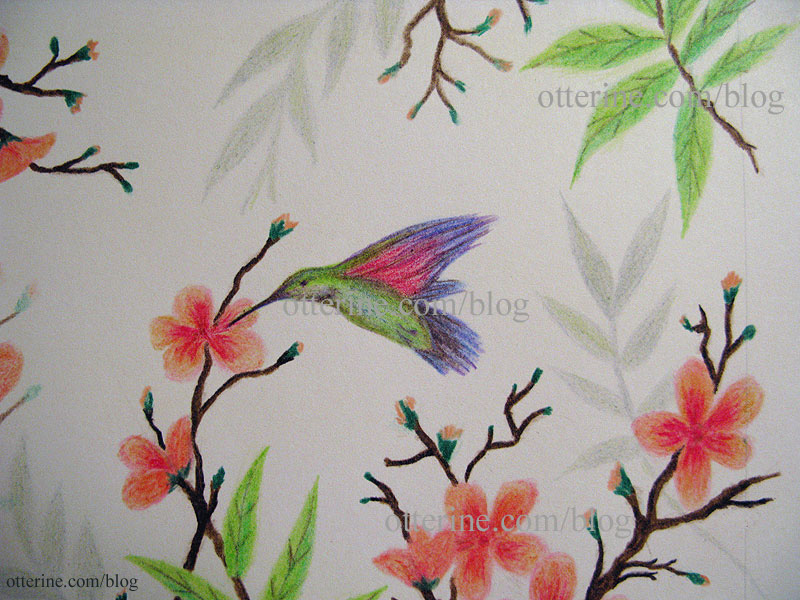
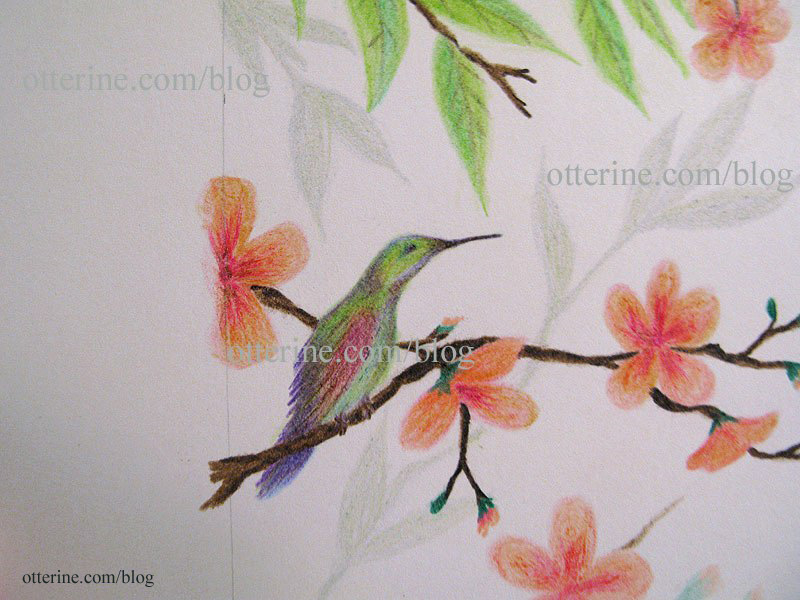
I decided to just wing it (ha) and draw the birds right on the drawing without a practice run. The drawing for the mural is now complete.
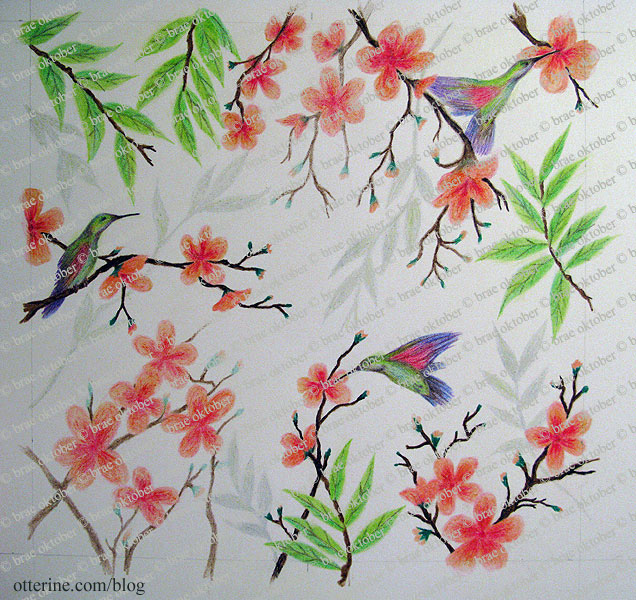
I did look at real life hummingbird pictures but continued the soft artistic feeling of the flowers and leaves in drawing the birds. They are colorful and turned out better than I had expected.
I made a quick scan and printout for mockup purposes. The end print will be softer than this one, but I love it!
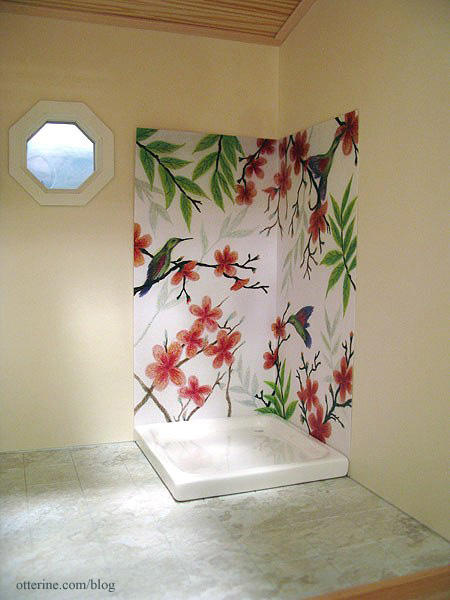
Next up — turning it into tile.


