
Continuing work on the wood stove. This is one of those instances where I knew I would be wiring the stove LEDs but did not plan ahead for it. Why? Who knows?!! But, all was not lost! It just took some extra steps.
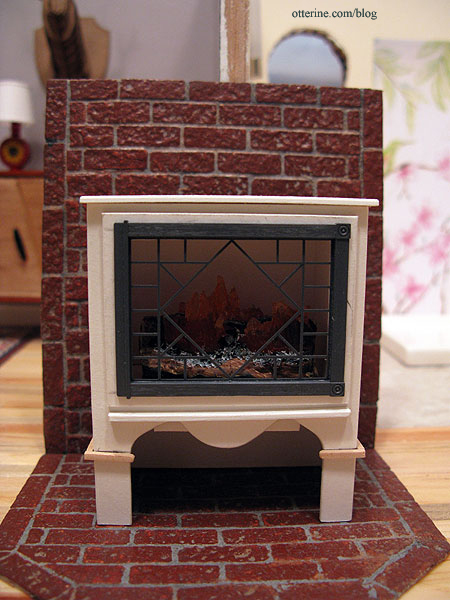
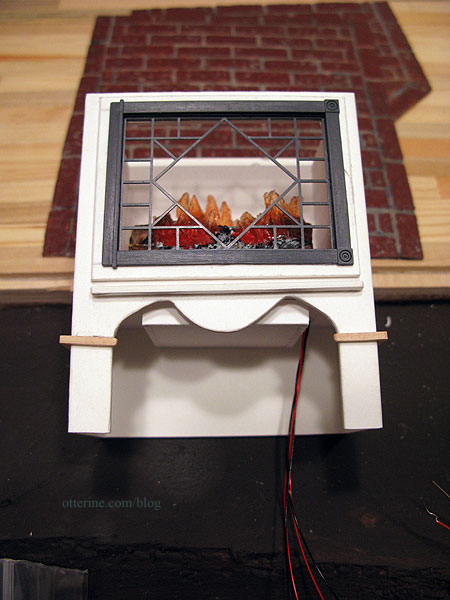
I received the wider fire this week from Mainly Minis – a much better fit.
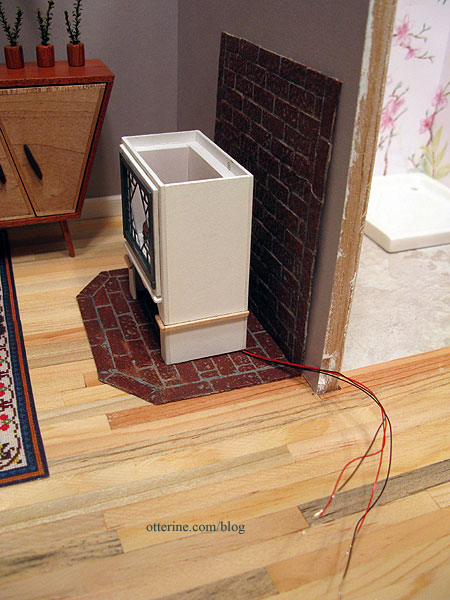
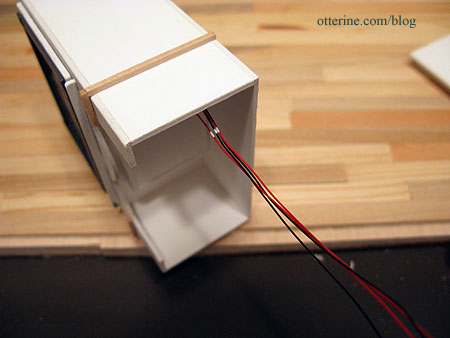
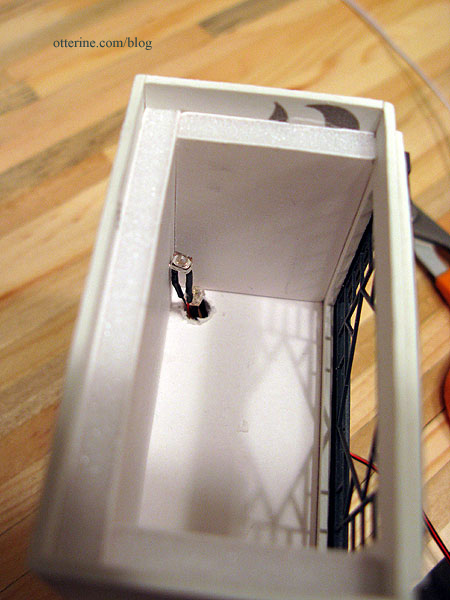
I drilled a hole in the back corner for the LED wires.

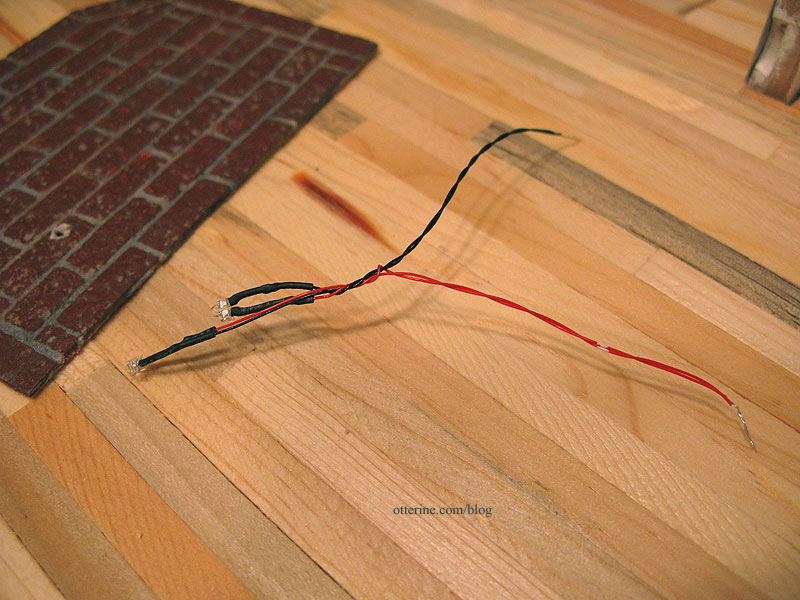
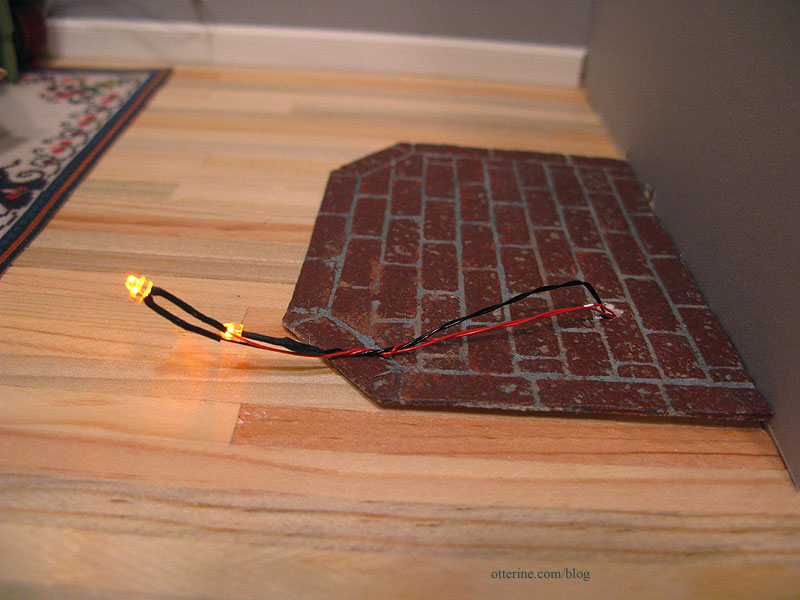
I used two orange flickering LEDs and a 3V battery adapter from Evan Designs.
I put the brick surround and stove in place (neither is glued) to determine where the wires would hit the brick base.
I marked the hole with a pencil onto the wood floor underneath.
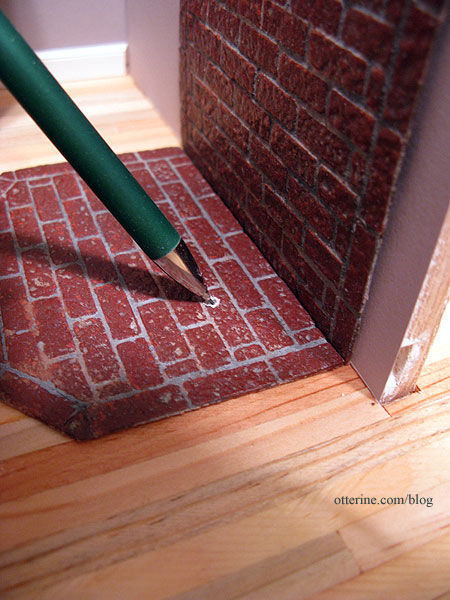
I dabbed some paint onto the wires to mark the optimal position where the wires should come up from the floor.
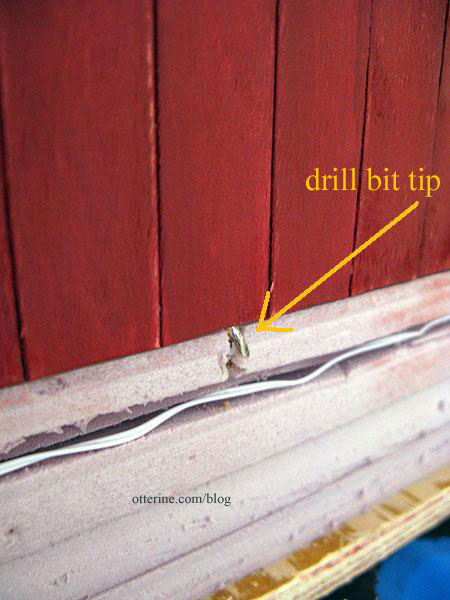
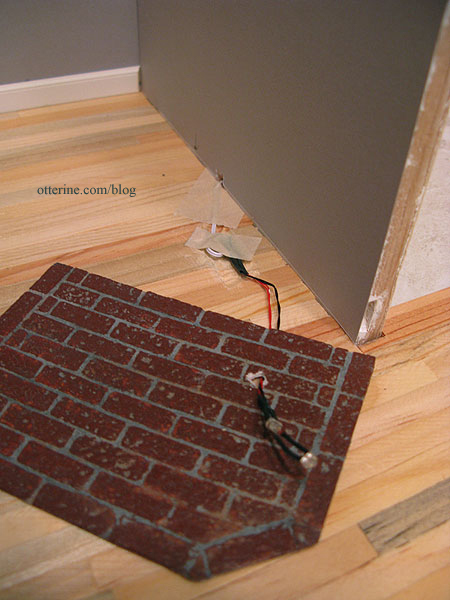
The wire will run under the brick surround, through the wall into the bathroom, behind the baseboard and out the back. I drilled a hole in the lower bathroom wall in the back, angled down so it would not mar the exterior siding.

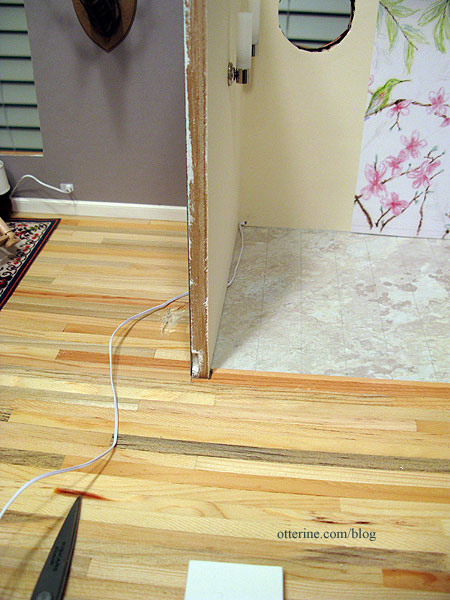
I fed a length of wire through the hole in the back wall and then through the hole drilled in the dividing wall. You can see where I started an indentation in the floor with my Dremel. This is where the wires sit under the brick surround.
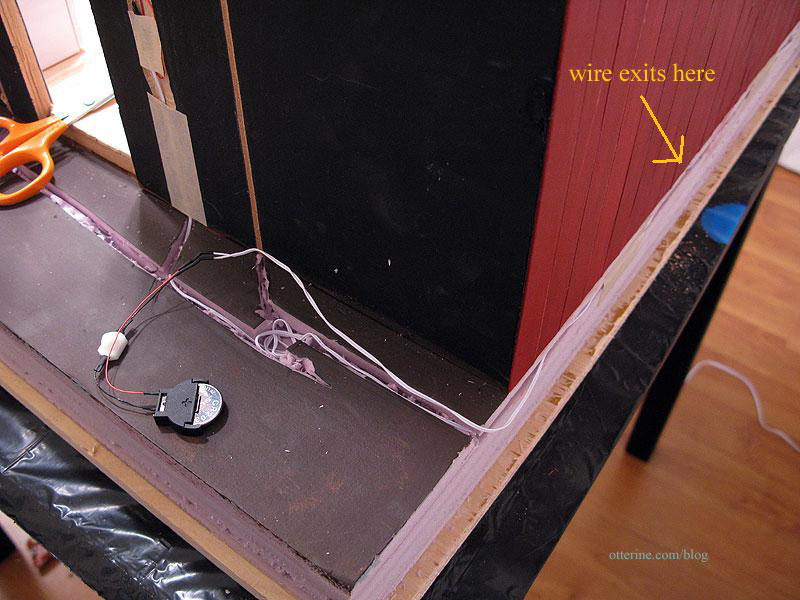
On the outside, the wire wraps around the back in the base foam and ends with the 3V battery adapter. I will build something to house the switch and battery – probably a firewood storage box. :]
I made the hole in the stove large enough so the LEDs can be inserted from the bottom.
I twisted the LEDs slightly apart, then twisted the wires together based on color.
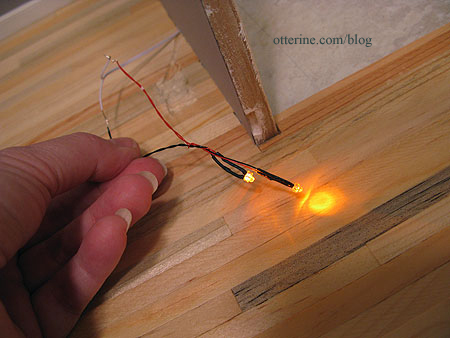
I tested the LEDs to make sure I was connecting to the right extension wire.
I used shrink tubing to attach the wires and then taped them into the indentation in the floor. The hole in the brick base is large enough to feed the LEDs through from underneath.
Test the LEDs again just to make sure, though I’m still not gluing the base in just yet. I don’t think there’s anything left to do first, but there’s no rush, either. :D You can see the paint mark for my optimal spot ended up being pretty close.
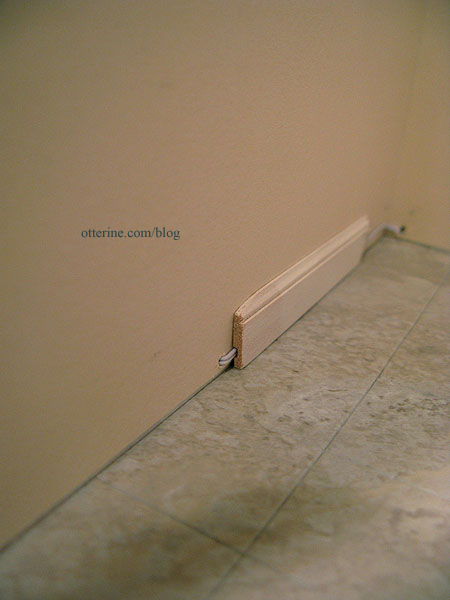
On the bathroom side, the wire fits into the groove in the baseboard (shown here using a scrap). Ingenious design for this baseboard! I wouldn’t use it exclusively since it holds one wire without any shrink tubing on it.
And, now we have a lighted, flickering fire.
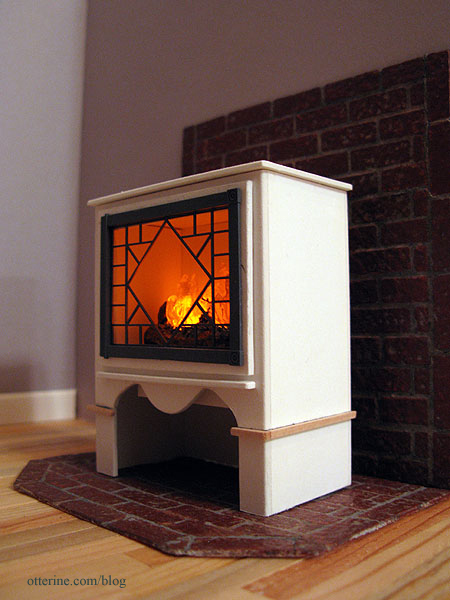
I do like this wider fire better.


