
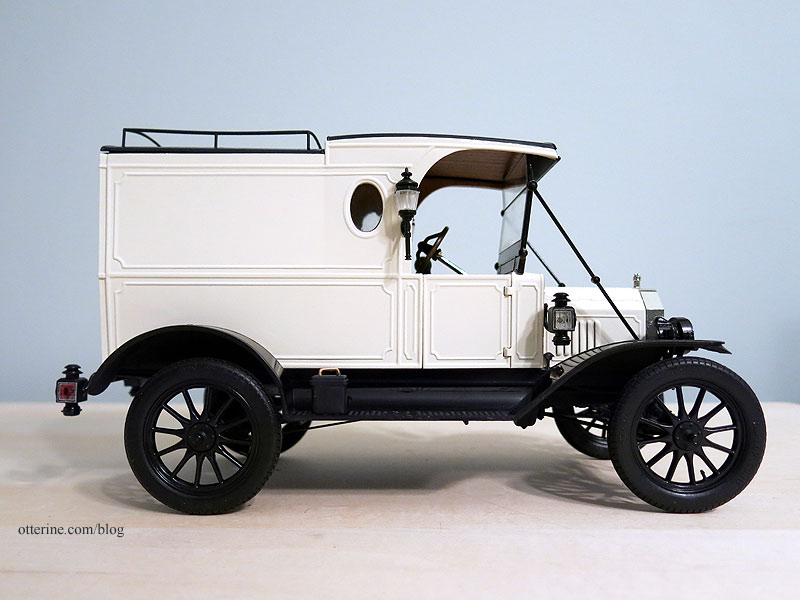
Finalizing work on the 1913 Model T Van. It’s time to put on the remaining body panels and get to the final details. I mentioned that I had a problem with the driver’s side panels. Because the passenger side has a door that was supposed to be operational, the front panel and the door were molded as two separate pieces. The driver’s side front panel and door are molded as one piece, which makes it slightly shorter. There was a gap between the door and the back body panel (larger than the thickness of the micro wood I put on the separating wall, so that effect was negligible).
I added a tiny strip of styrene to make up the difference and repainted the panel. It’s not as clean of a fix as it would have been had I noticed it earlier, but it’s less noticeable than a dark gap. I used plastic cement to glue the front and side panels together before putting them on the frame because they didn’t want to line up properly otherwise. The front middle panel is a little off, but I am happy with the results as is because this was not easy to assemble.

I had wanted to leave the back cabin roof removable to access the wiring due to the delicate back door hinges, and it does sit well without glue. The side panel top edges show just slightly, so I ran a black Sharpie along them to disguise them as best I could. I still won’t have room to work on the LED wiring, but this does give me access to the battery without having to open the one back door that functions.

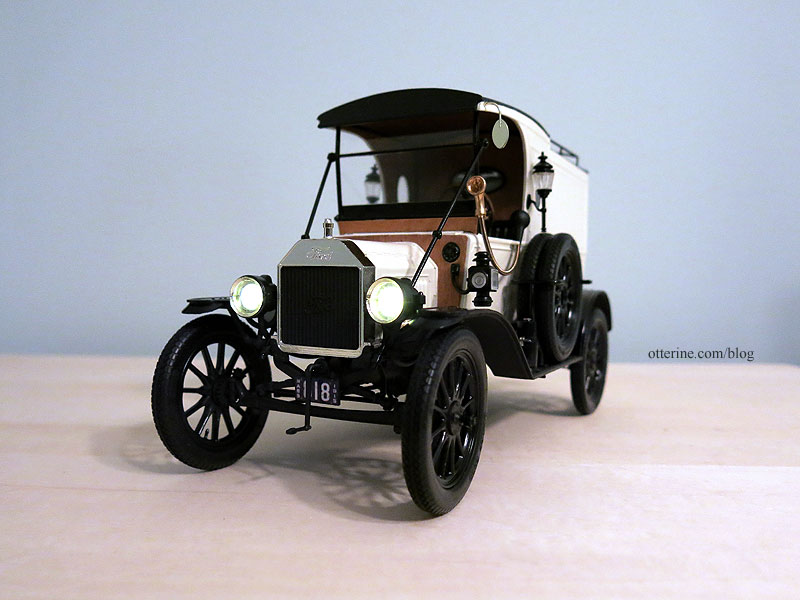
For the hood handles and horn, I used Testors Metallic Gold spray paint. It’s not a precise substitute for the brass factory finish, but it will do in a pinch.

I didn’t think the gold paint would work as well for the window surrounds and long stays, so I sprayed those black. I used Crafter’s Pick The Ultimate glue to hold the window panes in place since super glue makes clear plastic cloudy. These panes often need to be glued repeatedly over time in car models because the glue fails with age.

The front cabin roof didn’t fit very well, which was odd. It seemed to be molded at a different angle than the side panels. I managed to wrangle it into shape. I skipped the green sun visor since the pieces from both of my kits were not in great shape. Better to just leave it off than have it look like a sloppy afterthought.
I snipped the speedometer and gas light tubes under the chassis since I knew they would just end up snapping parts off as well. You can still see them in the front cabin and next to the acetylene canister.
The two side lamps and two coach lamps are painted black to match the other lights. I didn’t wire these since there wasn’t a way to disguise the wires in the open front cabin.
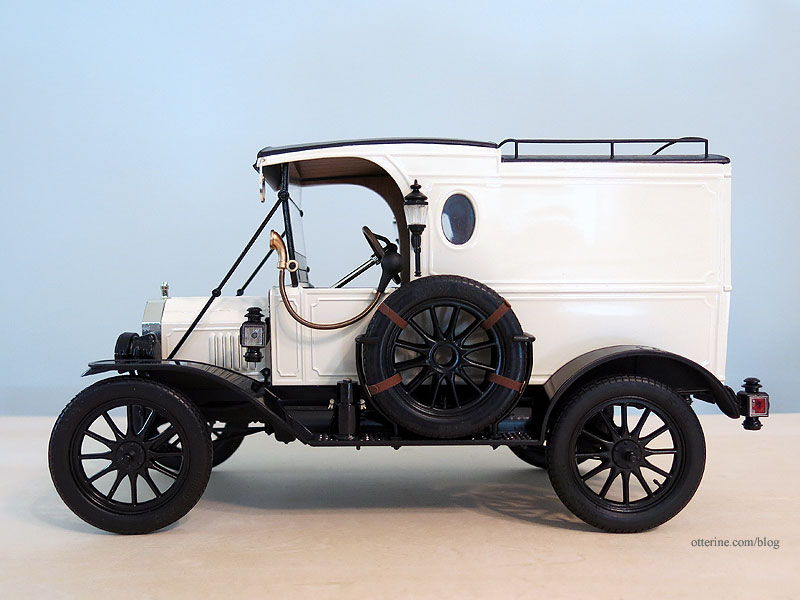
The spare tires were supposed to be solid parts to mimic covers.

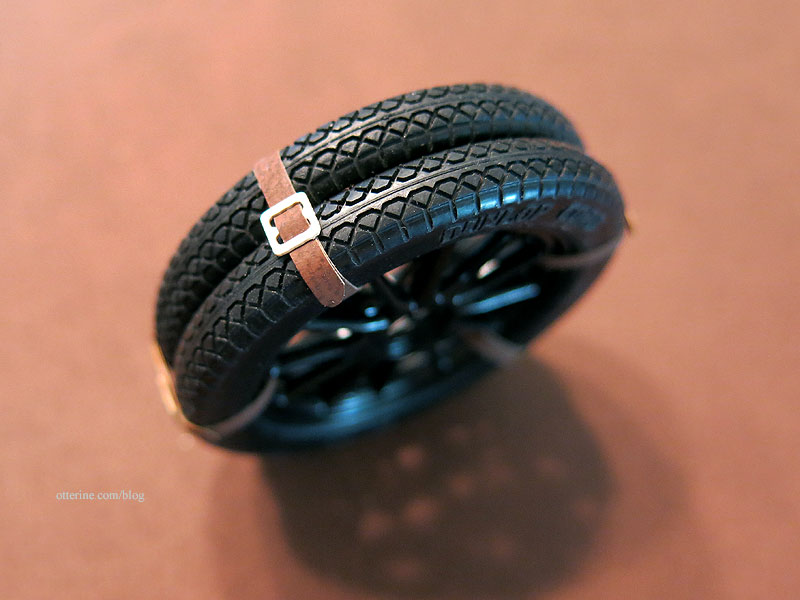
These had belt detailing that I knew would be impossible for me to paint to my satisfaction, so I used two of the spare tires I had from the second kit. I used super glue gel to hold the two tires together to keep them uniform. I glued the brackets to the running board, and slipped the tires in to fit. Using the tires with the spindle wheels helps disguise that body panel gap repair, too. :]
I added belts made from scrapbook paper called Buckskin Brown by The Paper Company. The silver buckles are laser cut paper representations from Dragonfly International, bought at the local shows. They are a little large for scale perhaps, but I like the added detail.
So, that’s it…99.9% done. I’ll be making my own removable sign boards for the van for a few reasons. I didn’t plan to use the included decals, and even though I can print my own, I wasn’t sure about my success in applying such large decals. The last thing I wanted to do was muck it all up at the 11th hour since this model gave me so many fits along the way as is. Finally, I might want to use the van for something else in the future, so I can just swap out the boards. :]


