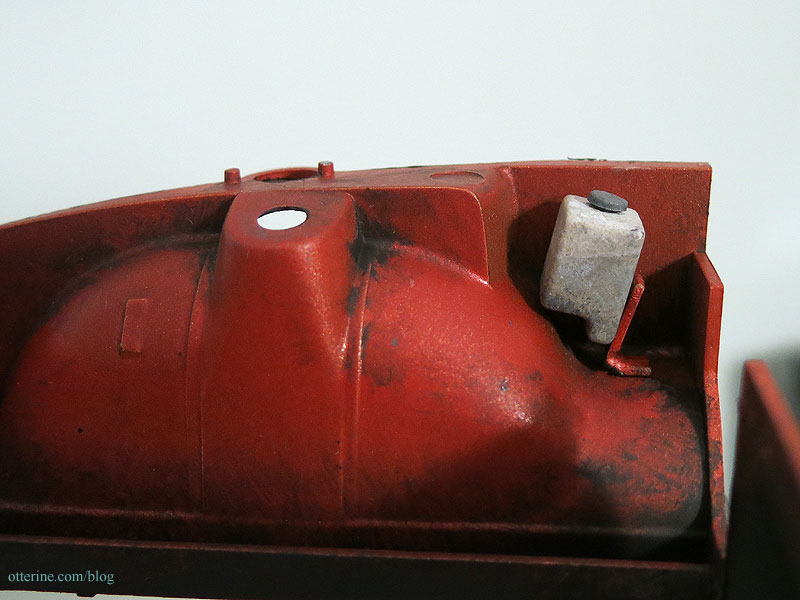
Continuing work on the Datsun 240ZG. The engine compartment of my barn find auto shouldn’t be showroom new, but of course the Testors Fiery Orange turned out showroom new. :\ Ah, well…easily fixed.
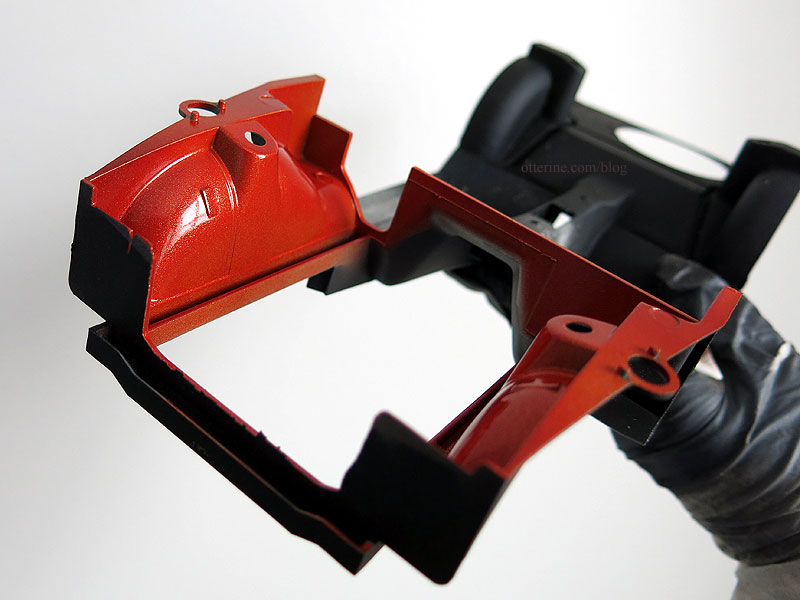
I sprayed the compartment with Testors Frosted Glass. I am sure you can use any matte finish spray, but I had this one on hand. It tones down the shine and gives the subsequent paint treatments something to grab.
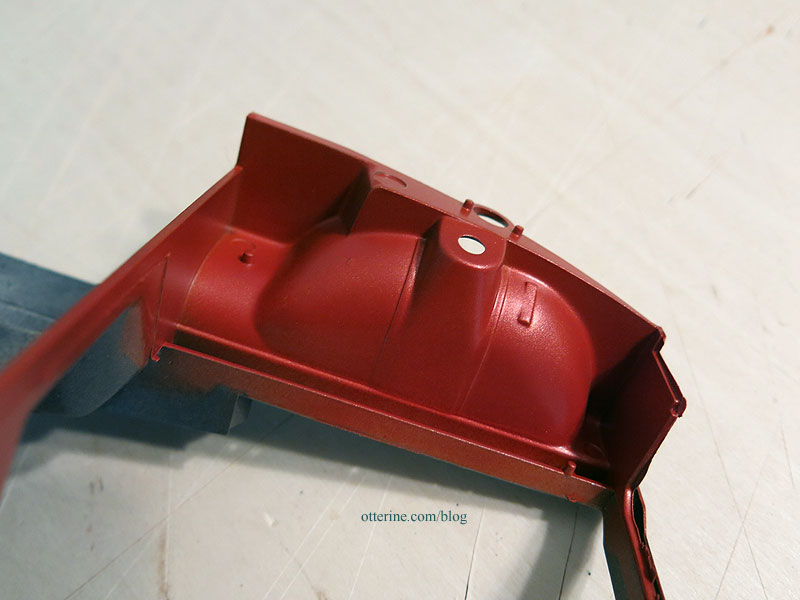
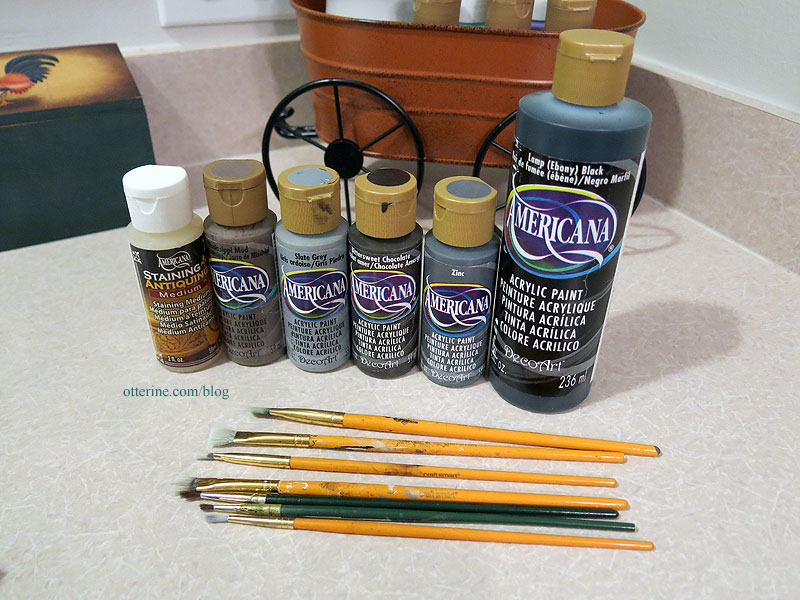
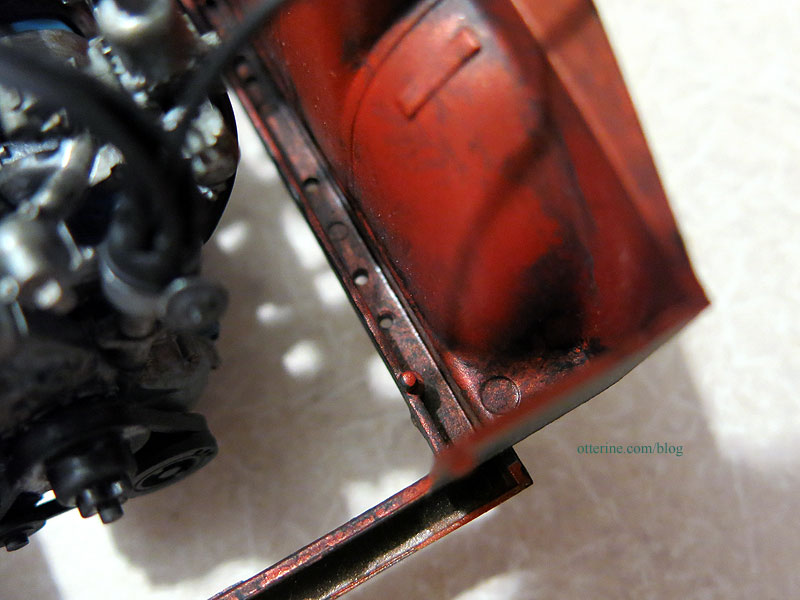
Next up, adding grime. The easiest way for me to add grime is with acrylic paint and Americana Staining Medium. I mixed blobs of browns, greys and black with the staining medium and used a variety of soft brushes.
I didn’t worry about areas where parts will be glued in place since it’s part of the process to scrape those places clean before gluing anyway. The transparent stain mixtures created realistic dark areas without completely obscuring the orange body color. The staining medium adds a bit of sheen, which works well for engine grease. :]
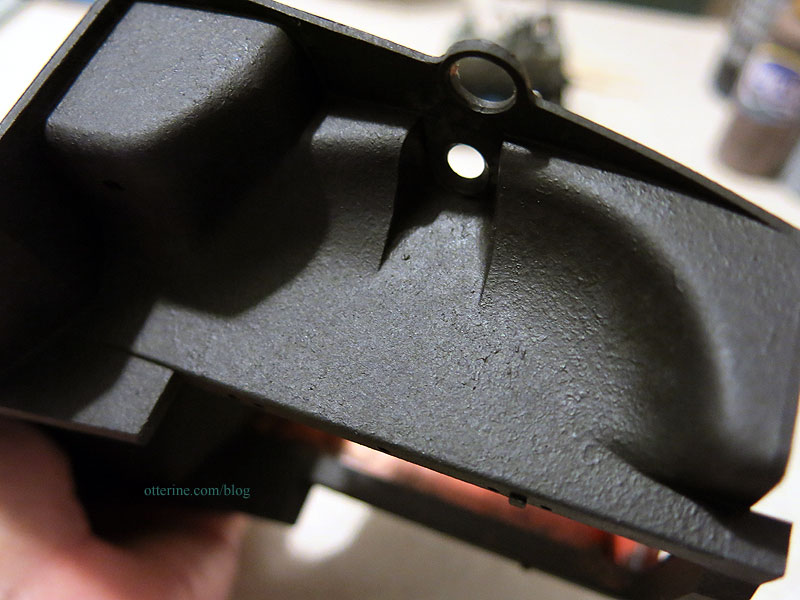
Flip it over to age the underside, turning the pristine flat black into road-worn dirt. :D Here I brushed on undiluted paint using a stencil brush, repeating the process for several layers.

This removed the smooth finish of the plastic base.
Using the leftover staining mixtures, I added a bit of light aging to the engine assembly. More can be added later, but it works in my favor to add some now while tight areas are easily accessible.
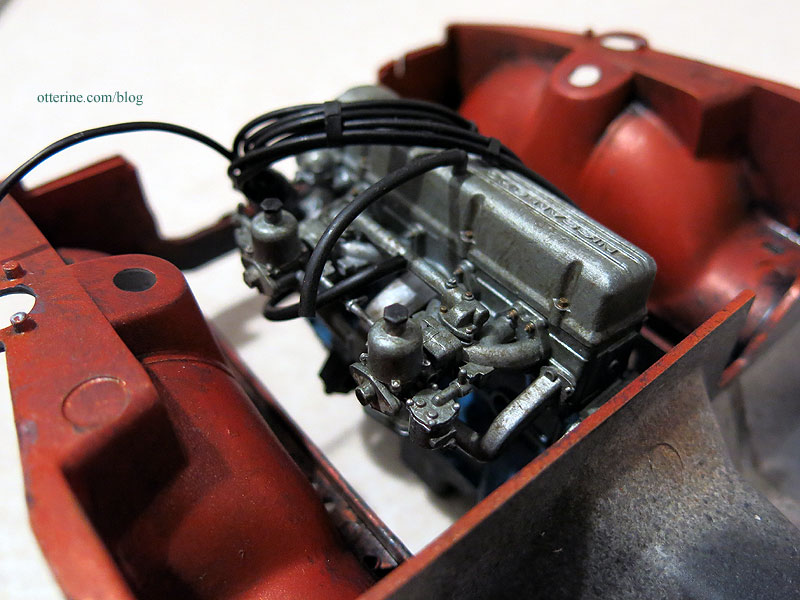
I’m not overdoing the process. I prefer subtle aging that adds depth and visual weight. :]

I started sanding and detailing the main body piece. This is an excellent model, so there was very little to do in the way of prep work, just light sanding here and there. I had spray painted the body with a quick pass of grey. This paint layer helps highlight the imperfections and excess plastic from the molding process. Cinder blocks from Mini Materials.
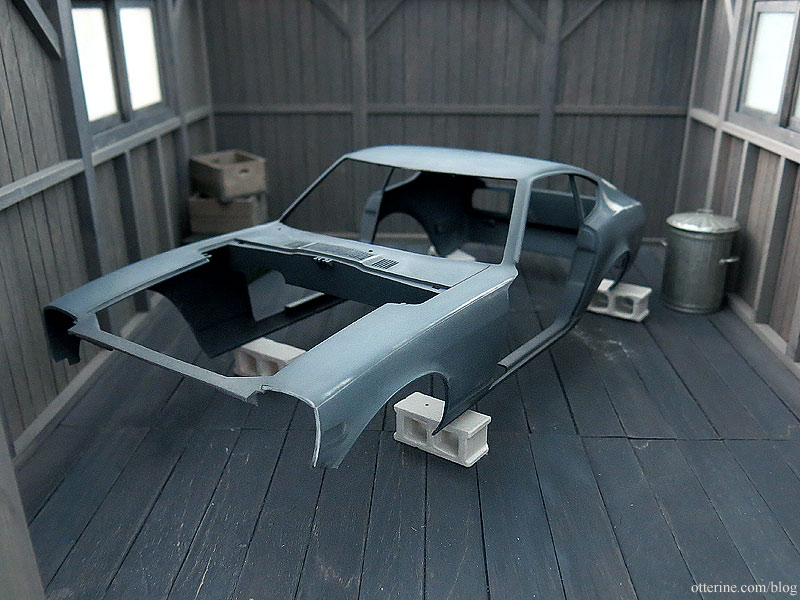
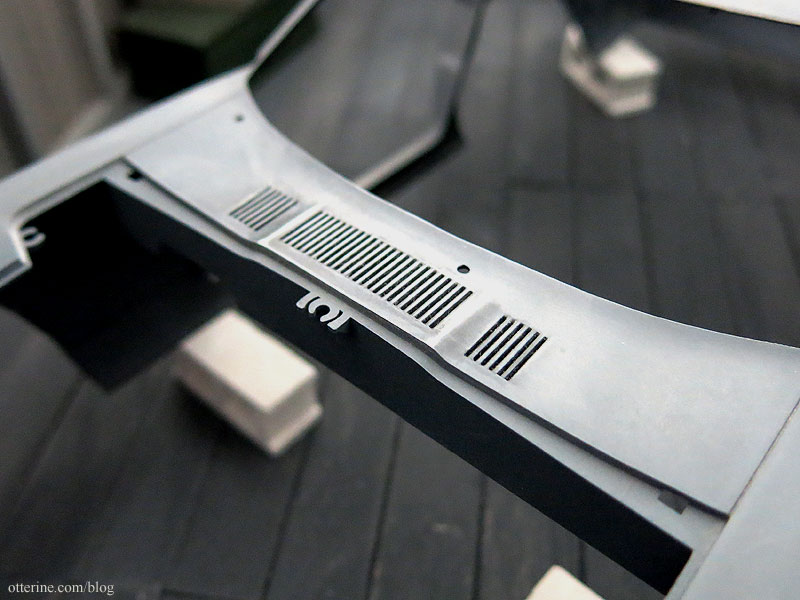
There’s a vent detail in front of the windshield. It didn’t take the initial coating of primer spray very well, so I decided to detail it now. Any subsequent spray-painting shouldn’t interfere with the work. I used a toothpick to drop in Testors flat black.

I wiped the excess with a paper towel.
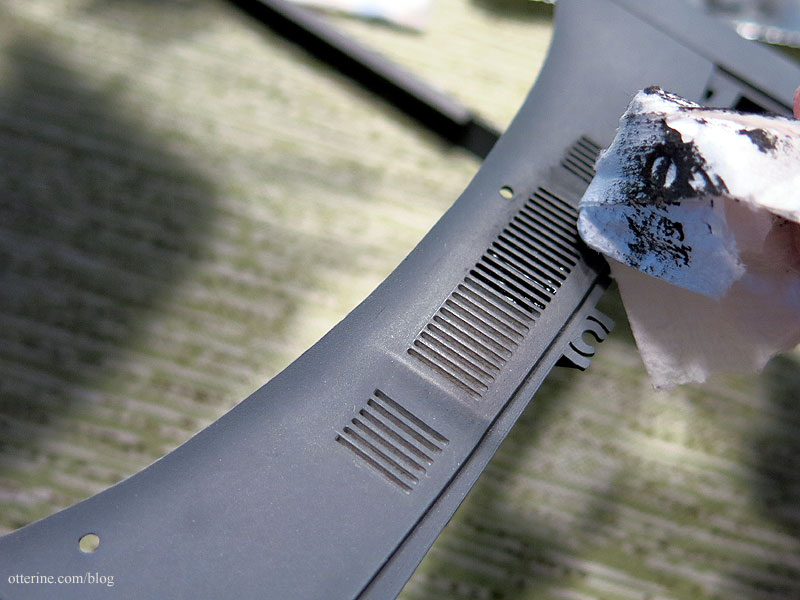
This fills the vent and makes it look like an opening in the body. I can touch up the effect after the final body color by using acrylic paint, which won’t stain the enamel color the way the Testors paint would. This is a good base to build on later.
Back in the engine compartment, I wanted the washer fluid tank to look like it contains actual fluid so I spent several hours painting it. The tank isn’t glued in yet, but the holding bracket is. I needed to know the angle of the tank to paint the fluid line at the appropriate slant. Dirtying up the surface helps sell the idea. :]
