Time to make The Maple Room! :D As noted before, I’m using this Traditional Room Box kit by Real Good Toys as a quick build room that will be interchangeable for photographing minis. I always like to start with finishes that can be done while the kit is still in flat pieces. This allows me to press the boards flat while paint, stain or glue dries, therefore reducing warping while the build is in process.
I started by marking lines on the exterior of the box where the front and upper trims will be. I am finishing the exterior not only to make the room more attractive on a shelf but to add thickness and stability to the base kit wood.

I bought this siding some time back and it wasn’t exactly what I wanted for that project. I kept it in my stash, and today it came in handy without my having to buy additional materials. For the sides, I followed the guidelines. For the back, I left some overhang to overlap the sides.

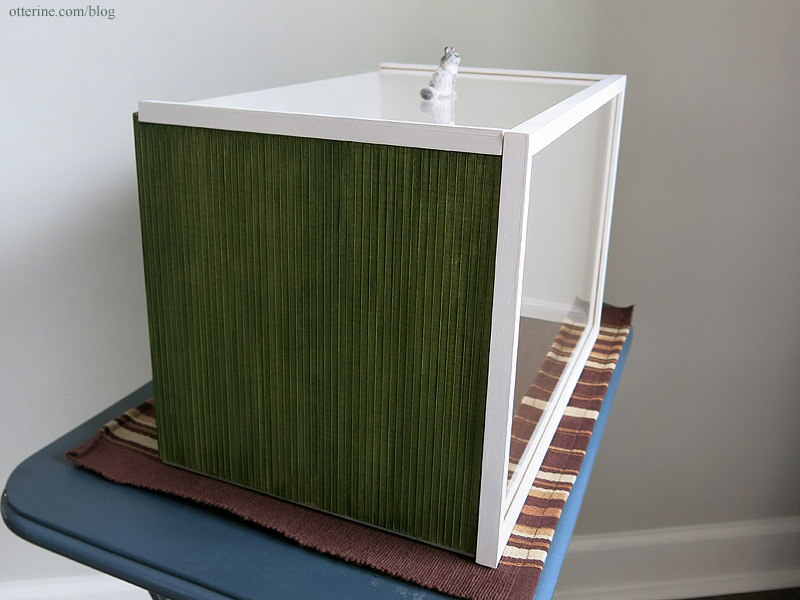
I primed the interior with white craft paint and stained the exterior with a mix of Staining Medium and Plantation Pine by Americana. I chose paint stain since it dries faster. This box isn’t meant as a showpiece, but the paint stain will seal the wood while looking nice besides. I later added one very thin coat of Delta Ceramcoat Satin Varnish.

I also chose green since I already have grey and red siding builds, and The Maple Room could easily serve as an outdoor backdrop just by turning it around.
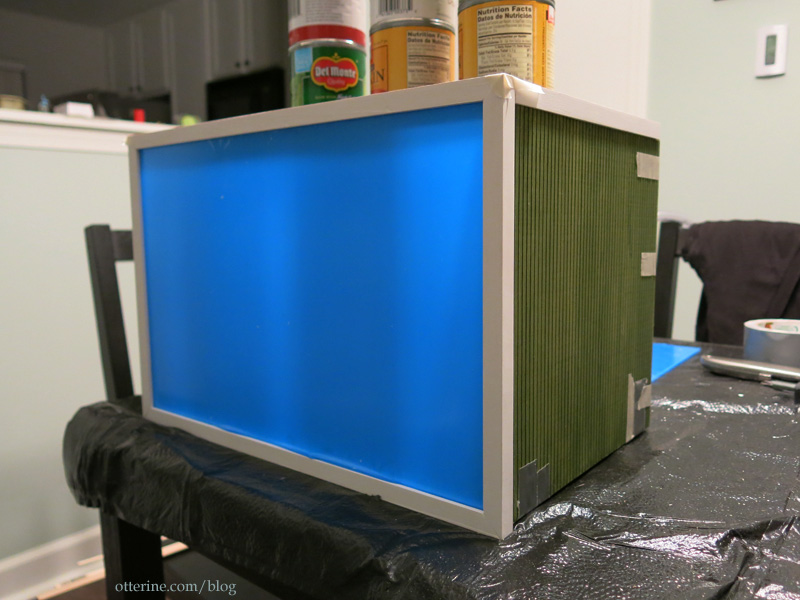
I painted the plexiglass trims, baseboards and casing trims white. The baseboards are leftovers from the Heritage. I assembled the main room pieces of the bottom, sides and back using wood glue. I had masked off the edges to keep a clean wood surface for the joins.
I glued the front lower and front side channel trims in place. The front upper trim and side upper channels will need to stay removable to swap out the papers. They each have a deep channel groove and hold in place nicely without adhesive. But, I assembled the box with everything taped in place so it would dry in the correct shape.
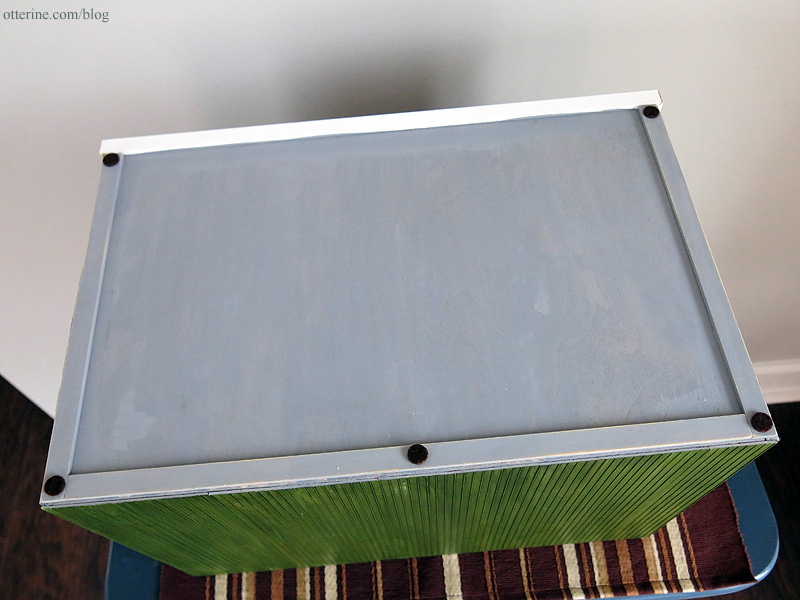
I glued the bottom trims to the underside and then touched up the paint. I had primed the floor board and these trims with grey gesso. Small felt feet added to the bottom will protect table surfaces.
I had some flooring leftover from Mt. Sydney Chalet. It was a staining mishap that I never got around to correcting. It’s a weird red-orange color that was supposed to be cherry and some of the boards didn’t take the stain very well. =shrug=
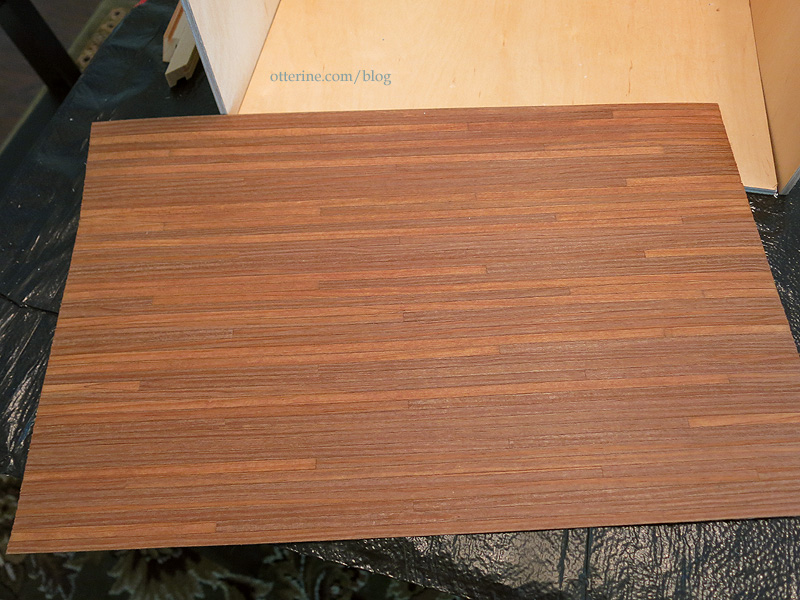
I used a mix of Staining Medium and Bittersweet Chocolate by Americana to darken the color. In a few places, I needed to use undiluted paint to cover the light boards. The final finish is Delta Ceramcoat Satin Varnish, two liberal coats. This floor is permanently attached, but other flooring can be placed on top as needs be. I glued the flooring while the board was able to be pressed flat, before assembly. During assembly, the floor board still bowed a little, but it’s not all that noticeable except in the lower left corner.
I cut some leftover baseboard trim from the Heritage to fit the room. These will remain loose, held in place with mini hold wax.
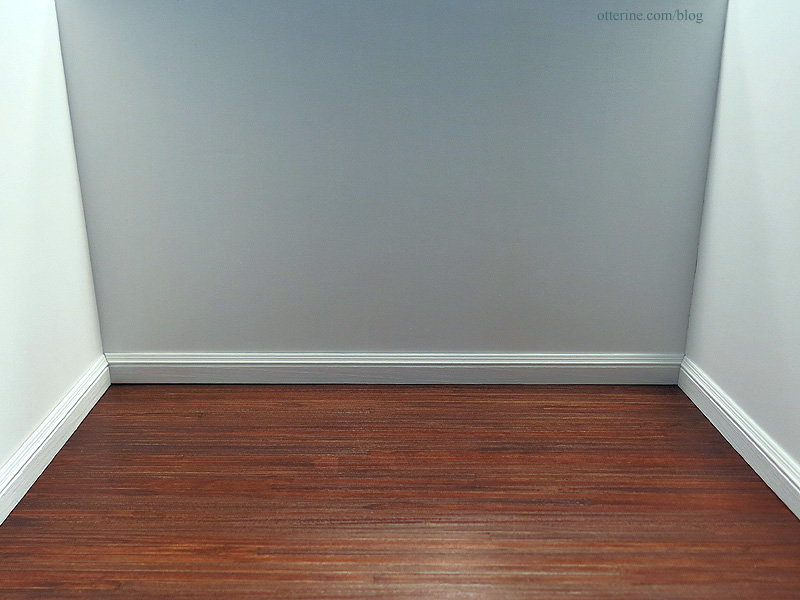
Most scrapbook papers, which is what I mainly use for my builds, measure 12″ wide. A quick clamp holds the paper in place at the top and the baseboards hold it at the bottom. A 12″ wide piece of paper is adequate most of the time, but sometimes I do need a wider room. Since the baseboards are removable, I can paper the whole room or around a corner if a scene required.

What about lighting, you ask? Any overhead lighting can be supported with the front cross beam and plugged into a power strip outside of the box.
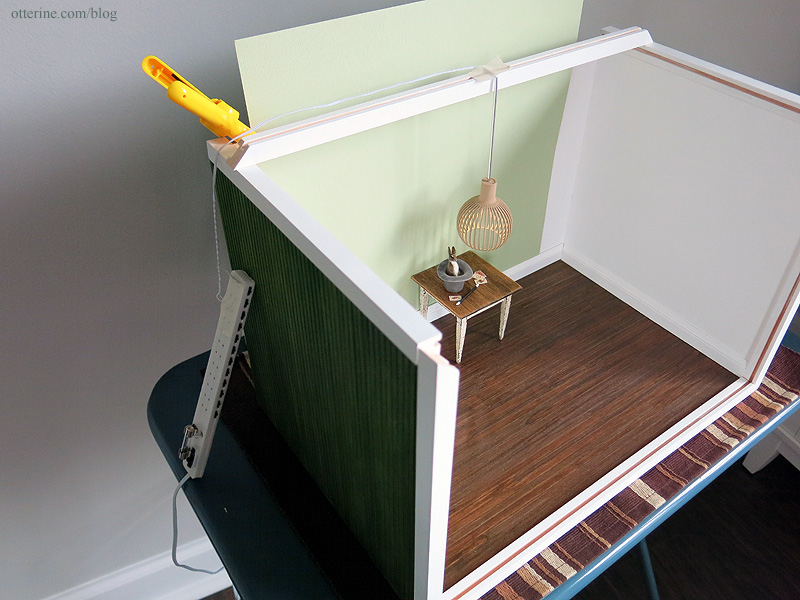
For table and floor lights, the power strip can be pulled out of the way far enough to be out of the field of vision for the camera. The lamp wires will be positioned as necessary.
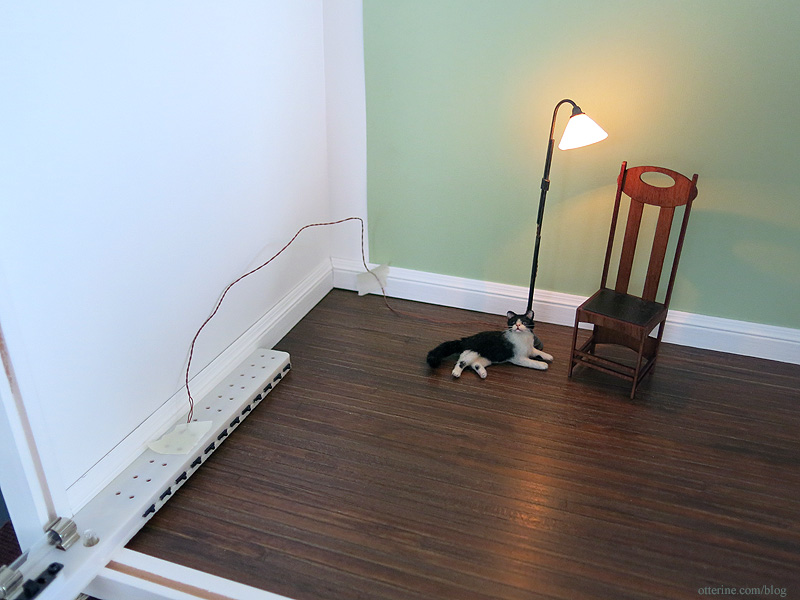
These can either be hidden with furnishings (or cats) or removed with PhotoShop. In this case, the cord is dark and thin so it’s more realistic on its own.

When not in use, the plexiglass inserts slide into place to keep the dust out.
A perfect weekend project! :D


